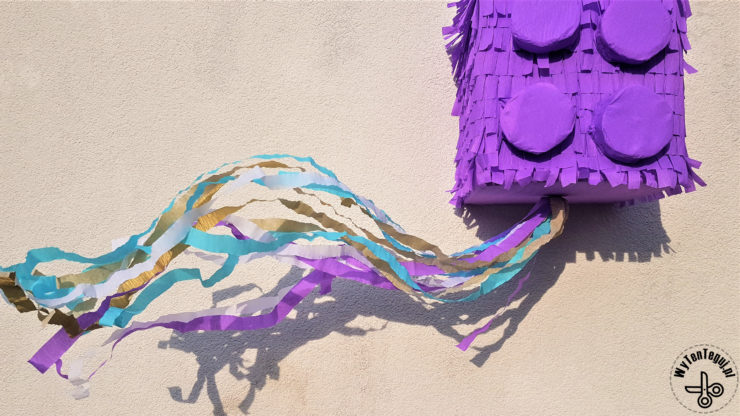
I love colorful pinatas and the joy they give kids. The sparkle in the eyes, smiling faces, squeals of joy and enthusiastic jumps fully compensate for the work put into creating a pinata. Today I show you how to make the Lego pinata with a color tail 😀
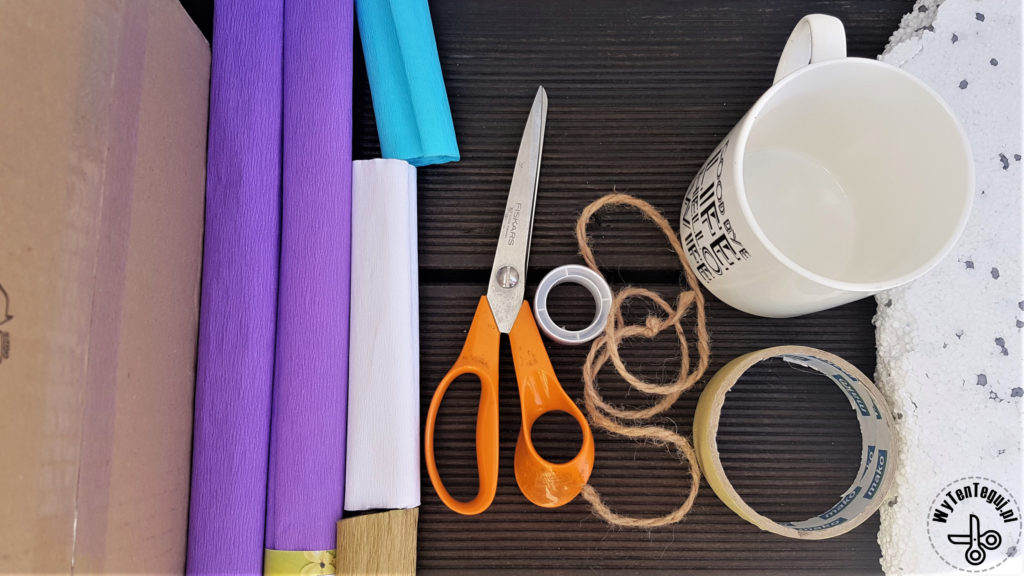
What materials do you need to make a pinata?
- Cardboard box in the size similar to the size of your pinata.
- Color tissue paper – for the Lego pinata I used two rolls of purple tissue paper and 10 cm piece of other colors for the tail.
- Styrofoam – for Lego brick tabs.
- Paper tape
- Paper glue
- Rope
- Adhesive tape
- Scissors
- Optional duct tape to strengthen the rope attachment
How to make the pinata?
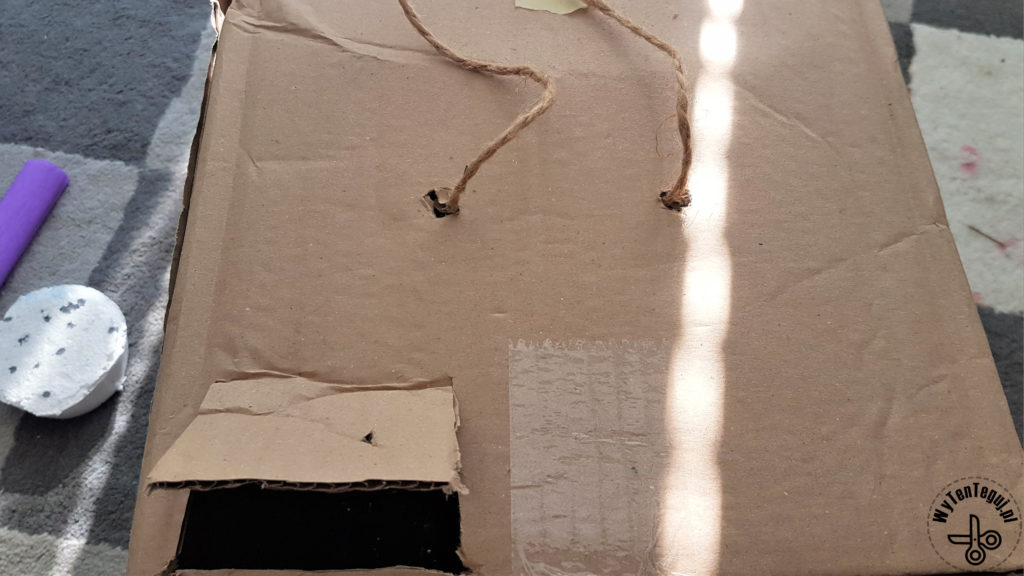
Making a pinata starts with preparing a shape from a cardboard. For the Lego pinata, you need a cube-shaped cardboard. It is best to cut the strong seams of the packing tape and stick it in several places with the paper tape so that the pinata is not too strong.
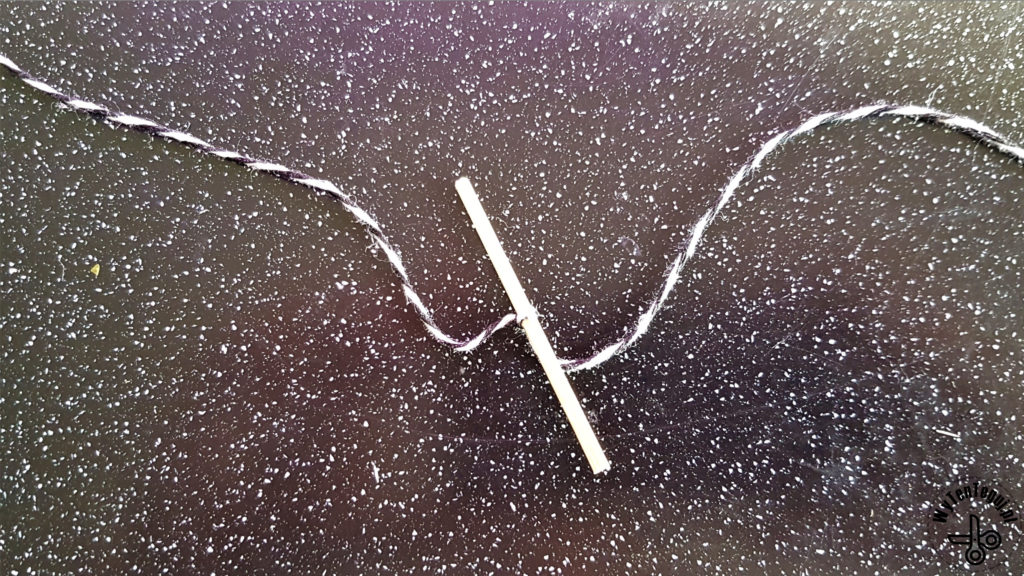
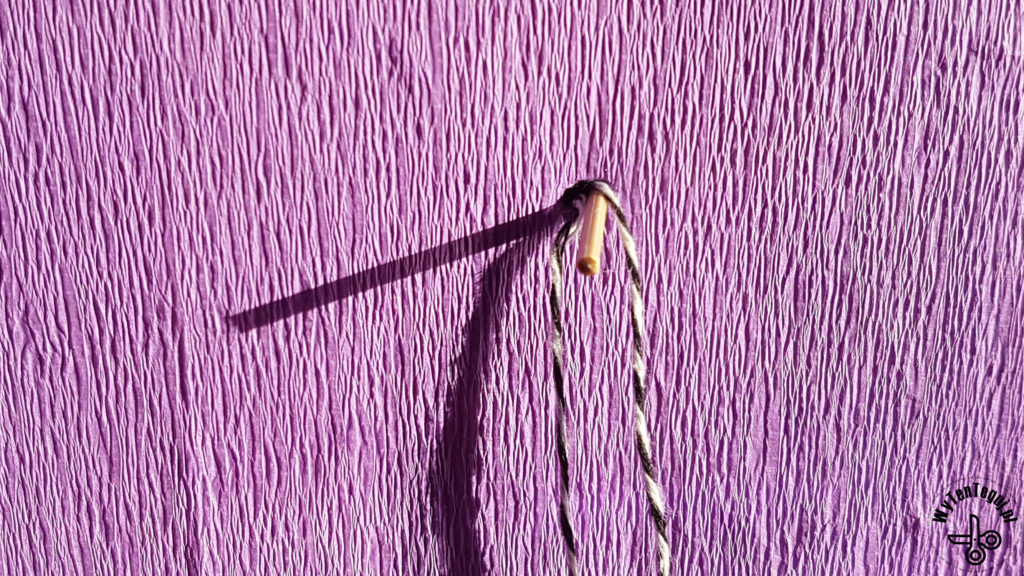
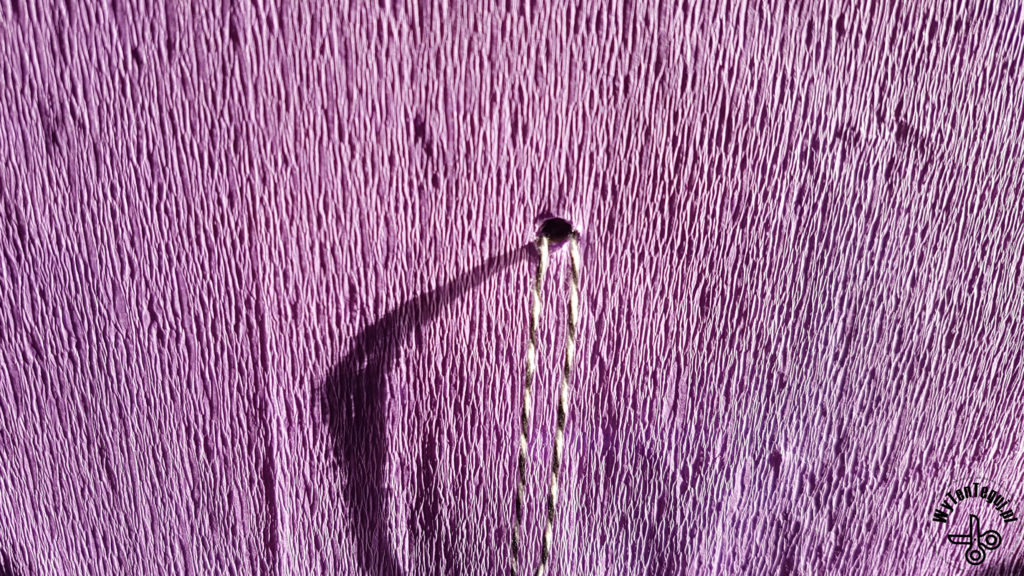
Then tie a string. It’s a good idea to reinforce the holes with duct tape so that the string doesn’t cut the cardboard.
Make a window, if you plan to fill the pinata afterwards.
Decorating with tissue paper
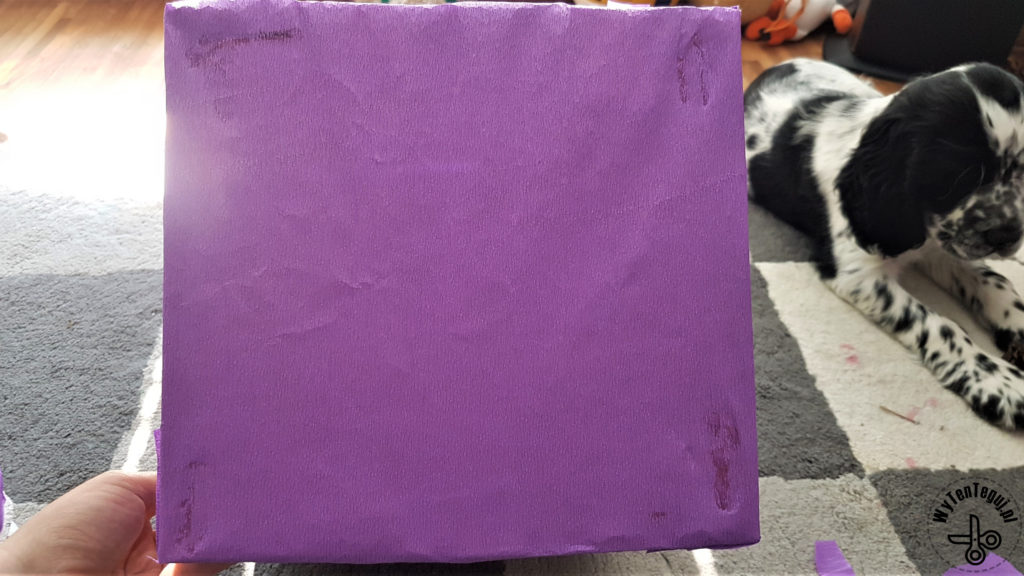
I covered the bottom of the box with tissue paper, later I attached the tail.
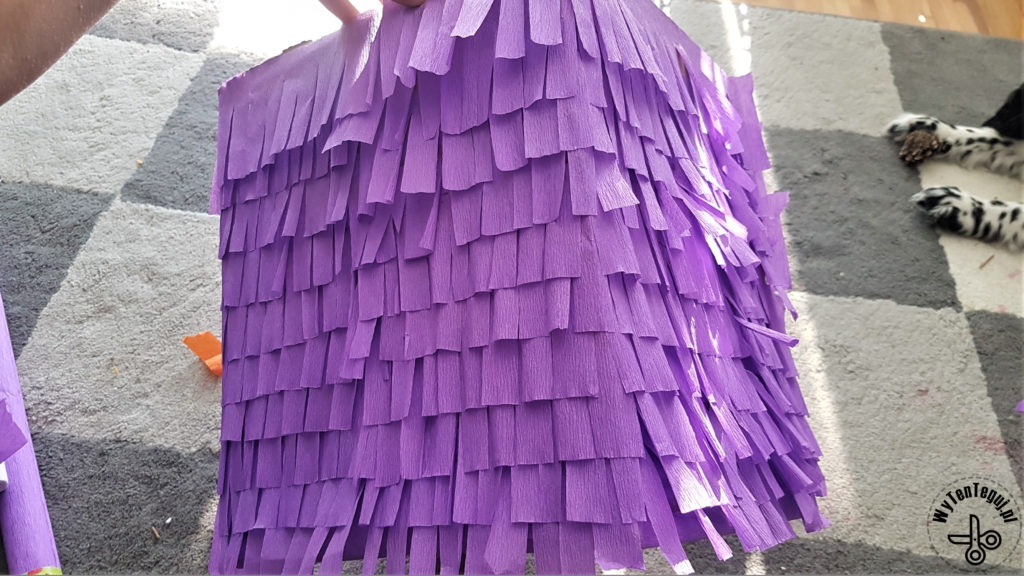
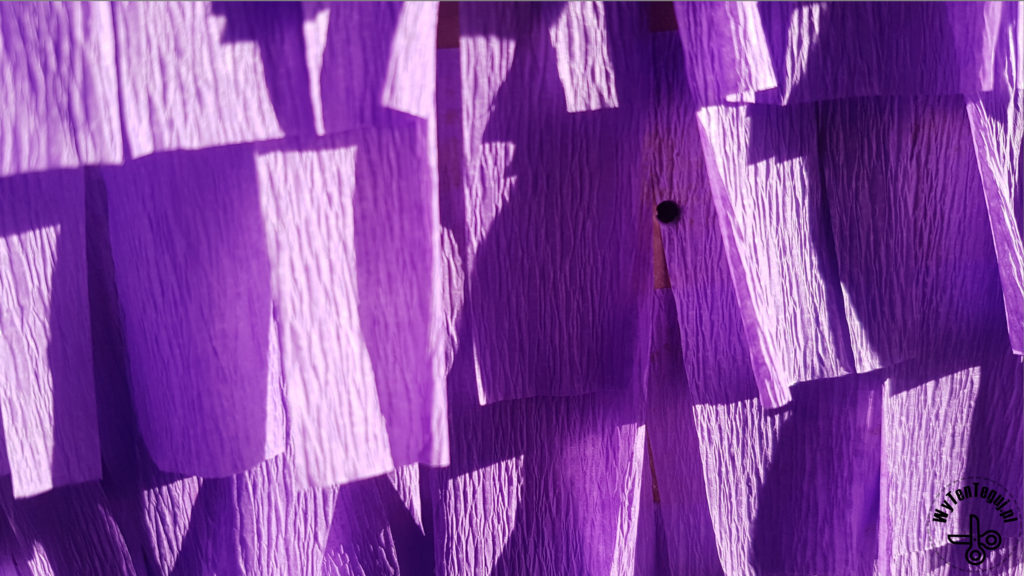
The next step is to decorate the pinata with color tissue paper.
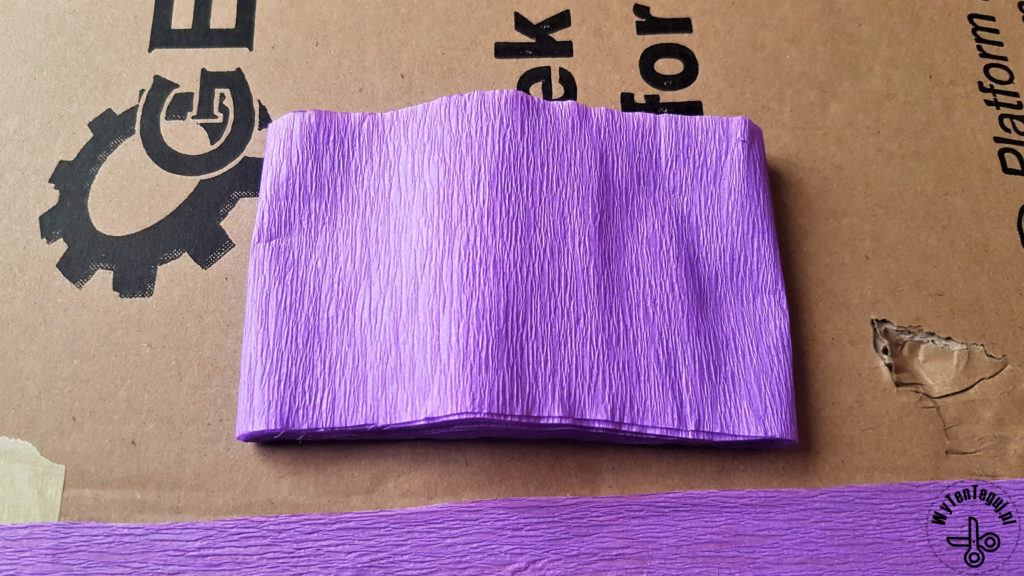
- Cut about 6 cm from a roll of tissue paper
- Unfold the top layer so that a flat stack of several layers of paper is created
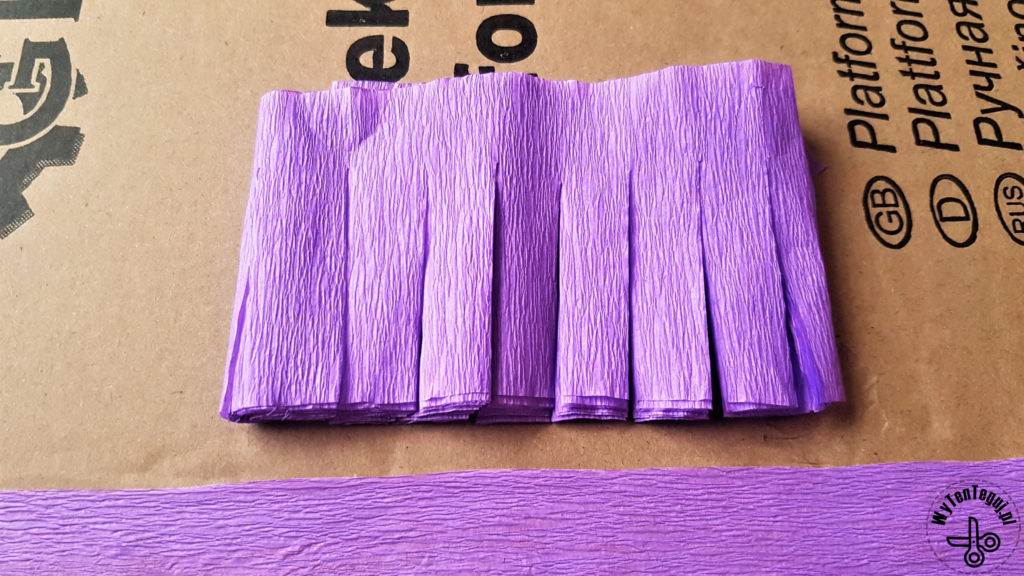
- Cut at the edges leaving about 1.5 cm uncut
- Then cut the tissue paper along the entire length
- Finally, unfold the paper strip
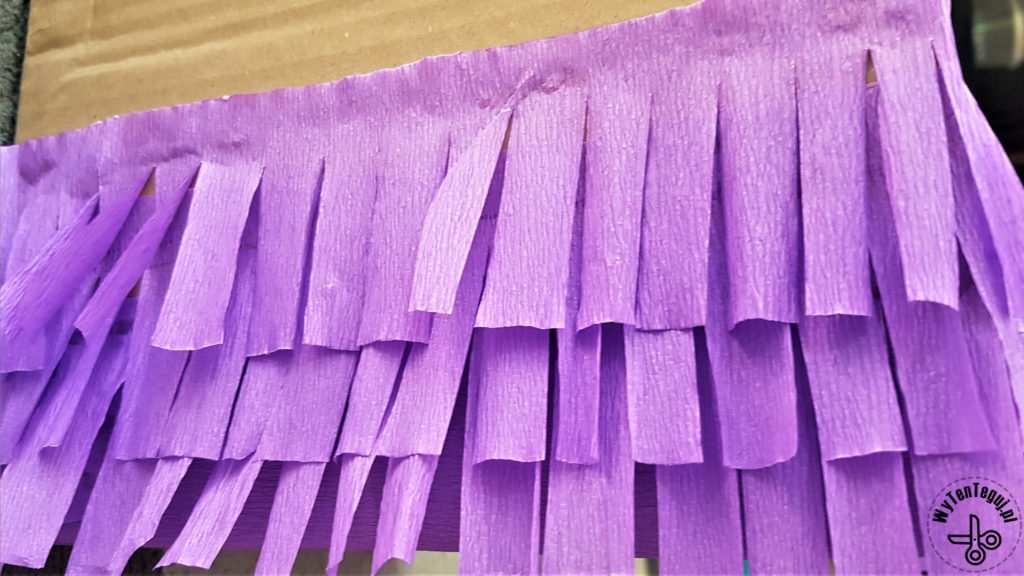
Cover the entire cardboard box with the prepared strips of tissue paper. Glue the strips every 1-2 cm, first in the front and sides, and then on the back.
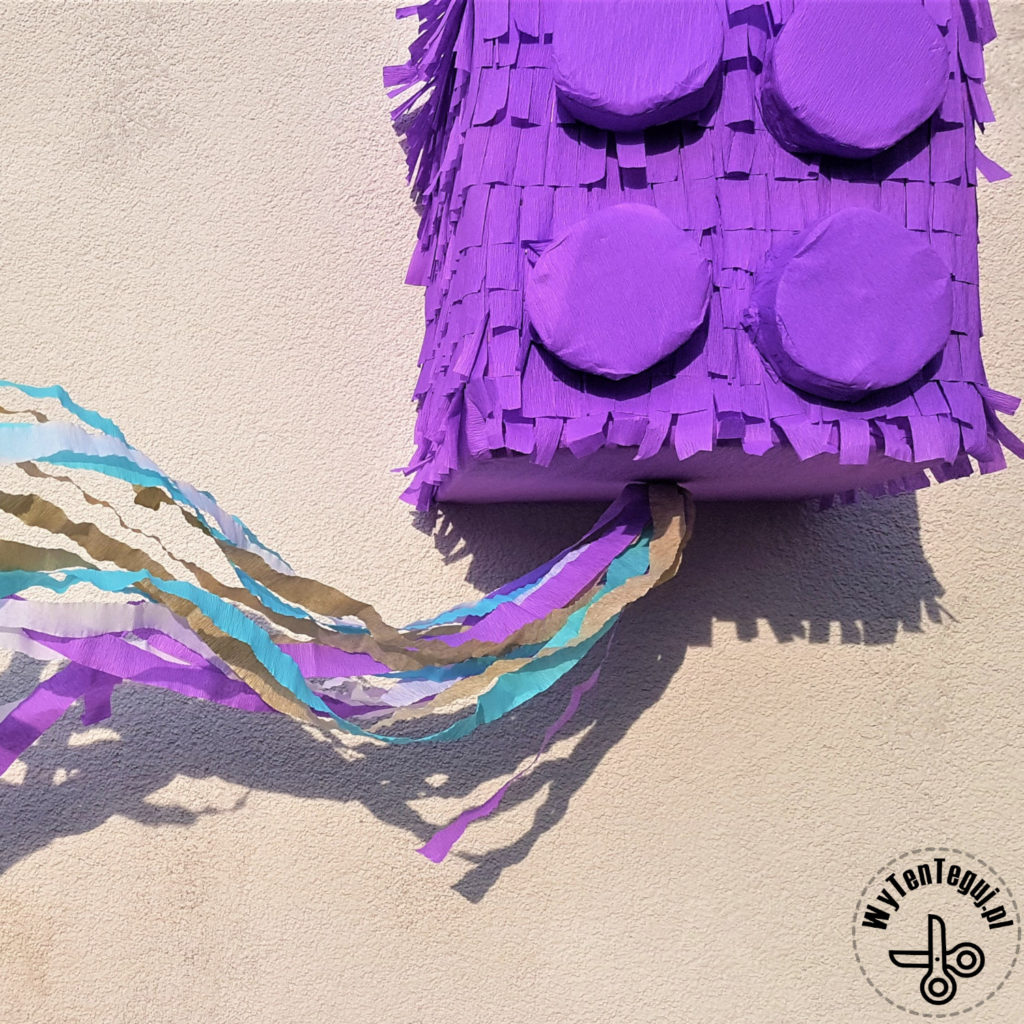
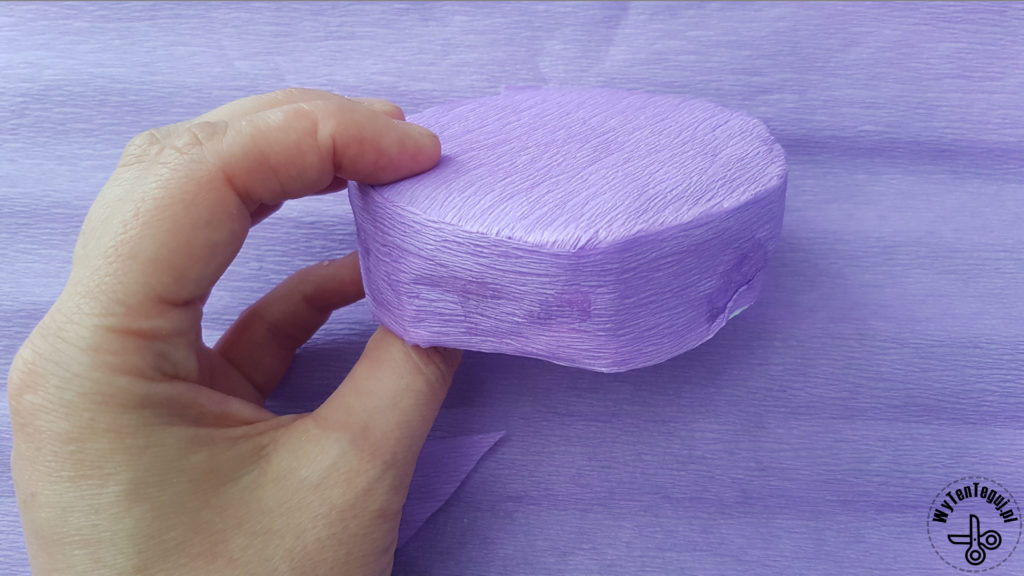
How to make brick studs for the Lego pinata?
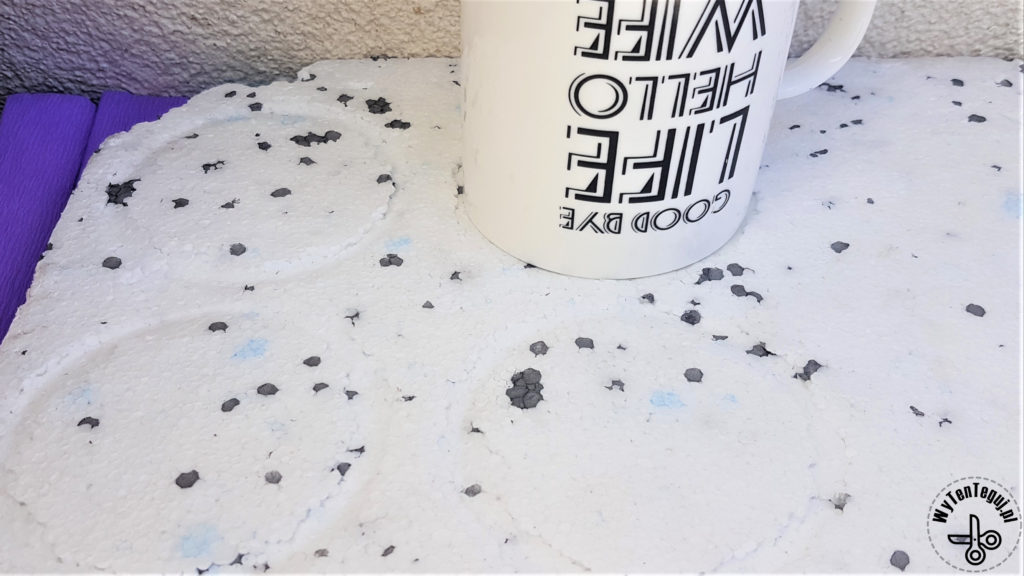
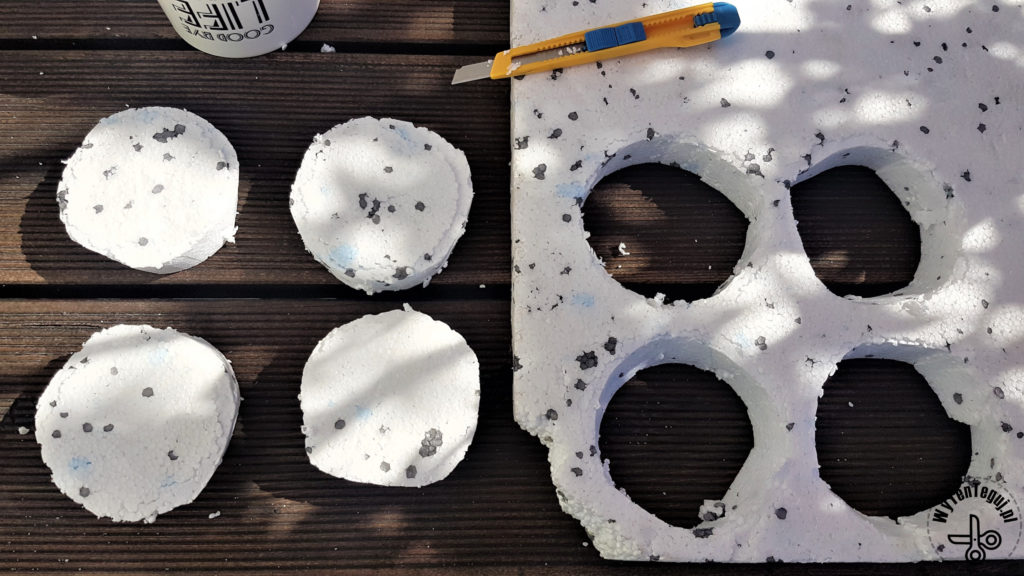
In the case of the Lego pinata, the biggest challenge is to create the studs. I had several concepts from large screw caps to cut pots. Ultimately, I decided to cut out polystyrene discs and wrap them with tissue paper.
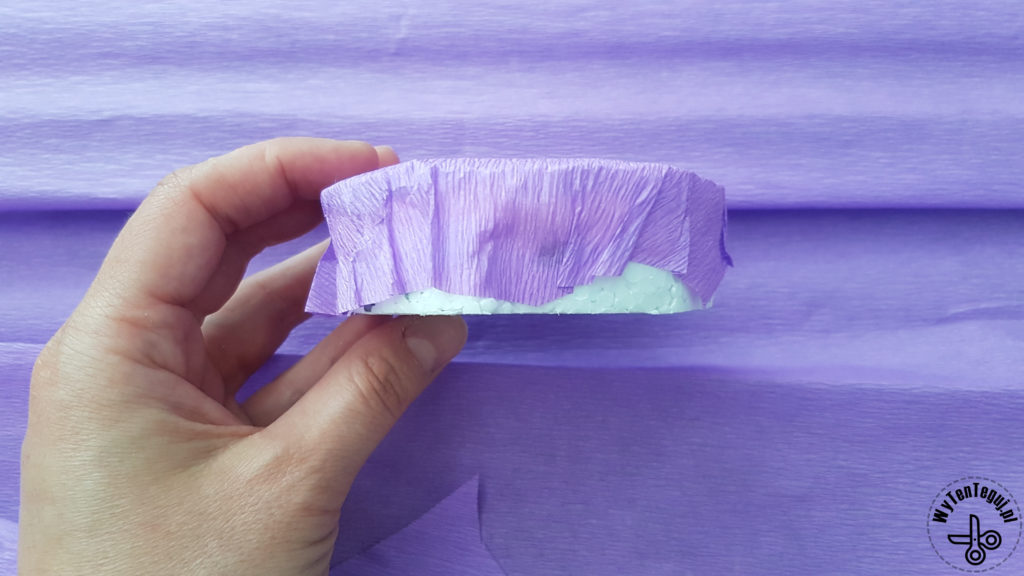
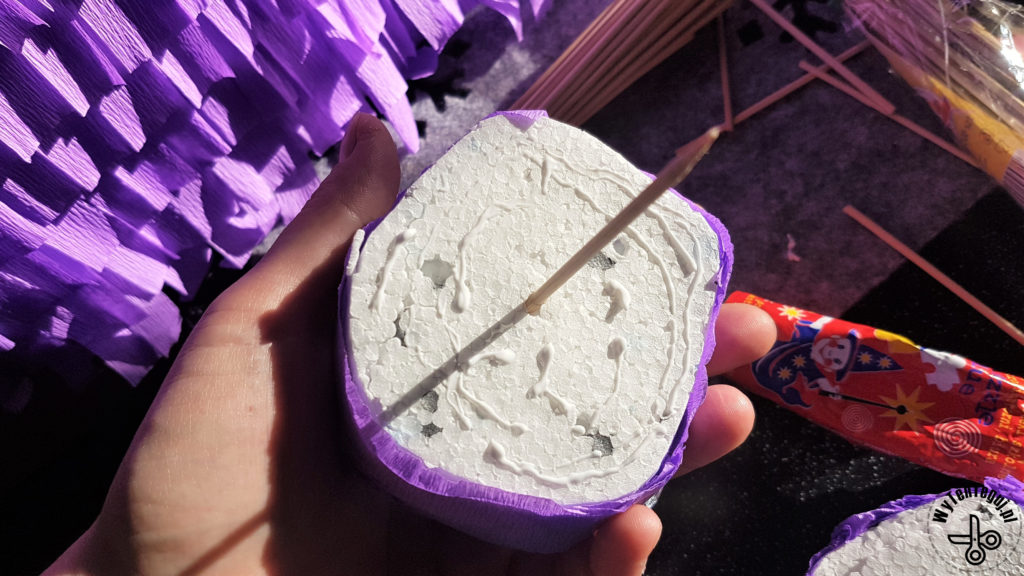
Everything is fine, but now they need to be attached to the pinata somehow. I chose a two-phase fastening, i.e. a stick and glue 🙂
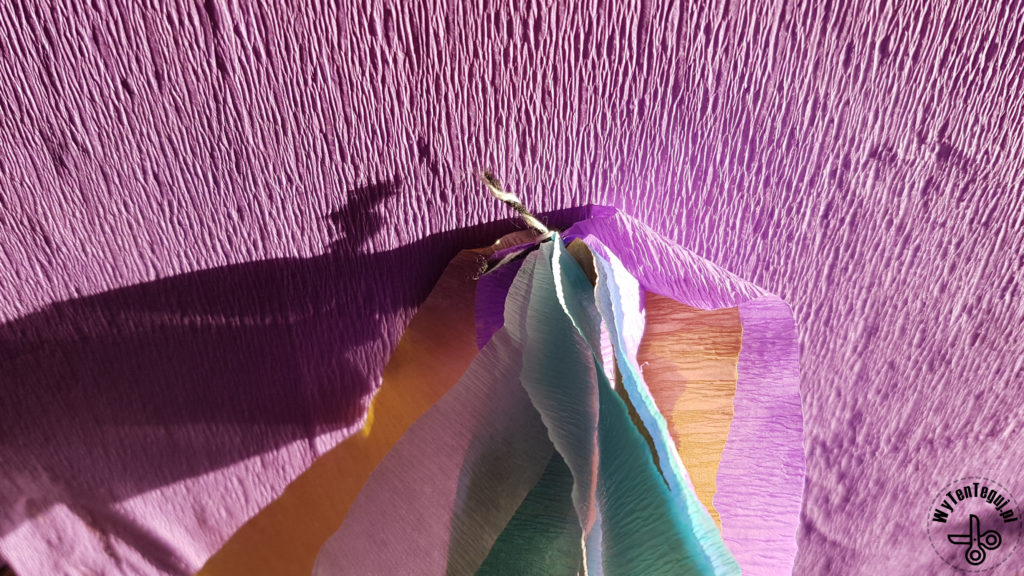
Pinata’s tail
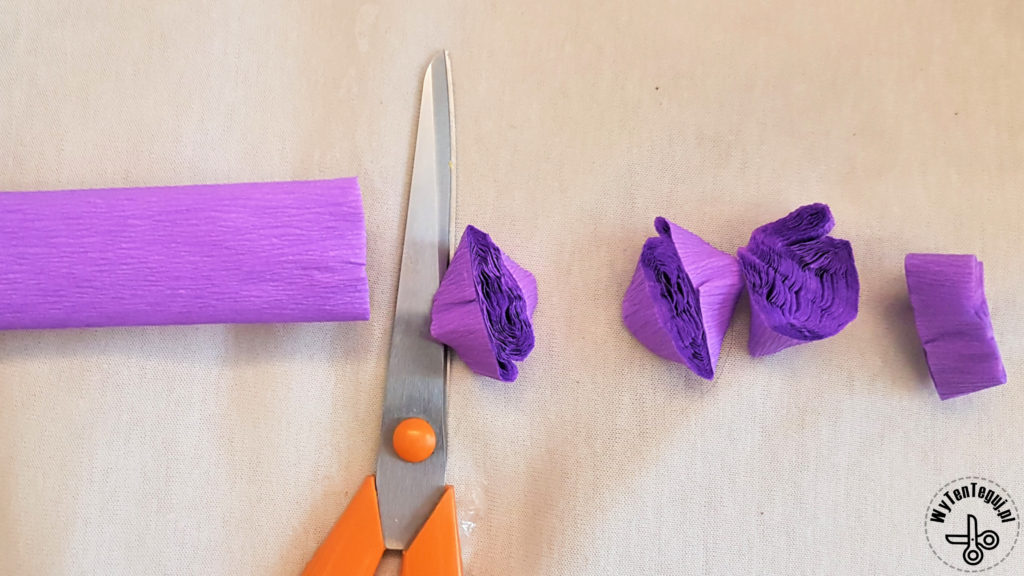
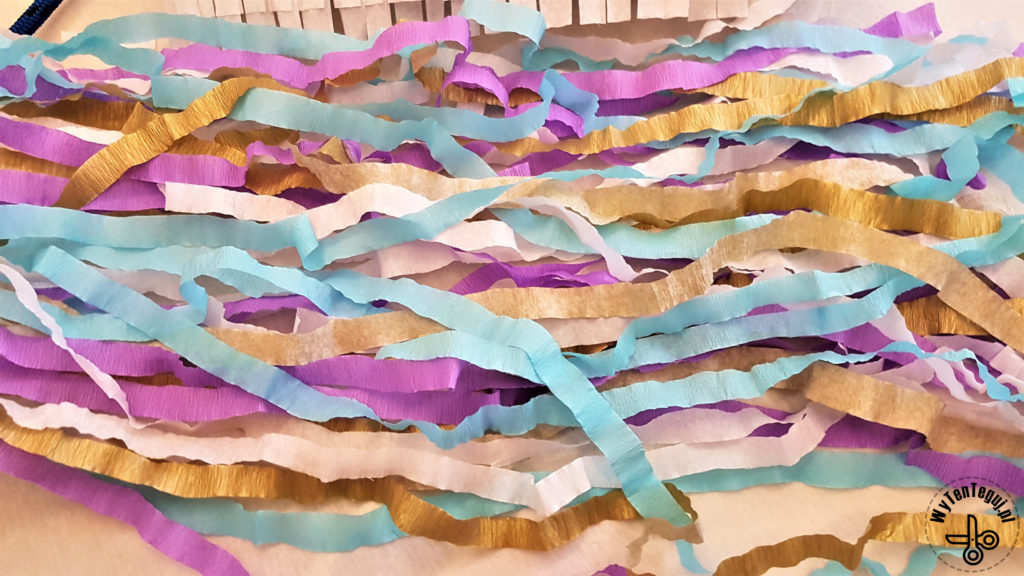
The last element is the color tail, which optically enlarges the pinata. In addition, it effectively waves in the wind. To make a tail:
- Cut pieces of tissue paper about 1 cm wide
- Dissolve the paper
- Catch it half
- Stick to the pinata’s the base. I forgot to prepare the mount, so I had to put on a wooden peg 🙂
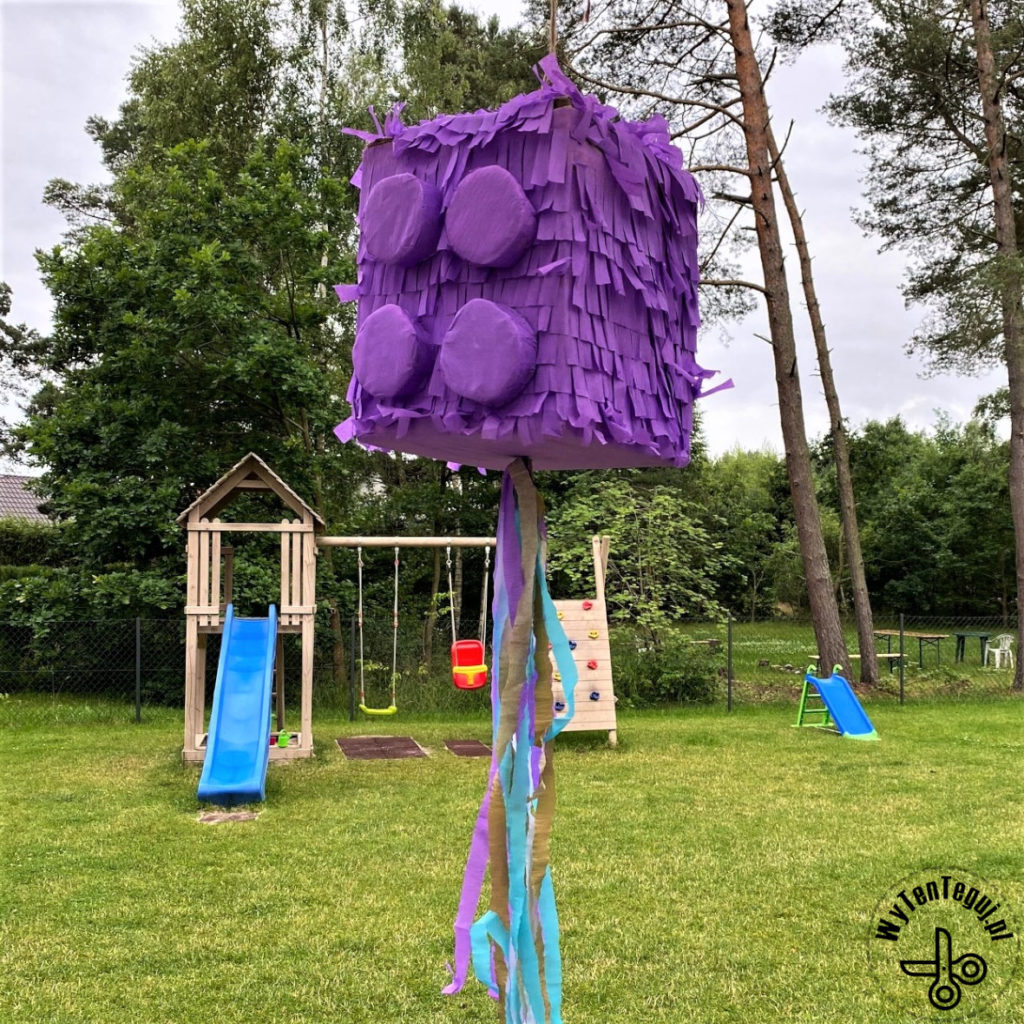
Lego pinata is ready!
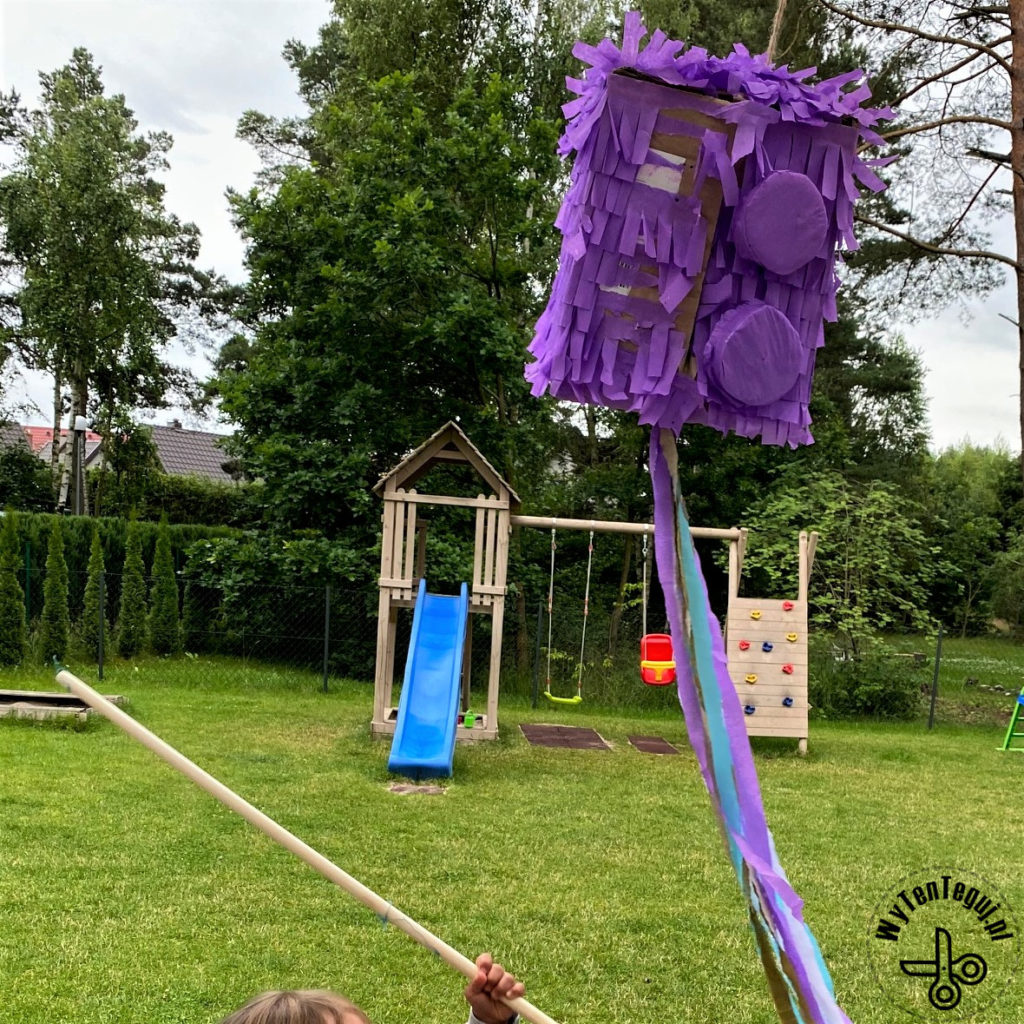
Playing with pinata involves hitting it with a wooden stick until it falls apart and reveals its contents. The stick should be wooden so that it lasts until the end 🙂
The first to fell off were the brick studs, but the rest did not give up for a while.
Check out our ideas
If you are looking for more pinatas or other birthday party ideas, then you will find them in the Birthday party section.
If you are looking for more ideas for playing with children, then you will find them in the DIY with children section.
Follow us in social media
If you want to be up-to-date with our newest posts, like our Facebook fanpage, follow us on Instagram and Pinterest.
Nothing gives more satisfaction than doing something yourself. I haven’t even thought about DIY as my hobby, I’ve just done different “projects” when it was needed. Sometimes it’s a disguise for the Masquerade Party in kindergarten. Another time, cutting out the pumpkin and baking the witch’s fingers for Haloween. Or simply organizing holiday souvenirs. Now I decided to share my realizations with you. Let’s go it together!
