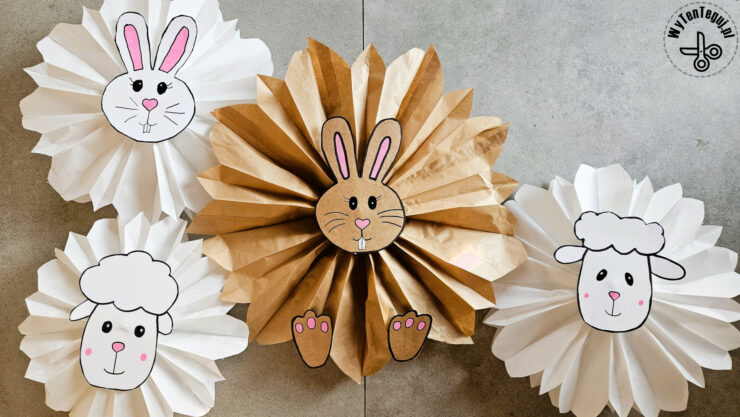
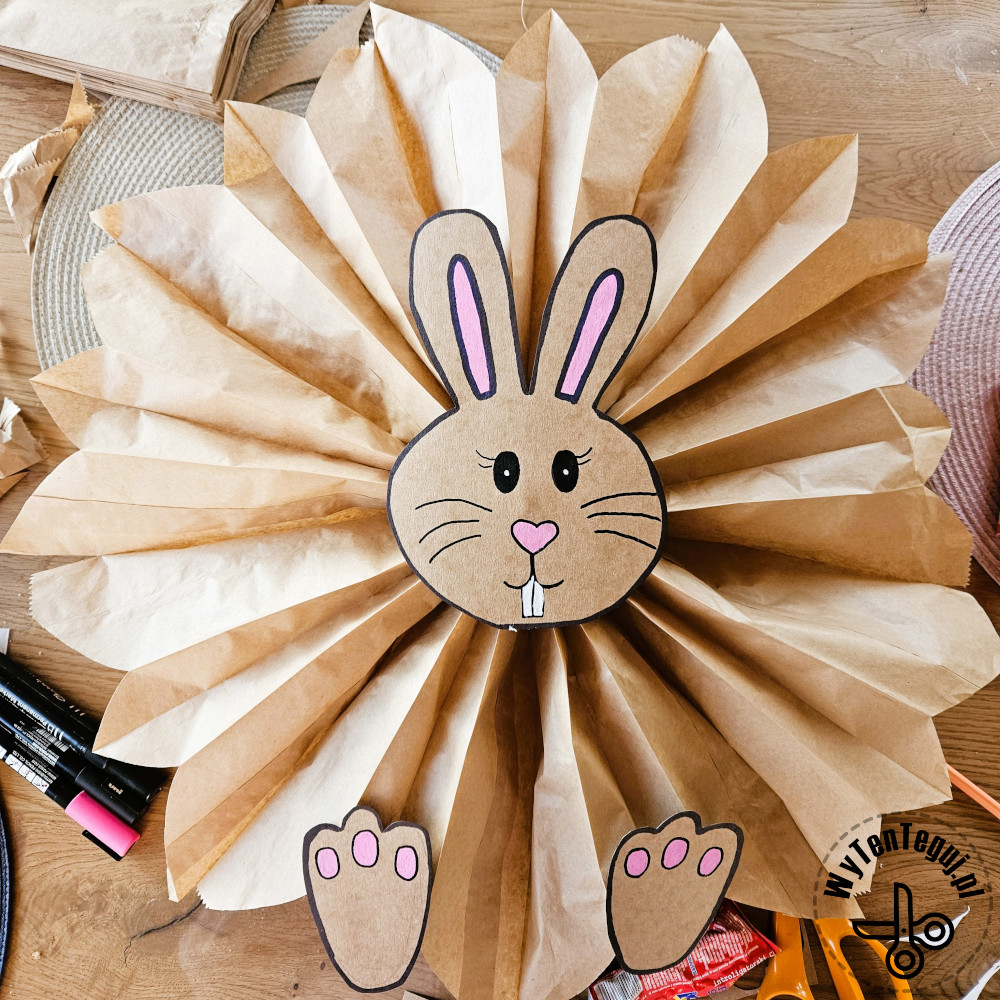
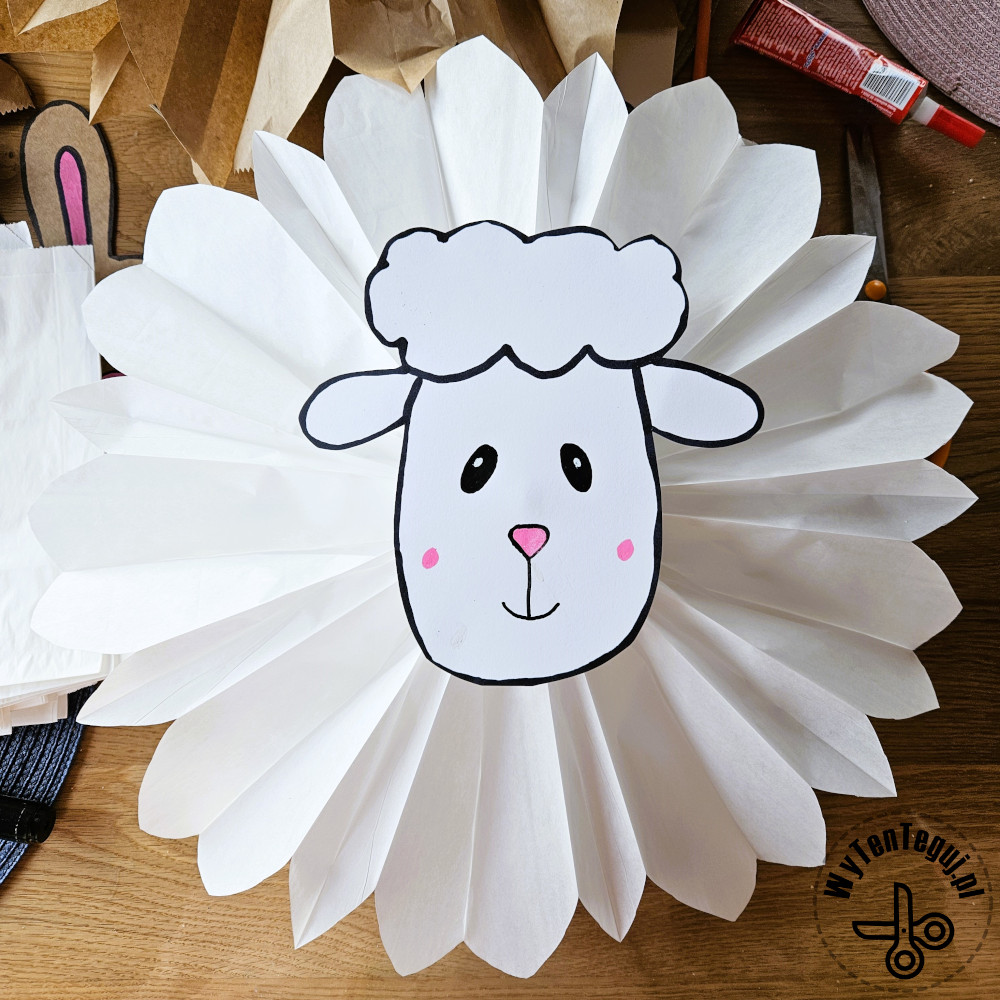
After the totally amazing paper bags snowflakes, it’s time for the Easter version. And this is where the lunch bag rabbit and sheep enter the scene 🐑🐇😁.
Polska wersja: Królik i owca z papierowych torebek
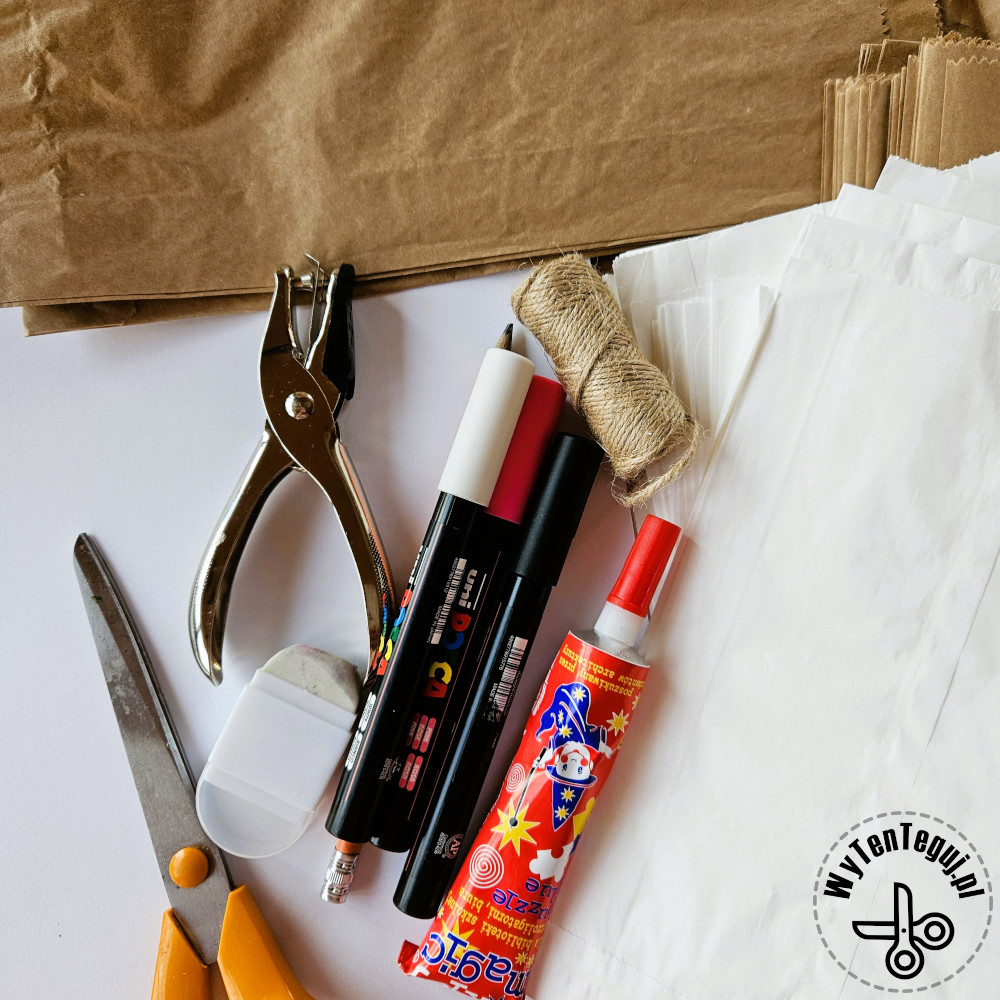
You will need
- Paper lunch bags
- Glue
- Scissors
- Punch
- String
- Technical block
- Acrylic markers or markers
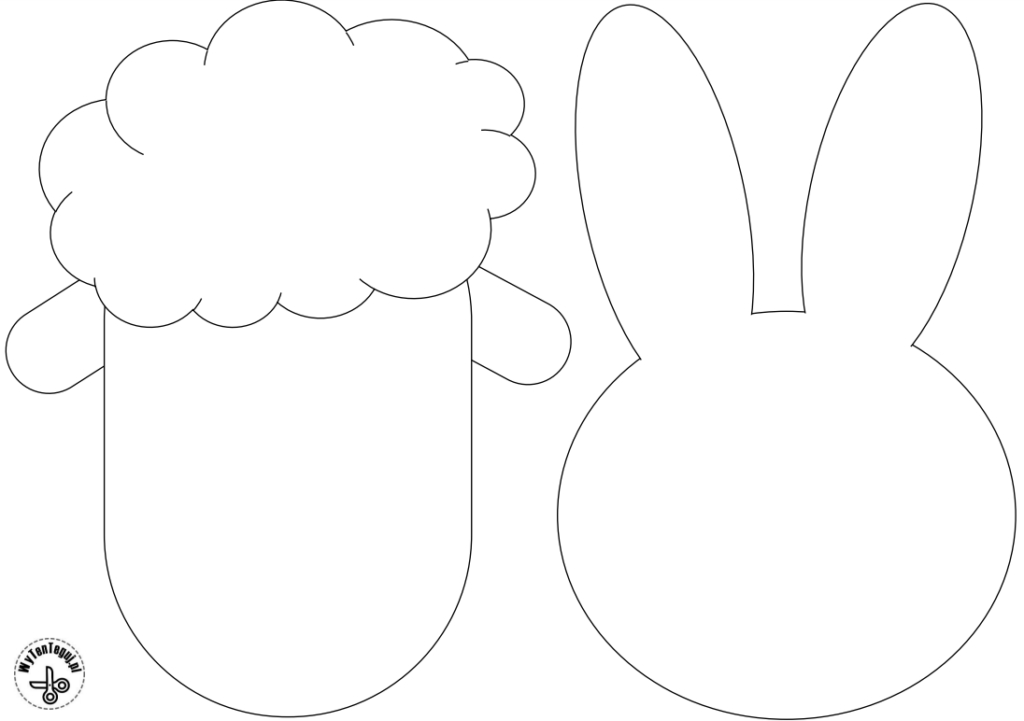
- Rabbit and sheep face
How to make a lunch bag bunny and sheep
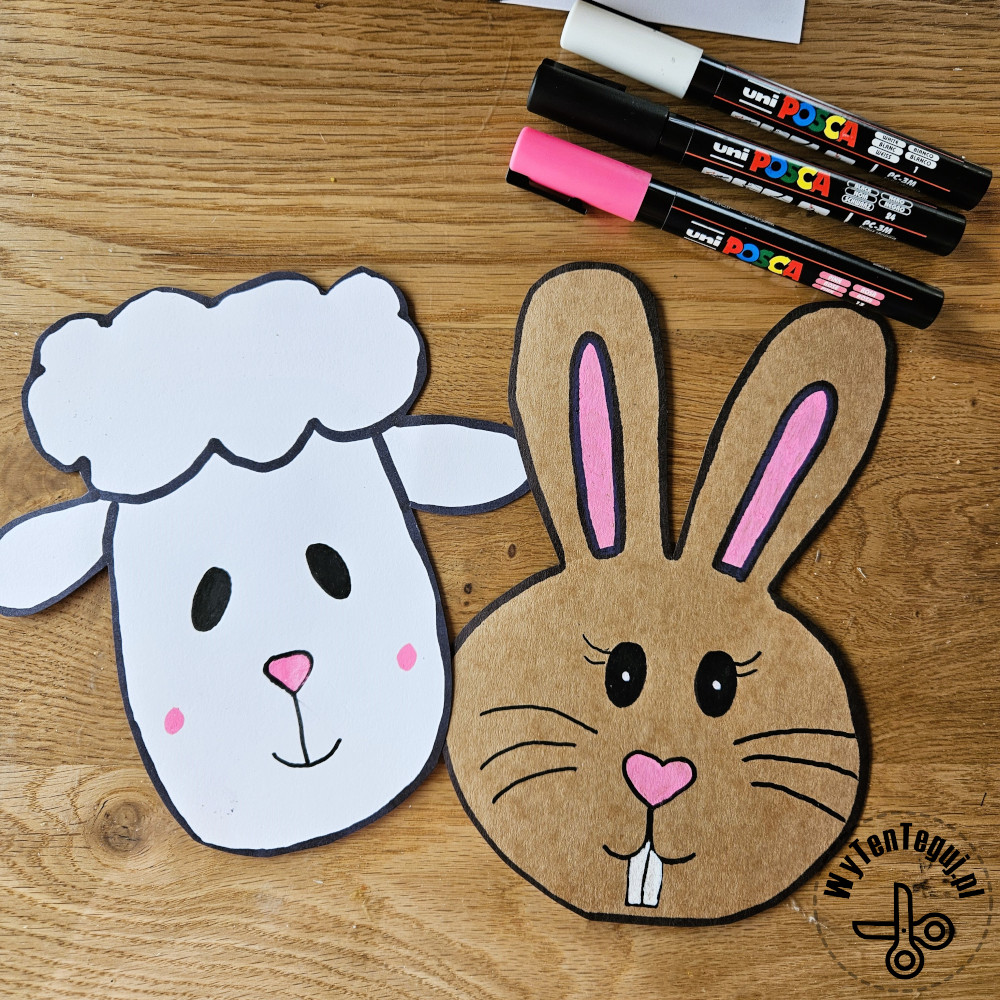
We started by creating the faces of the rabbit and sheep. I sketched them quickly, and then my daughters and I improved and colored them. To make your tasks easier, I have prepared simple templates for face shapes 🙂 We used acrylic markers, the same ones we use to paint stones 🙂
Then we moved on to making stars from the bags according to the Christmas recipe we remind you below. This time we did not cut out patterns on the edges, but made a rounded single or double shape at the tip.
How to make paper bag snowflakes
One star requires about 8-9 bags, smaller ones need 9, larger ones 8 are enough. It also depends on how much the tips are cut, the more they are, the more they spread and fewer bags are needed.
To make a paper bag snowflake should:
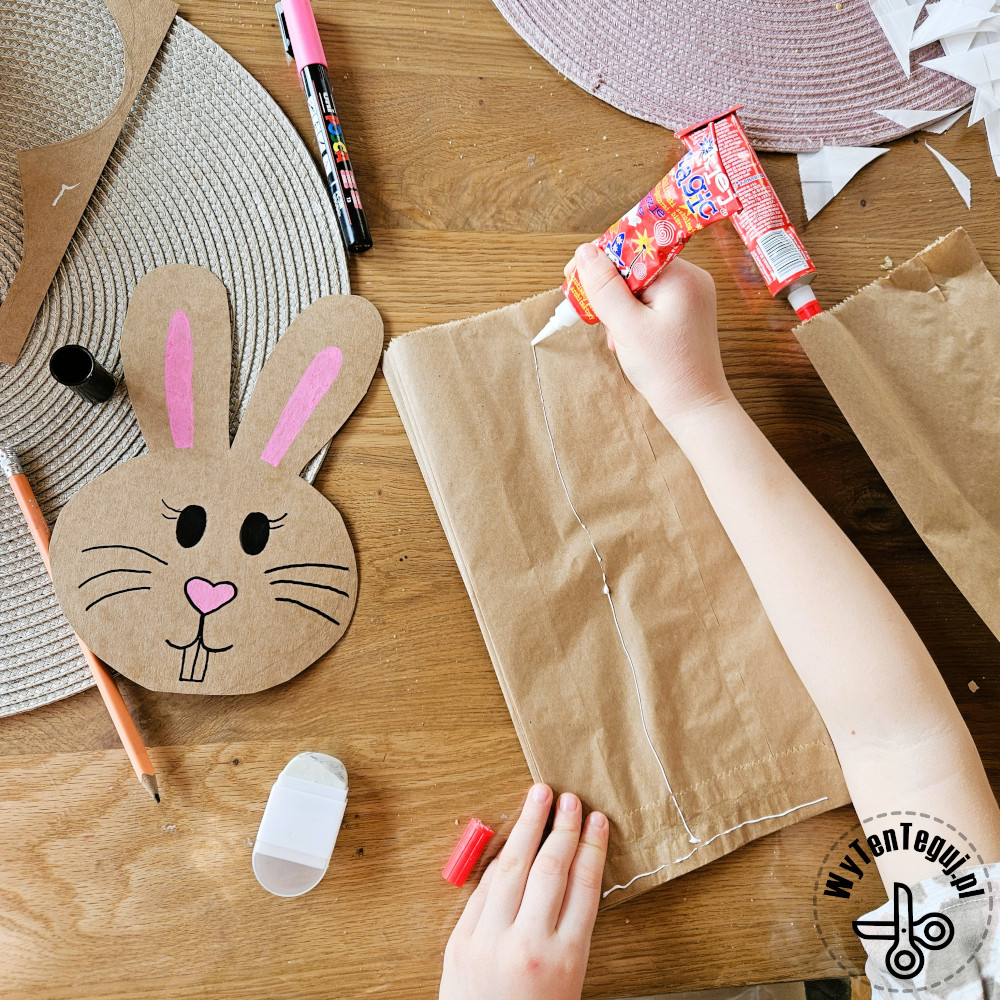
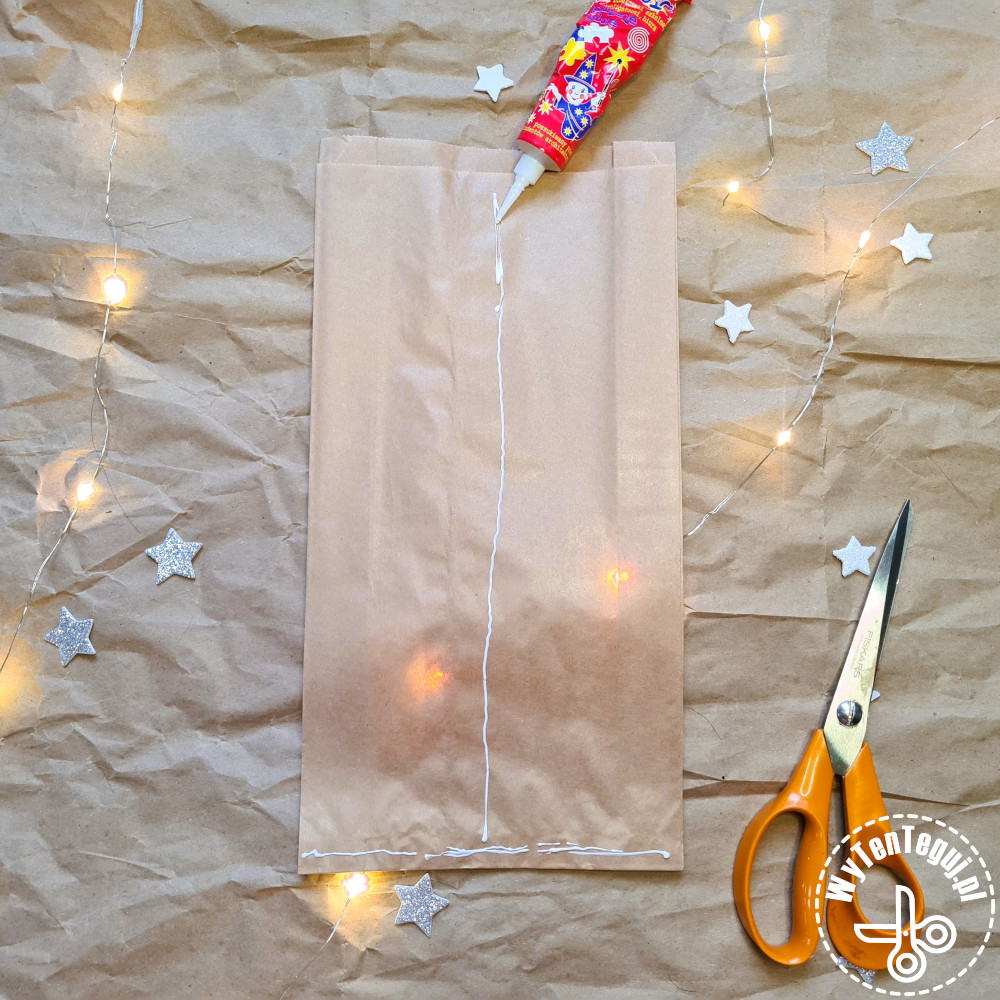
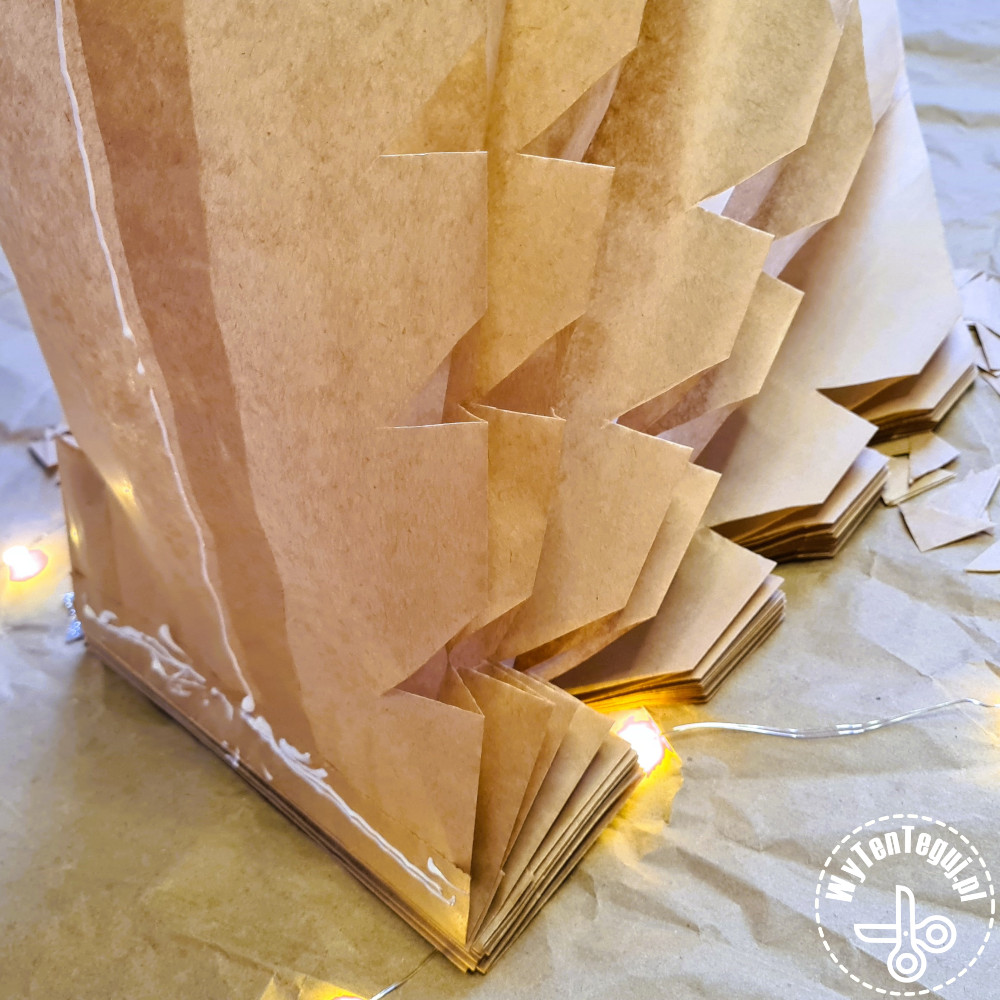
- On the first bag, apply glue in the middle along the entire length and on the lower edge.
- Place another bag on top.
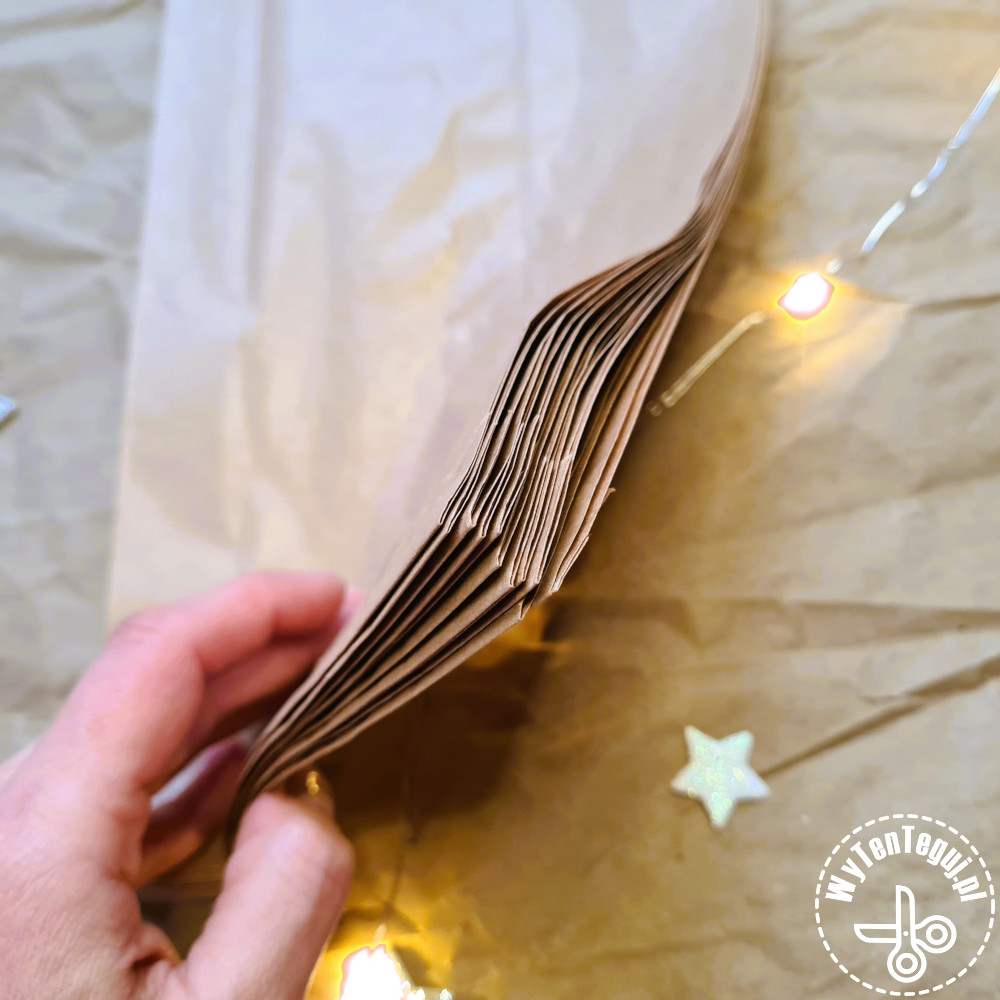
- Repeat the application of glue until the last bag, leave it unglued for now
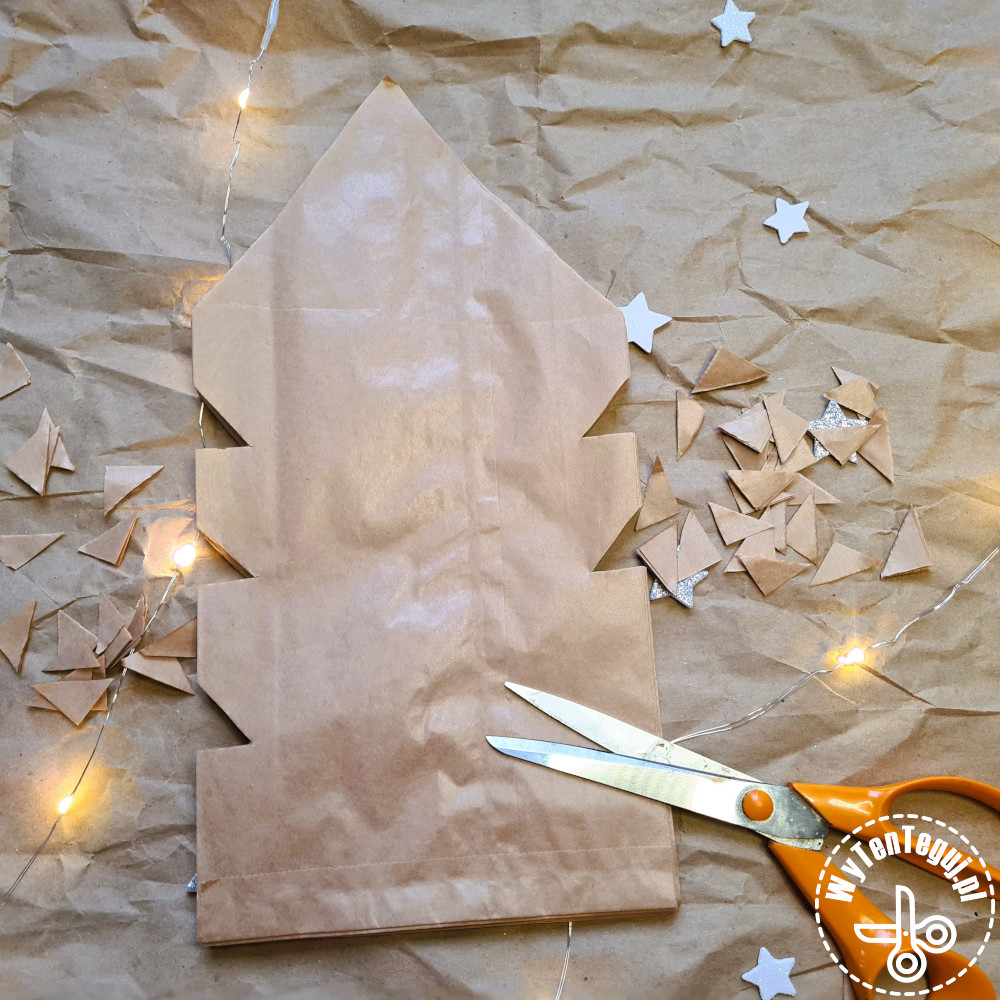
- In the case of Easter ones, you don’t need to cut out the pattern on the sides.
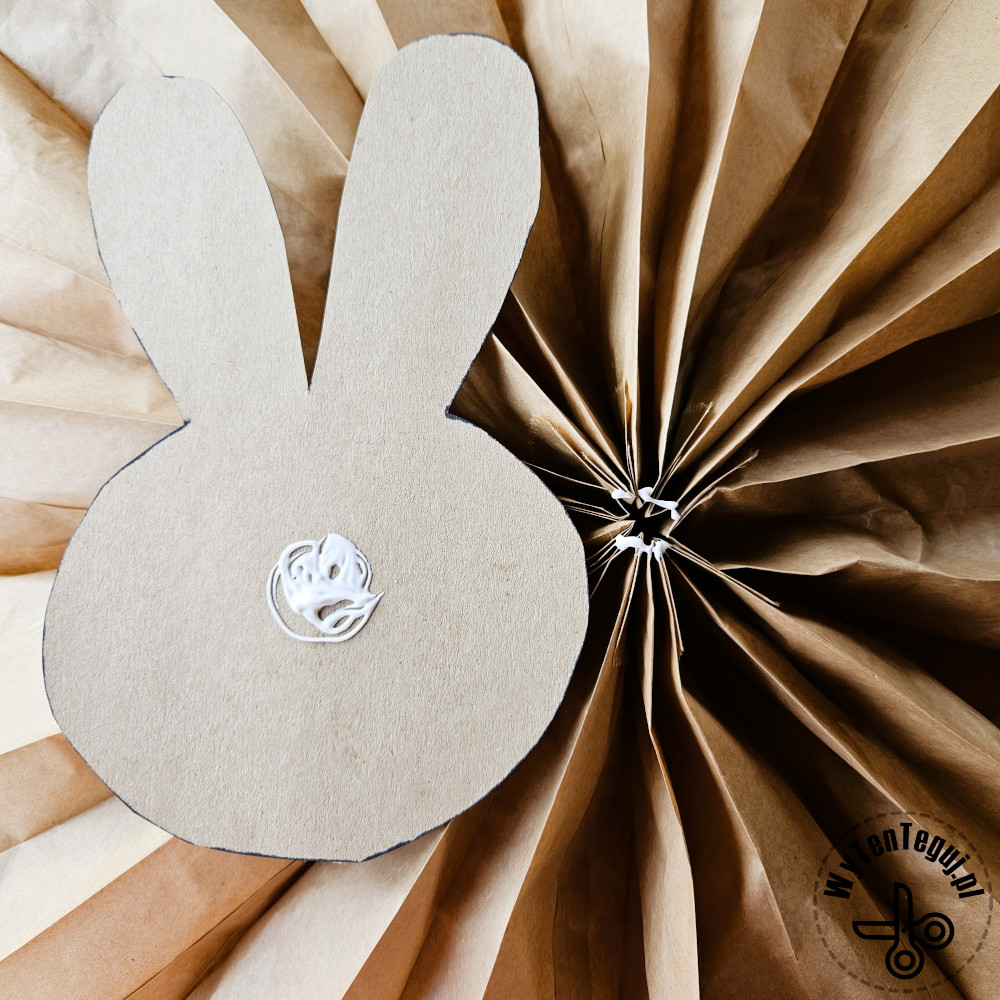
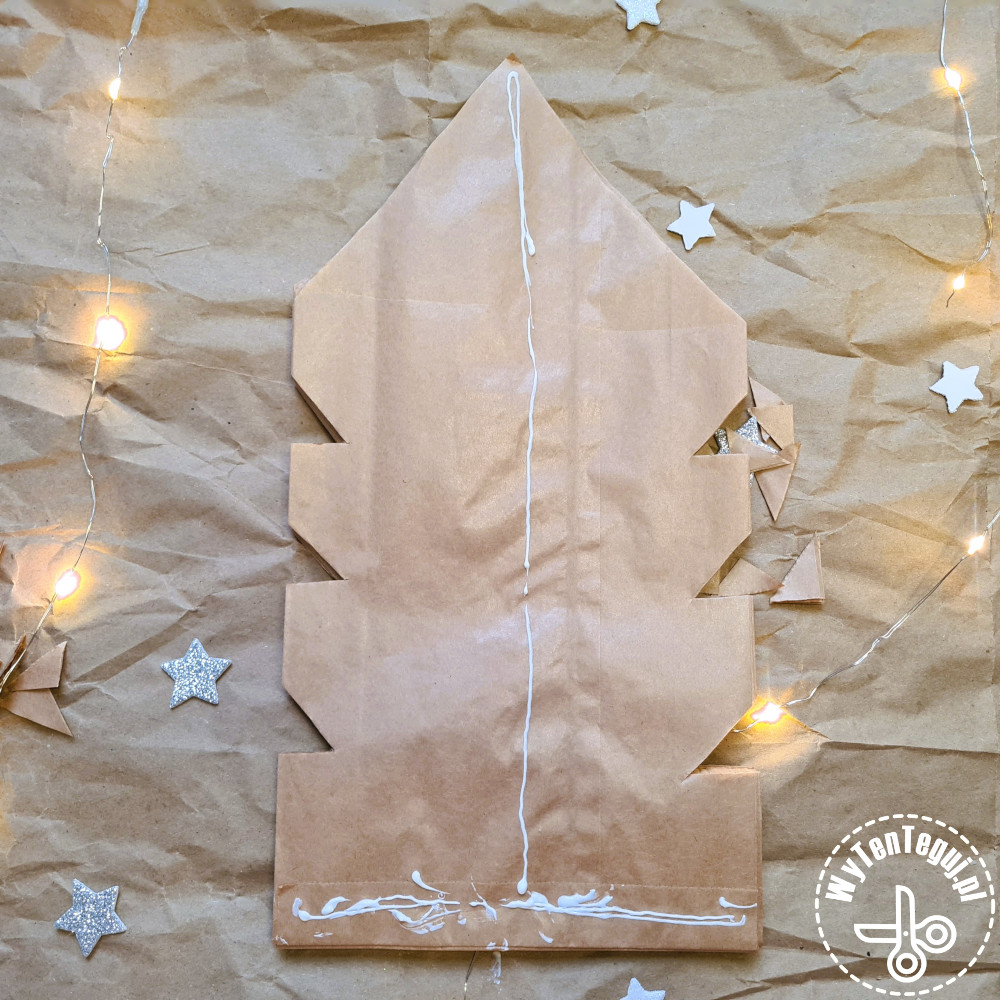
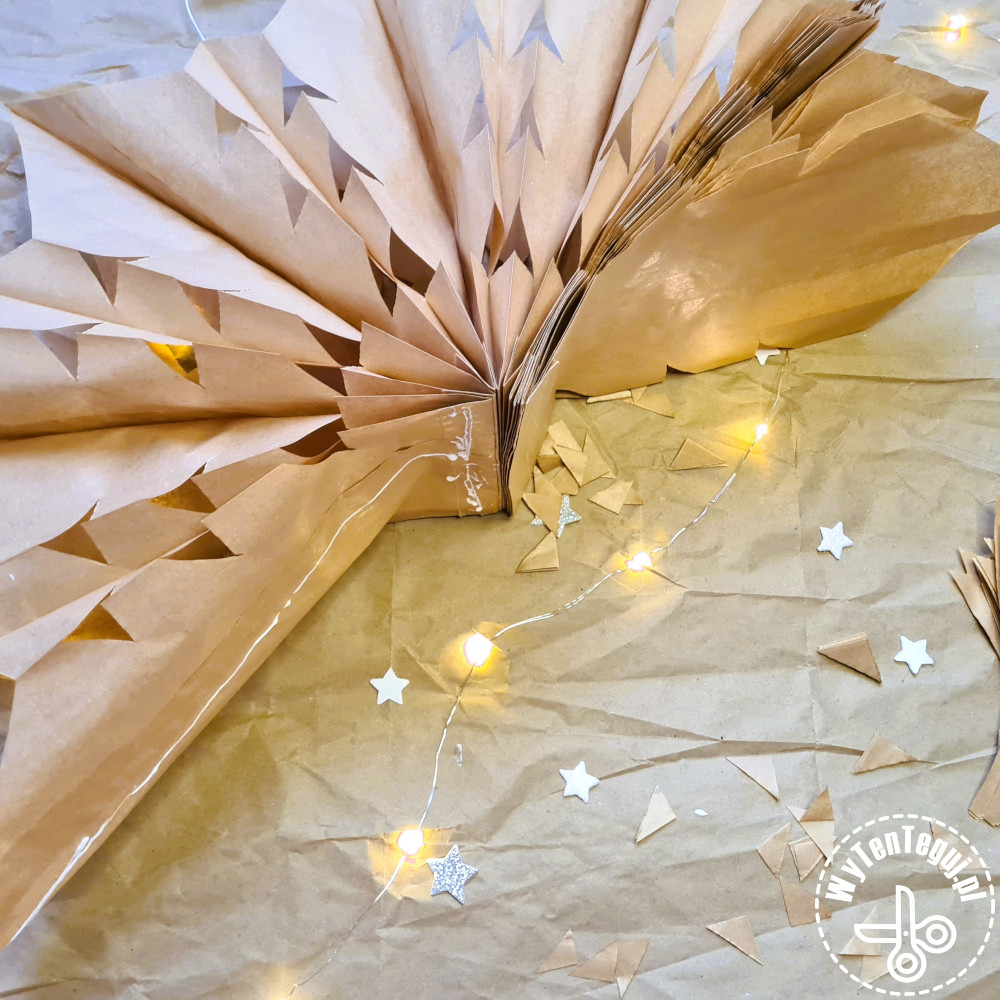
- Now apply glue on the last bag.
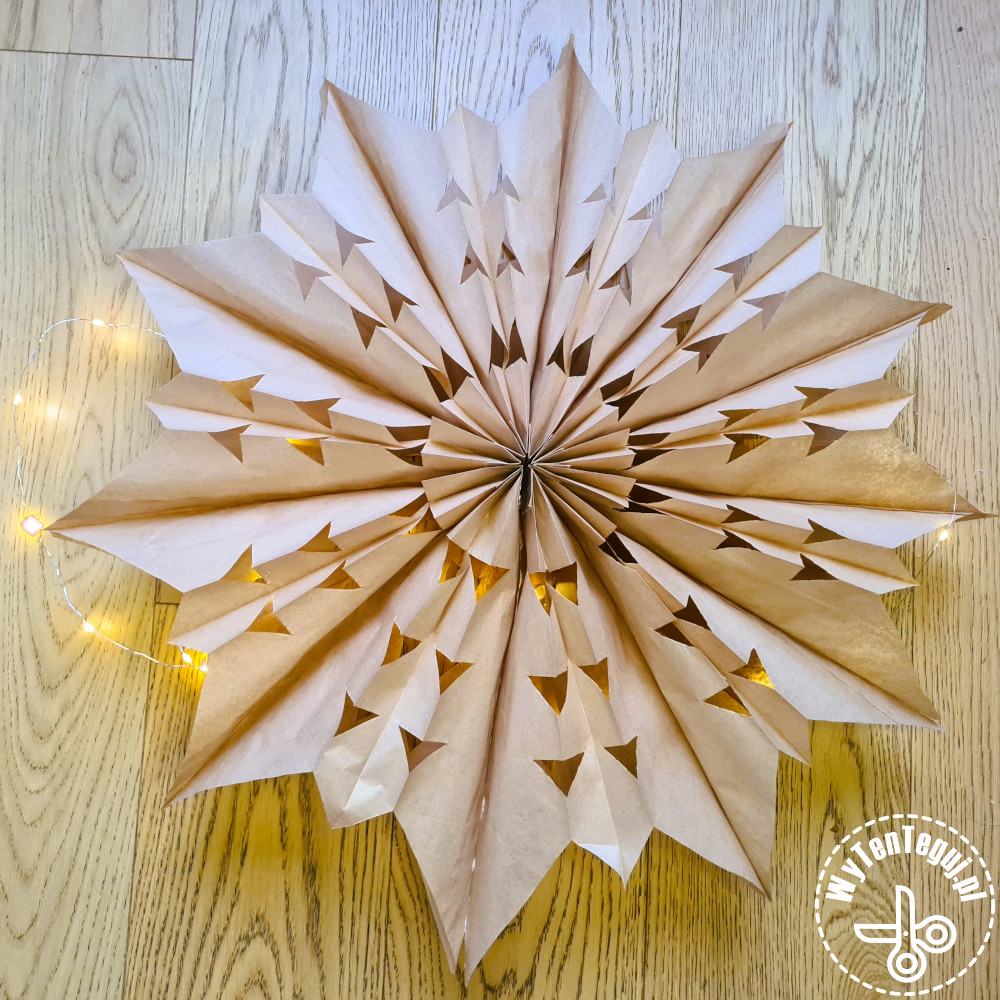
- Unfold the star and press the glued layer of the last bag with the first bag.
- Cut off the end of the bags, I think the animals look best with a rounded end.
Check out our ideas
🐣More Easter DIY projects are in our Easter section.
🐣For more iron beads patterns and inspirations check our Iron beads section.
🐣If you are looking for more creative activities for kids check our DIY with kids section.
🐣If you look for DIY cards ideas check our Cards section.
Follow us in social media
If you want to be up-to-date with our newest posts, like our Facebook fanpage, follow us on Instagram, YouTube and Pinterest.
Nothing gives more satisfaction than doing something yourself. I haven’t even thought about DIY as my hobby, I’ve just done different “projects” when it was needed. Sometimes it’s a disguise for the Masquerade Party in kindergarten. Another time, cutting out the pumpkin and baking the witch’s fingers for Haloween. Or simply organizing holiday souvenirs. Now I decided to share my realizations with you. Let’s go it together!
