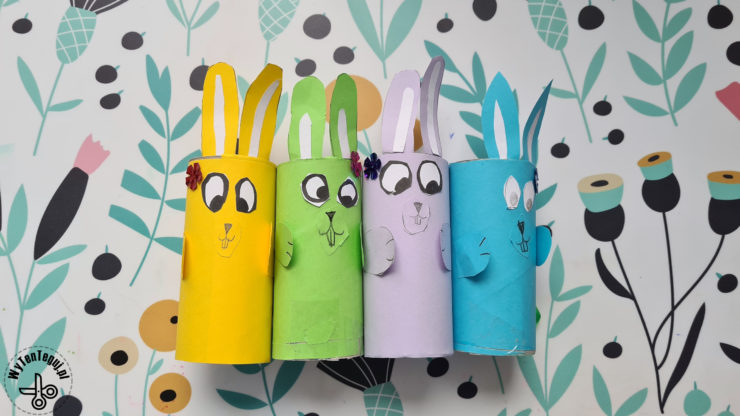
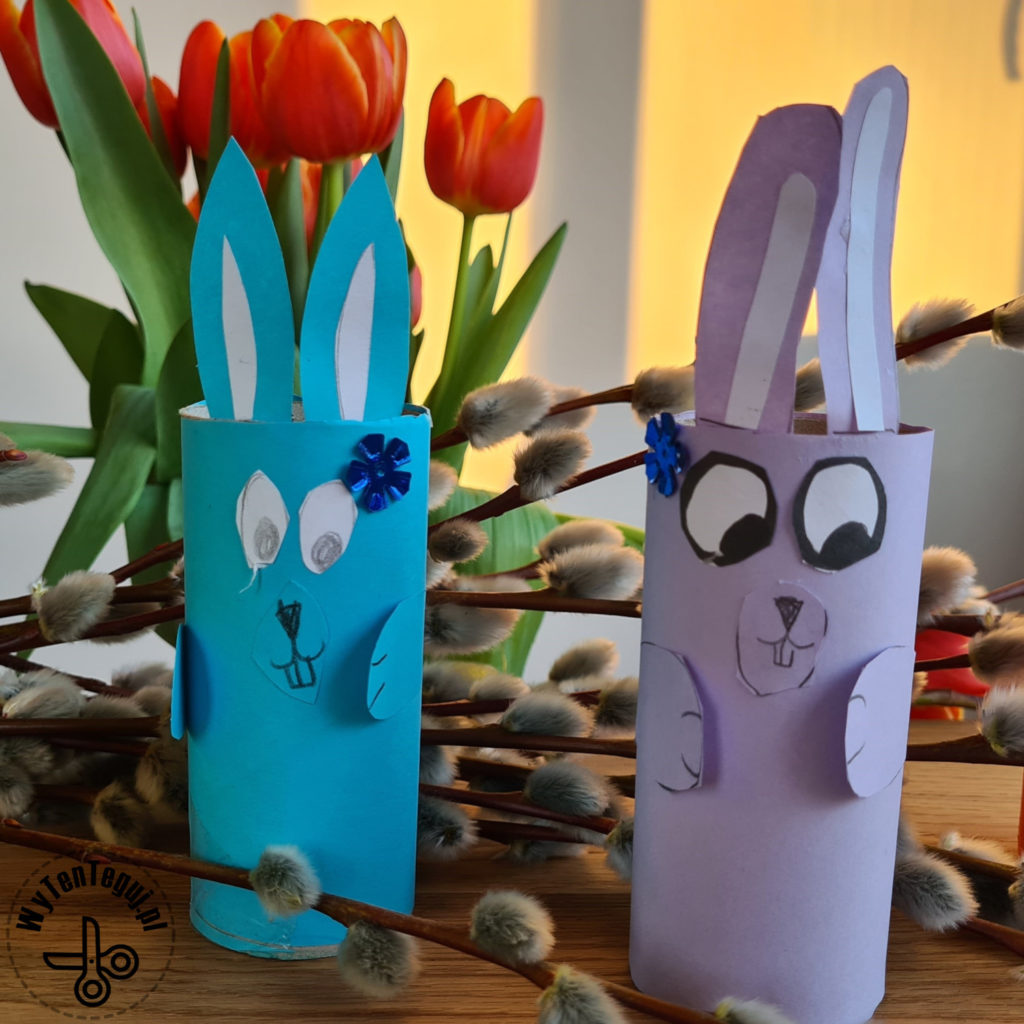
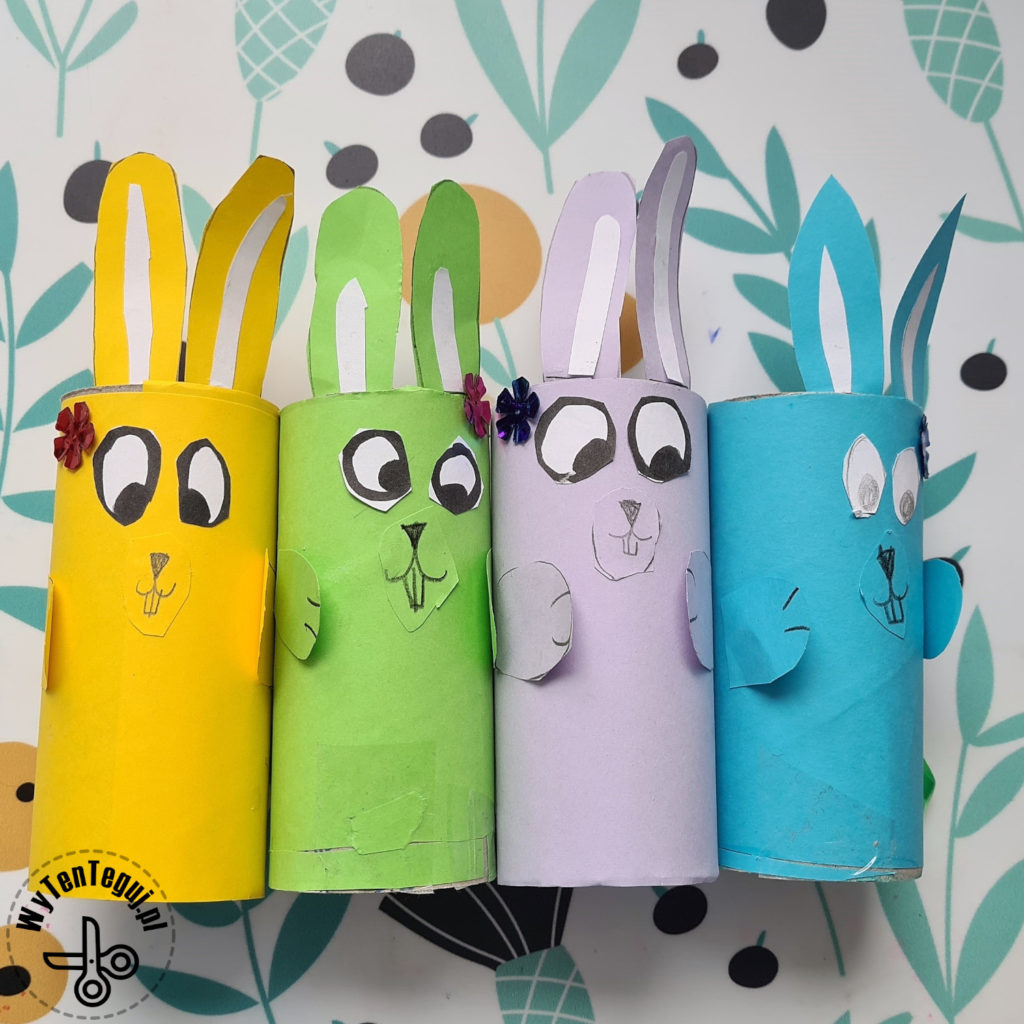
Use paper rolls and make Easter bunnies with your kids. It is quite simple, and a whole flock of rabbits will be perfect as an Easter decoration. Older preschoolers should be able to cope on their own, and younger ones may need a little more help. Our first paper roll bunny quickly gained companions 🙂
![]() Polska wersja: Królik z rolki po papierze
Polska wersja: Królik z rolki po papierze
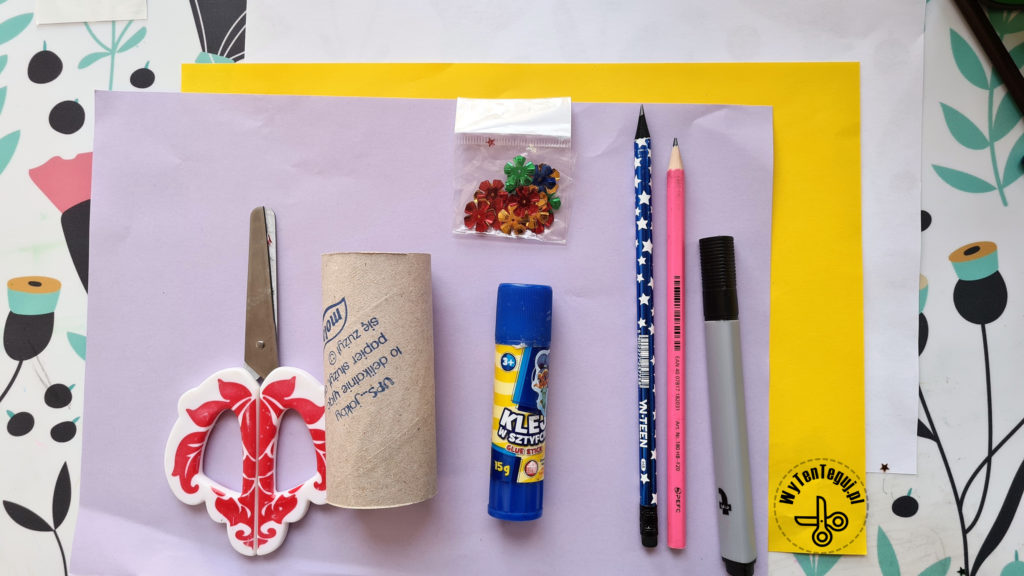
Materials
- Paper rolls
- Color paper
- White paper
- Scissors
- Glue
- Pencil
- Marker
- Additional accessories may be useful for decorations: a flower and a pom pom
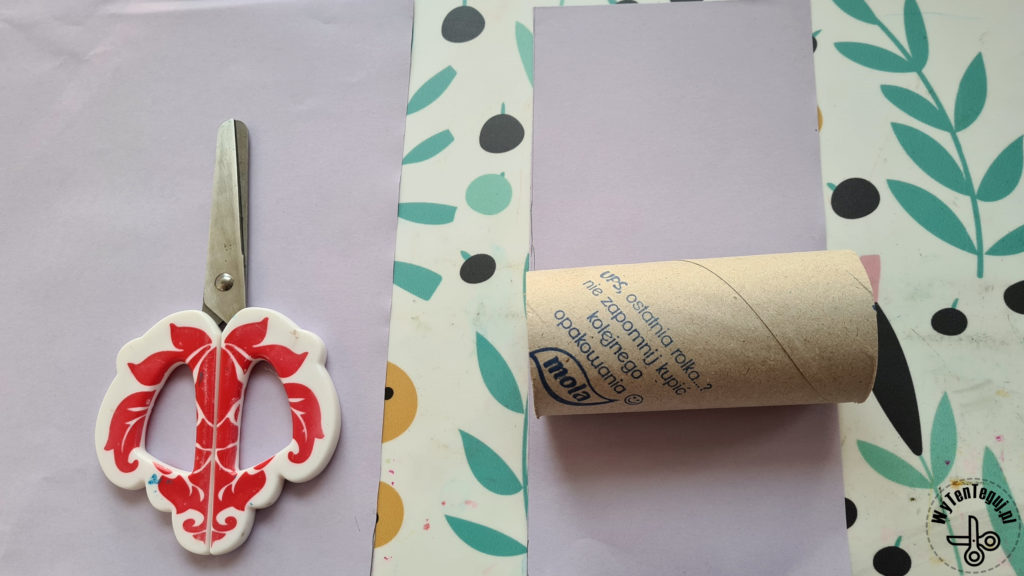
How to make paper roll bunny?
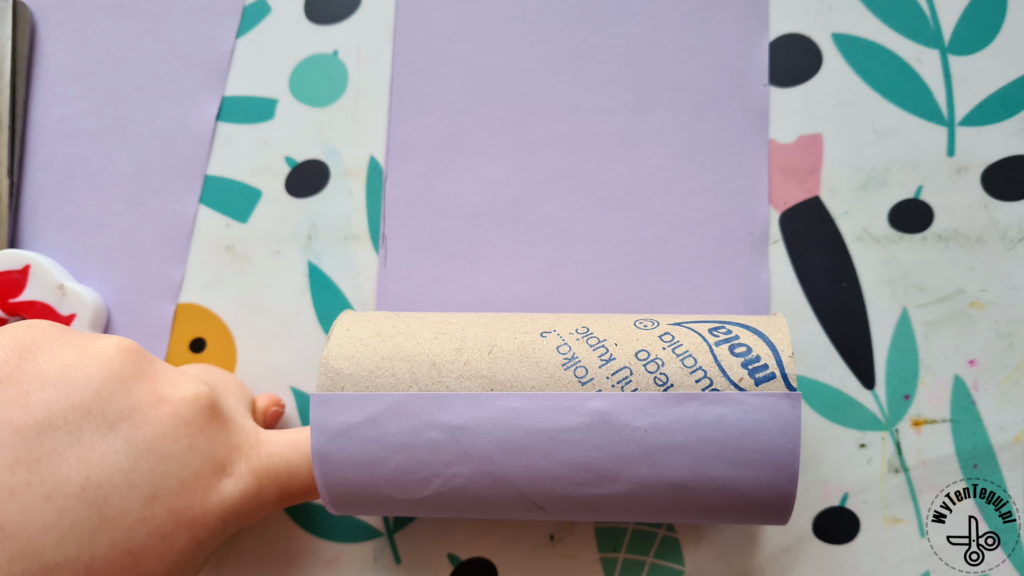
The first step is to prepare a color paper strip. To do this, put a roll on top, mark the width, draw a line and cut out.
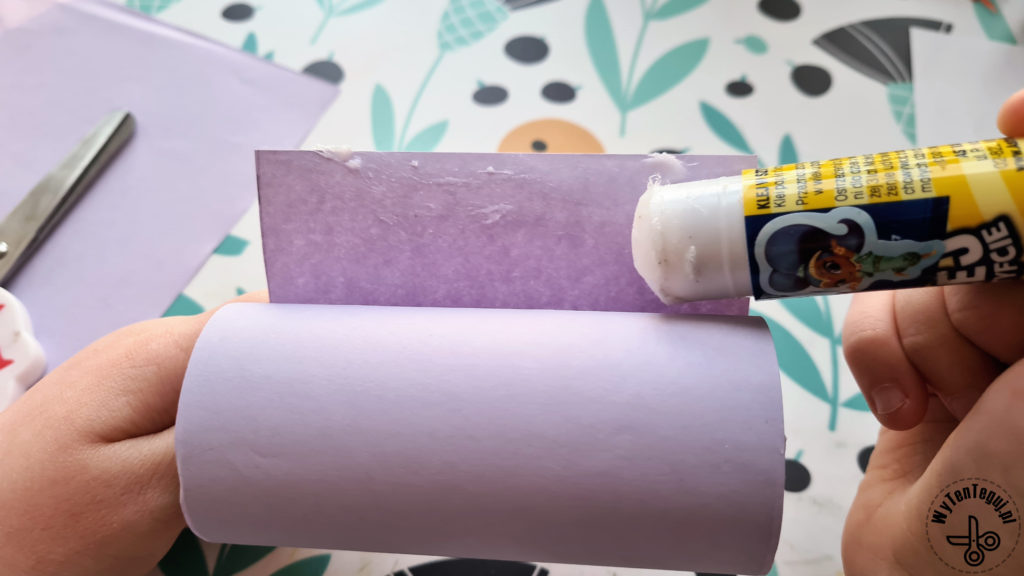
Then stick the color strip on the paper roll. Apply glue at the beginning and end of the color paper.
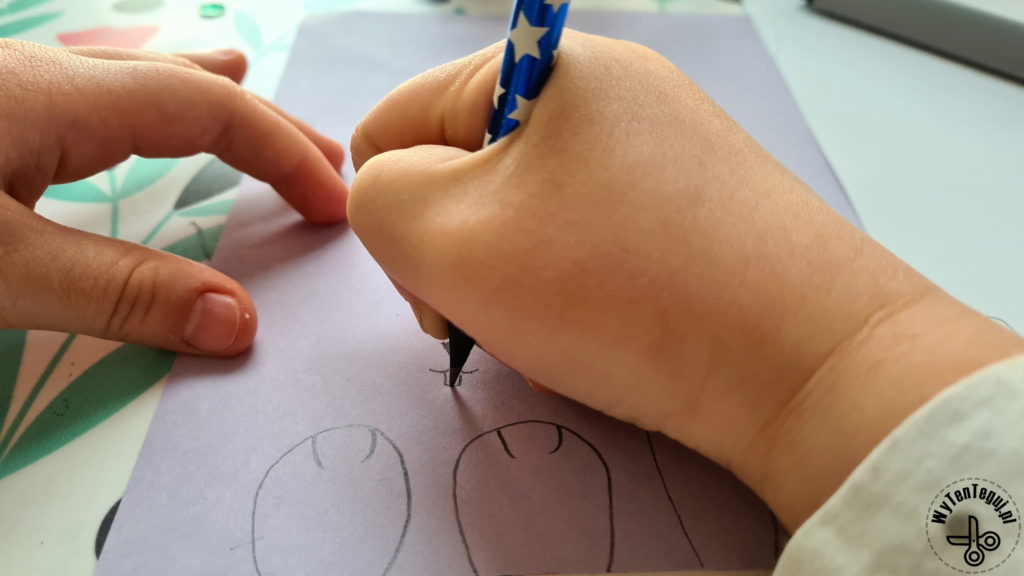
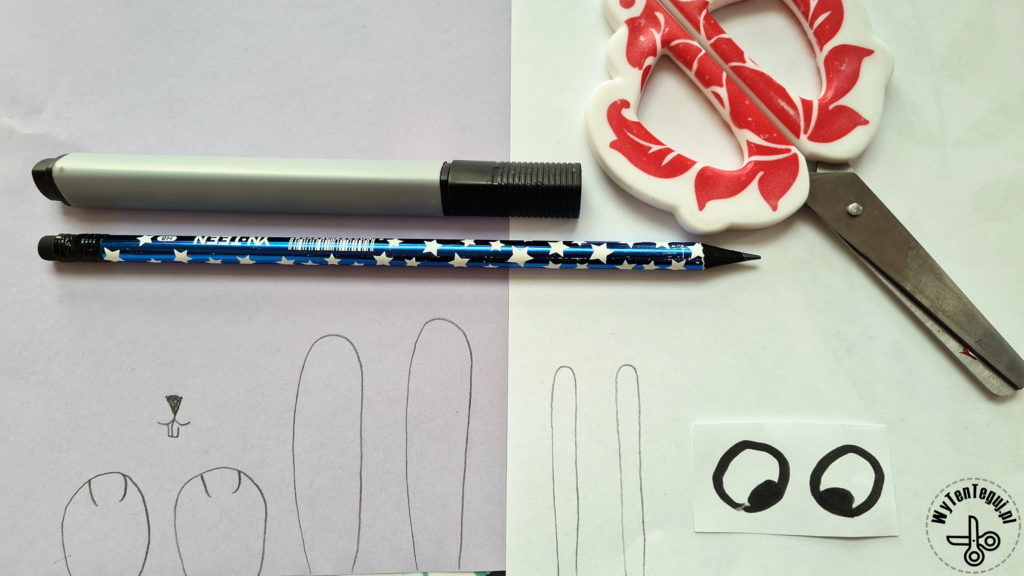
The next step is to prepare the bunny’s details: ears, eyes, mouth and feet. First draw them, then cut and glue.
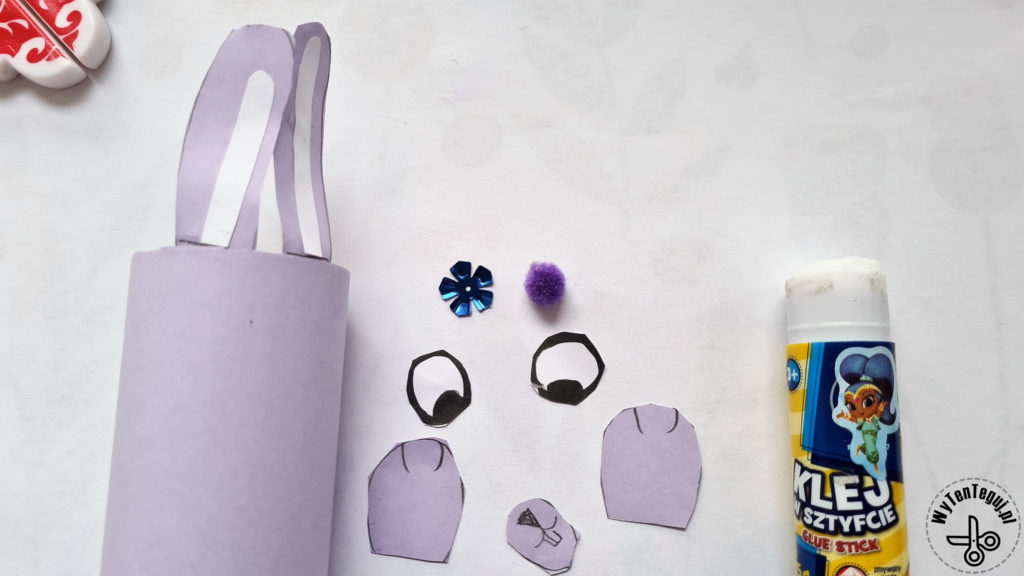
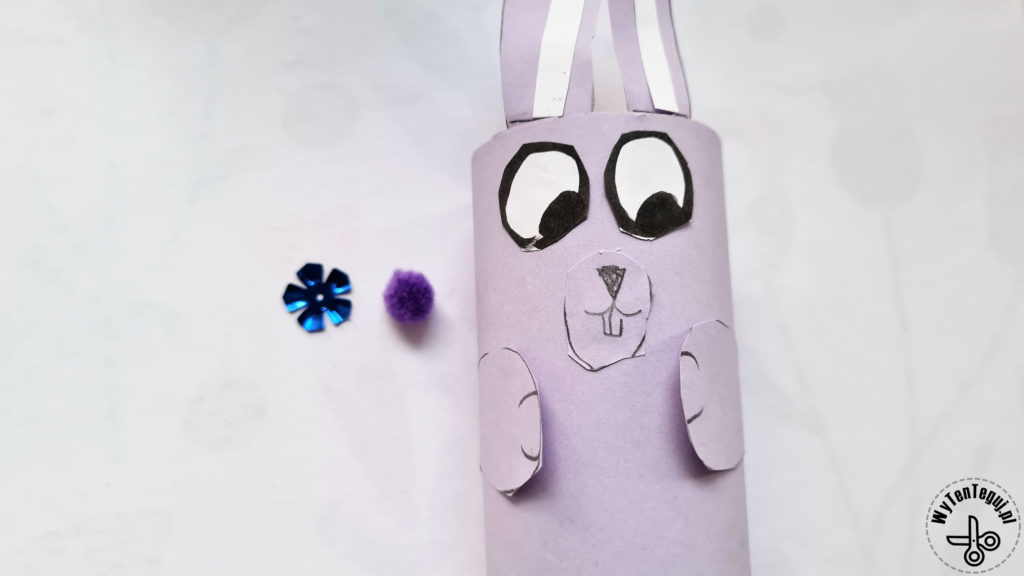
In addition, you can decorate the bunny by sticking a pom pom tail and a flower near the ear.
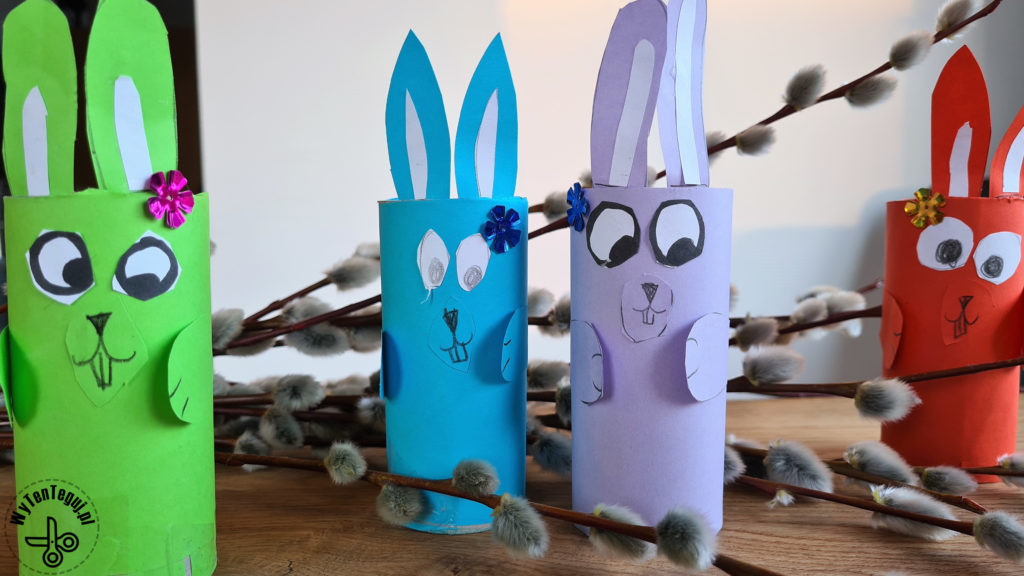
The paper roll bunny is ready and has company too 🙂
Check out our ideas
If you are looking for more ideas for playing with children, then you will find them in the DIY with children section.
You can find other Easter inspirations along with the instructions in the Easter section.
Follow us in social media
If you want to be up-to-date with our newest posts, like our Facebook fanpage, follow us on Instagram and Pinterest.
Nothing gives more satisfaction than doing something yourself. I haven’t even thought about DIY as my hobby, I’ve just done different “projects” when it was needed. Sometimes it’s a disguise for the Masquerade Party in kindergarten. Another time, cutting out the pumpkin and baking the witch’s fingers for Haloween. Or simply organizing holiday souvenirs. Now I decided to share my realizations with you. Let’s go it together!

One thought on “How to make paper roll bunny”