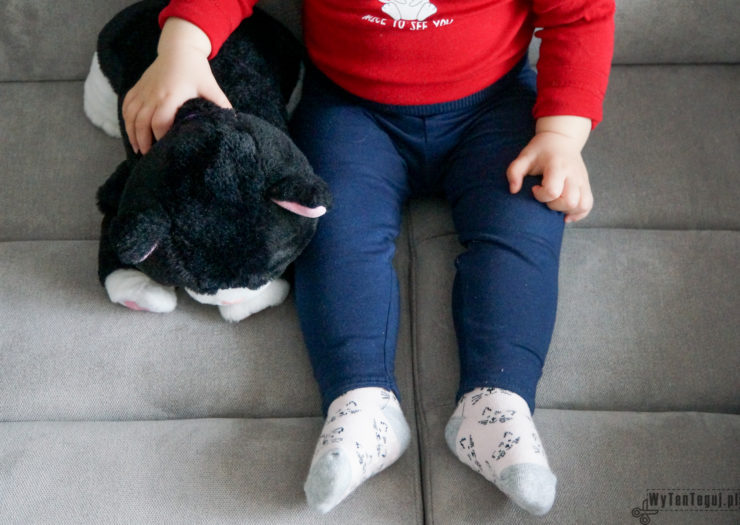
It will be something easy and pleasant today and my post is particularly directed to beginner sewers – tutorial about sewing leggings! This kind of pants were my first sewing project next to newborn baby harem pants and minky blanket. Leggings are easy and they don’t require too much effort. That is why you can sew them very quick and without any difficulties.
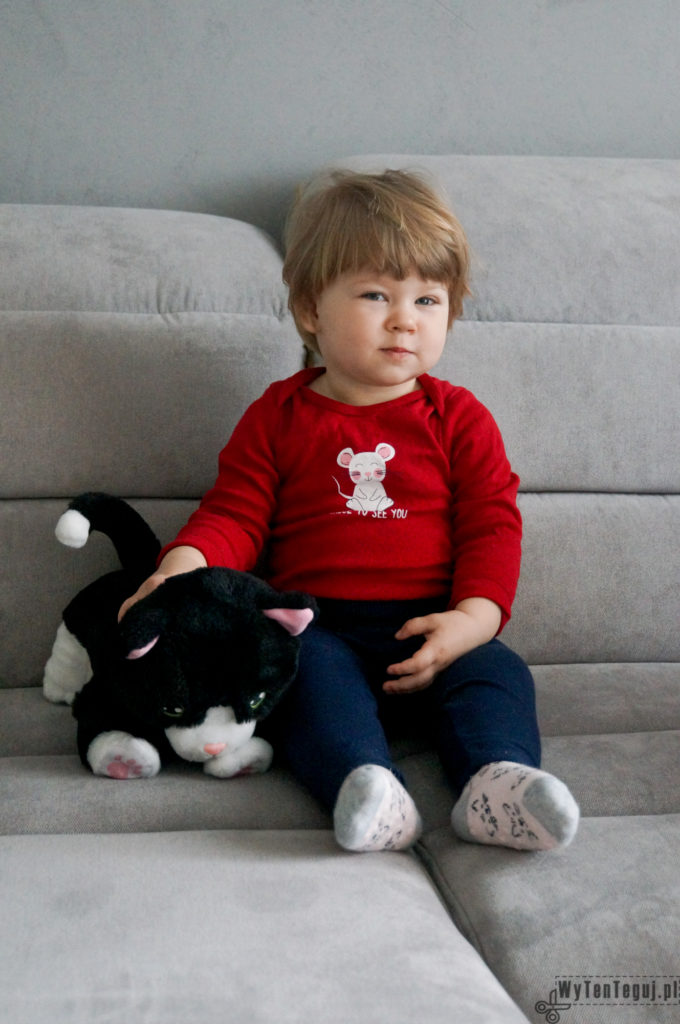
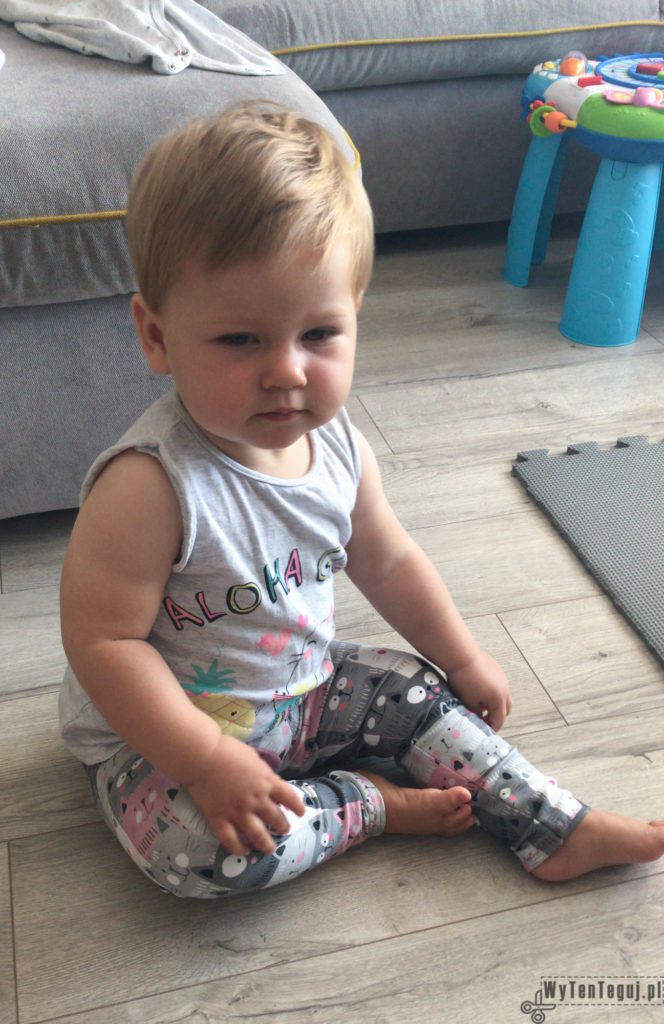
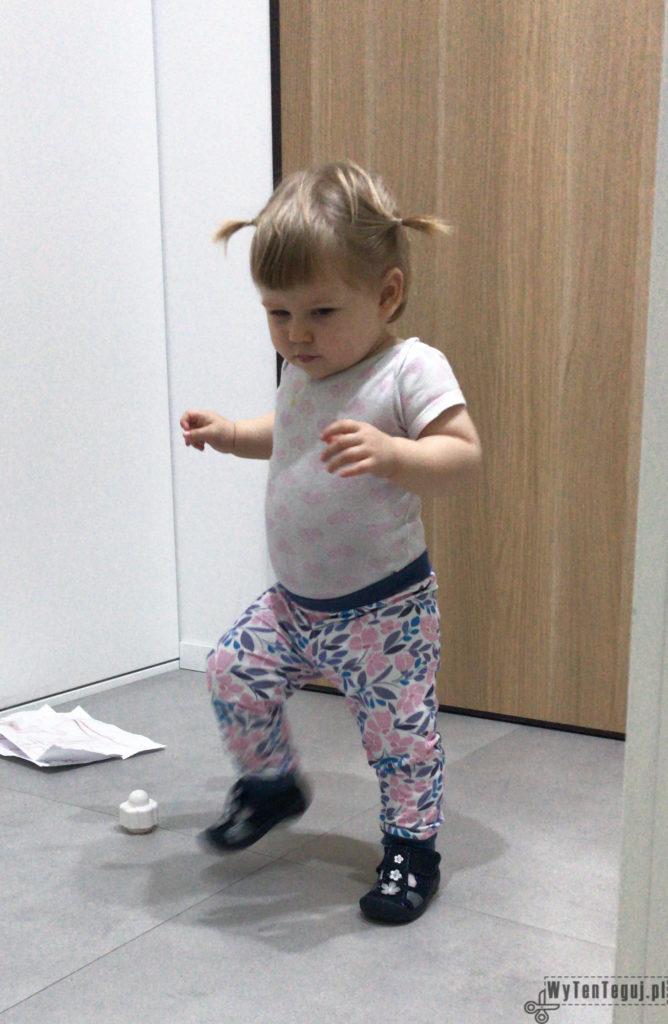
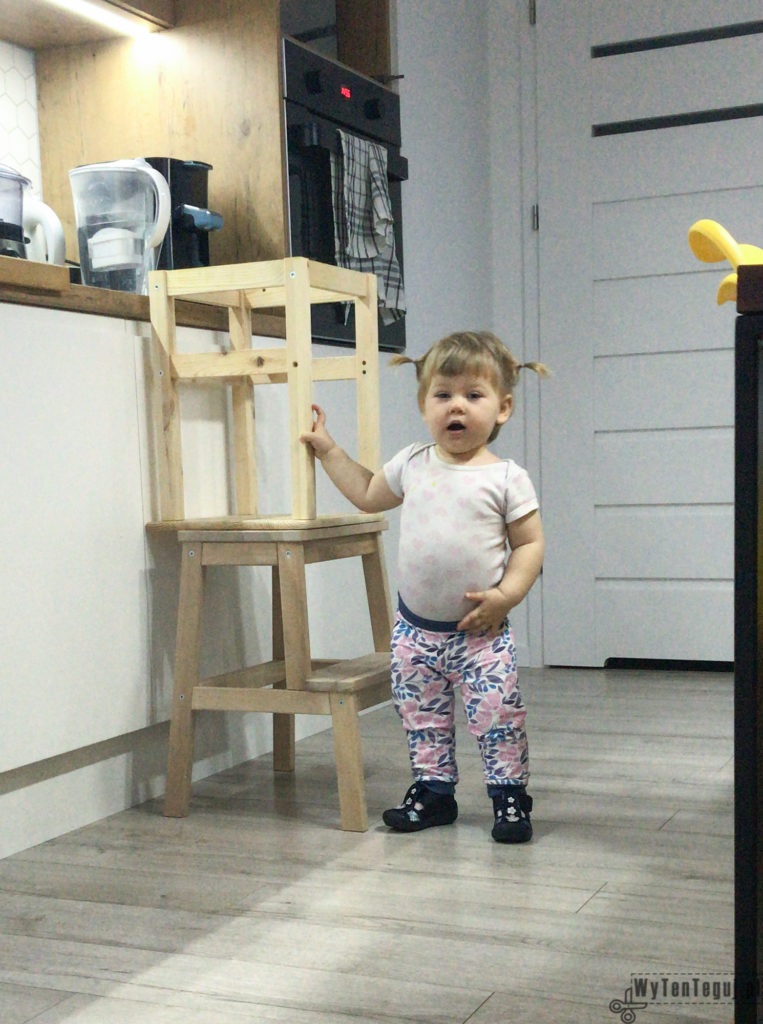
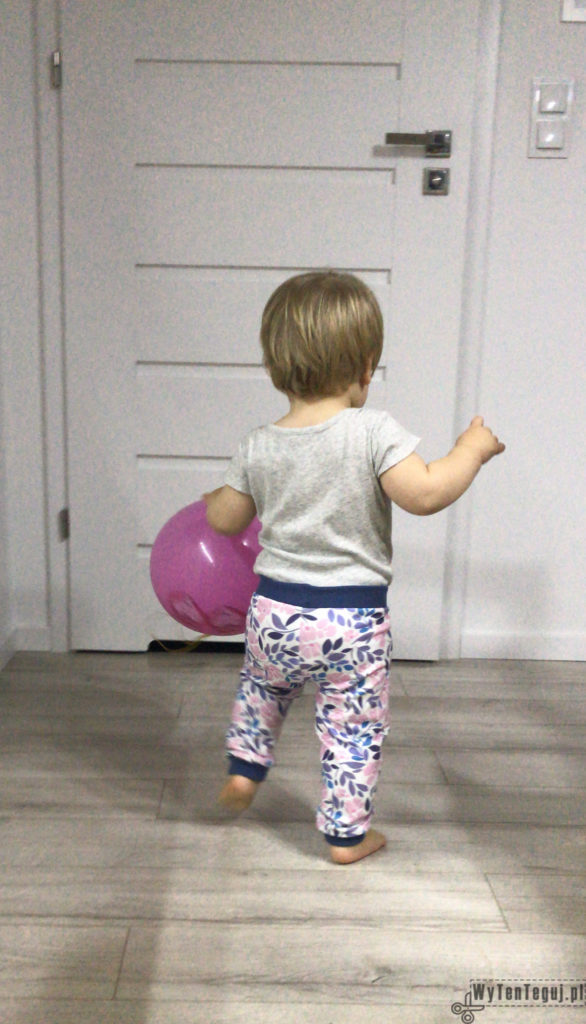
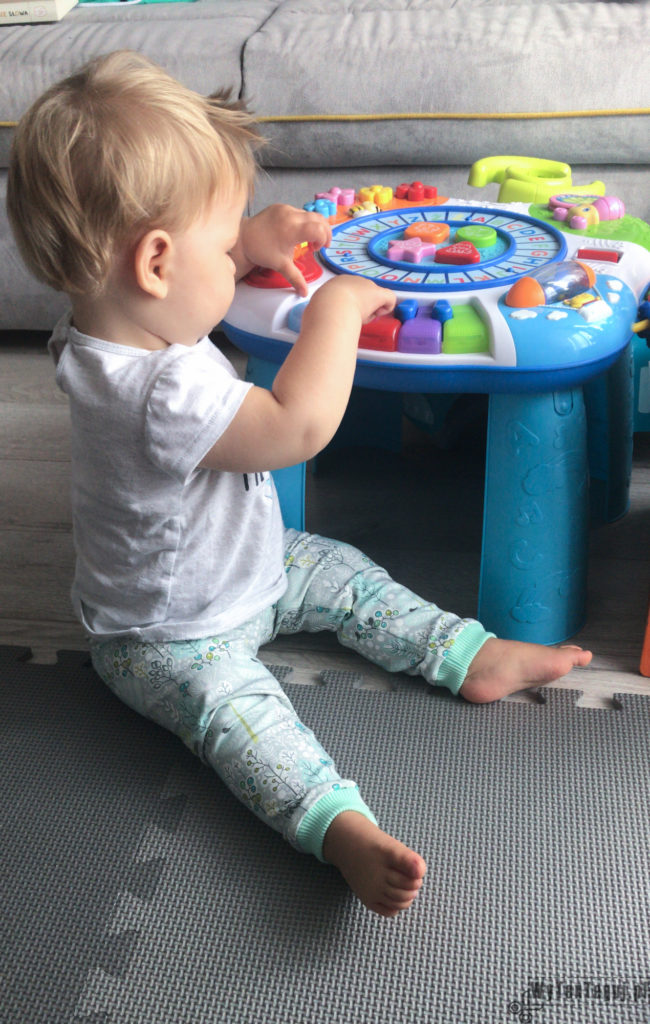
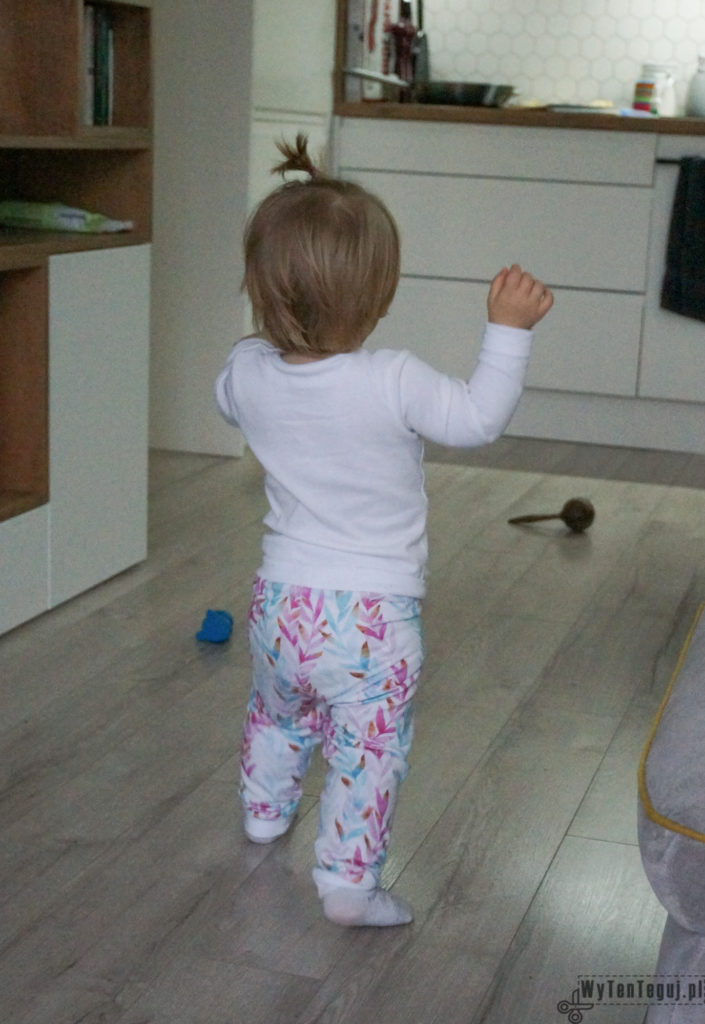
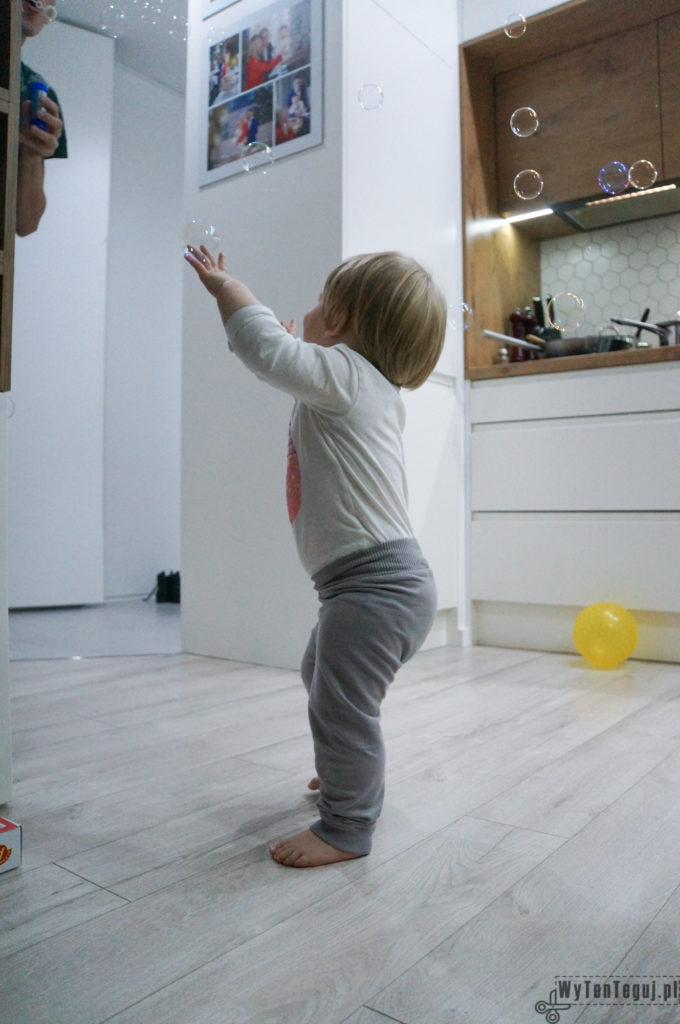
At the bottom of this page I’ve posted a photo gallery, that I managed to pick out from the depths of my disk. It presents leggings sewed by me based on attached free pattern.
More information about the types of fabrics, that I’m using and online shops, that I recommend you can find here.
I encourage you to visit one of the best sewing facebook group SZYCIE-WYKROJE-DIY (unfortunately for polish speaking readers). This is a mine of knowledge about sewing and you can ask questions and get help from more advanced in sewing.
You’ll need
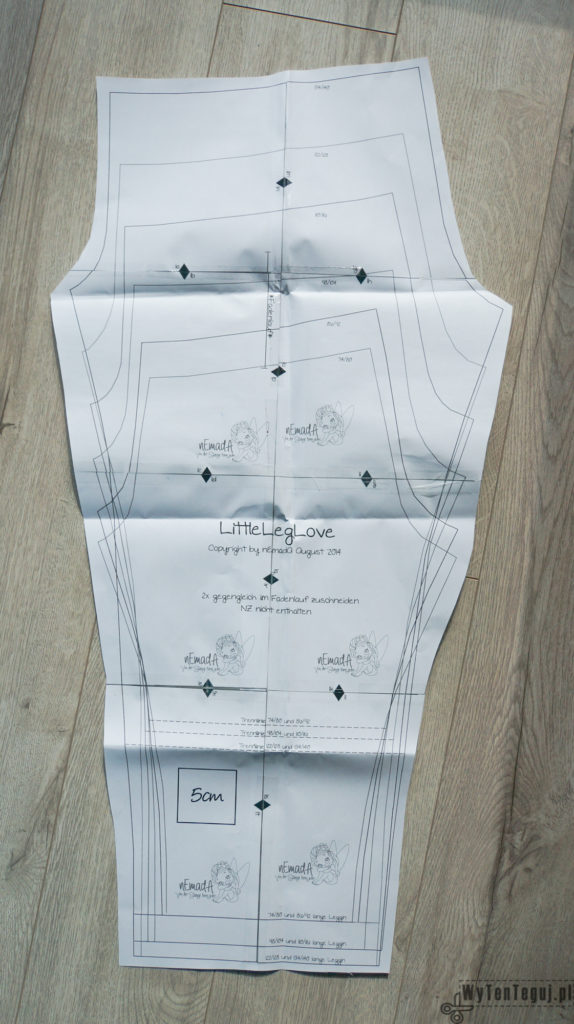
- free pattern for leggings from nEmadA LittleLegLove
- looped back french terry – quantity depends on chosen leggings size, the author of the sewing pattern indicates below proportions:
- s. 74/80, 59 cm
- s. 86/92, 62 cm
- s. 98/104, 68 cm
- s. 110/116, 76 cm
- s. 122/128, 82 cm
- s. 134/140, 91 cm
- ribbing
How to do it?
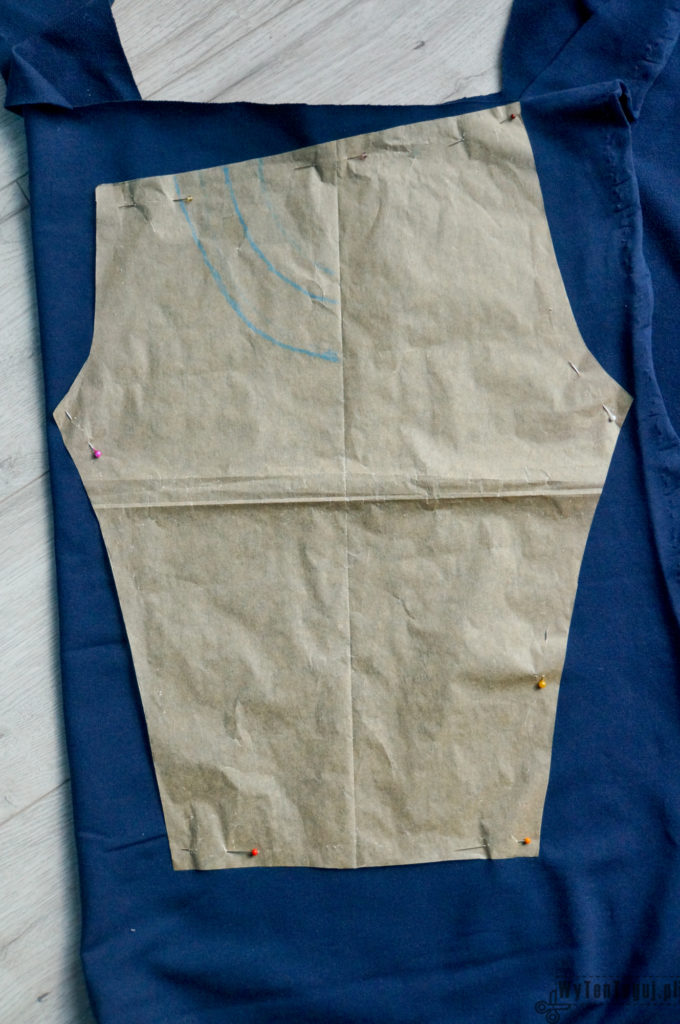
- Firstly print and tape all pattern sheets together. Then trace contours of chosen size on transparent paper. Secondly pin the pattern to the fabric and cut. Remember to add about 0,7 cm for seam allowance, because this pattern doesn’t include it. You’ll need two pieces of fabric – one cut on the right side of fabric and the other on the left. The best way is to fold the material in such a way that you’ll cut two pieces at a time.
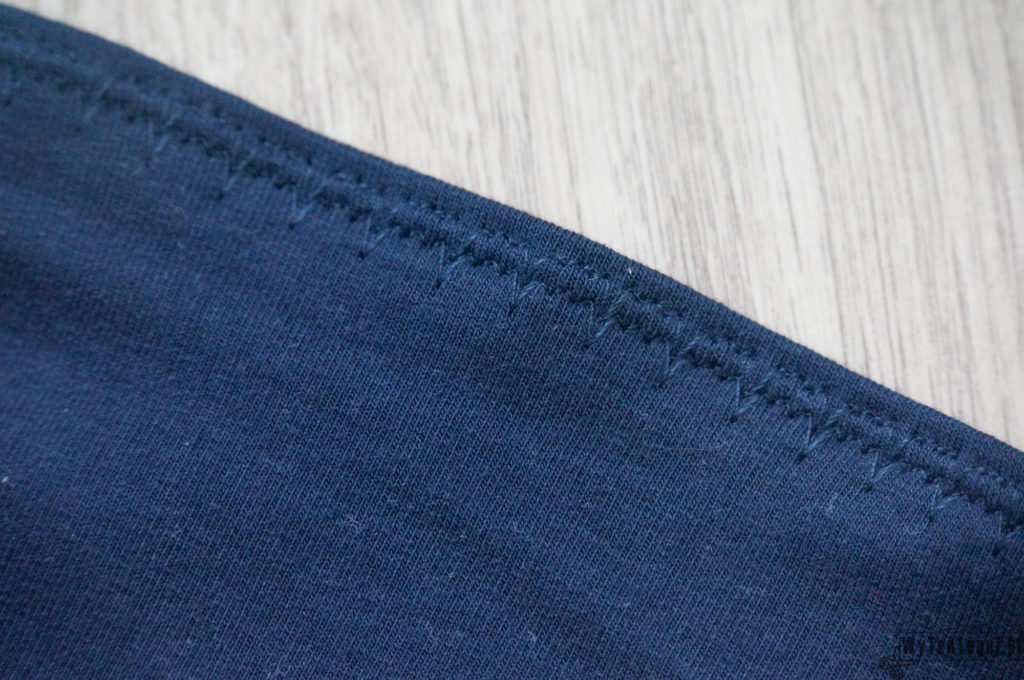
- This pattern is made to fold the bottom of the pantlegs. If you prefer to use ribbing, you have to shorten the pattern. Usually I fold a pantlegs and sew using double needle and decorative stitch.
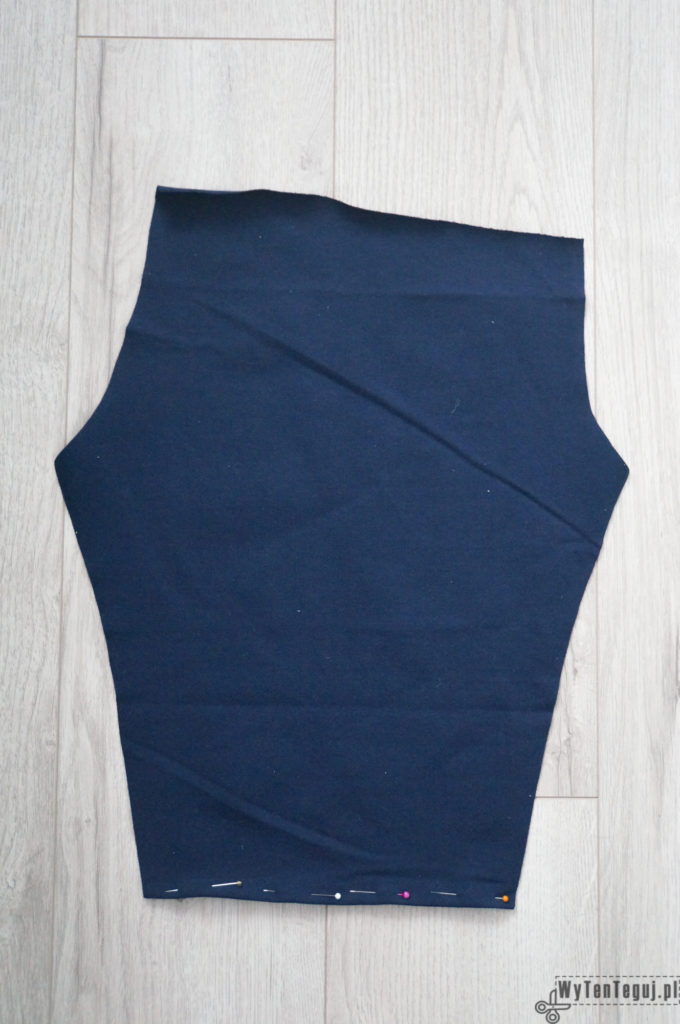
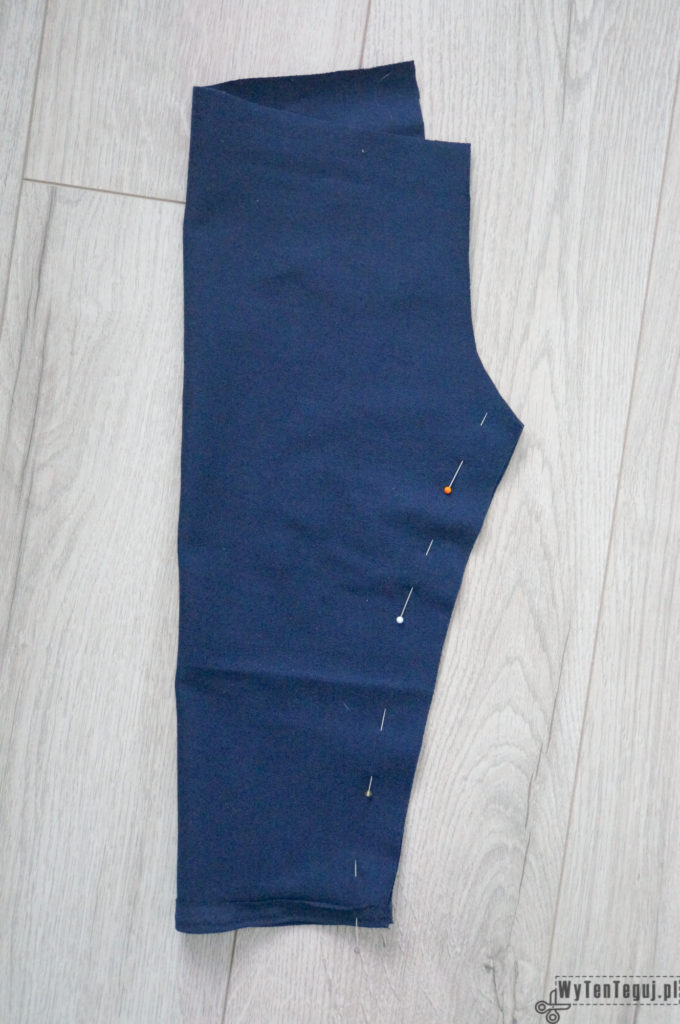
- Afterwards fold each of pantlegs according to the picture below and sew the edge from crotch to the bottom of the pantleg.
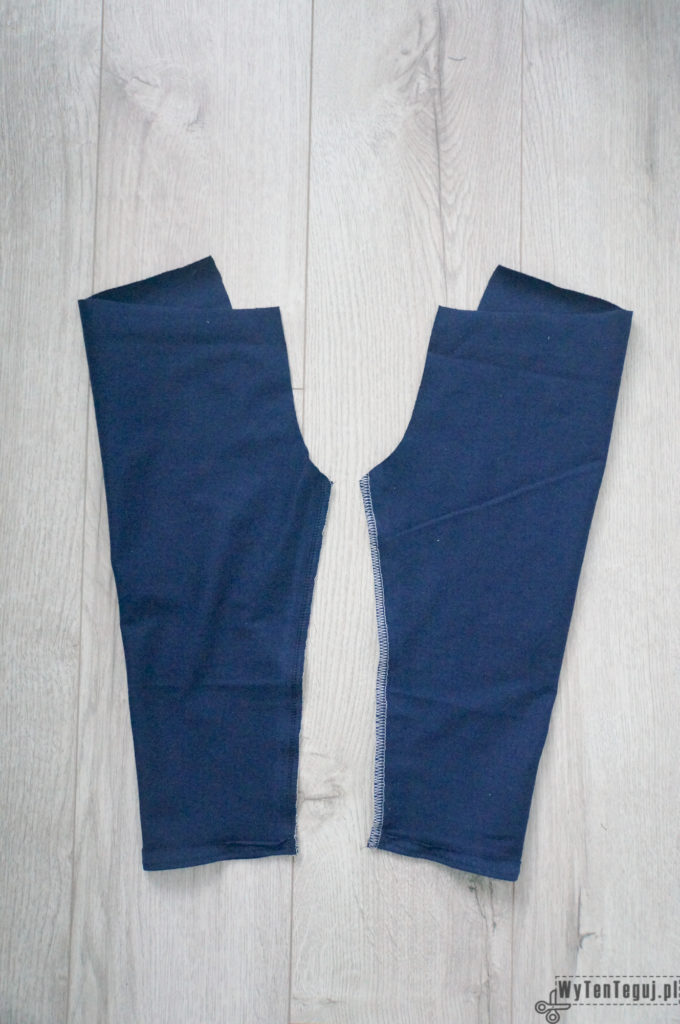
- Then turn one of the pantlegs right side out and put it inside the other. This way right sides of the fabrics are stacked together.
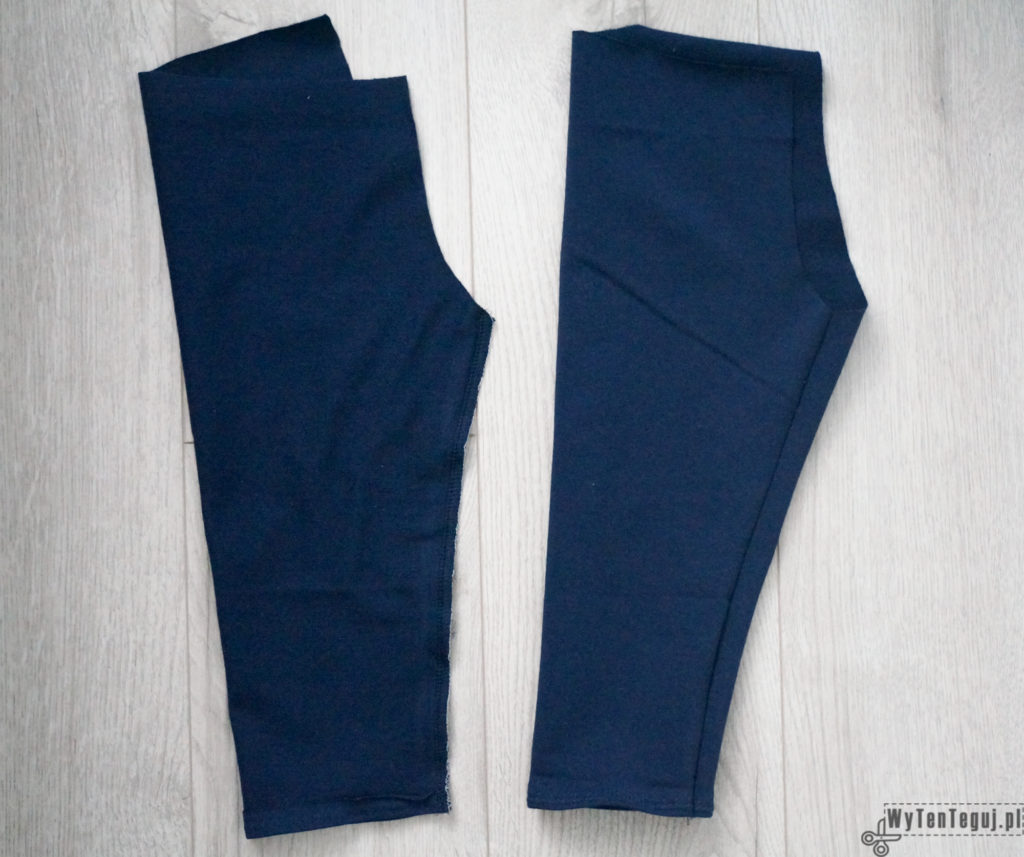
- In the next step pin a line of a crotch to join two pantlegs and sew.
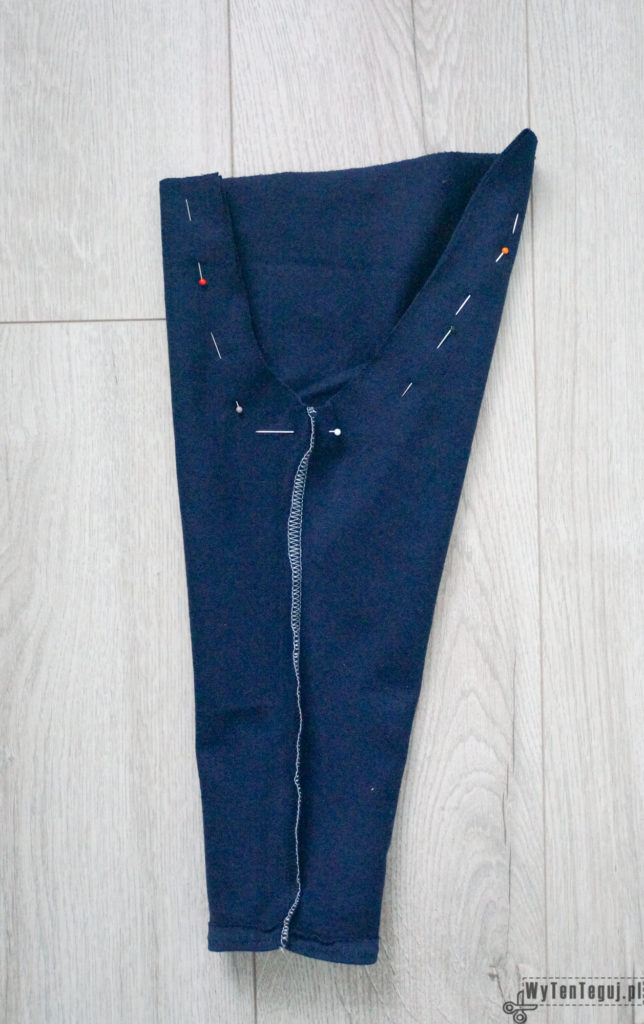
- After that turn the leggings right side out and voilà! It’s almost all 🙂
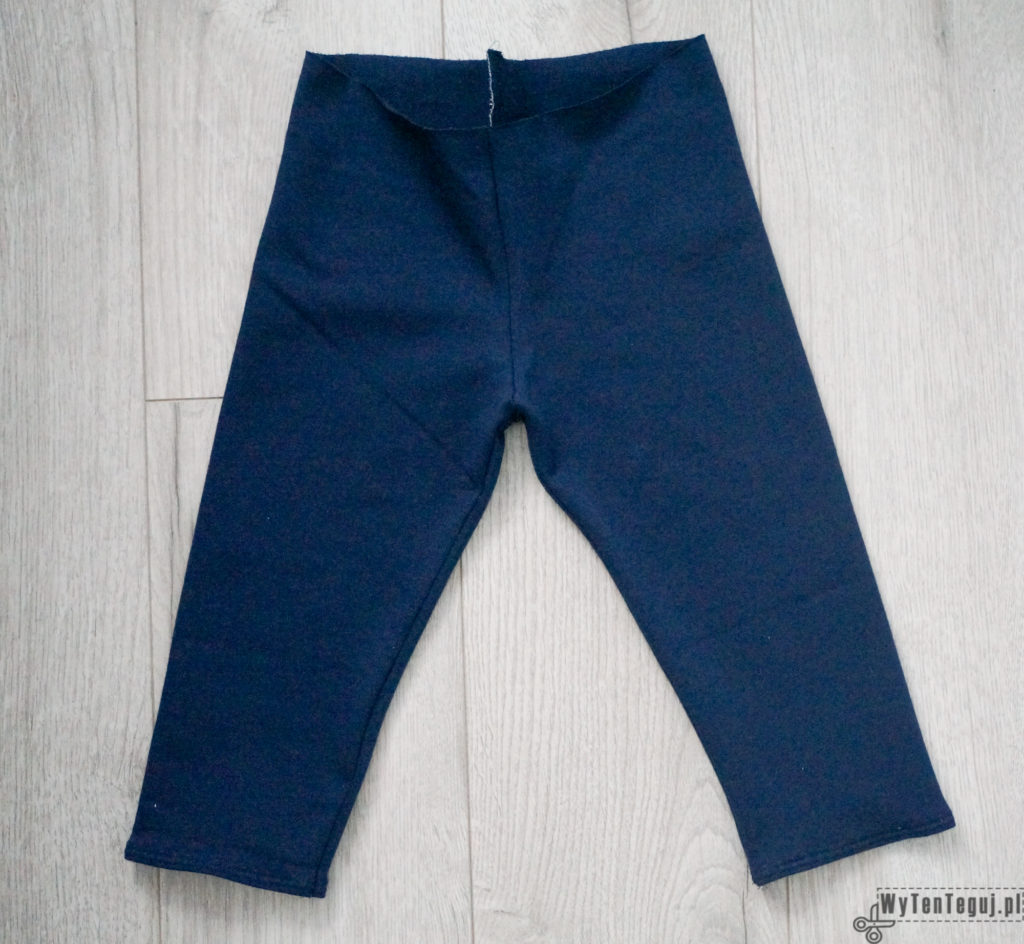
- At the end cut rectangular piece of ribbing with the following dimentions:
- width: about 10 cm
- length: about 0,75 from circuit of leggings at the waist.
- Fold it in half and sew the edge.
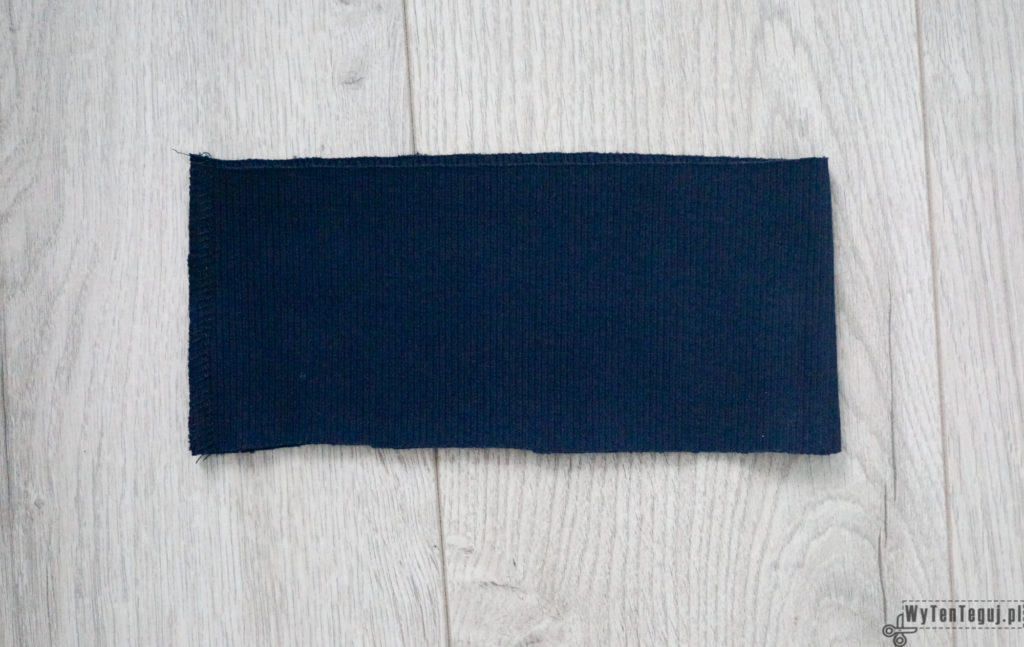
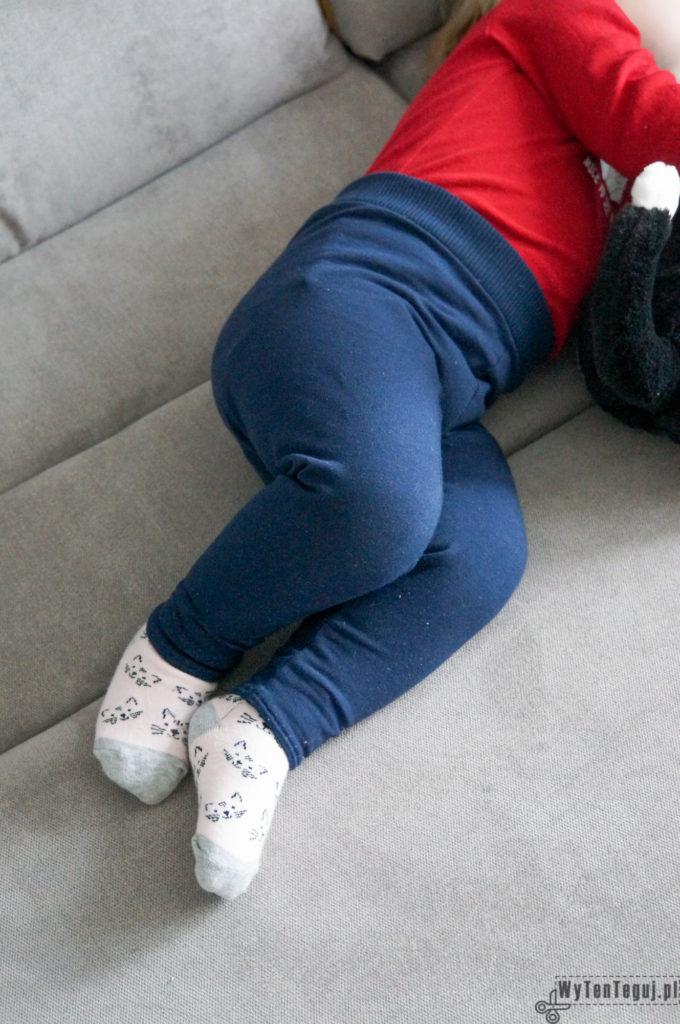
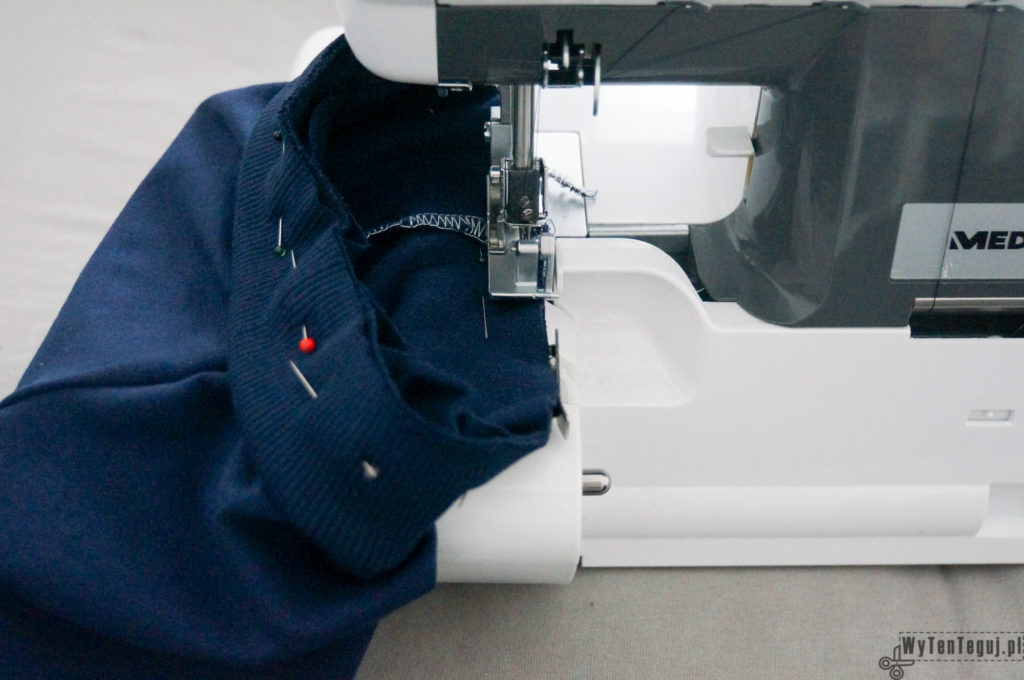
- The resulting ribbing fold along shorter edge and pin to the pantlegs in such a way that joined stitches are in the back of the leggings. Sew it and… leggings are ready to wear!
And below you can leggings, that I sewed in the past 🙂
I have been passionate about DIY since my childhood, and my innate patience and accuracy make the whole process of creation a lot easier for me and that gives me a lot of satisfaction and pleasure. During my first pregnancy I learnt how to sew, what resulted with few tutorials about sewing clothes for kids on the blog. In the beginning of my second maternity leave, I have learned how to crochet amigurumi from yt. I found out, that I really love it, that’s why so many blog posts describe my crochet creatures.
