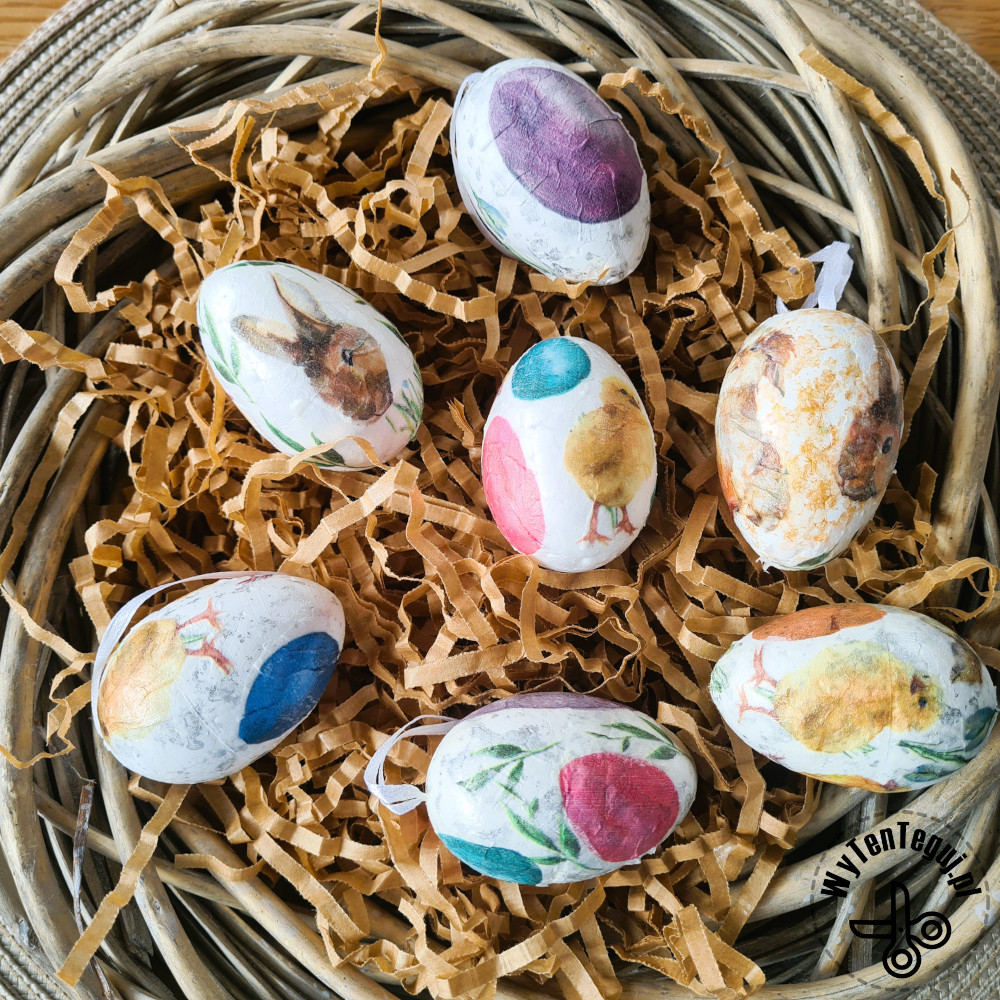
We got a little excited after our first decoupage and this time we made Easter egg decoupage together with the children. We glued small patterns from napkins on Styrofoam eggs. Fast action and extraordinary effect 🤩
I encourage you to take a look at the first post about decoupage, where I included many tips on how to start and what glue to work with.
![]() Polska wersja: Wielkanocne jaja decoupage
Polska wersja: Wielkanocne jaja decoupage
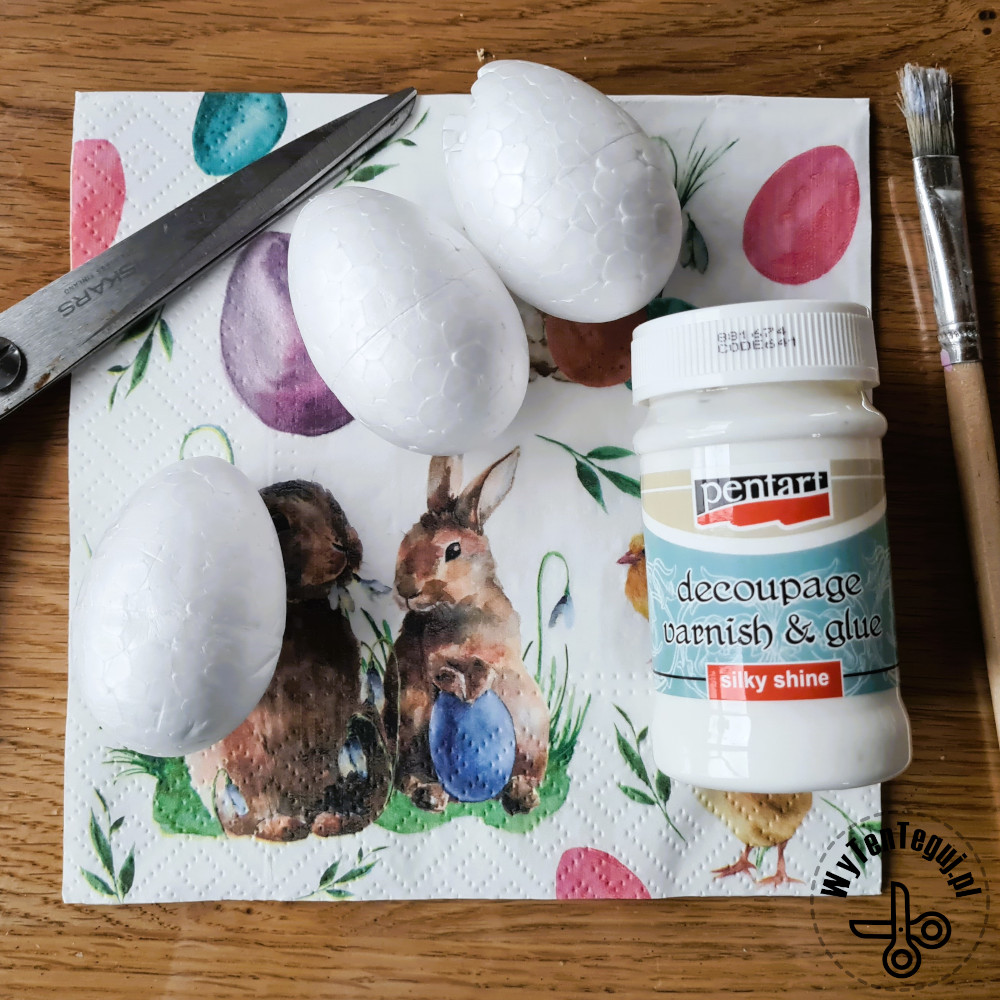
Required materials
- Napkins with small Easter patterns – the most ordinary napkins that we use at the table. For eggs you need those with small patterns.
- Mod podge or other decoupage glue – I used the Pentart brand, it is very efficient.
- Styrofoam eggs
- Brush
- Scissors
How to make Easter decoupage eggs
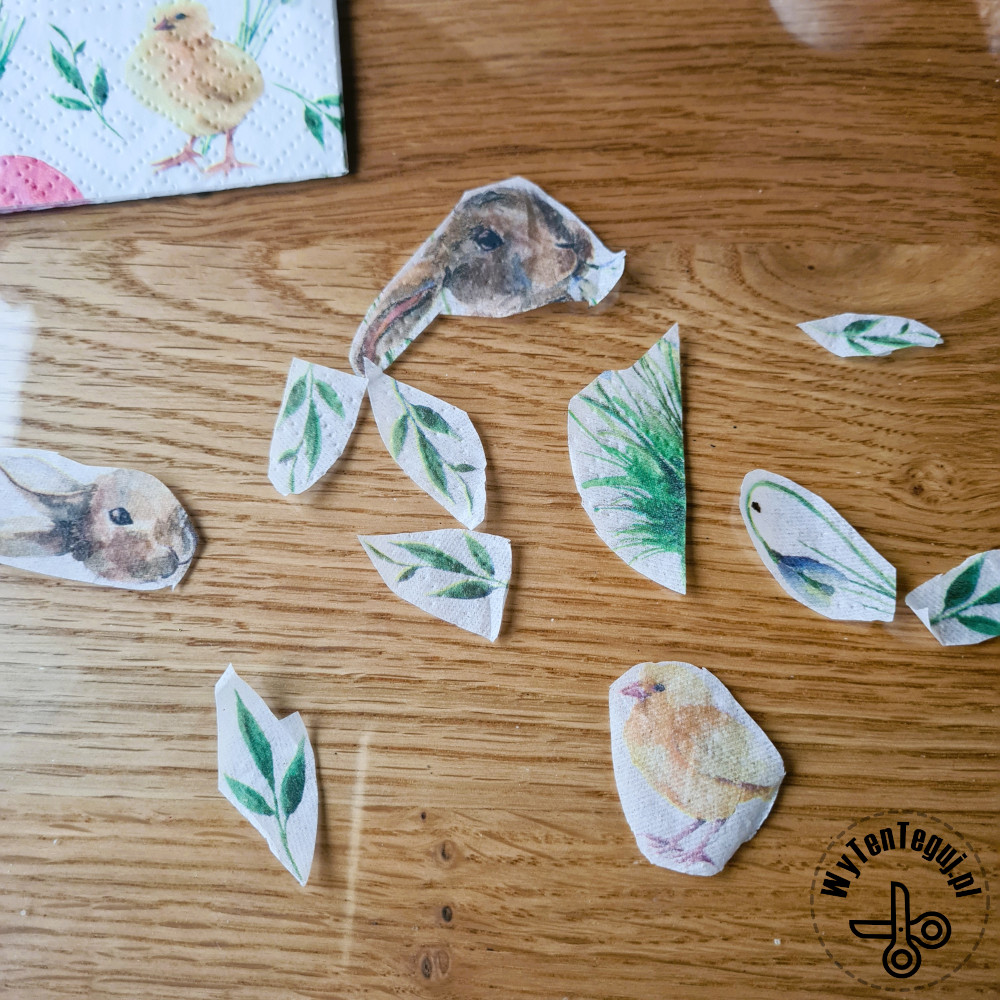
With eggs you need to take a slightly different approach than with flat surfaces. Therefore, instead of one large pattern, it is best to have many small ones. This results in much less creases. Napkins should be separated into 3 layers and leave only the one with the pattern.
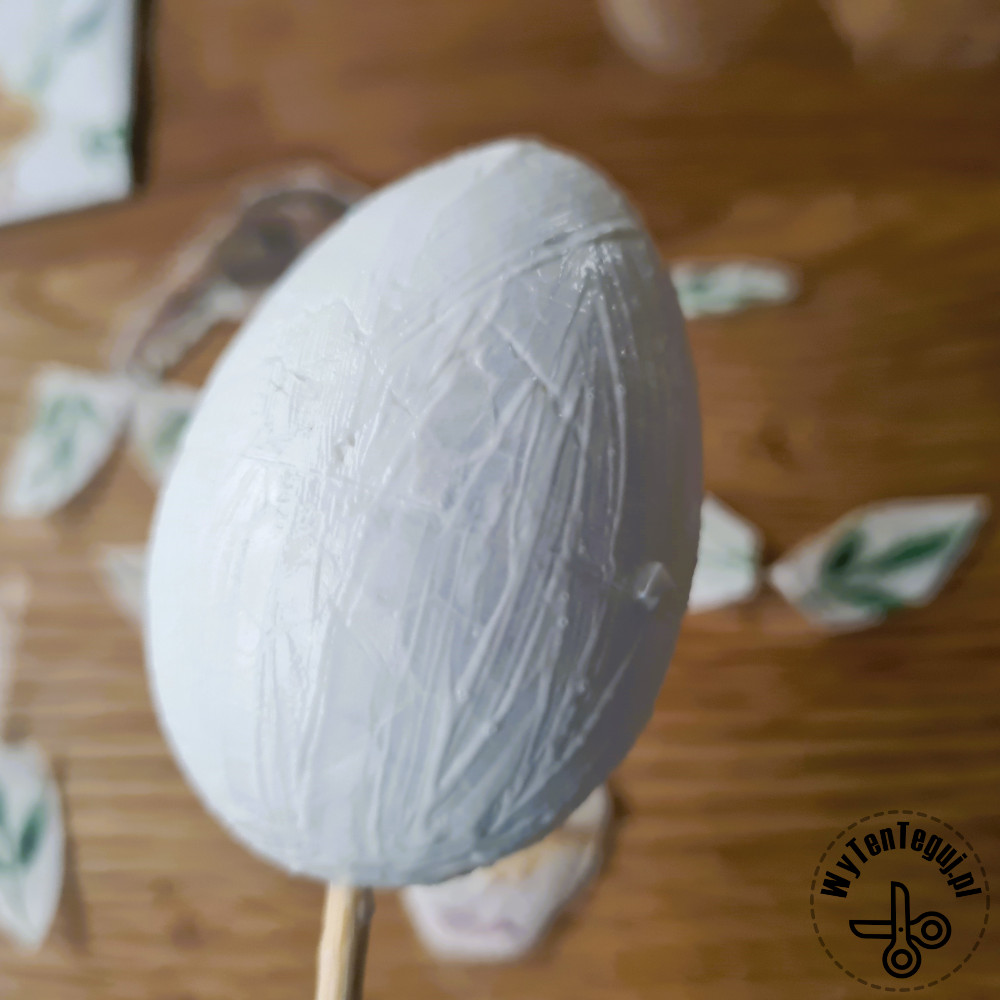
Next, we proceed similarly to the previous decoupage, i.e.:
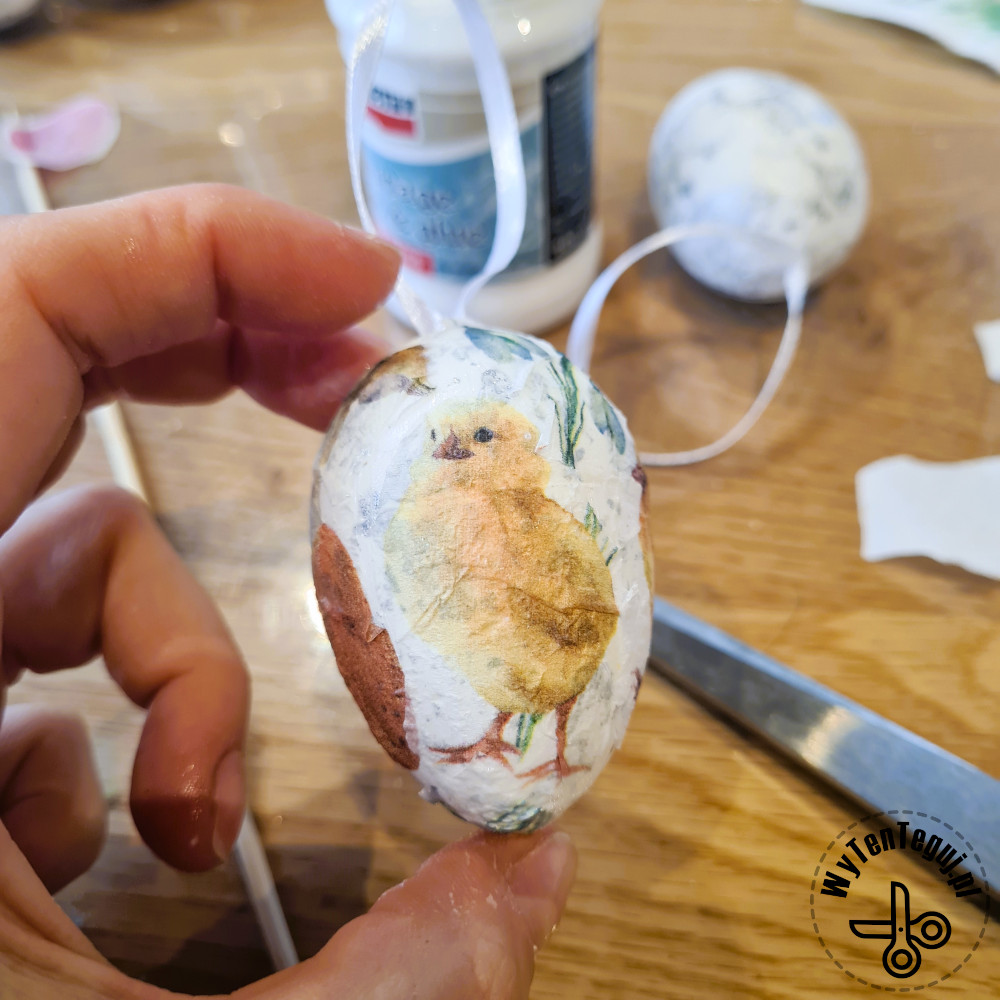
- Apply a thin layer of glue to the Styrofoam egg.
- Gently apply subsequent napkin patterns and gently press with your fingers. Do not move so as not to damage the napkin. Larger patterns will get a little lost, but that’s not too bad. After applying the top layer of varnish, it will not be very noticeable. Set aside to dry.
- Put another layer on the napkin to protect the napkin. Leave to dry again.
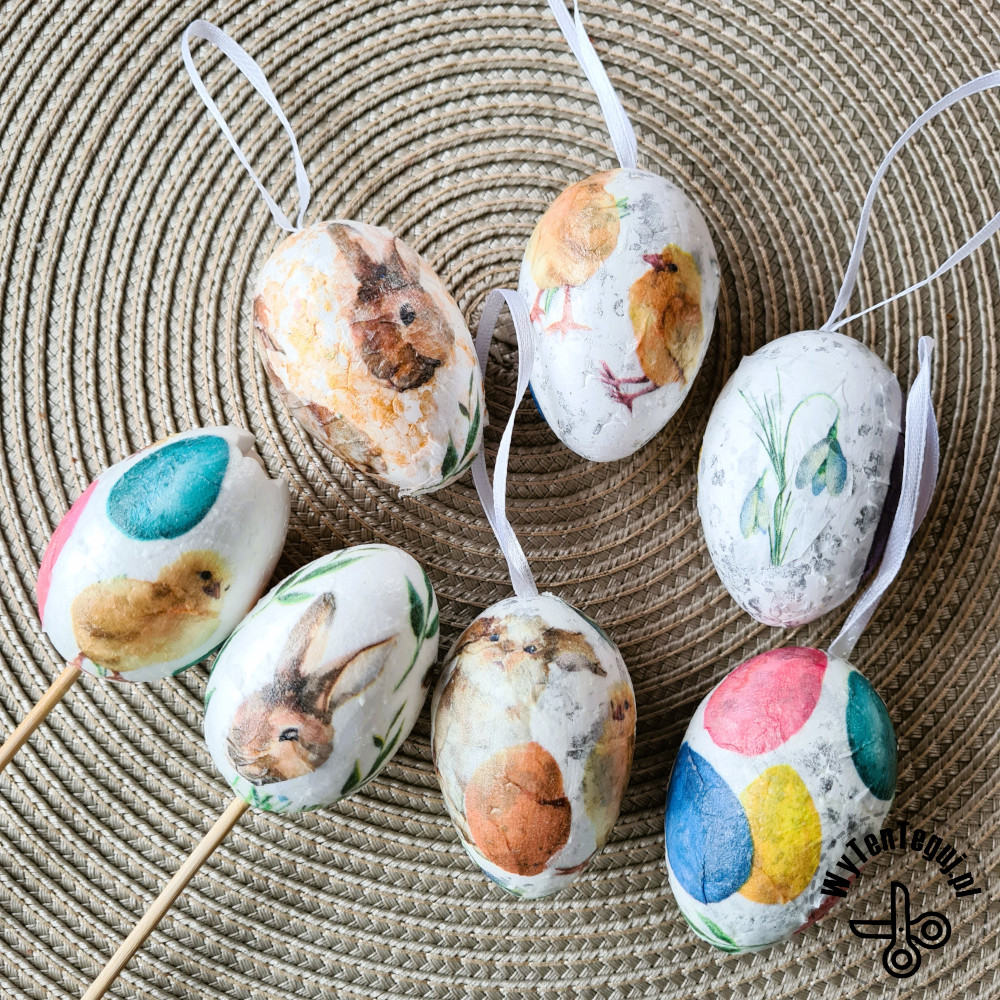
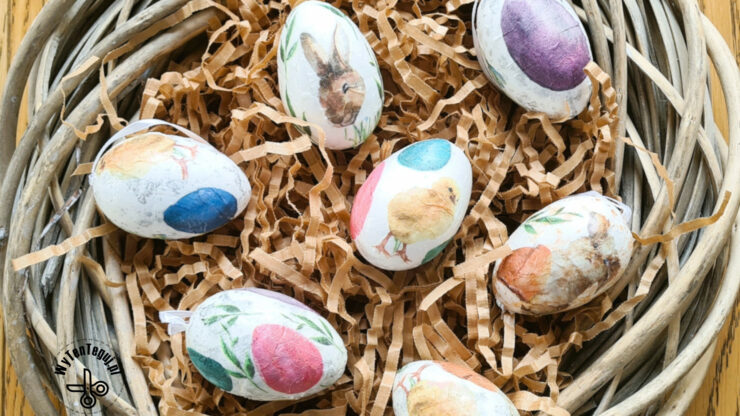
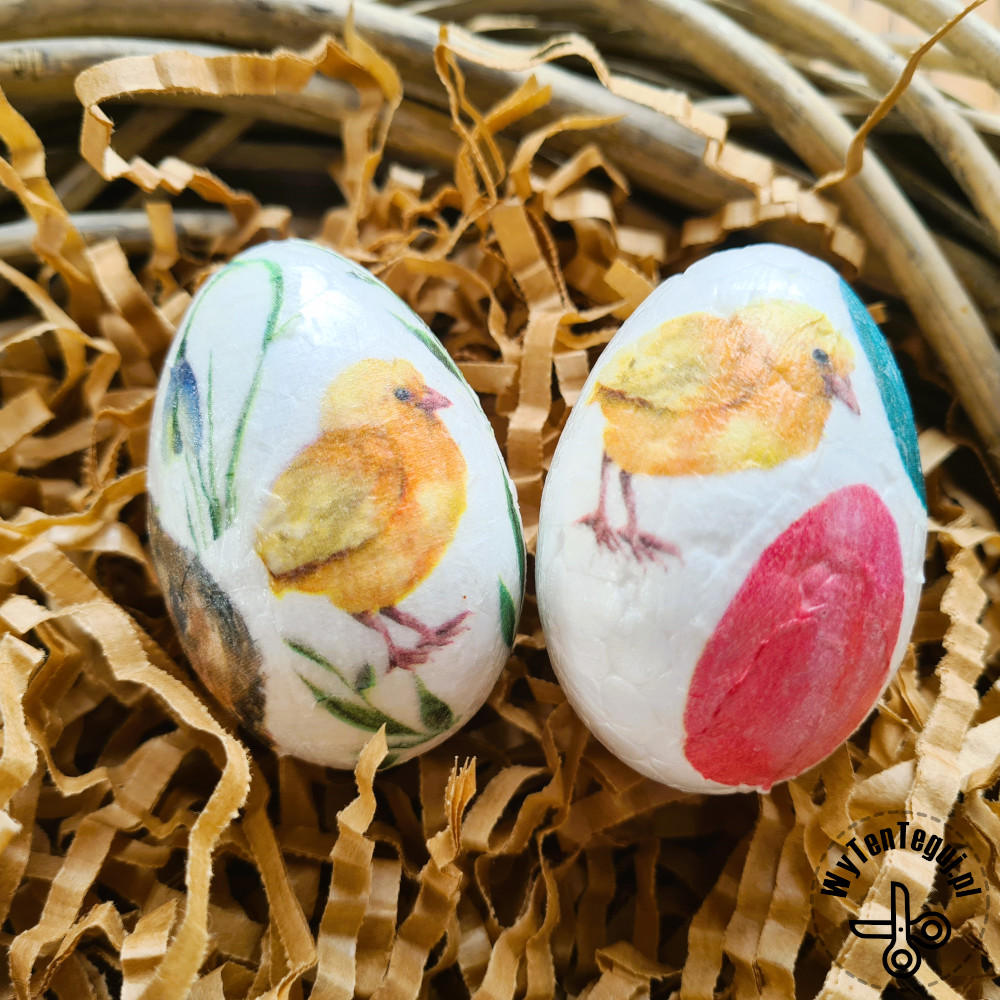
Easter egg decoupage

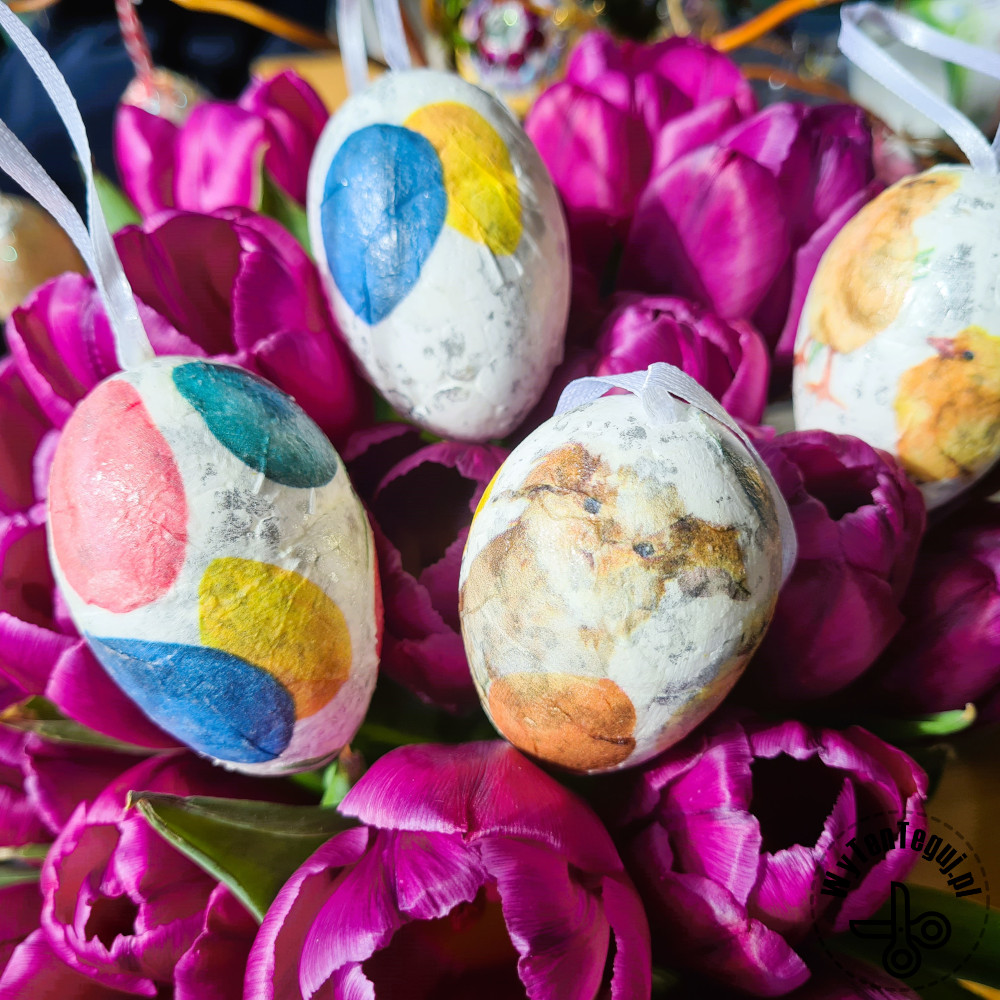
Check out our ideas
More Easter DIY projects are in our Easter section.
If you are looking for more creative activities for kids check our DIY with kids section.
If you look for more DIY cards ideas check our Cards section.
Follow us in social media
If you want to be up-to-date with our newest posts, like our Facebook fanpage, follow us on Instagram and Pinterest.
Nothing gives more satisfaction than doing something yourself. I haven’t even thought about DIY as my hobby, I’ve just done different “projects” when it was needed. Sometimes it’s a disguise for the Masquerade Party in kindergarten. Another time, cutting out the pumpkin and baking the witch’s fingers for Haloween. Or simply organizing holiday souvenirs. Now I decided to share my realizations with you. Let’s go it together!
