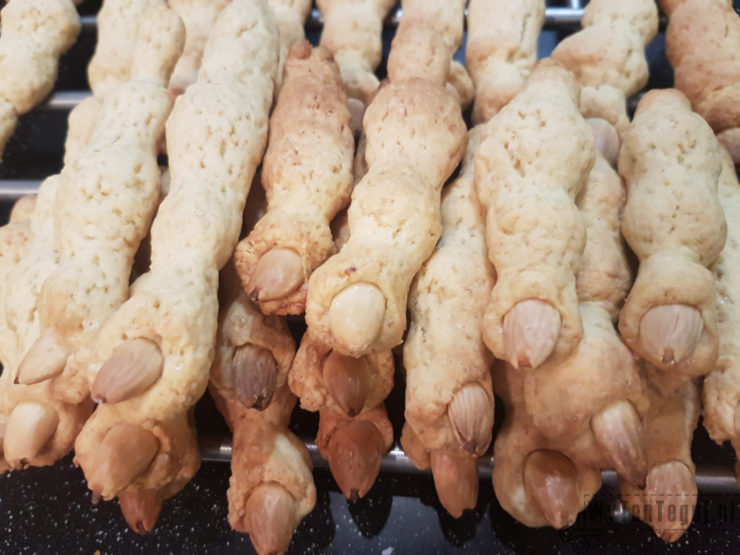
The witch’s fingers always make you smile because they look quite realistic, especially yellowish nails 🙂 They are traditionally butter in taste, which makes them perfect for every Halloween party.
If you want to be up-to-date with our newest posts about sewing for kids and free patterns, like our Facebook fanpage and follow us on Instagram.
Ingredients for about 40 fingers
For the dought
- 150 g butter, cold and chopped
- 1/2 cup powdered sugar
- 1 egg
- 1 teaspoon vanilla extract
- 2 and 3/4 cup of wheat flour
- 1 teaspoon of baking powder
- 1/2 teaspoon salt
For decorations
- Blanched almonds (i.e. without skin)
Preparation – Stage 1
Quickly mix the ingredients for the dough, form a ball and put in the fridge for about half an hour.
Preparation – Stage 2
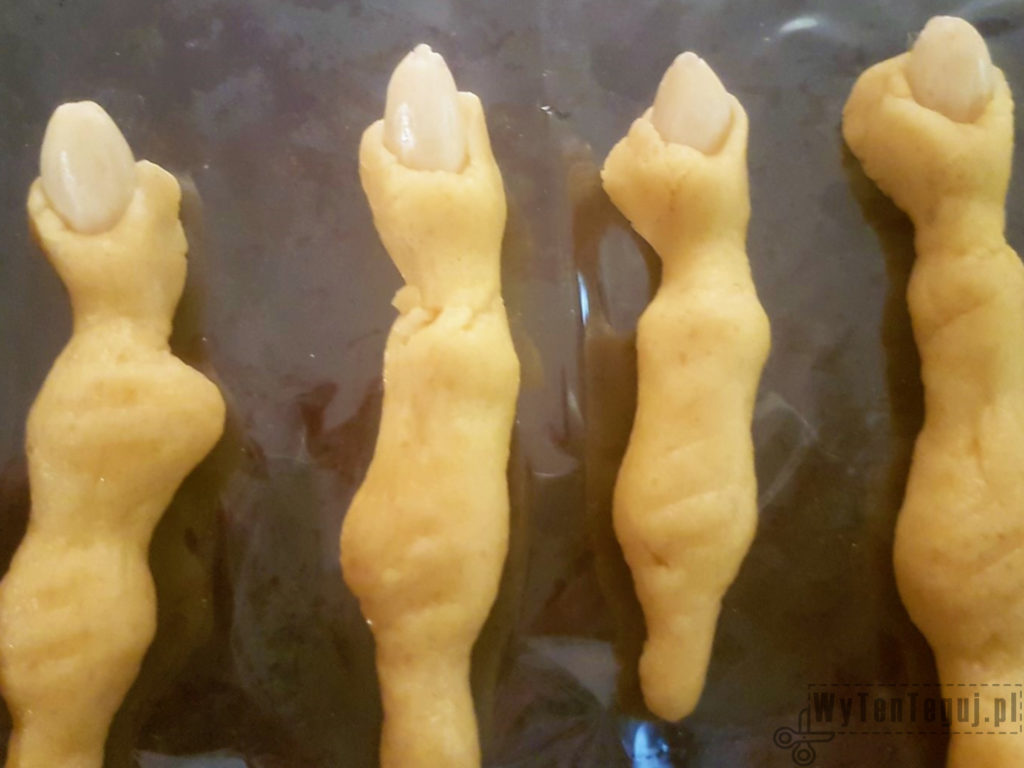
Tear off pieces of walnut-sized dough and form fingers by rolling out the dough between your fingers. They should be a little thinner than real fingers. Press almond at the end of each finger. It should be well fixed in the dough so that it does not fall out after baking. Put your fingers on the baking tray.
Baking
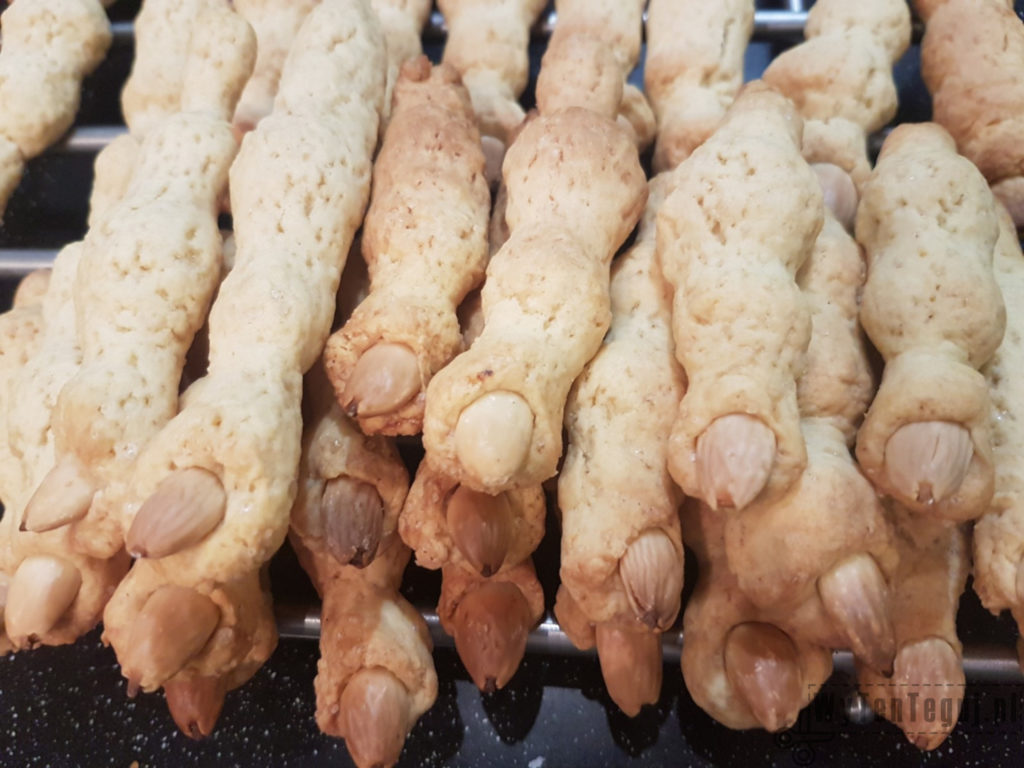
Bake for about 10 minutes at 200 C. Then remove and leave to cool.
The witch’s fingers are ready. Enjoy your meal and scary 🙂
Optional
Additionally, you can add lines of red icing around the nail, which will imitate blood. It is rather an option for older children and adults, for children it can be too drastic.
If you are looking for other Halloween DIY then you will find it in the Halloween section.
Recipe found on blog mojewypieki.com.
Nothing gives more satisfaction than doing something yourself. I haven’t even thought about DIY as my hobby, I’ve just done different “projects” when it was needed. Sometimes it’s a disguise for the Masquerade Party in kindergarten. Another time, cutting out the pumpkin and baking the witch’s fingers for Haloween. Or simply organizing holiday souvenirs. Now I decided to share my realizations with you. Let’s go it together!
