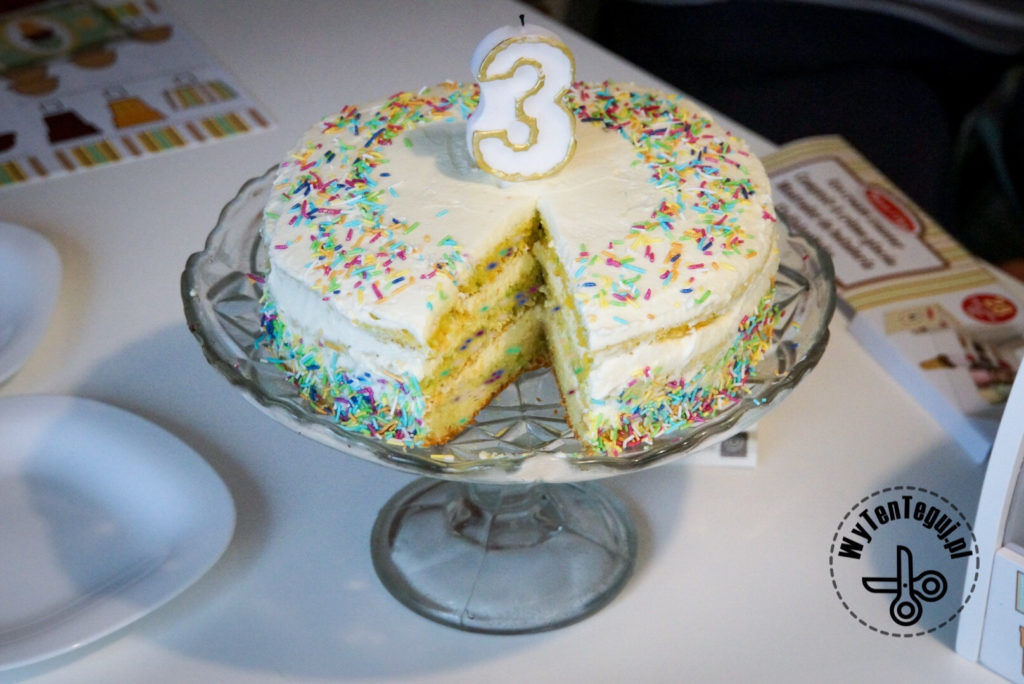
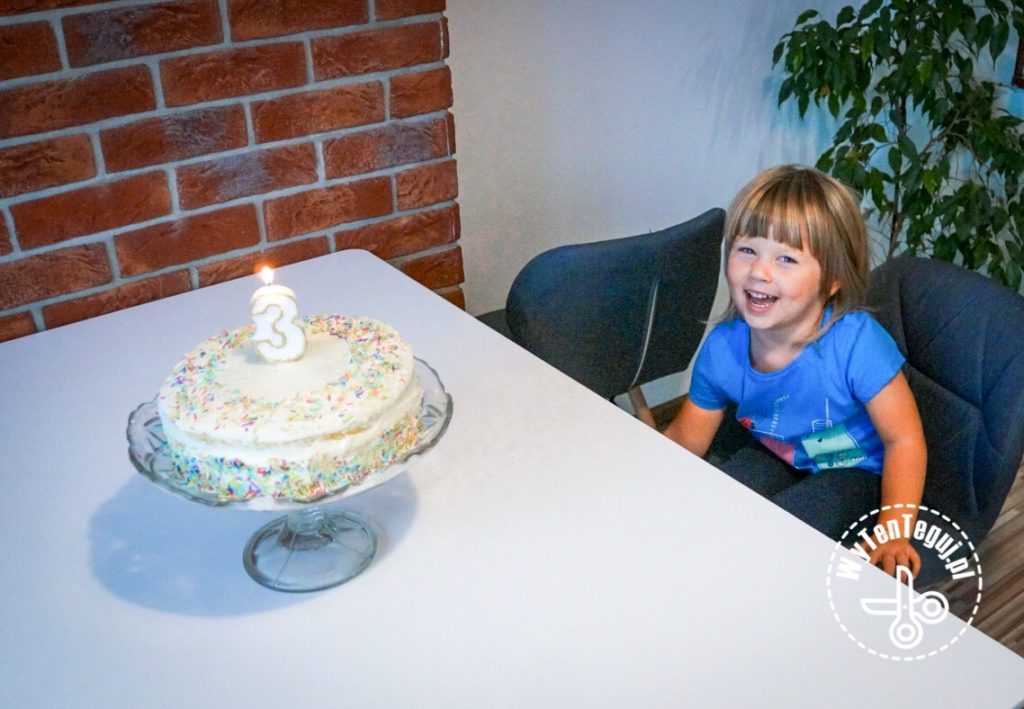
September is our birthday month 😊 Right at the beginning, we celebrated Victoria’s 3rd birthday. As always, the most important part was fulfilled by the cake. This time it was confetti cake.
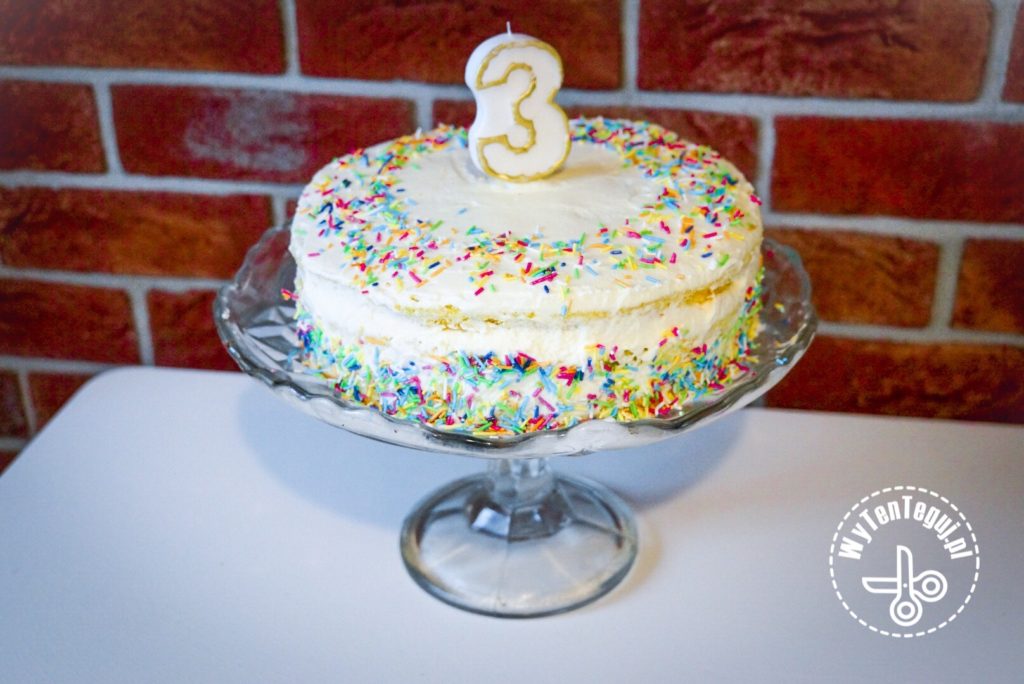
This year the birthday girl had quite specific requirements regarding its appearance 🎂 Viktoria is a faithful fan of colorful sprinkles. I did a research within the Internet and found very simple but time-consuming recipe for a confetti cake. I didn’t have time for decorating it the way I wanted. Children headed by the birthday girl, couldn’t wait to consume it 😂. Anyway, if you’re looking for a recipe for a colorful cake (also inside), I highly recommend it. In today’s post I will summarize what will be needed and how to make such a cake. Finally, I will also give you an idea for a nice gift for a three-year-old. This is a toy that is perfect for toddlers of this age as it is great for role playing. The post is not the sponsored one and I hope you’ll read it with pleasure 😊
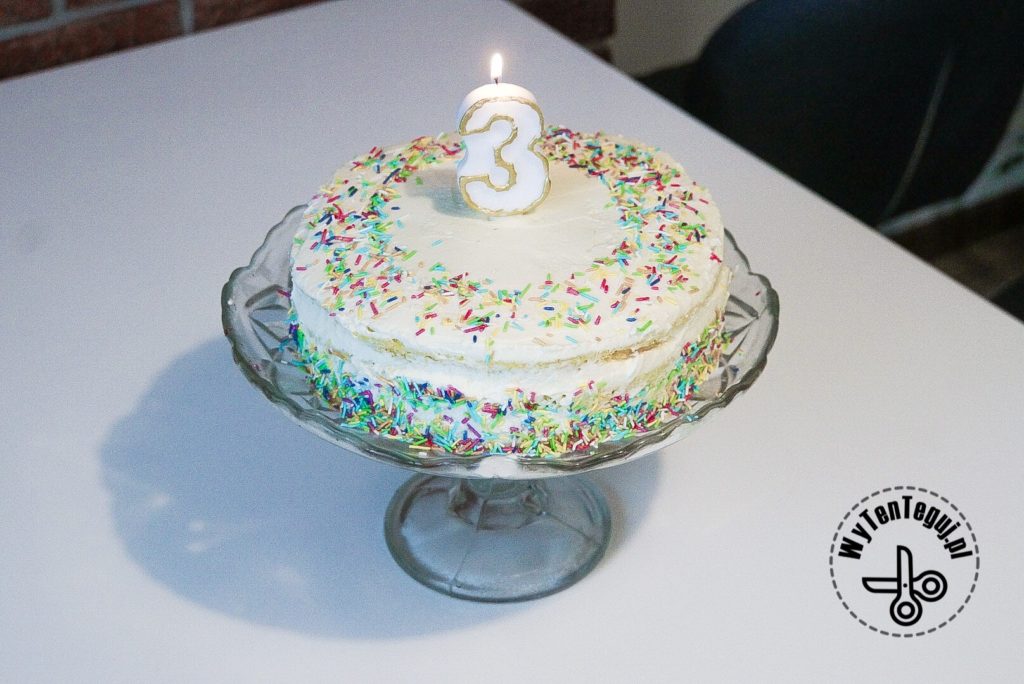
What you’ll need to bake confetti cake?
- The recipe, that I found on mojewypieki.com (unfortunately for polish speaking readers or you can use google translation)
- Three baking mold with a diameter of 20 cm (I used a mold with a diameter of 26 cm to make the cake thiner)
- Lemon or tea to soak the cake
Confetti cake preparation
Dough
The recipe from the mentioned side applies only to one top. We need three pieces for the whole cake. It is worth to buy special aluminum baking molds to save time.
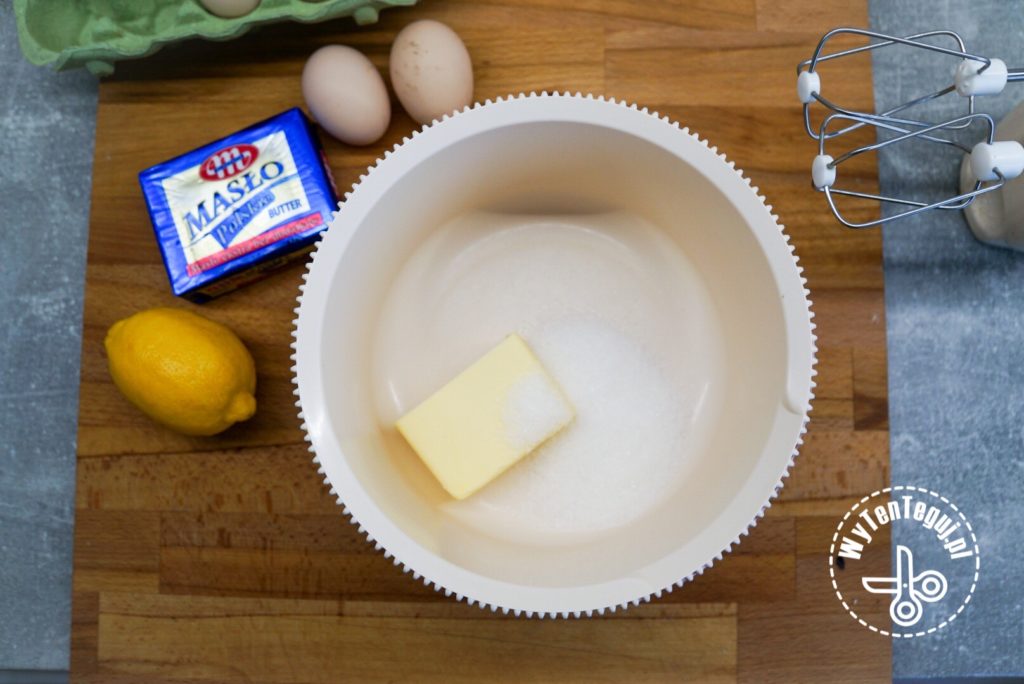
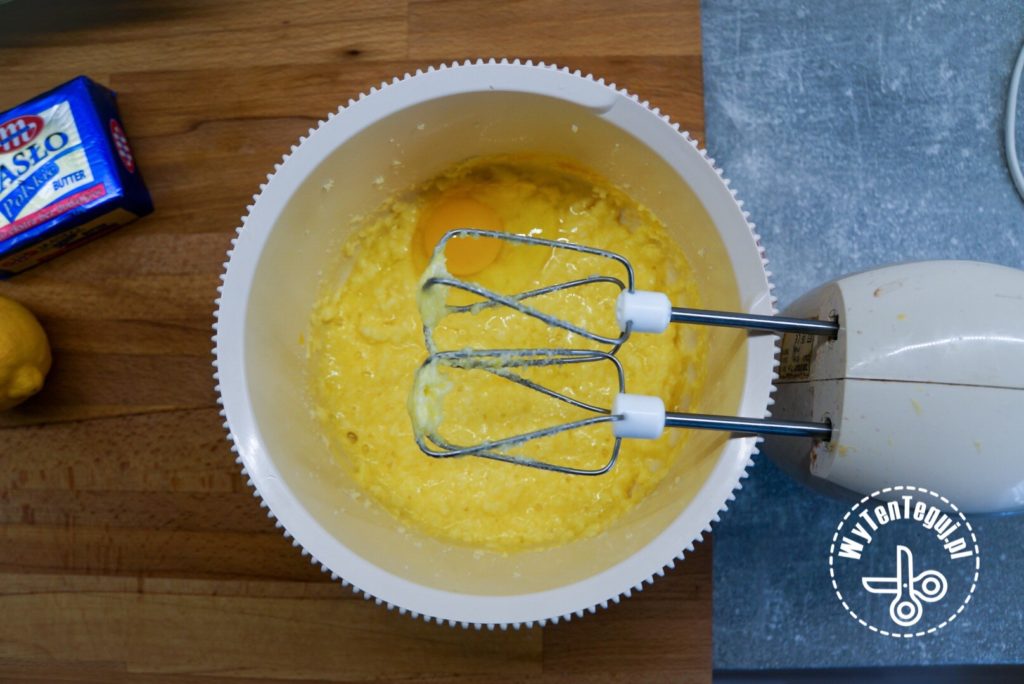
First, I whipped the butter and sugar. Then I added the eggs mixing after each. After adding lemon juice, the dough looked slightly watered down, but this did not affect the final appearance of the cake.
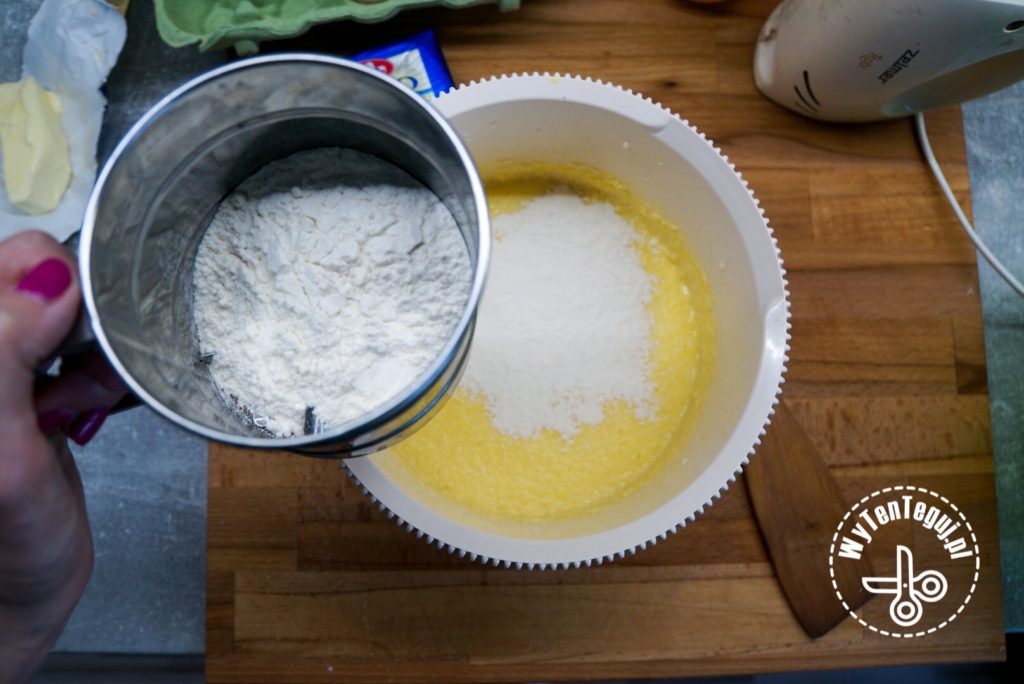
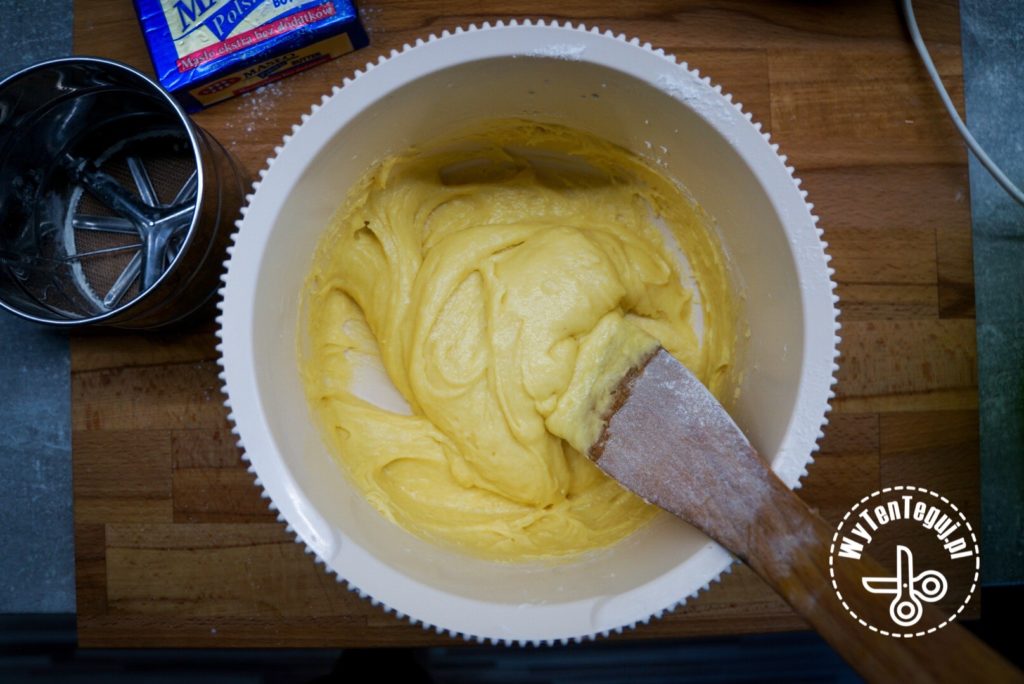
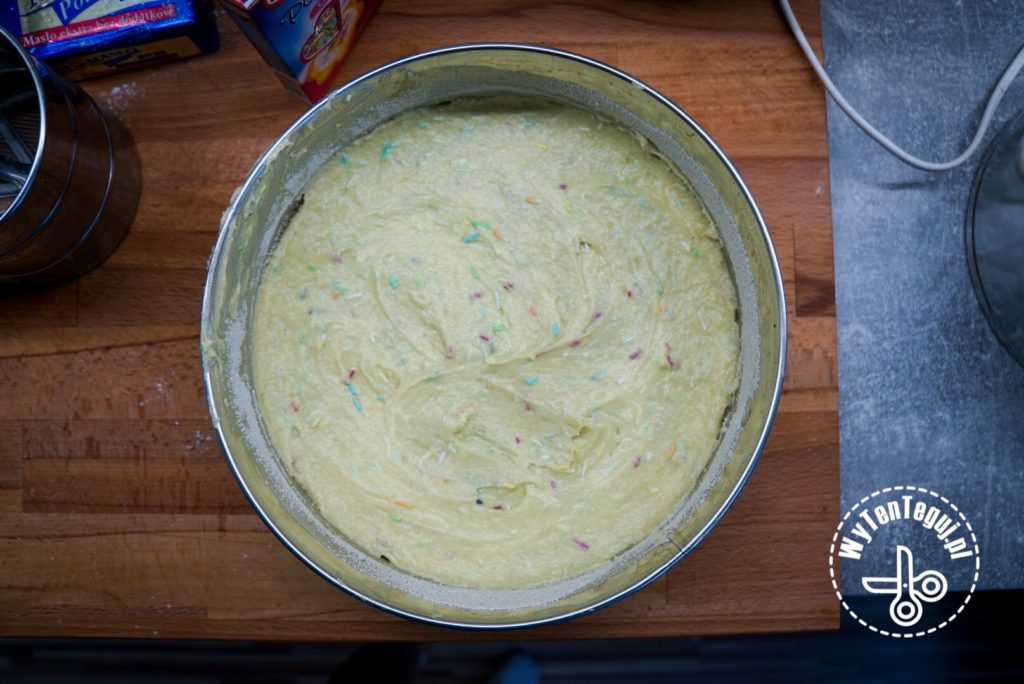
In the next step, I sifted the flour and mixed everything with a spatula. After adding the sprinkles I mixed quickly to avoid sprinkles dissolving.
I put the dough into a baking mold greased with butter and sprinkled with semolina.
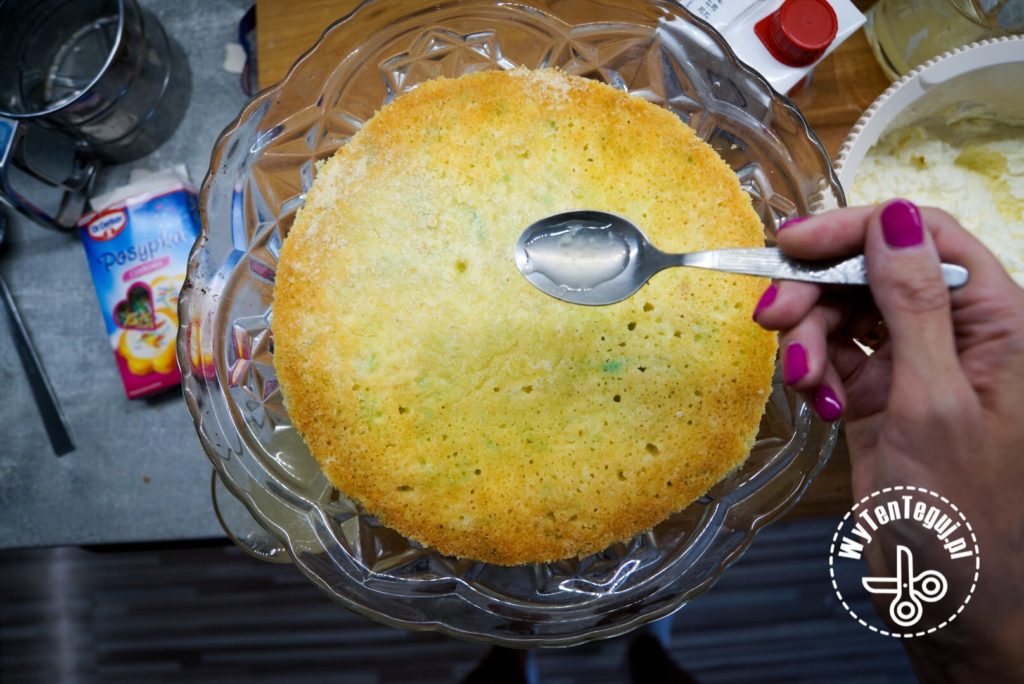
I baked the cake in 170 Celsius degrees to a dry stick. Set the time to 30 minutes and check from time to time. Particular pieces of the cake sould be cooled down before soaking each of them with lemon water.
Cream
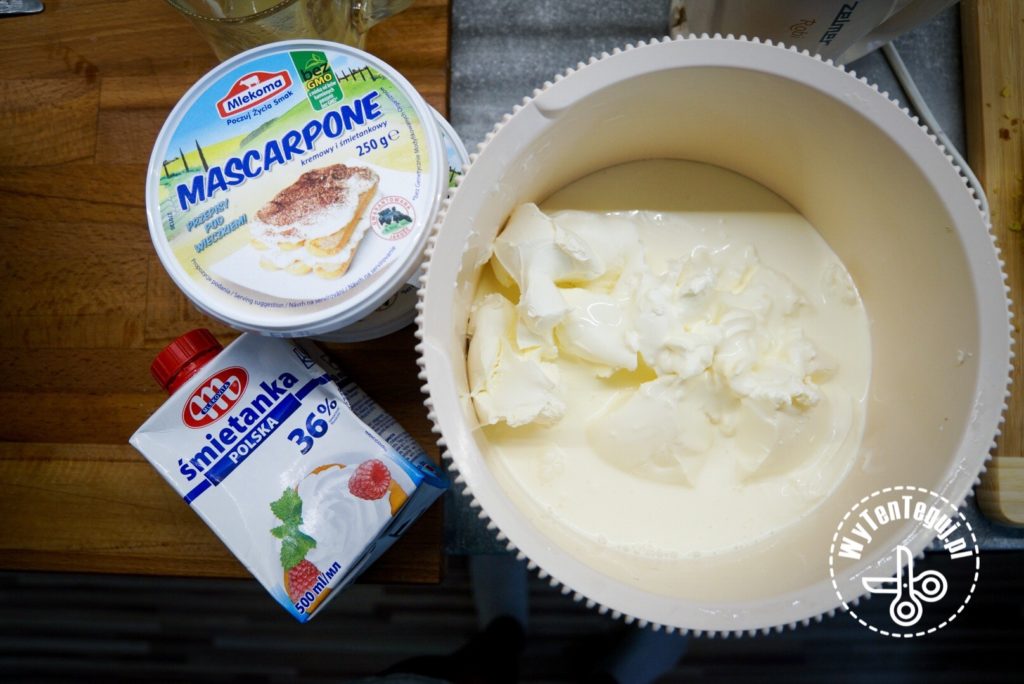
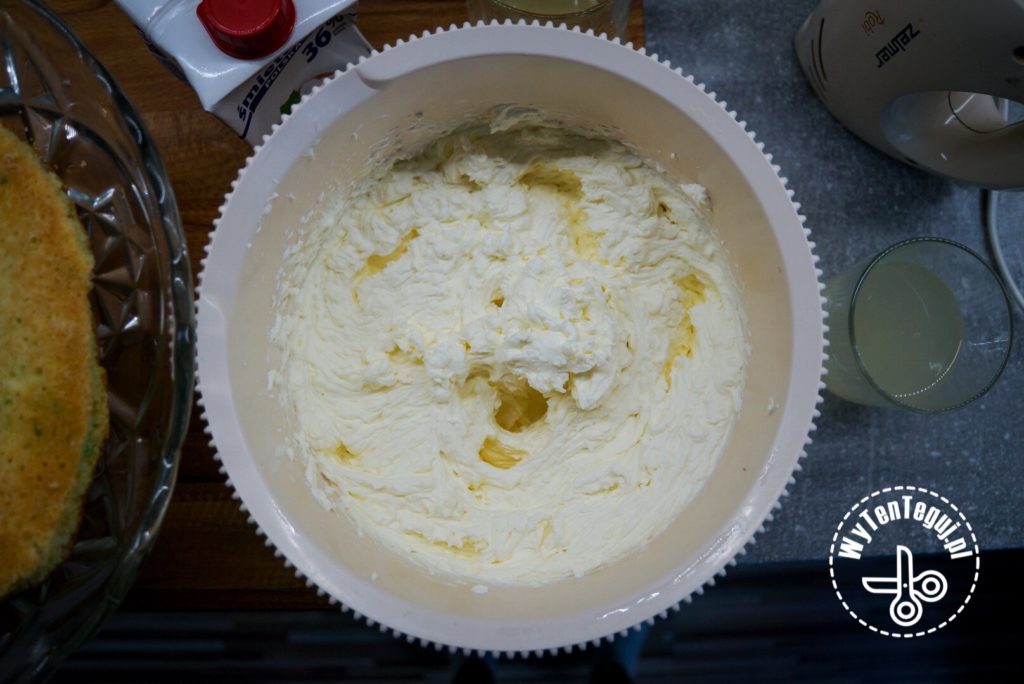
First, I mixed the cold whipping cream with the mascarpone cheese to obtain a thick cream. I didn’t add sugar to it, only the juice of half a lemon.
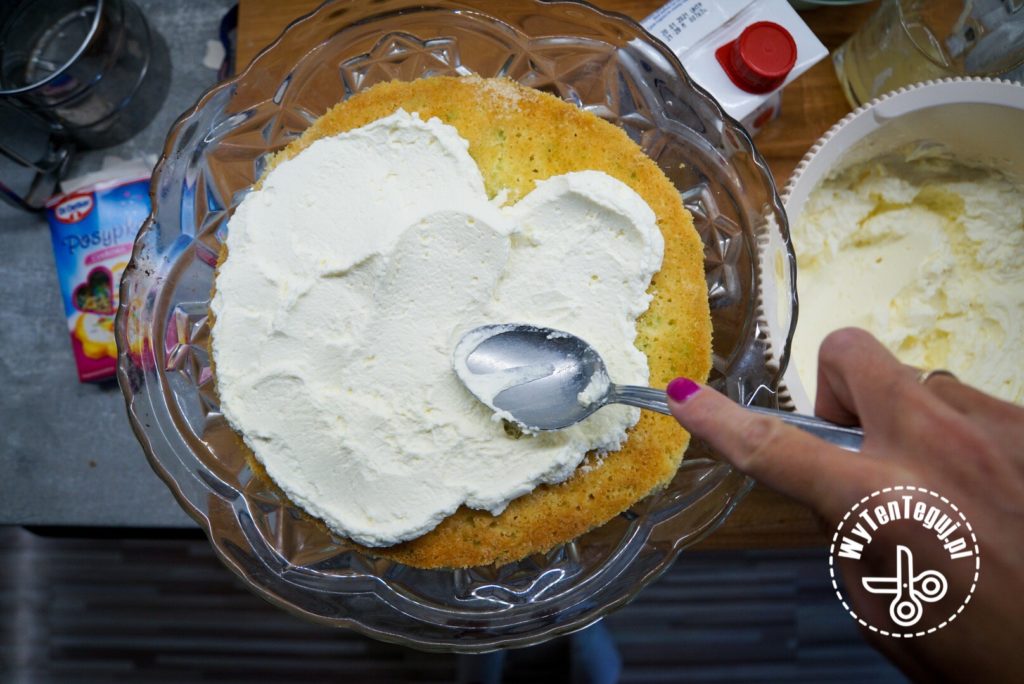
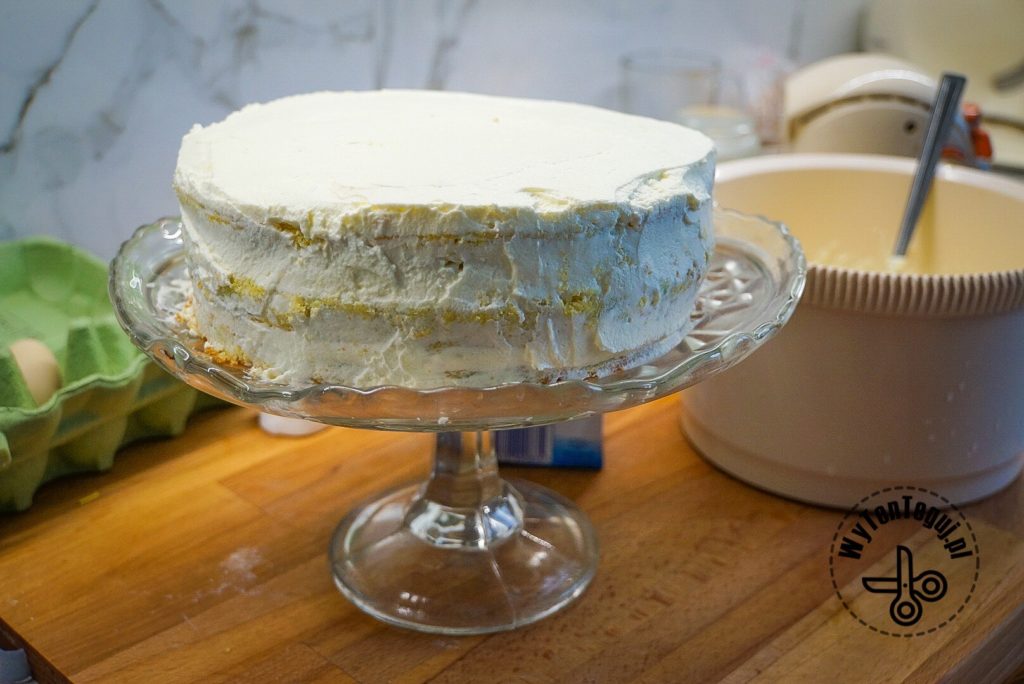
Then I spread cream on each piece of the cake, stacking one on another.
Finally, I decorated the cake with cream and sprinkles. I know that it’s not a work of art, but the birthday girl was in heaven 🙂
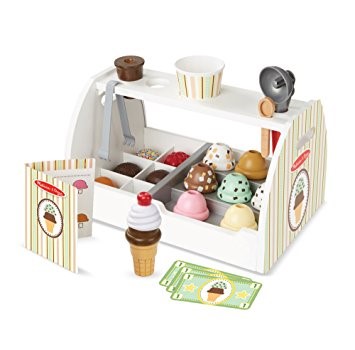
As promised, I’ll give you an idea for a birthday (but not only) gift for a three-year-old 🙂 I highly recommend a wooden ice cream shop from Melissa & Doug. It’s a hit! Each of our days begins with a visit to an ice cream parlor, especially since the autumn weather doesn’t allow for eating real ice cream. The 1,5-year-old boy is also fascinated 🙂
Check out our ideas
If you are looking for more gift ideas for children you can find them in our DIY gift ideas for kid section.
Follow us in social media
If you want to be up-to-date with our newest posts, like our Facebook fanpage, follow us on Instagram and Pinterest.
I have been passionate about DIY since my childhood, and my innate patience and accuracy make the whole process of creation a lot easier for me and that gives me a lot of satisfaction and pleasure. During my first pregnancy I learnt how to sew, what resulted with few tutorials about sewing clothes for kids on the blog. In the beginning of my second maternity leave, I have learned how to crochet amigurumi from yt. I found out, that I really love it, that’s why so many blog posts describe my crochet creatures.

