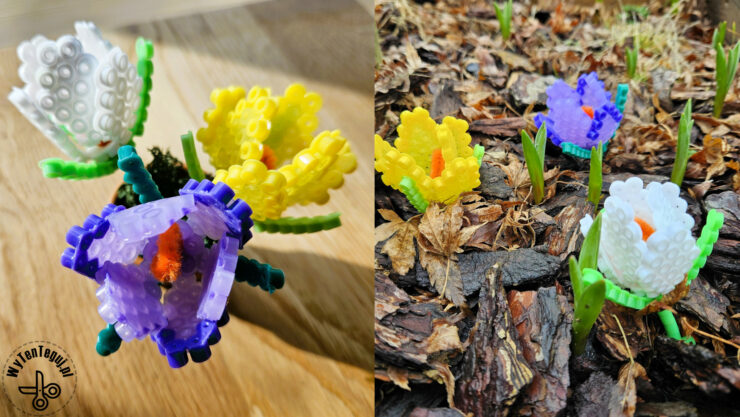
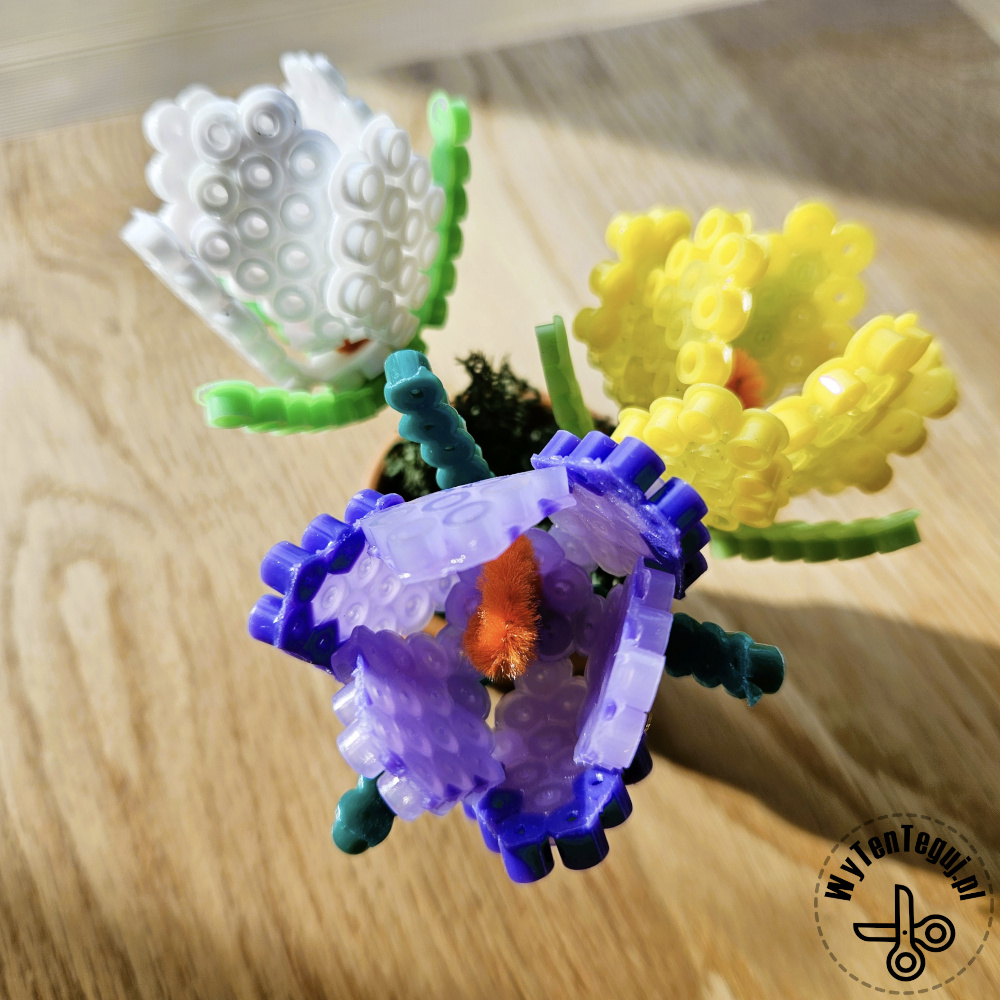
3D crocus made of La Manuli iron beads look lovely and fit perfectly into the atmosphere of waiting for the first signs of spring 🌱🪻🌷. It is also our first bead project requiring heat shaping of beads. I was very surprised how simple it is 😁.
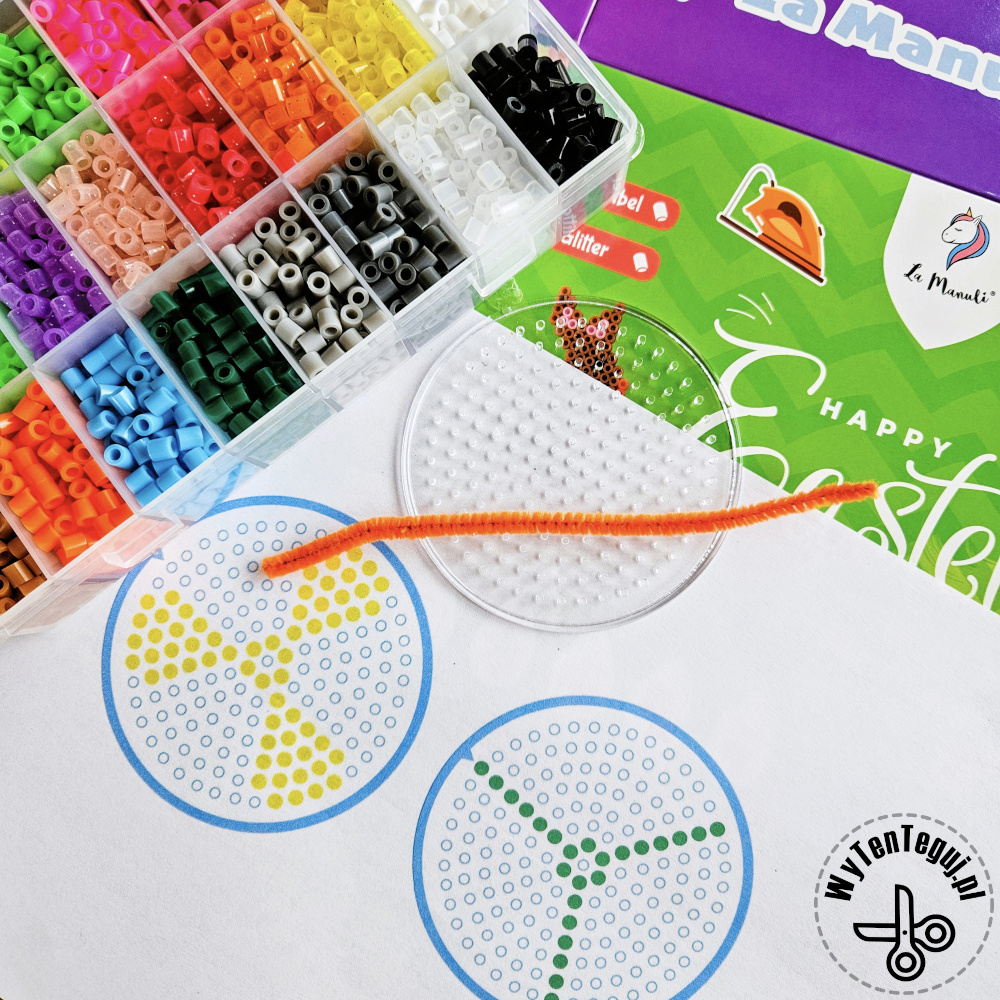
I prepared a crocus pattern drawing inspiration from Pinterest. I wanted the pattern to fit on a small round pad, because such a pad is part of La Manuli latest Easter set. I developed a simple pattern, which you can download below in the ‘You will need’ section. The template I prepared fits under La Manuli transparent pads, which will make it easier for younger children to arrange.
[Post contains affiliate links]
![]() Polska wersja: Krokusy 3D z koralików do prasowania
Polska wersja: Krokusy 3D z koralików do prasowania
You will need
- Ironing beads in crocus colors: 2 shades of purple, 2 shades of yellow, white and green – I used the La Manuli Easter bead set.
- A small round placemat – is included in the Easter set
- Orange creative wire
- Iron and baking paper
- To plant crocuses in a pot:
- Plasticine – used to plant a tree in a pot.
- Mini flowerpot – we used 5 cm ceramic pots
- Moss or gravel – to finish the pot and cover the plasticine
- Crocus template
How to make a 3D crocus with iron beads
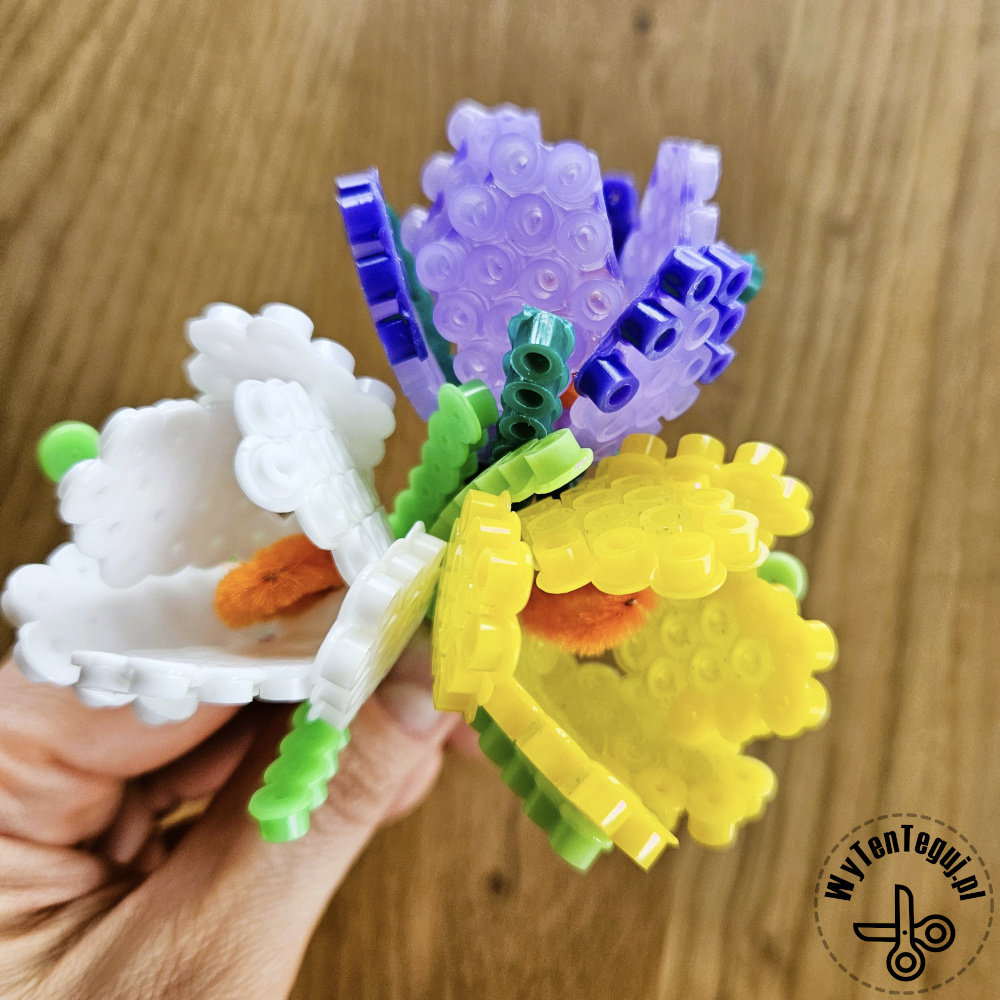
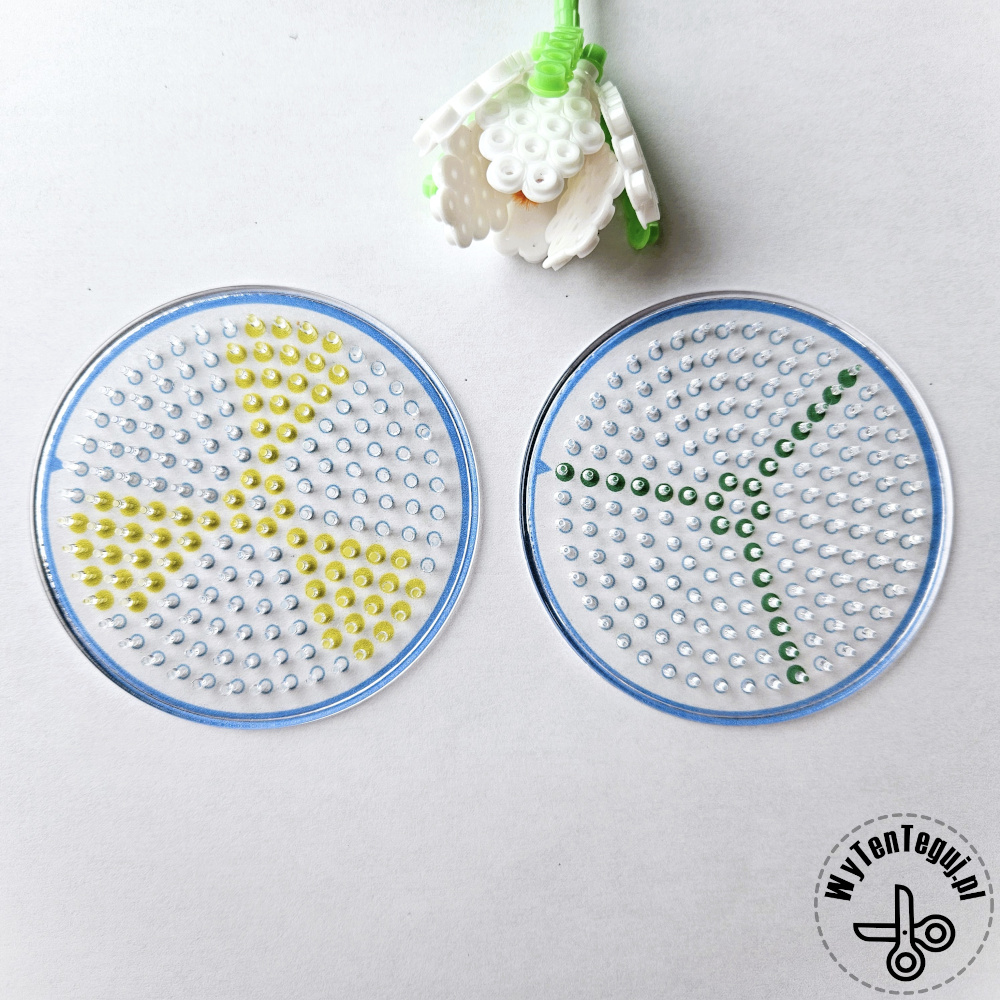
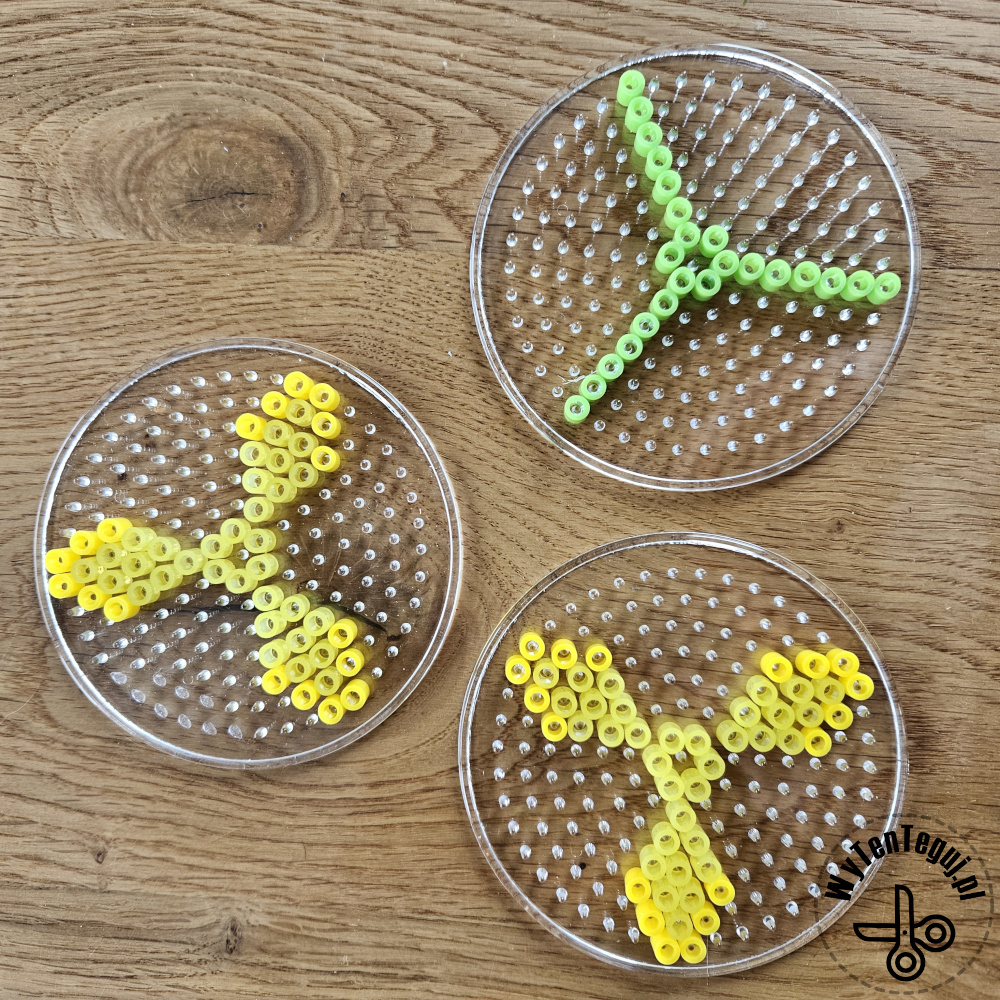
🪻 The first step is to arrange three crocus elements: 2x petals and 1x leaves. The pattern I prepared fits under La Manuli transparent pads, which will make it easier for younger children to arrange. It is worth shading the petals so that the tips are a shade darker than the bottom and middle, then the flowers will be more realistic.
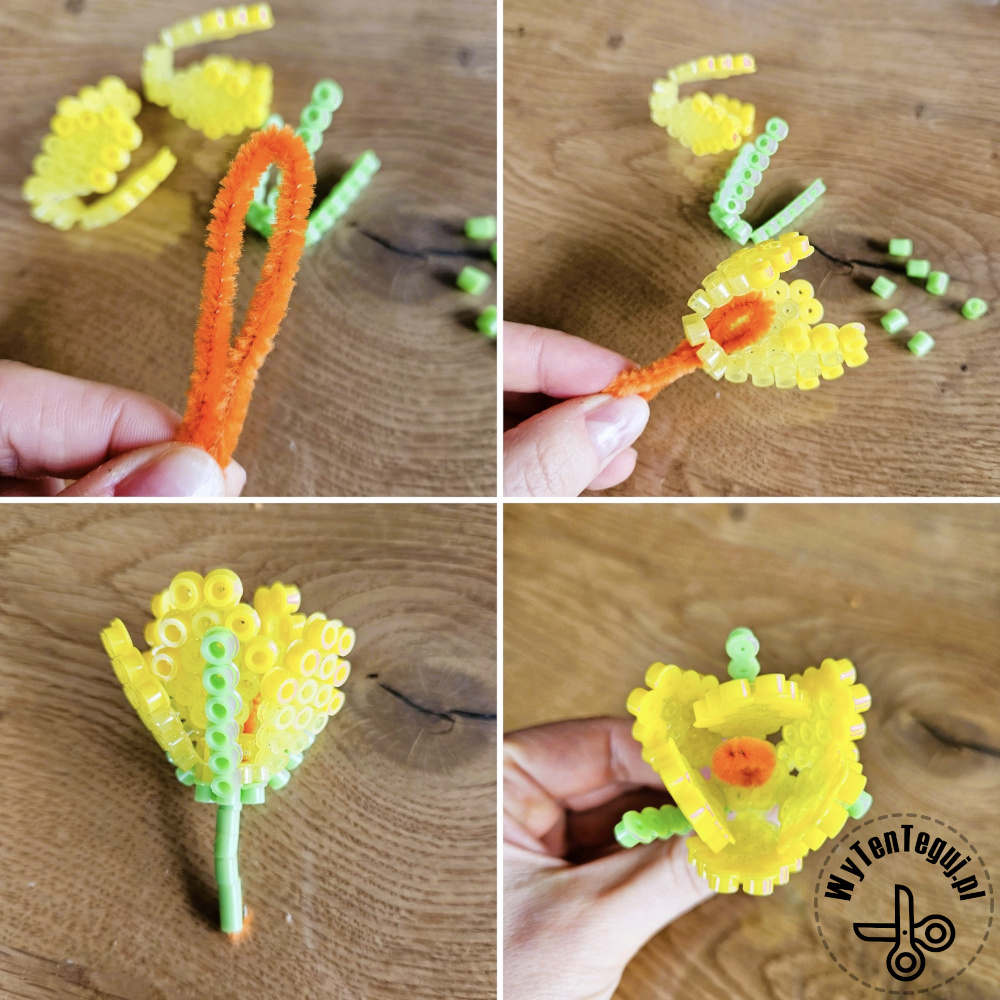
🪻 The next step is to iron the pattern through baking paper and bend the petals and leaves while they are still warm. It’s really simple, just carefully remove the pattern from the pad and bend the petals and leaves inside. Hold this position for a while until the pattern cools down.
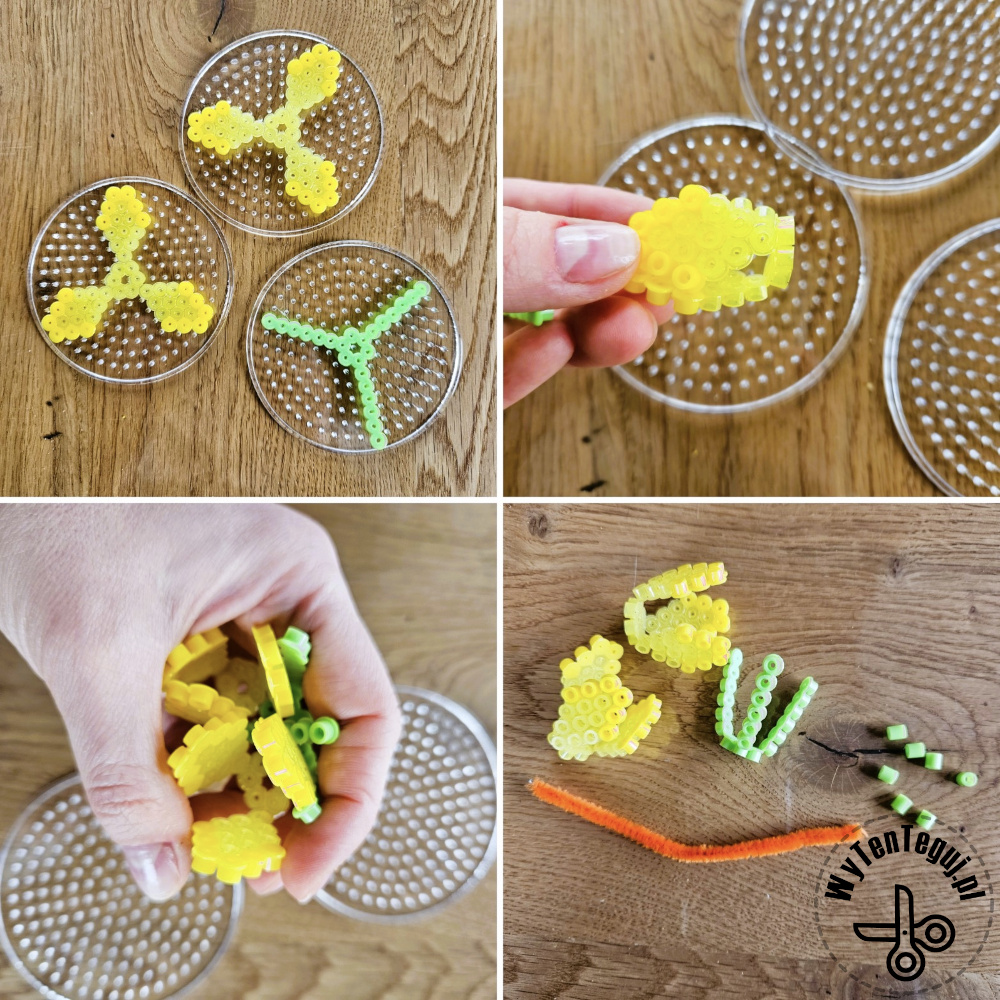
The next step is to put all the elements together. An orange creative wire will work perfectly as a stem, as it also imitates crocus stamens. First, fold the wire in half, then thread the petals and leaves. Finish with some green beads. Done 💚
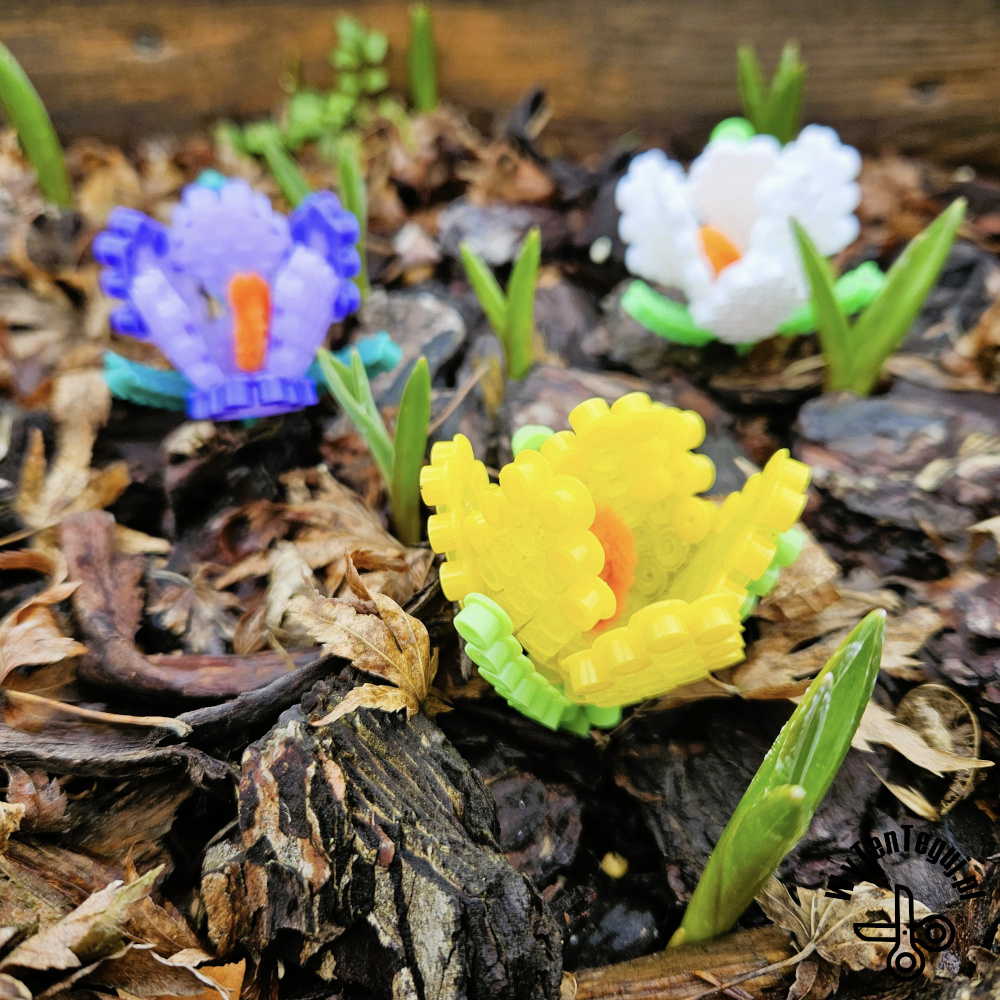
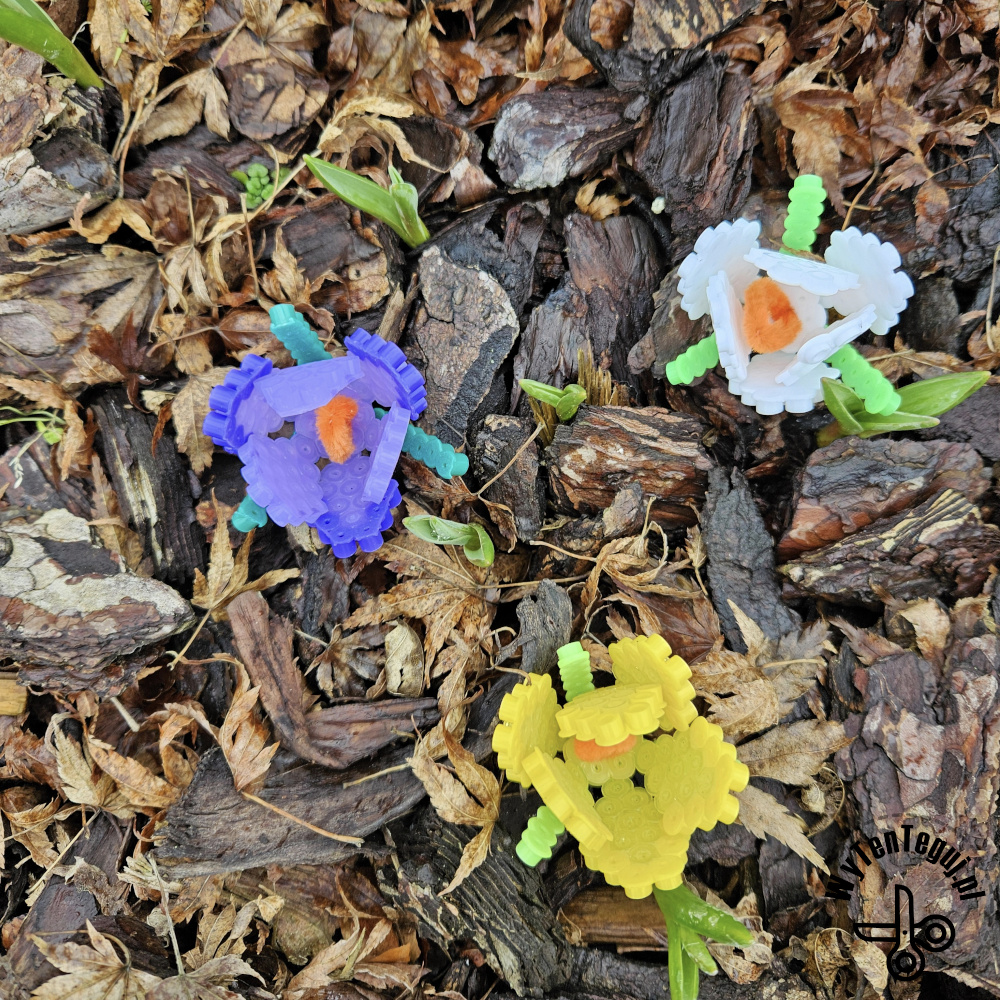
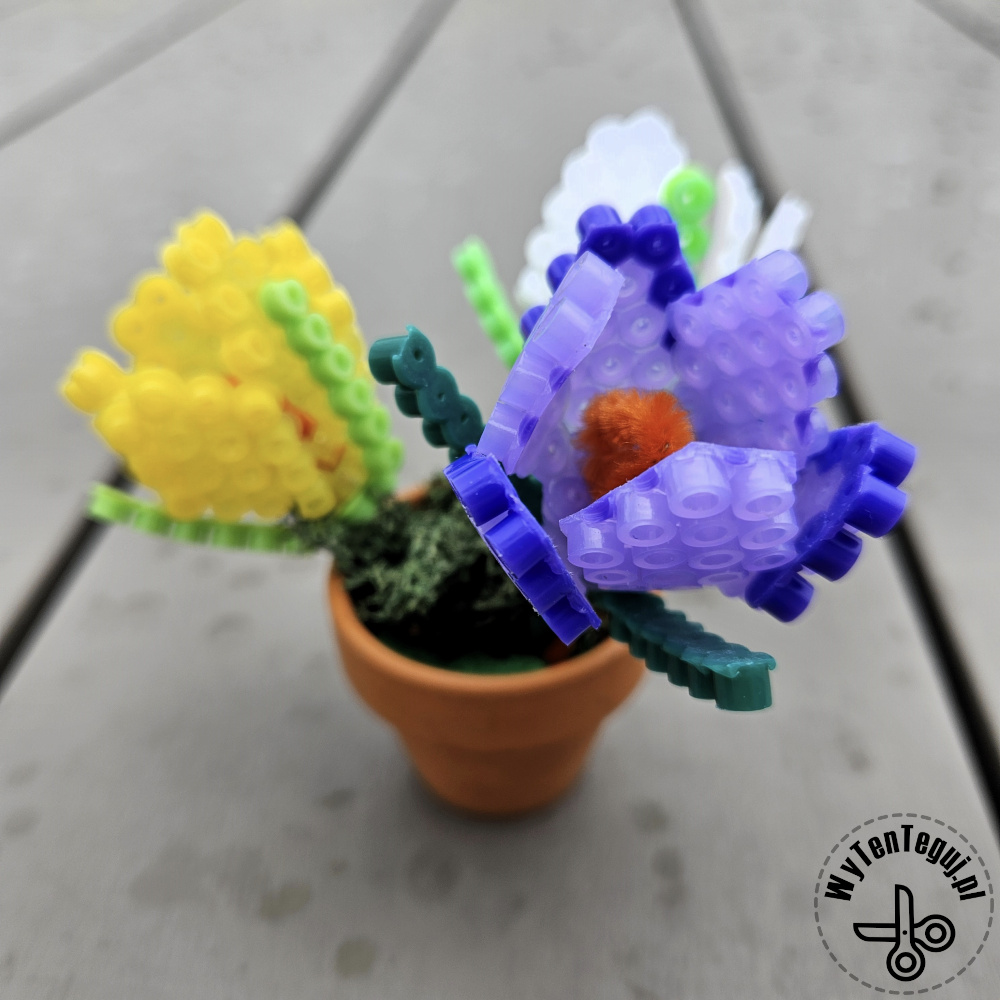
The last optional step is to “plant” the crocus in a pot. Plasticine will be perfect here. You should line the bottom of the pot with it, then put the flowers in and fill the sides of the pot with plasticine. You can put a few fluffs of moss on top or sprinkle it with gravel and press it onto the plasticine.
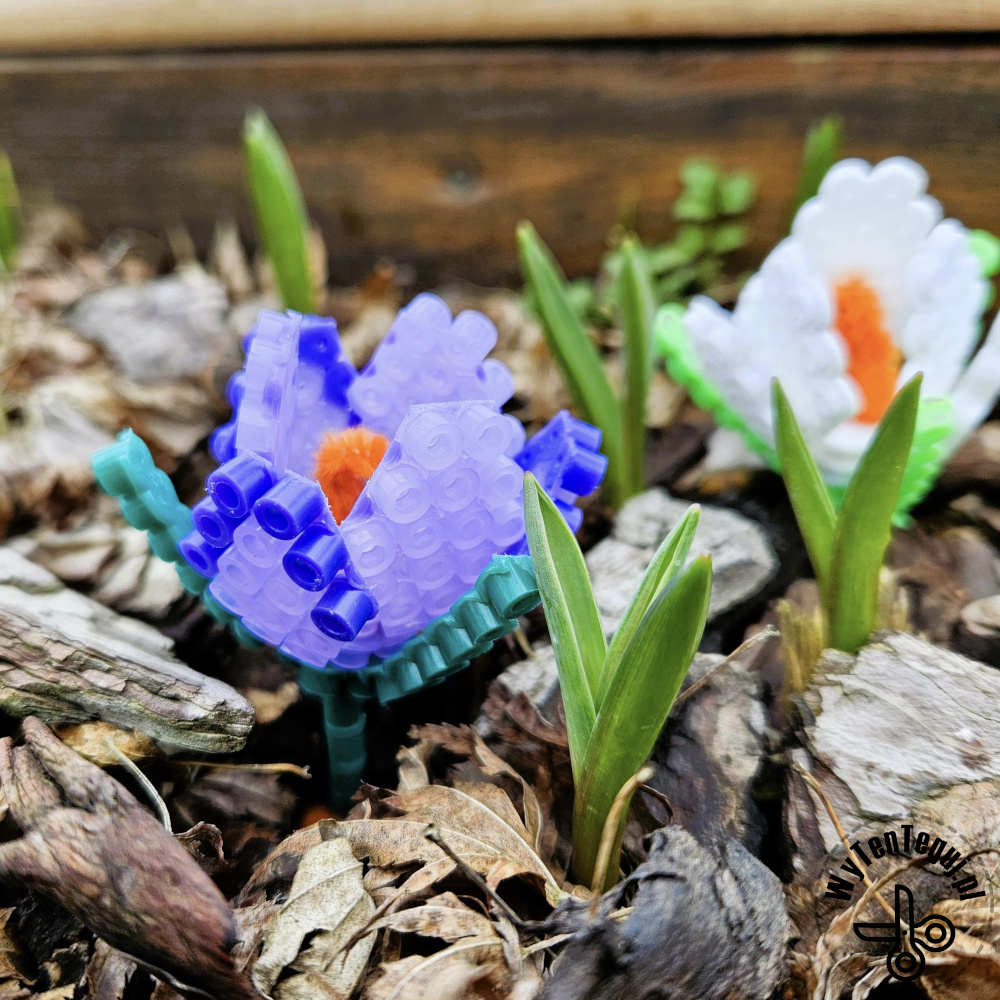
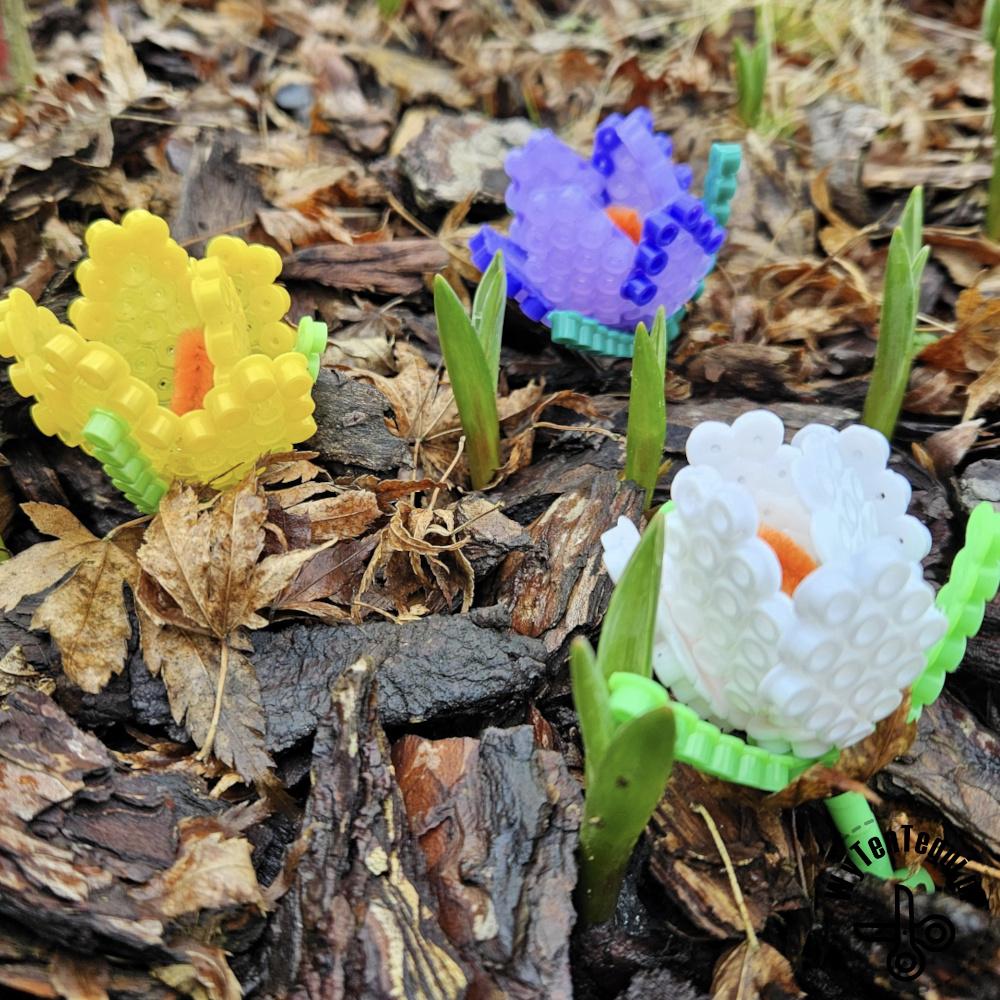
3D crocuses made of iron beads



Check out our ideas
For more iron beads patterns and inspirations check our Iron beads section.
If you are looking for more creative activities for kids check our DIY with kids section.
If you look for more DIY cards ideas check our Cards section.
Follow us in social media
If you want to be up-to-date with our newest posts, like our Facebook fanpage, follow us on Instagram and Pinterest.
Nothing gives more satisfaction than doing something yourself. I haven’t even thought about DIY as my hobby, I’ve just done different “projects” when it was needed. Sometimes it’s a disguise for the Masquerade Party in kindergarten. Another time, cutting out the pumpkin and baking the witch’s fingers for Haloween. Or simply organizing holiday souvenirs. Now I decided to share my realizations with you. Let’s go it together!
