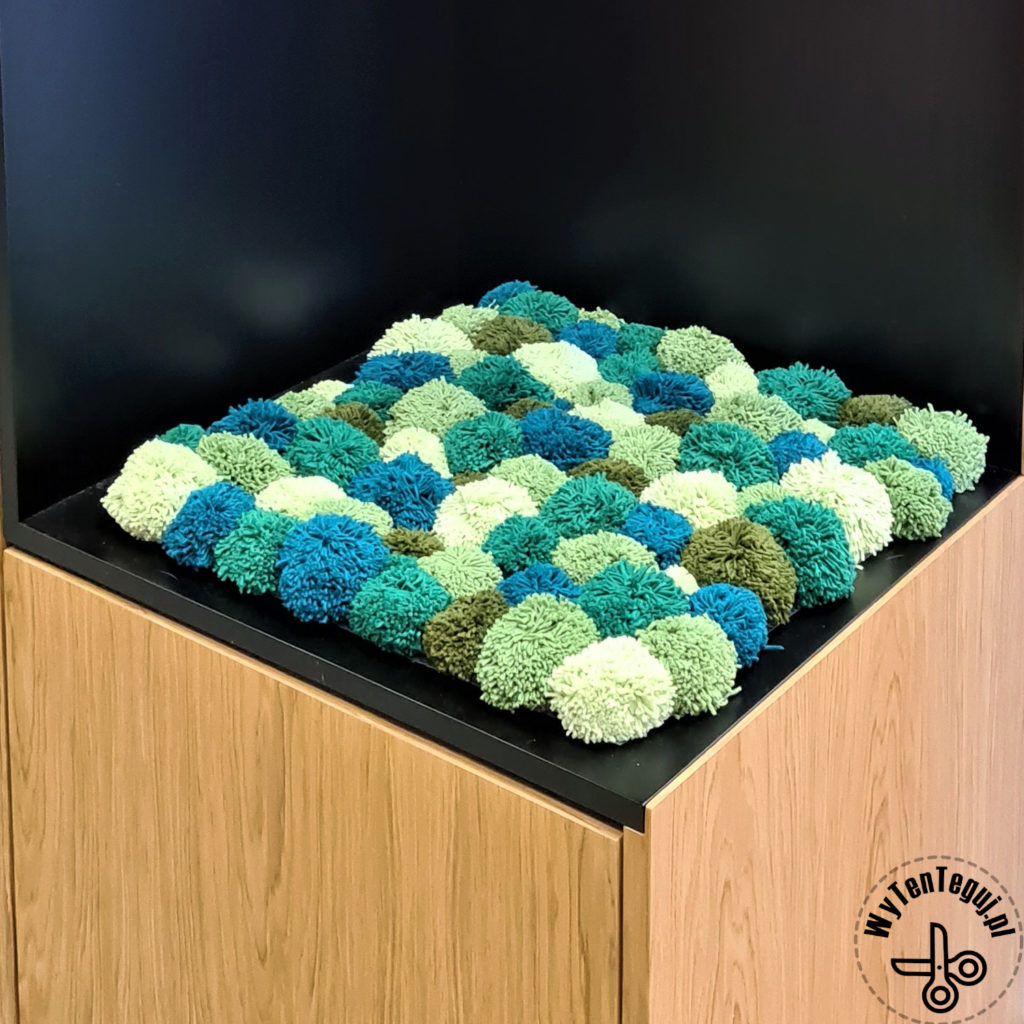
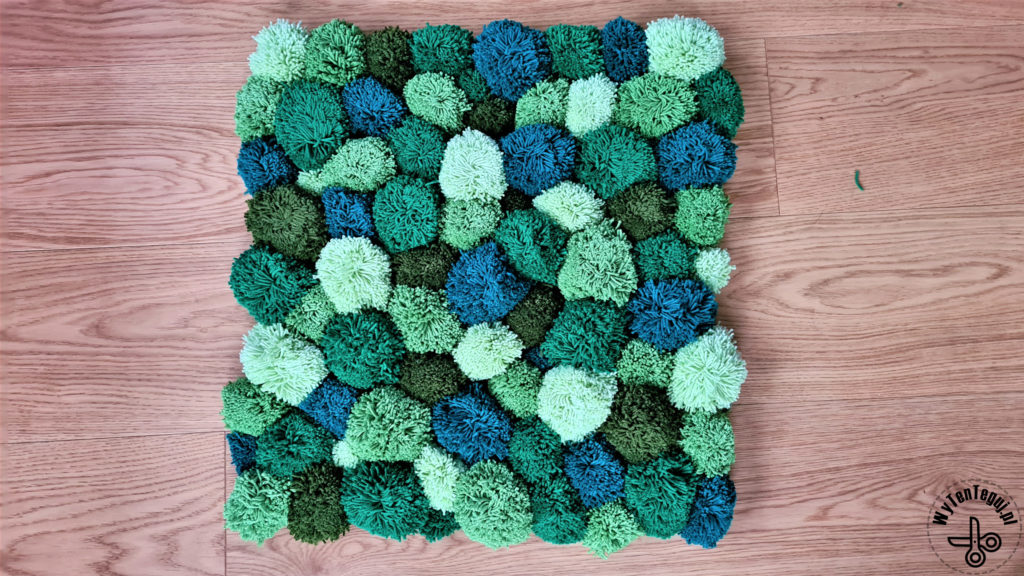
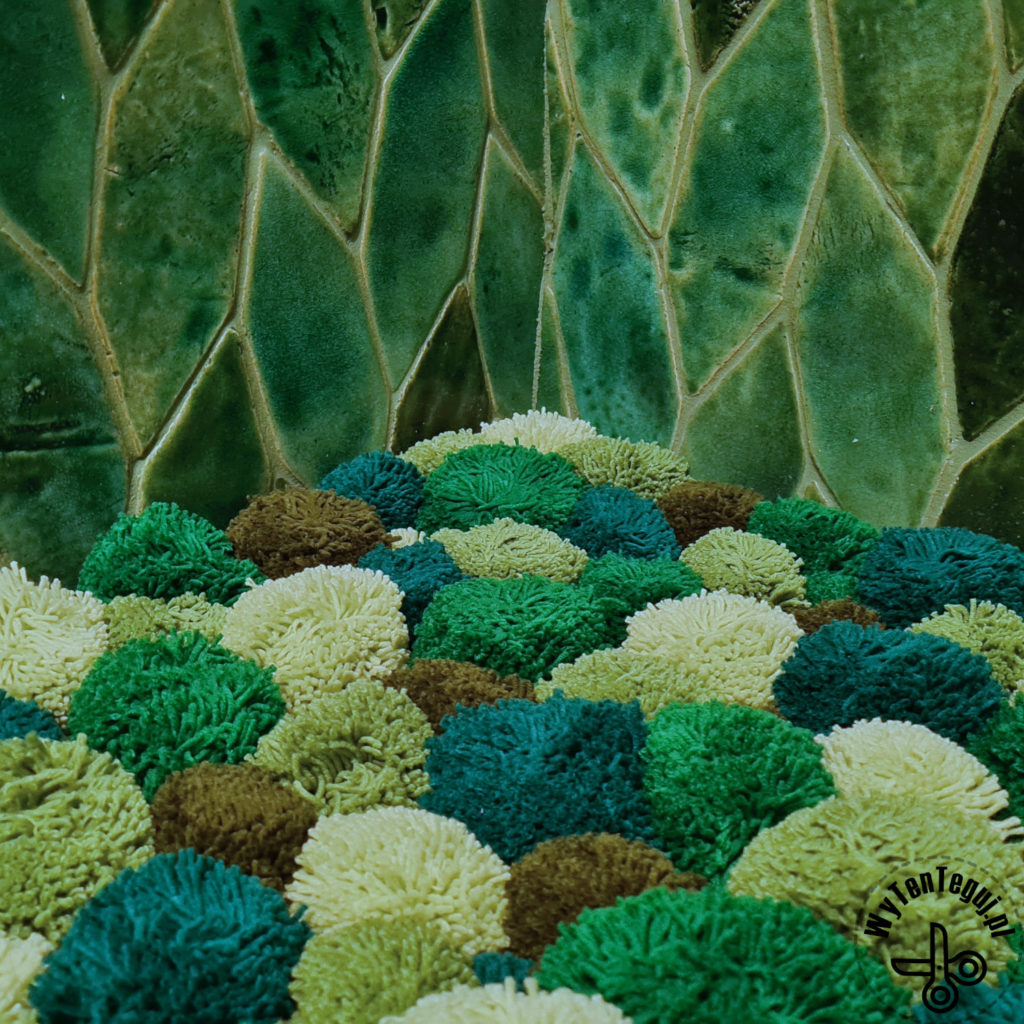
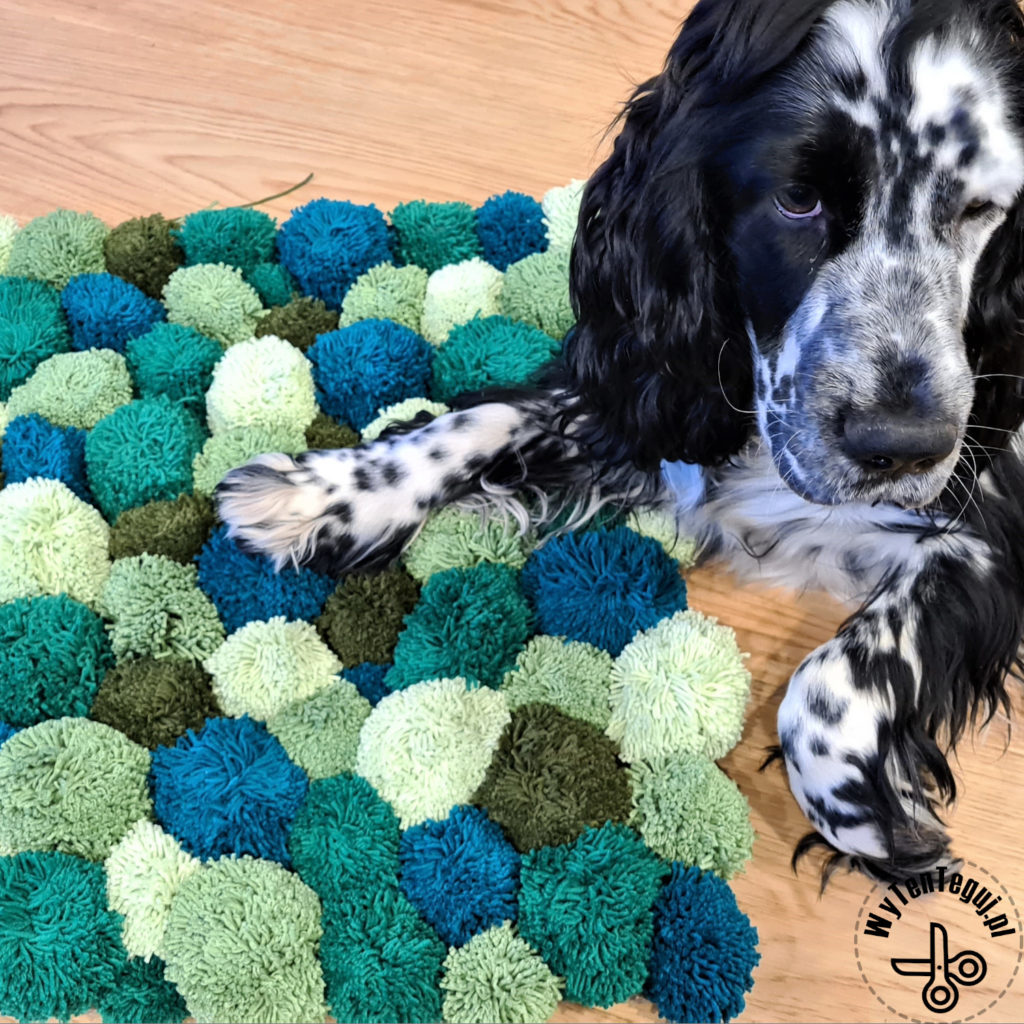
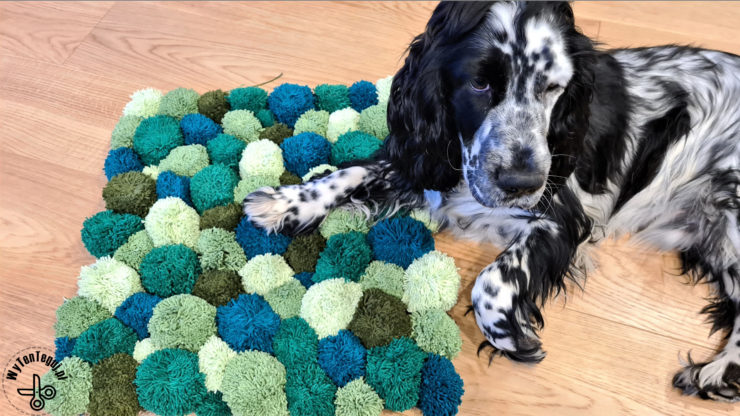
The pom pom rug is a proposition for the patient crafters, as it requires many hours of making pom poms. There are doubts along the way, but the end result rewards the effort, because the pom pom rug looks great 🙂 Ours serves as a pillow, because despite the initial approval, the dog started testing the durability of the rug 😉
![]() Polska wersja językowa: Dywanik z pomponów.
Polska wersja językowa: Dywanik z pomponów.
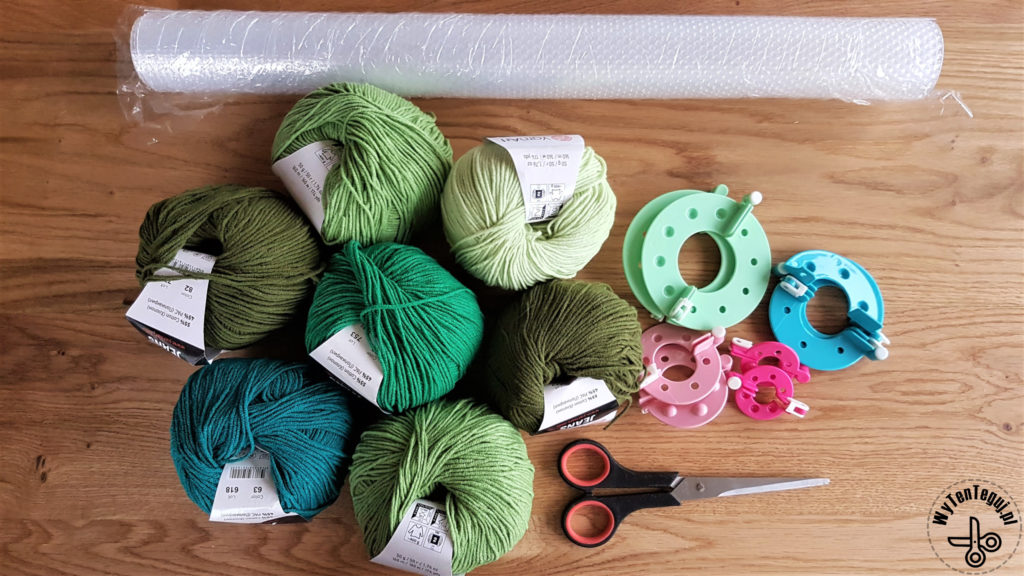
Supplies
- Yarn – a lot of skeins are needed, as about 4 to 6 pom poms come out of one. For a 50 x 50 cm rug, I used 16 skeins of yarn. I used YarnArt Jeans with a predominance of cotton, assuming that the rug will last longer. This yarn is quite thin so making the pom poms was laborious. So it seems better to use YarnArt Jeans Plus. It is true that it is more expensive, but definitely thicker, which should speed up the work. You can also use acrylic yarn, which is definitely cheaper, but there is a risk that the pom poms will pilling.
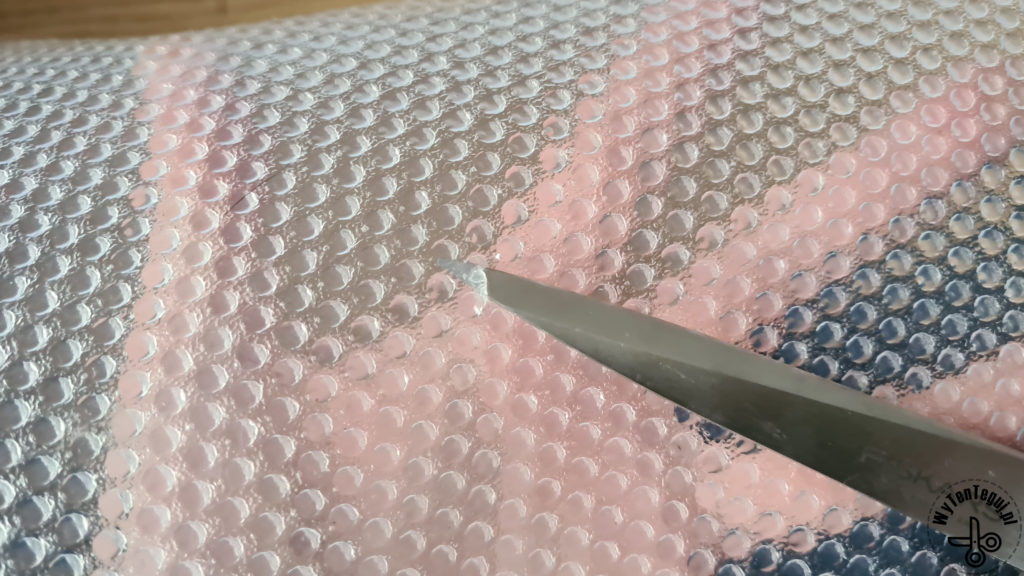
- Rug pad – the best is a non-slip rug pad or mash. I decided to use a slicone mat intended for kitchen cabinets. It made my task difficult because I had to punch holes in it for each pom pom.
- Pompom maker or cardboard circles – I definitely recommend pom pom makers because there is a lot of spinning. You can find a comparison of the methods of making pom poms in our post here.
- Scissors
How to make yarn pom poms?
Detailed instructions on how to make yarn pom poms with a comparison of tools can be found in our post. I definitely prefer pom pom makers. However, we use forks when we make pom poms with kids.
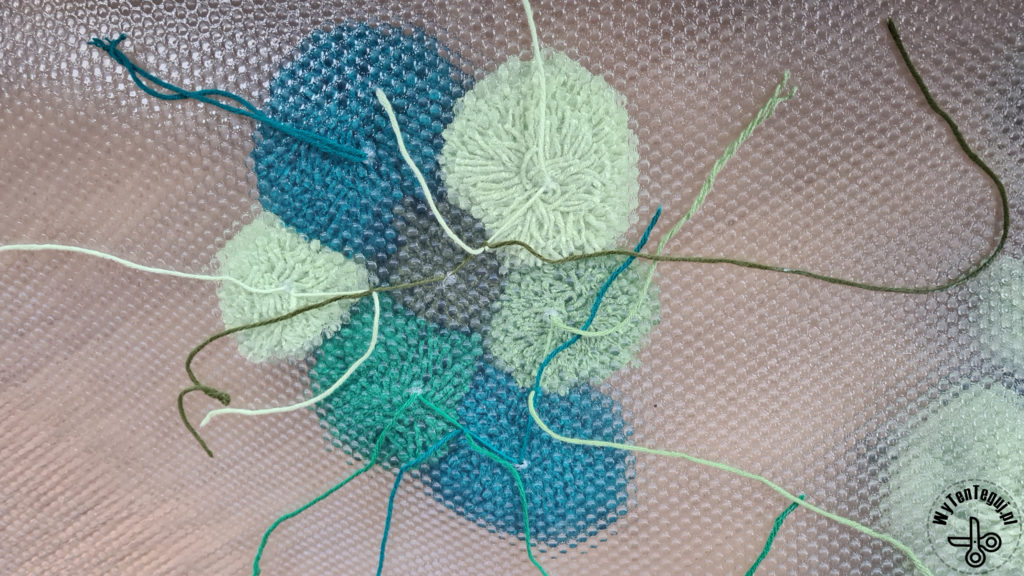
It is important to firmly tie the pom poms, even with double yarn. Additionally, it is worth leaving longer threads after tying, as it will be easier to attach the pom poms to the pad later.
How to make a pom pom rug?
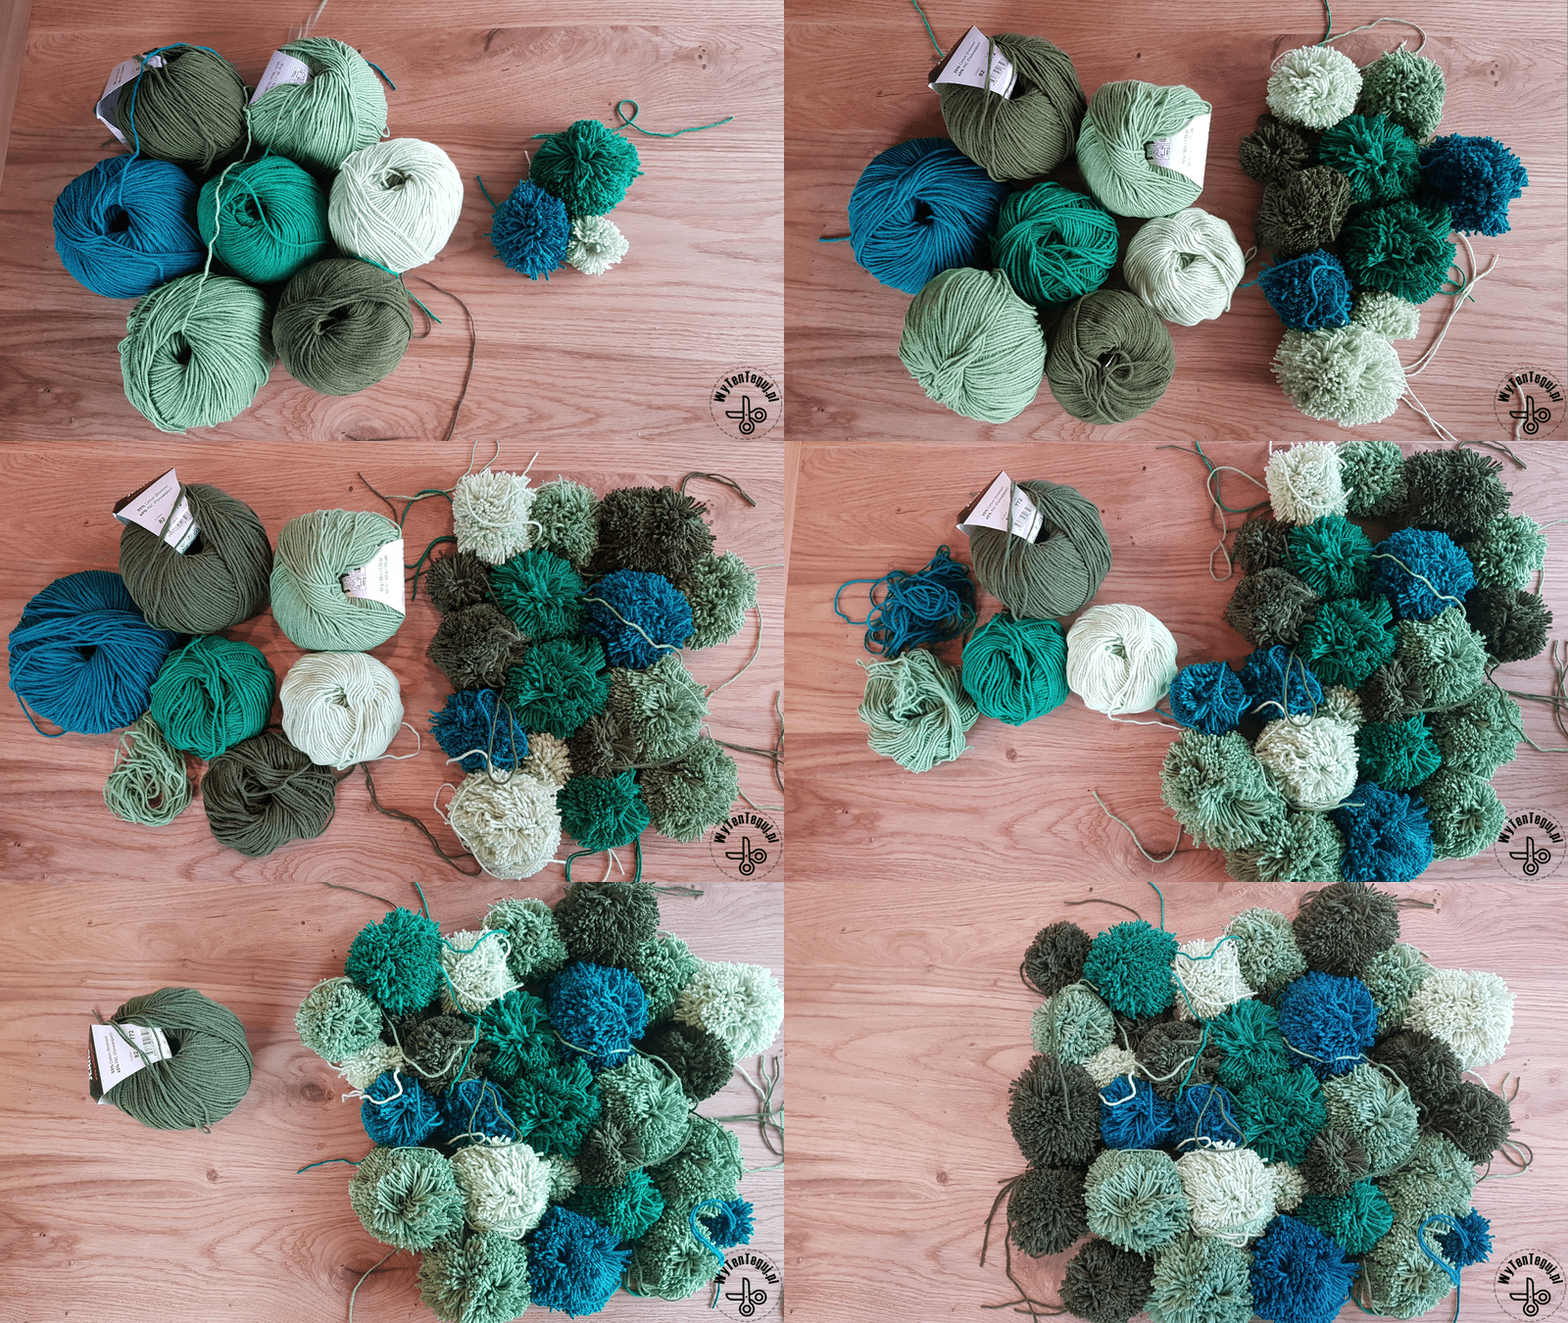
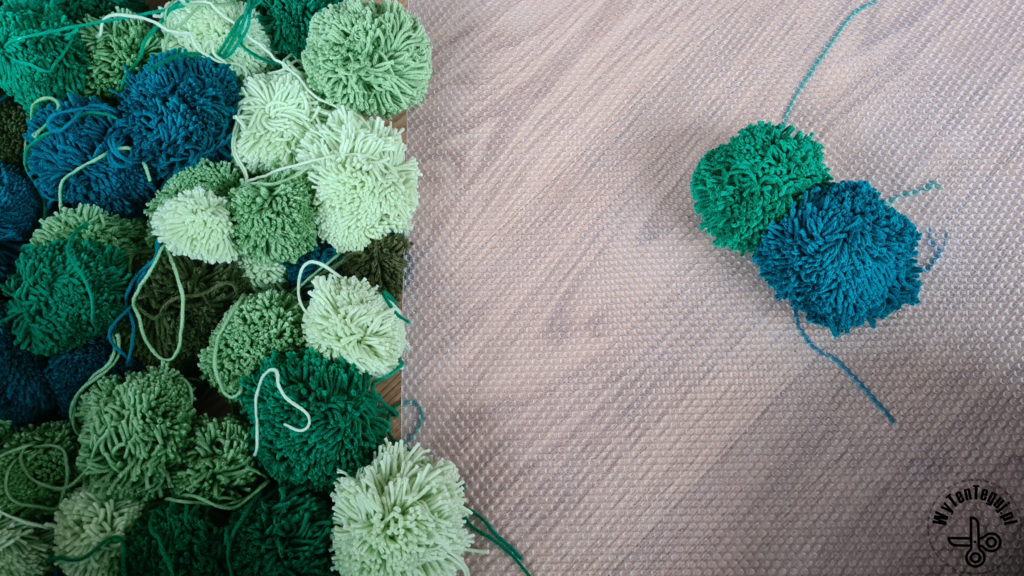
The greatest difficulty is to make all the pom poms you need. Then tying them to the pad is a pure pleasure.
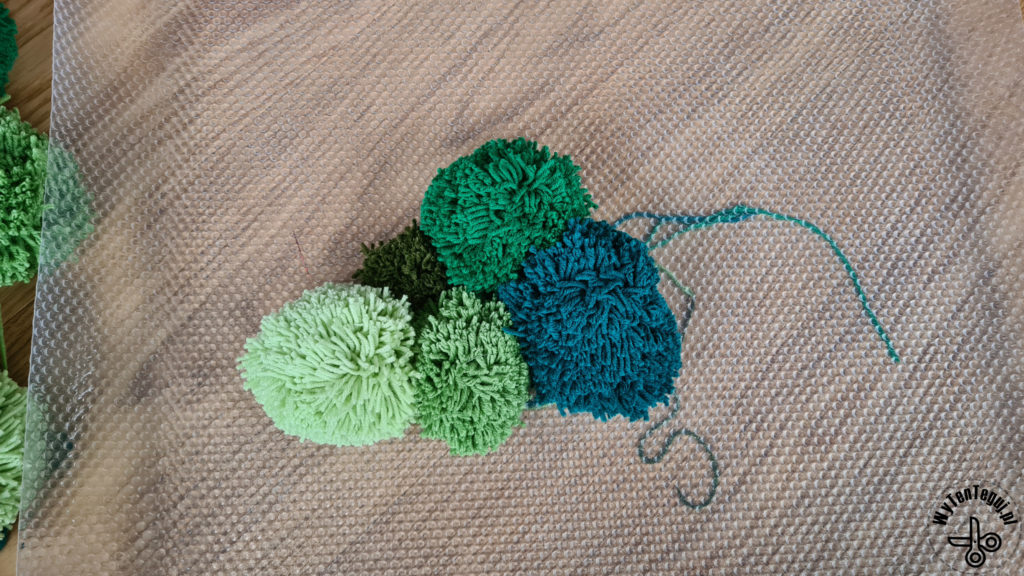
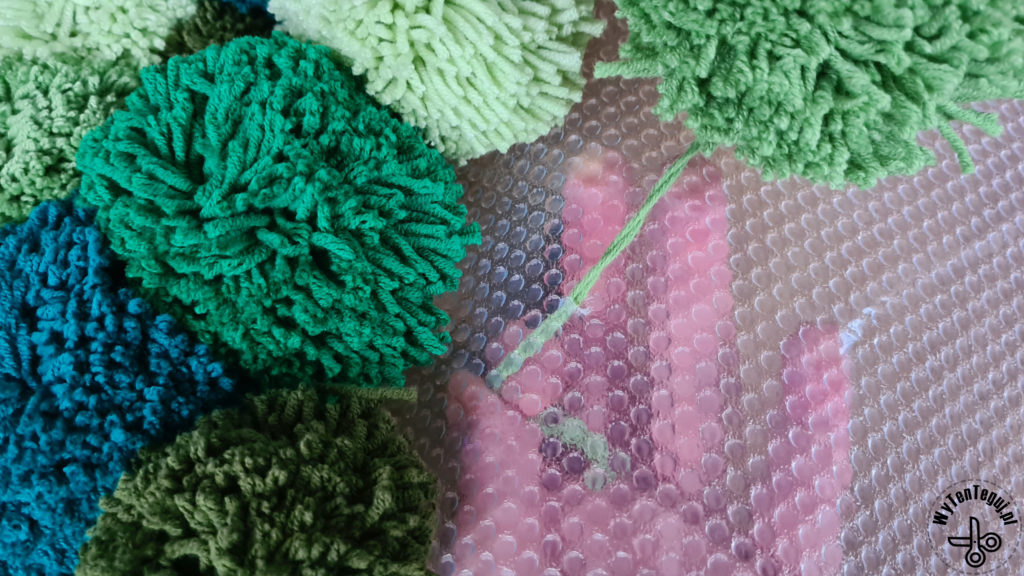
As I mentioned, the use of a dedicated rug pad would make the work much easier. Unfortunately I decided to use a silicone mat for drawers. So for each pom pom I had to punch a hole in the mat. Pom poms should be placed densely to keep the rug compact and therefore more durable.
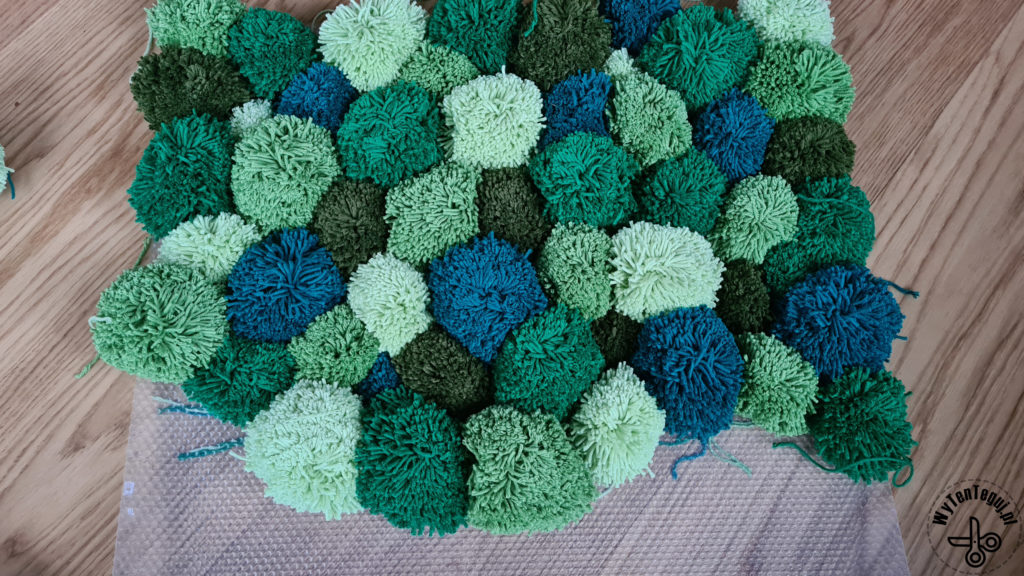
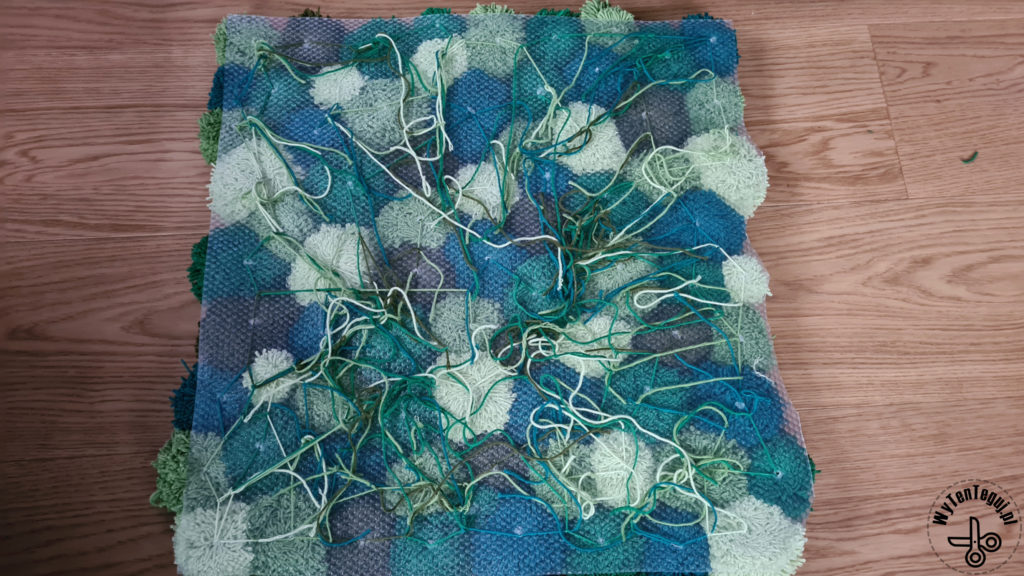
Pom pom rug is ready!

Check out our ideas
If you’re looking for more with pom poms, you’ll find them in the Pom poms section.
Follow us in social media
If you want to be up-to-date with our newest posts, like our Facebook fanpage, follow us on Instagram and Pinterest.
Nothing gives more satisfaction than doing something yourself. I haven’t even thought about DIY as my hobby, I’ve just done different “projects” when it was needed. Sometimes it’s a disguise for the Masquerade Party in kindergarten. Another time, cutting out the pumpkin and baking the witch’s fingers for Haloween. Or simply organizing holiday souvenirs. Now I decided to share my realizations with you. Let’s go it together!

One thought on “How to make the pom pom rug?”