
Now, when after the summer we are charged with holiday energy, it is worth taking care of preserving holiday memories. When it’s rainy and foggy outside the window, and the day is short, we will be happy to return to the carefree and sunny moments. A shadow box frame with souvenirs will be perfect for this role.
![]() Polska wersja: Gablotka z wakacyjnymi pamiątkami
Polska wersja: Gablotka z wakacyjnymi pamiątkami
You will need
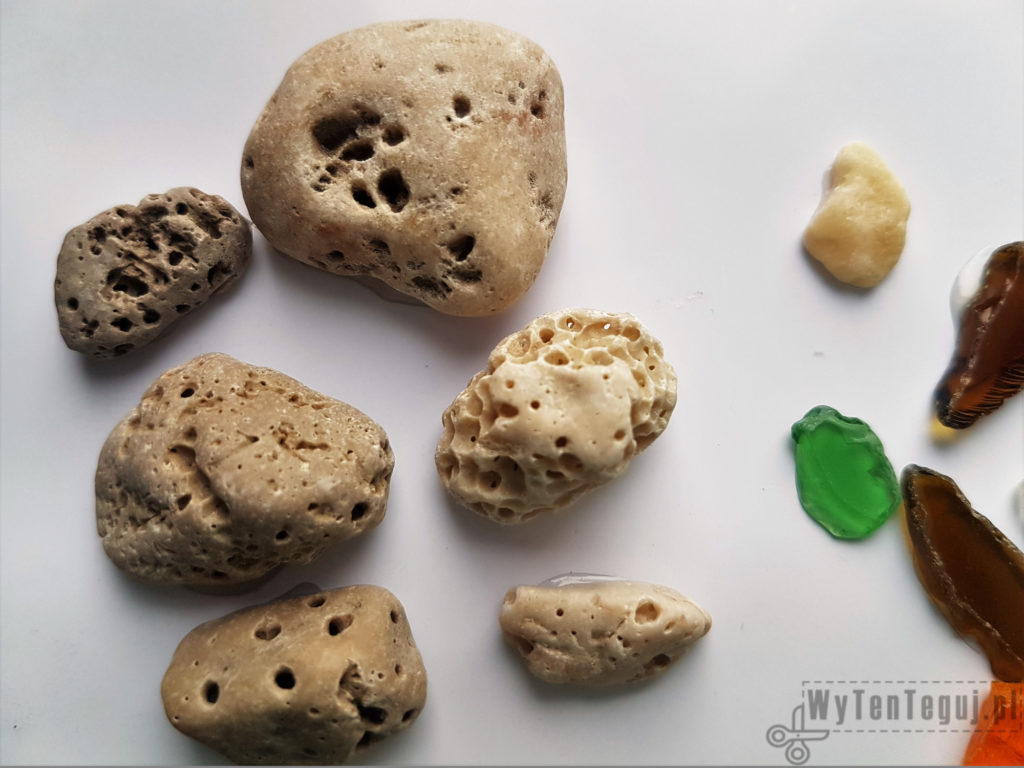
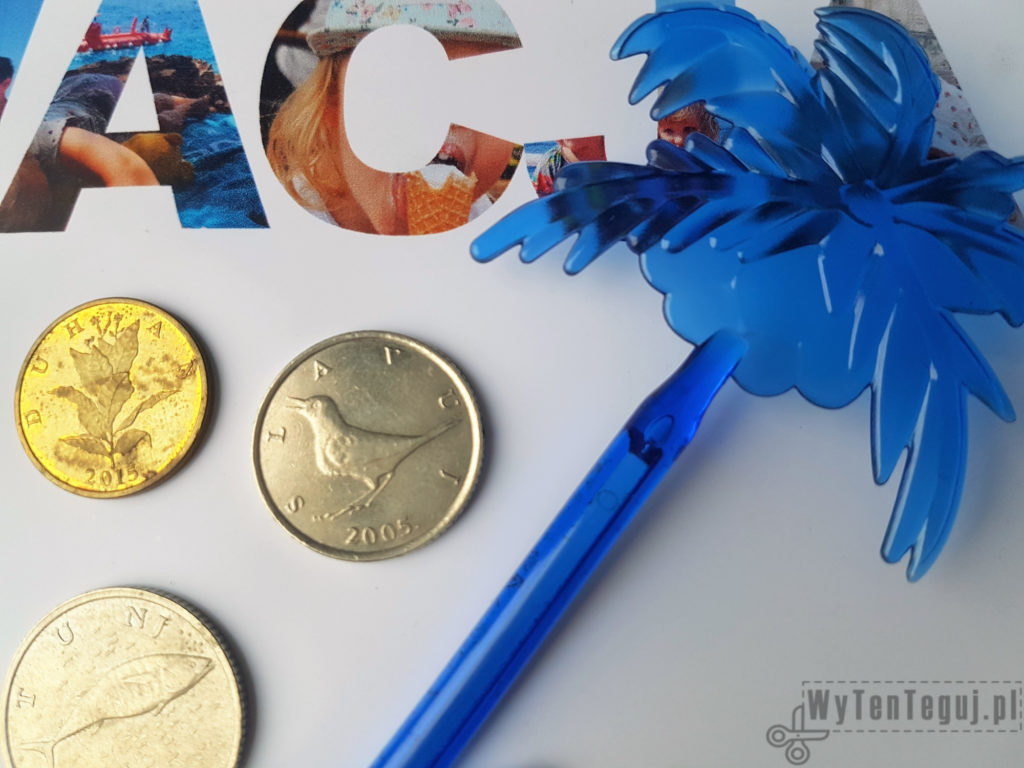
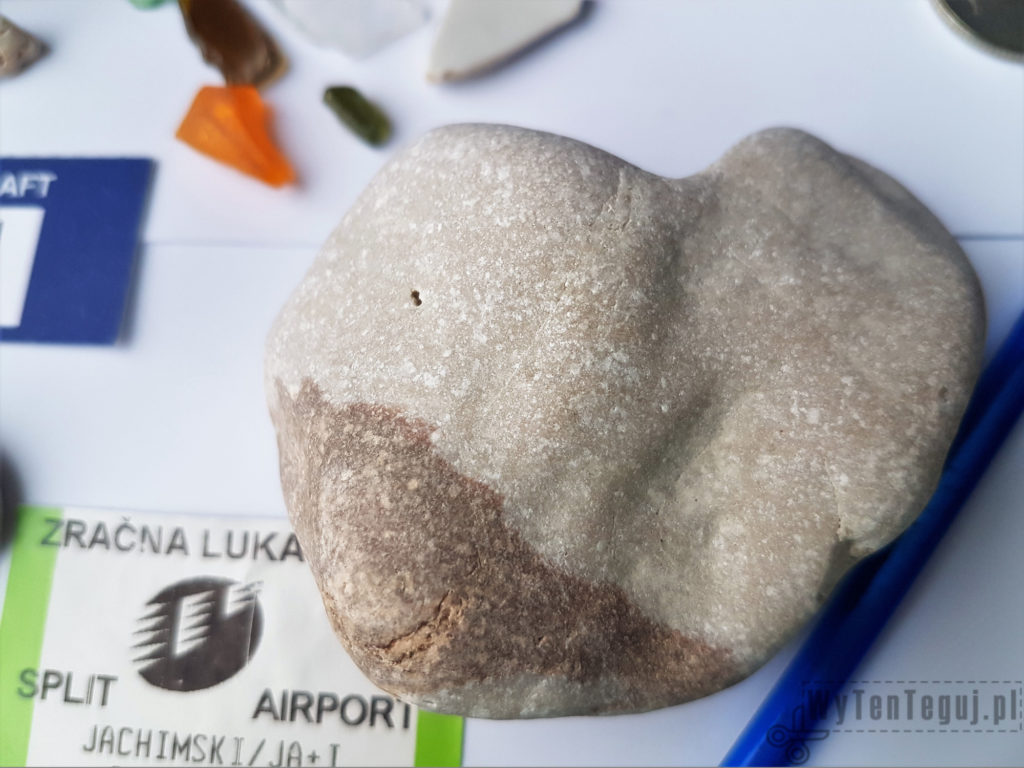
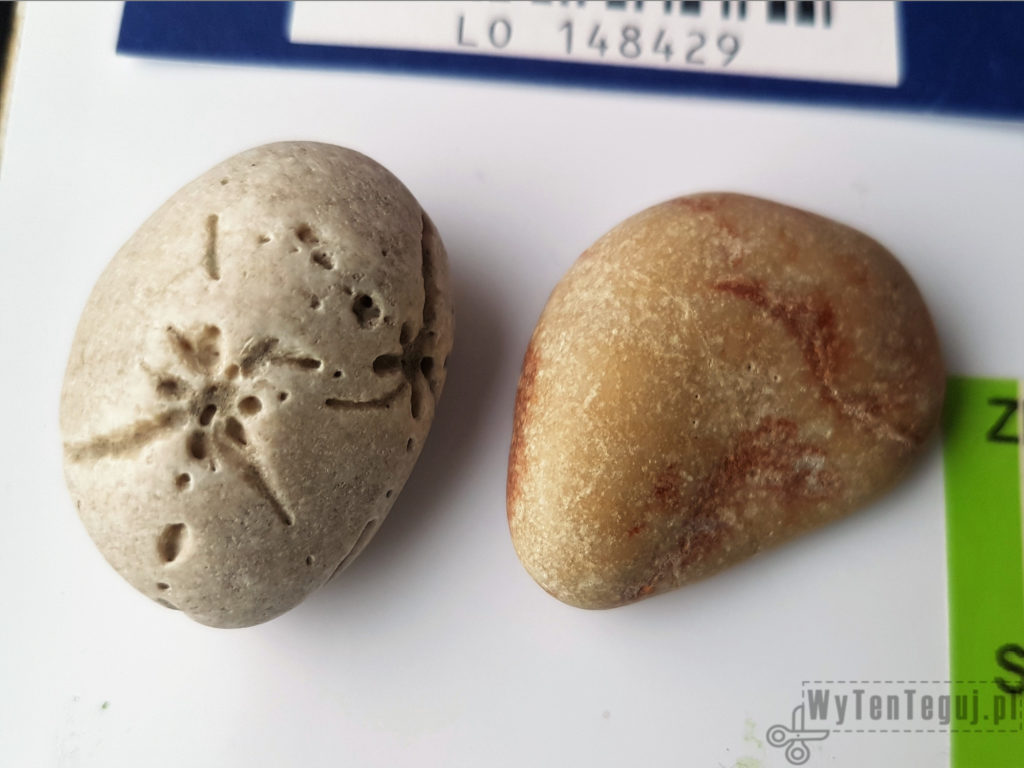
- Holiday souvenirs, everything you managed to collect and bring back. These can be, for example, shells, pebbles, sand, coins, tickets, entry cards, maps, leaflets.
- Holiday pictures
- Shadow box frame – e.g. Sannahed from IKEA
- Glue
- Optional printer and photo paper
How to make a shadow box frame with souvenirs
The most labor-intensive is to make the name of the city and country with photos as filling. There are two possibilities here. The first is physical cutting out letters from photos. This method is quite tedious to perform and requires high precision in cutting out letters. I decided on the second way, namely preparing the letters in an electronic version and printing the finished inscription. This option requires a printer and photo paper. Making the inscription itself is quite simple using PowerPoint. Of course, you can also use more advanced graphic programs 😉
- Write the name of the city and country
- Select the font size so that it fills the entire slide (the font size will depend on the length of the inscription)
- Select one letter, use the right mouse button to bring up the menu and select ‘Format shape’.
- Then ‘Text options’, ‘Text fill’, ‘Image or texture fill’, ‘Insert image from’, ‘File…’ and select the desired photo.
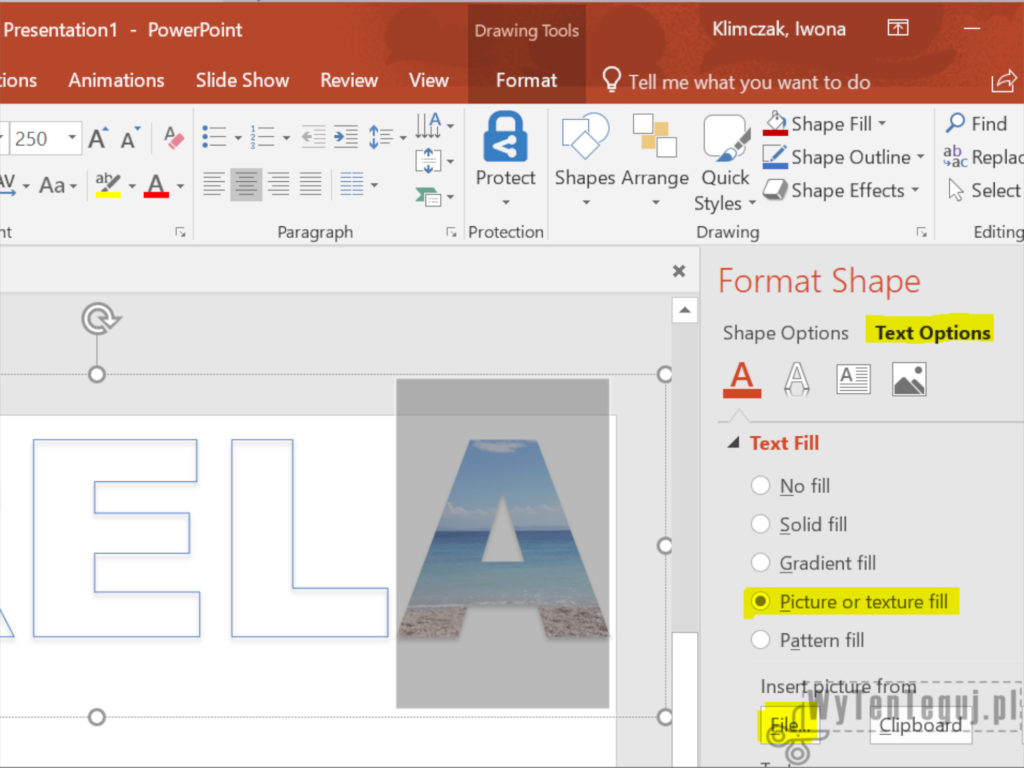
- Repeat for each letter. You can also insert one picture for all the letters, then instead of selecting one letter, you should select the whole word.
- Print on photo paper. Print quality depends on the printer. On my print you can see the banding characteristic of an inkjet printer, but it is only visible up close. When you look at the finished work, this undesirable effect is not noticeable.

The next step is to create a composition of souvenirs. It is worth trying a few layouts and after reaching the most desired one, start sticking souvenirs to the frame.

Finally, put on the glass front of the shadow box frame and close it with snap fasteners.
Shadow box frame with souvenirs is ready
Now all you have to do is mount it on the wall and let your holiday memories warm up the cold winter days.

Check out our ideas
For more creative activities for kids check our DIY with kids section.
Follow us in social media
If you want to be up-to-date with our newest posts, like our Facebook fanpage, follow us on Instagram, Pinterest and YouTube.
Nothing gives more satisfaction than doing something yourself. I haven’t even thought about DIY as my hobby, I’ve just done different “projects” when it was needed. Sometimes it’s a disguise for the Masquerade Party in kindergarten. Another time, cutting out the pumpkin and baking the witch’s fingers for Haloween. Or simply organizing holiday souvenirs. Now I decided to share my realizations with you. Let’s go it together!
