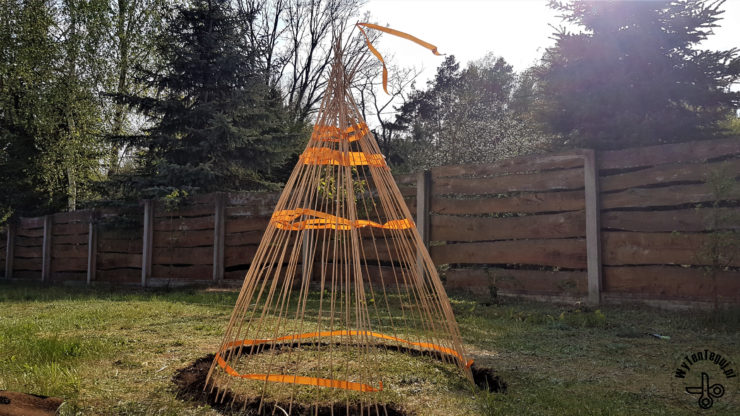
During the lockdown we spend a lot of time in the garden. This time I wanted to try my hand at growing green beans. I decided to combine bean trellis with a kid’s hut. This is how I came up with the bean teepee idea.
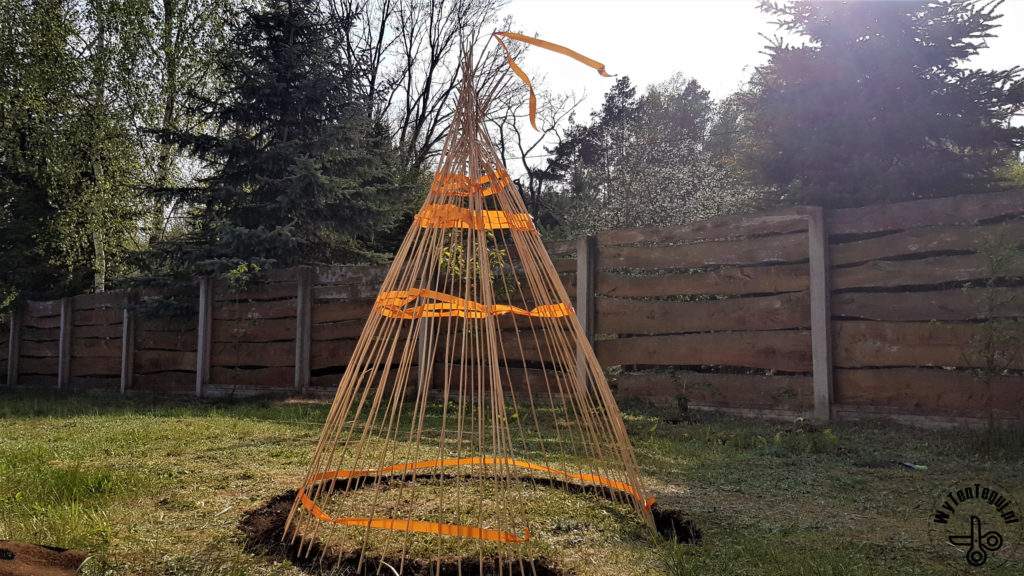
For now, our bean teepee is in the very initial stage. I can’t wait for the bean shoots that will turn into green teepee.
Supplies for the bean teepee
- Long sticks – you need long and straight branches, bamboo or grass sticks. I used last year’s Miscanthus giganteus stalks, which after tearing off the leaves are very similar to bamboo sticks.
- String or ribbon – for joining constructions and for decoration
- Scissors
- Spade
- Soil
- Bean seeds
Teepee design and site preparation
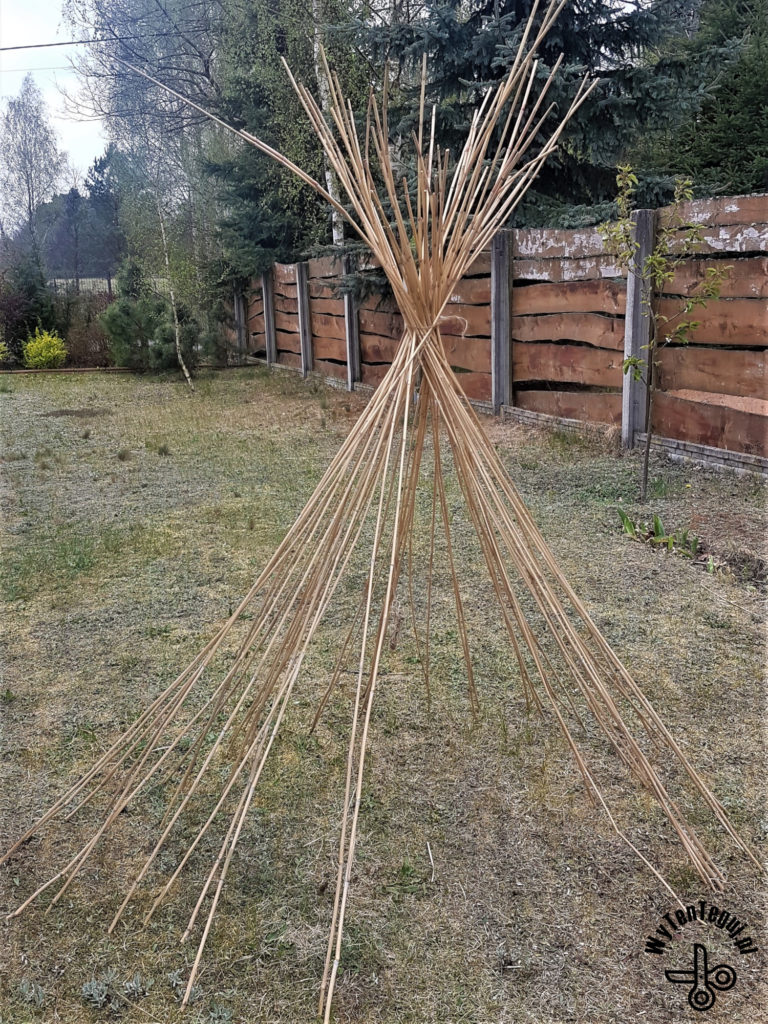
The first step is to prepare the sticks. I had a lot of Miscanthus Giganteus grass stalks. This kind of grass grows up to 3 meters in height and it’s sticks are stiff and durable, so they are ideal as supports.
Together with kids, we first picked up all the leaves, and then we chose the longest and strongest poles. From the bunch of sticks, we made the first attempt to build a hut to check the size of the teepee base.
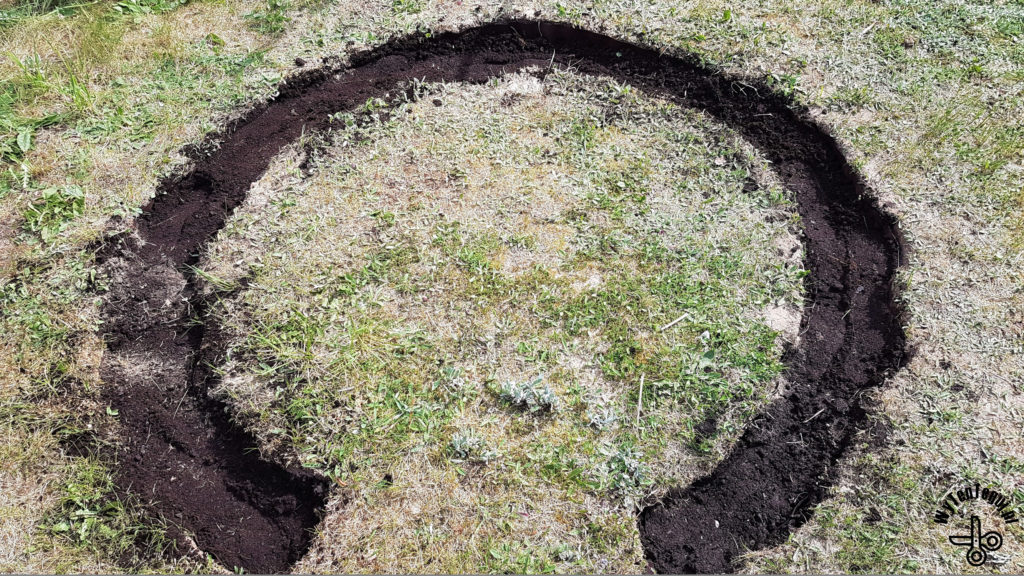
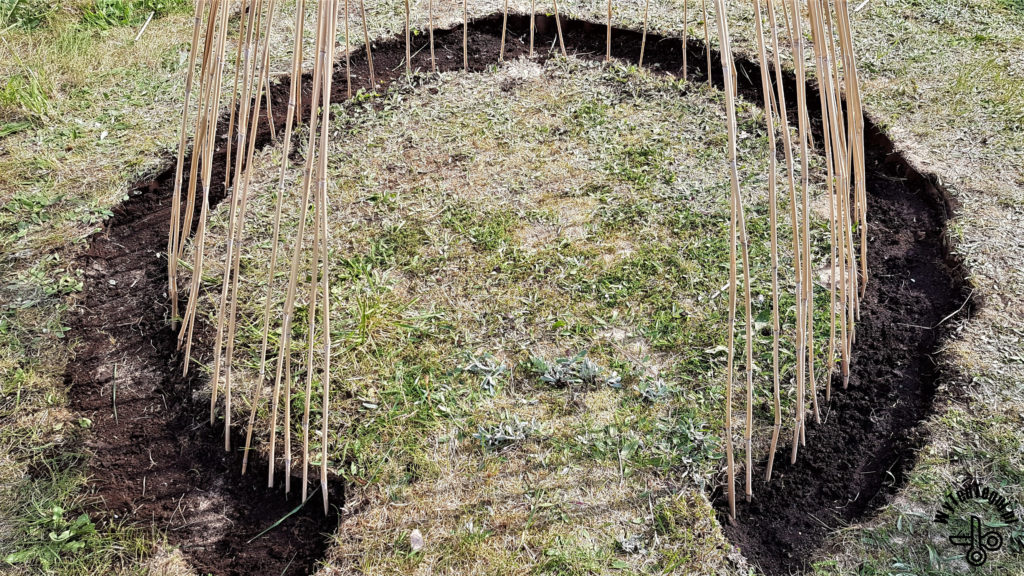
The next step is about choosing a place for the hut and preparing the ground for sowing beans. Dig a horseshoe-shaped groove with a diameter previously measured. Here it is worth bringing children to work who love to dig 🙂
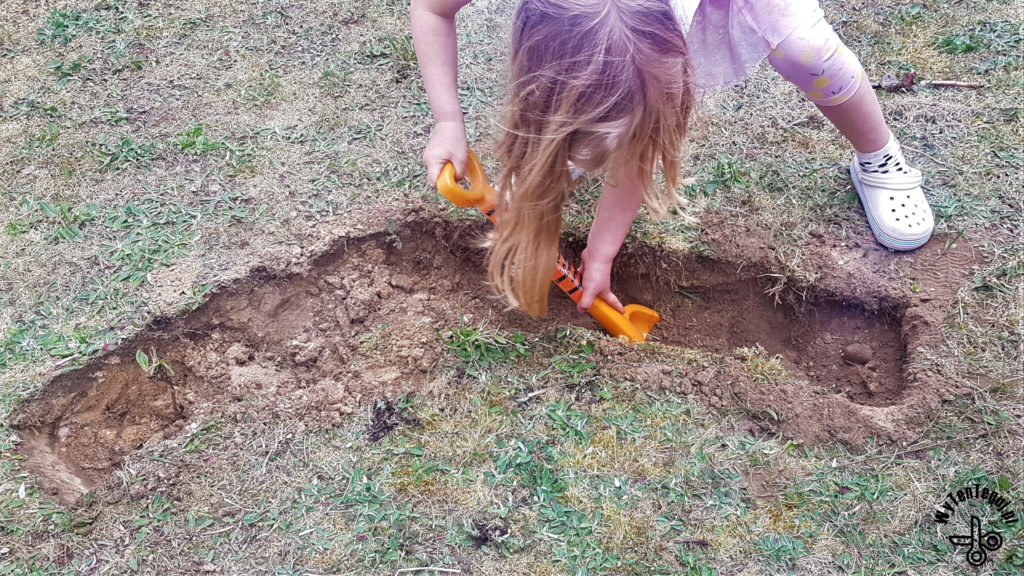
Fill the hole with a soil suitable for growing the selected plant. When it comes to green beans, the soil should be slightly acidic or neutral.
Making of a teepee and sowing seeds
Once we have prepared the sticks and ground, we can get started making a bean teepee.
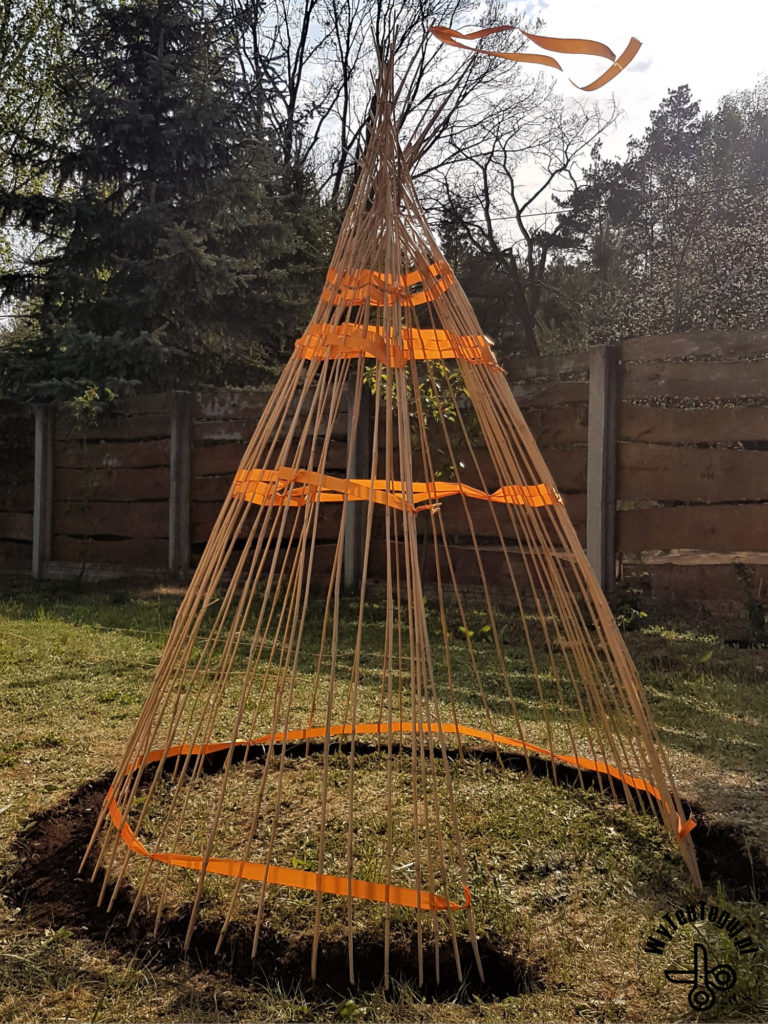
We start with making the teepee basis out of the longest sticks. A dozen or so longest sticks should be placed around the entire perimeter (without an entrance) and tied in the highest place possible.
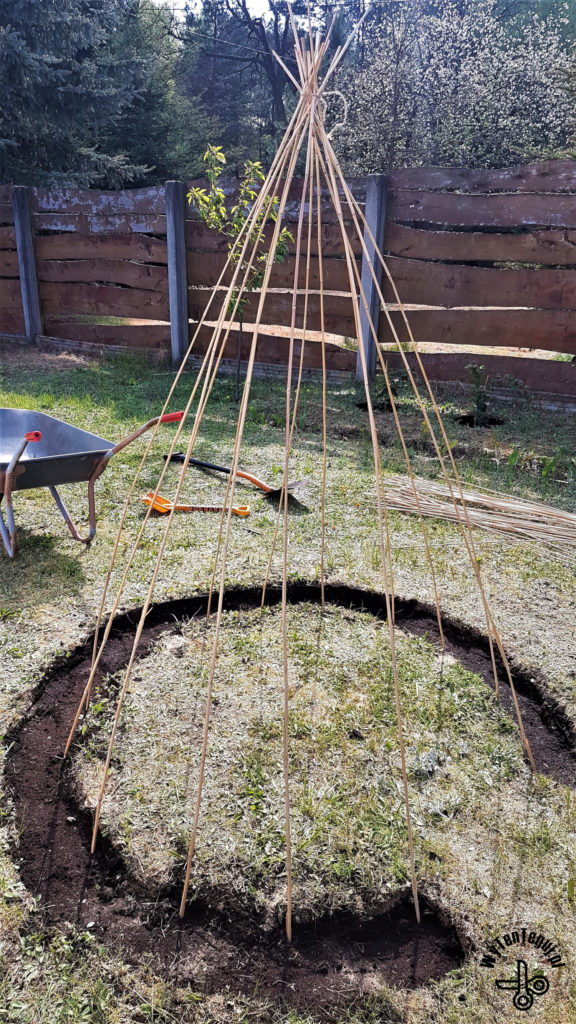
A dozen centimetres below the upper binding make a hoop with string. It will strengthen the structure and support shorter sticks. Then arrange the remaining sticks so that their upper ends are under the string.
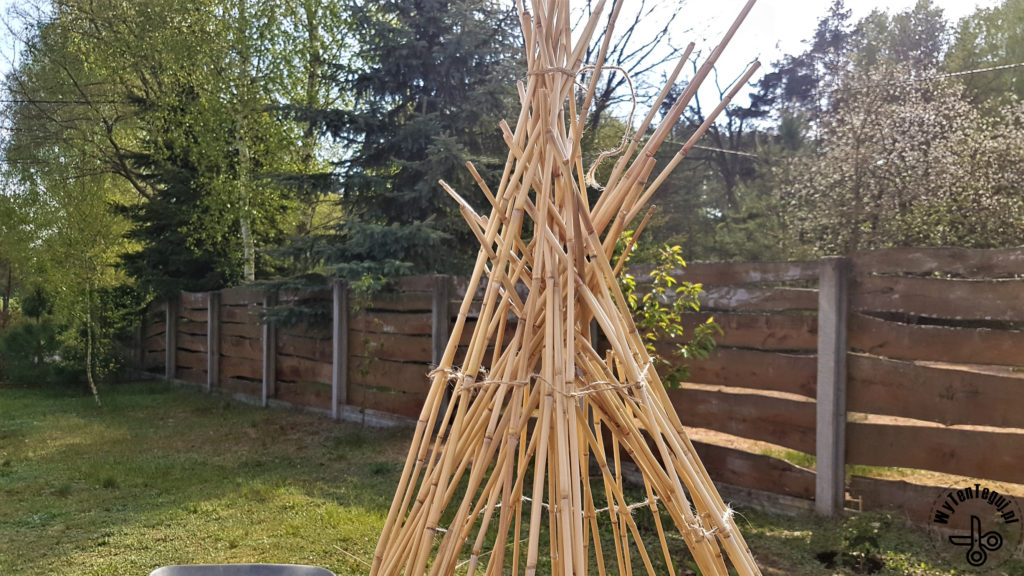
Then twine all sticks so that the string goes slalom between the poles. Tie a knot from time to time. Repeat several times so that the structure is stable and the beans can easily grow. We used the orange ribbon because kids wanted it to be more colorful and Indian like.
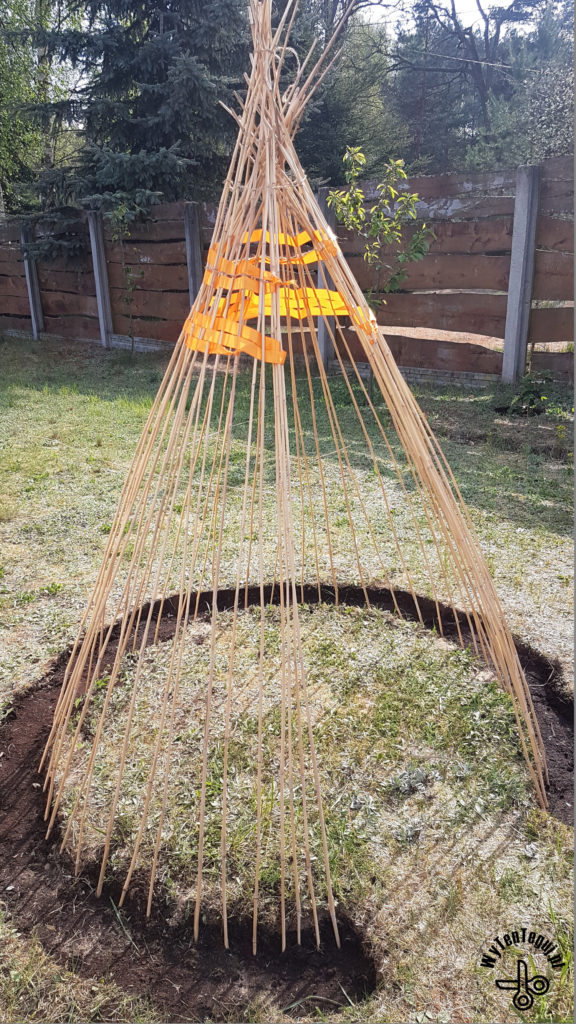
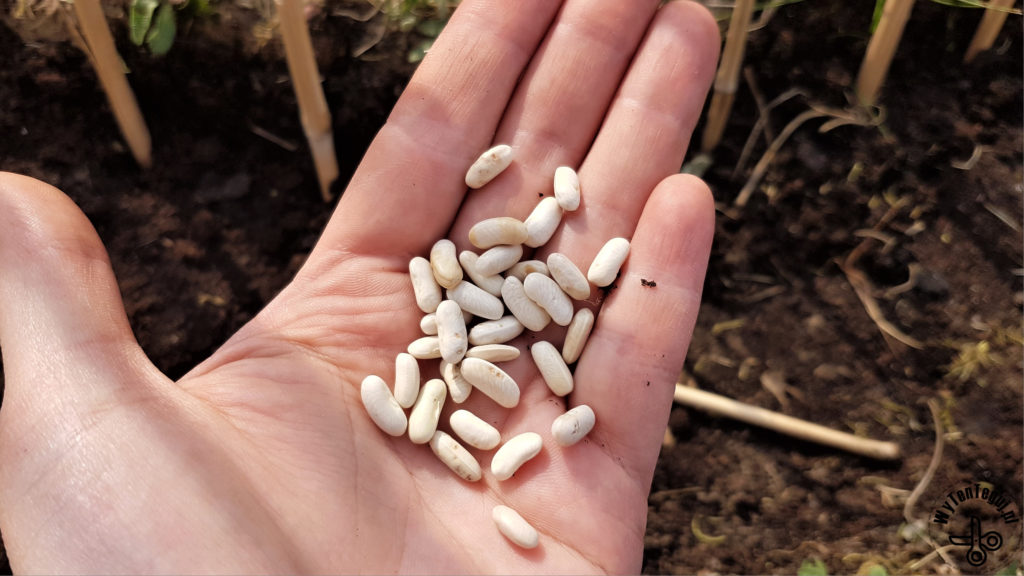
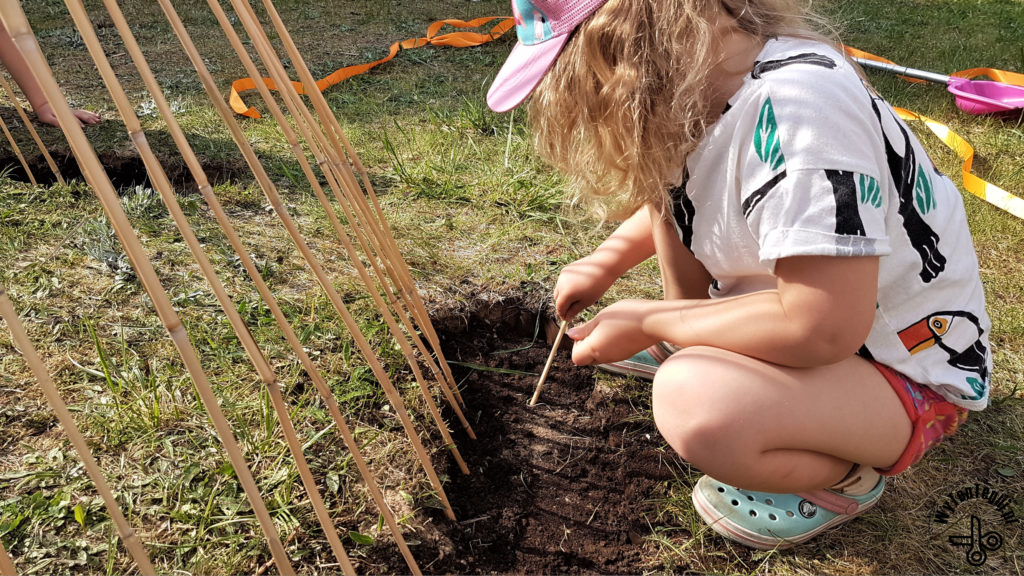
The last step is sowing the seeds. We sowed 1-2 seeds per pole, which is a little more often than recommended, but I want it to be dense and green 🙂
Finally, I attached a decorative ribbon on the top that flutters wonderfully in the wind 😉
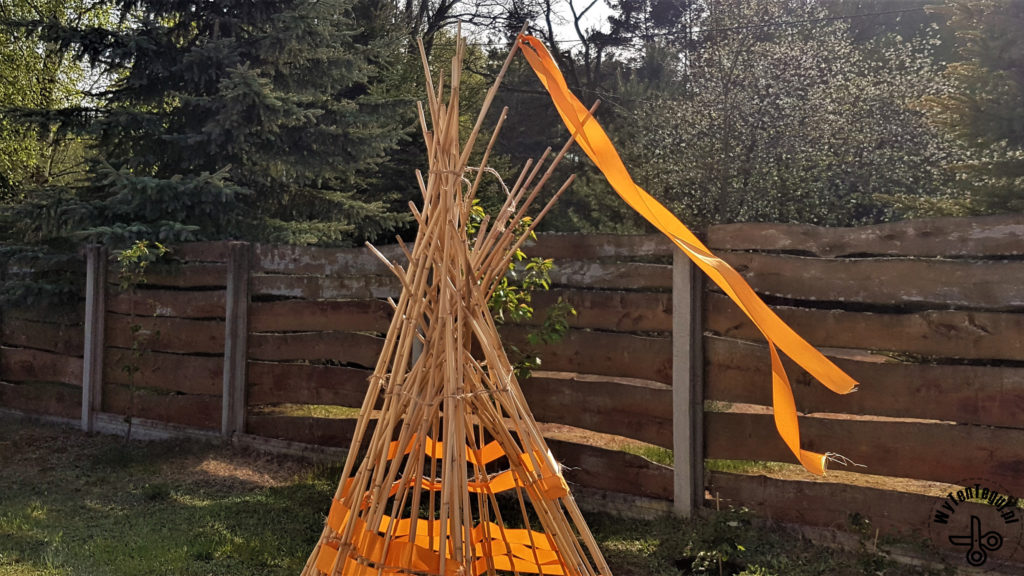
Bean teepee is complete, now all hope in beans. I will update the post about bean progress.
Check out our ideas
If you are looking for more ideas for playing with children, then you will find them in the DIY with children section.
Follow us in social media
If you want to be up-to-date with our newest posts, like our Facebook fanpage, follow us on Instagram and Pinterest.
Nothing gives more satisfaction than doing something yourself. I haven’t even thought about DIY as my hobby, I’ve just done different “projects” when it was needed. Sometimes it’s a disguise for the Masquerade Party in kindergarten. Another time, cutting out the pumpkin and baking the witch’s fingers for Haloween. Or simply organizing holiday souvenirs. Now I decided to share my realizations with you. Let’s go it together!
