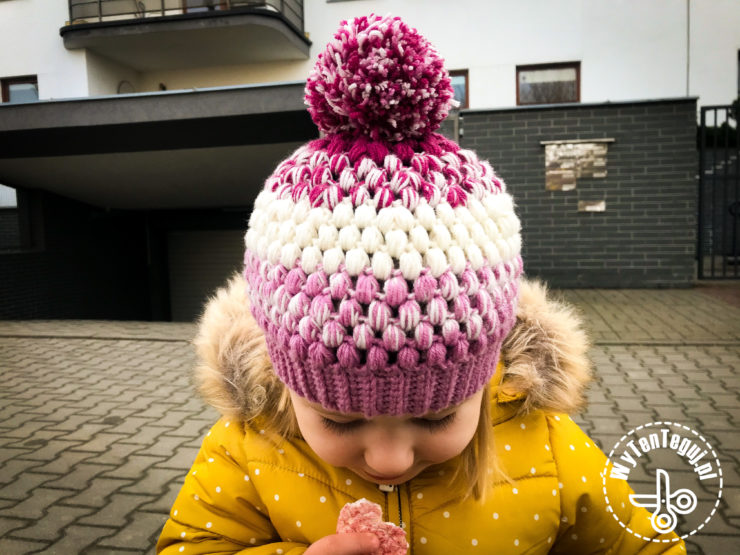
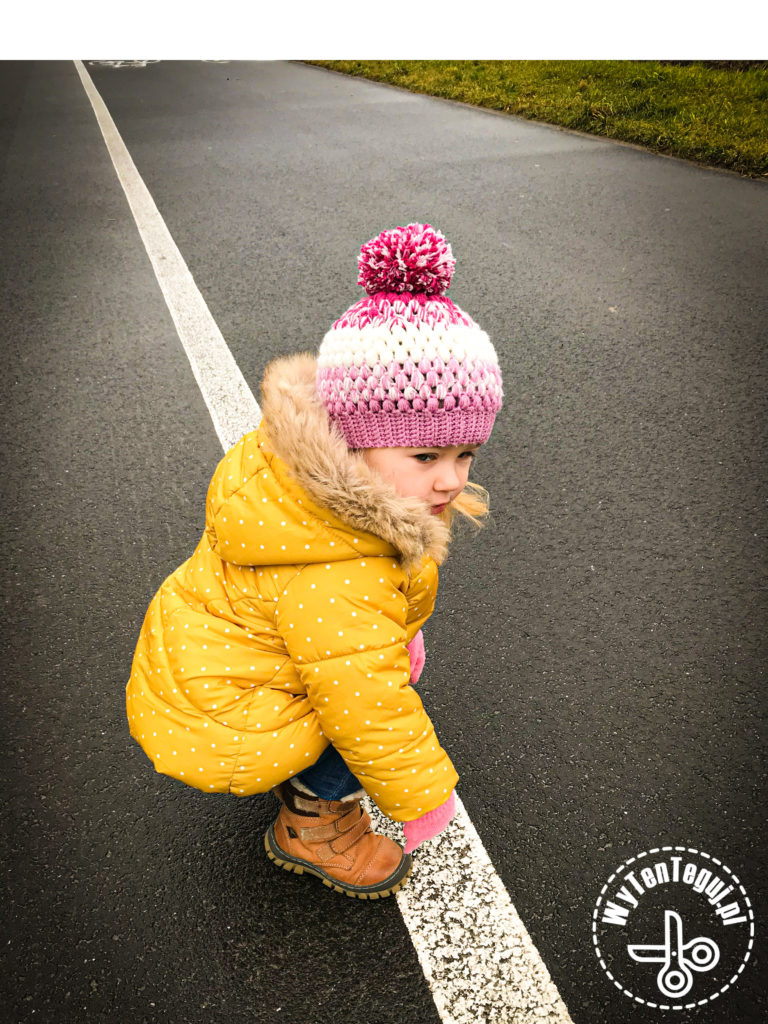
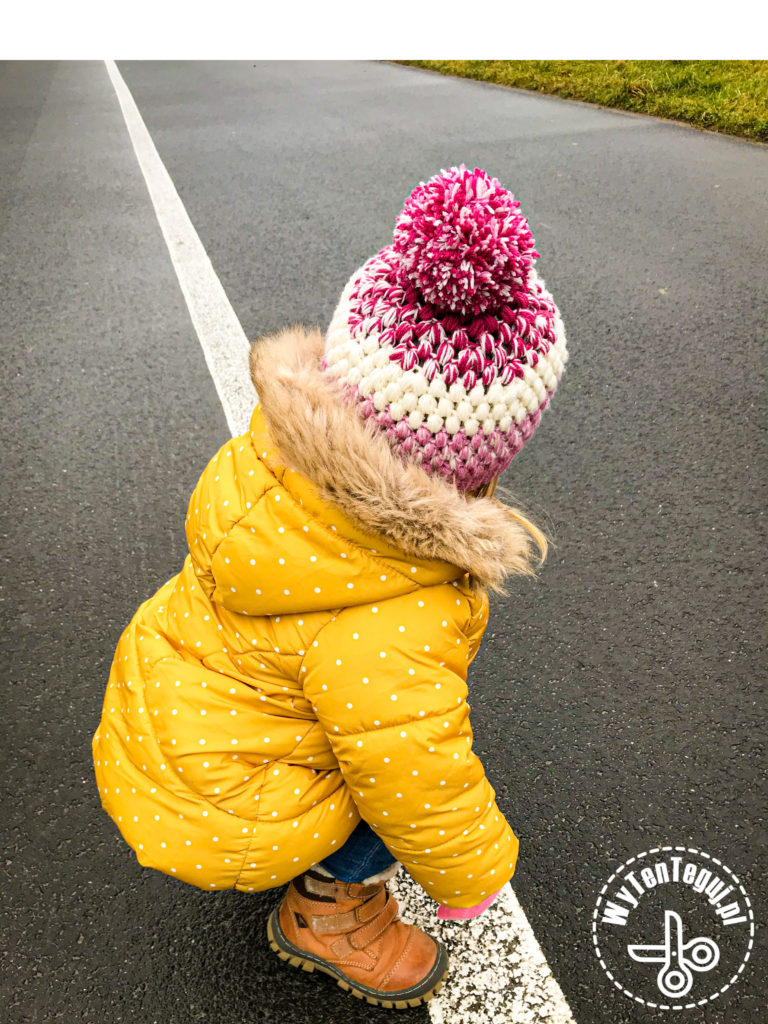
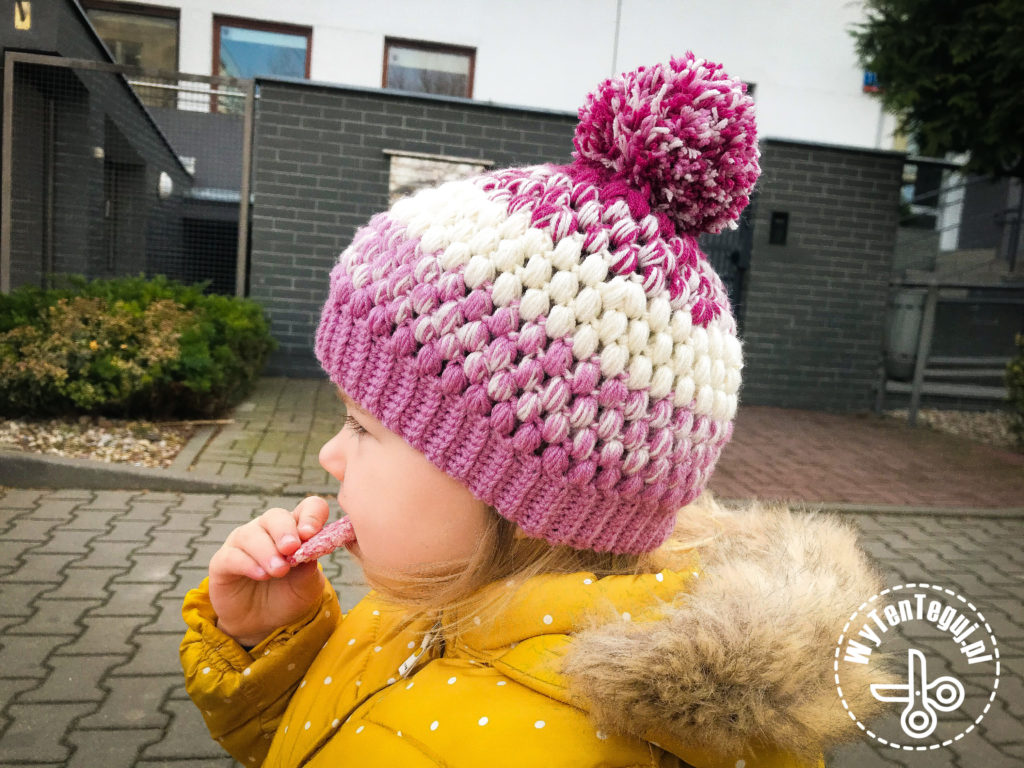
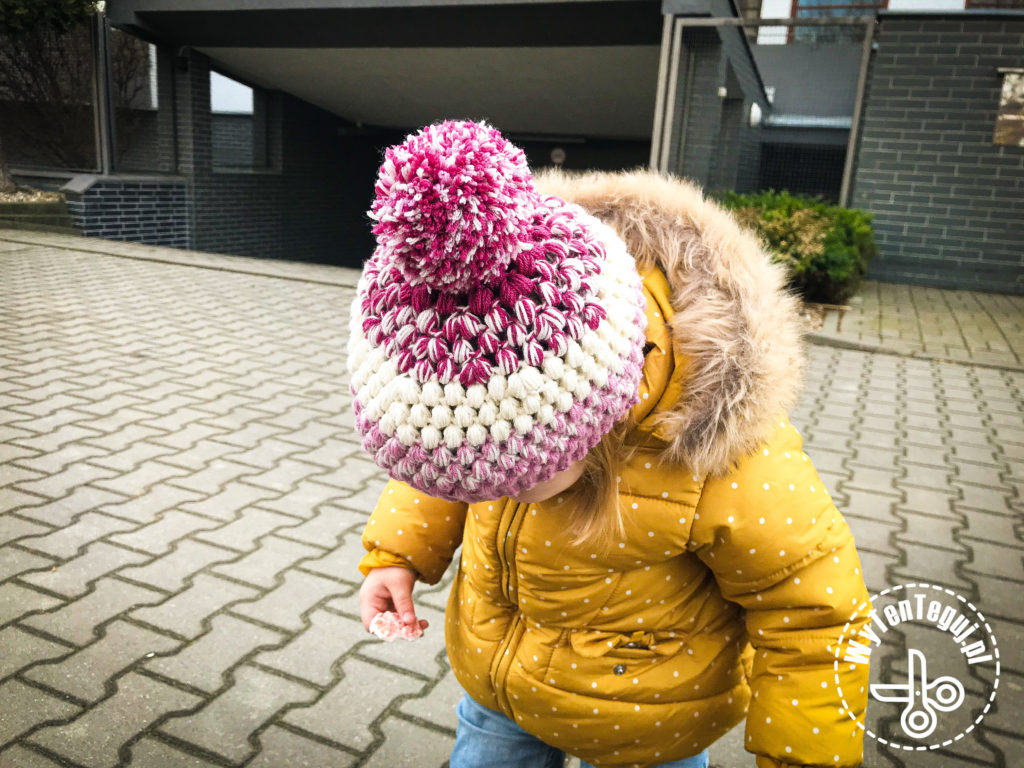
It could be written officially – I’m addicted to beanies 😂😁😊 but let me explain something: it’s all about this stitch! As soon as I saw bubble stitch on yt, I immediately wanted to crochet puff stitch beanie 🤦♀️😎
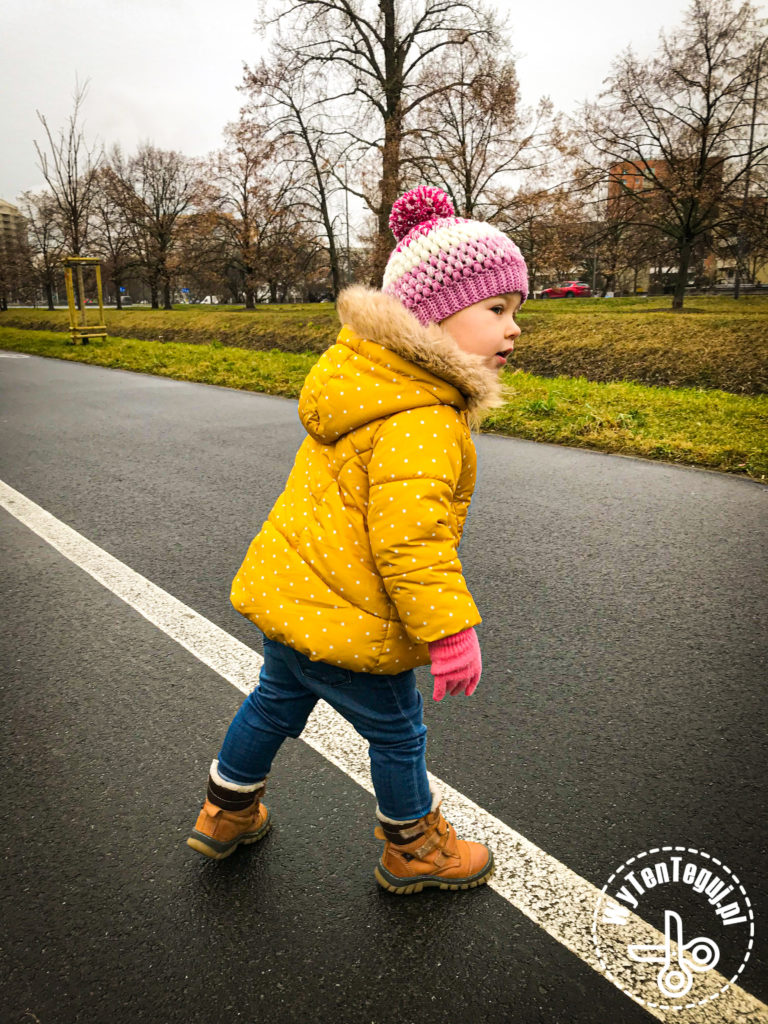
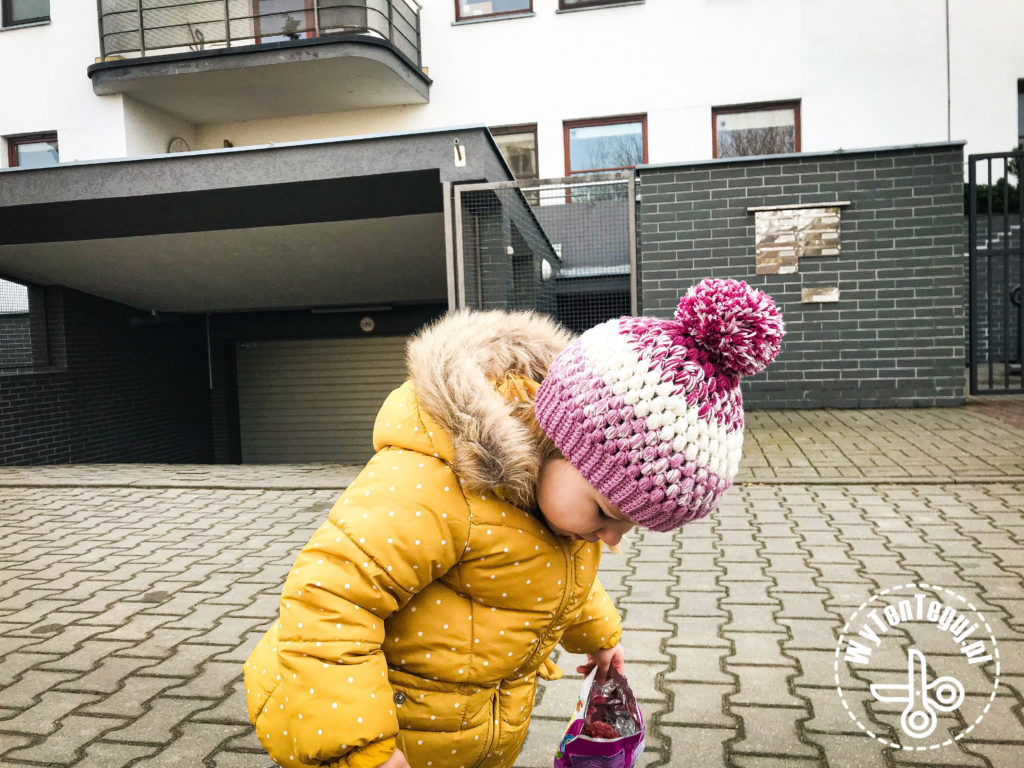
The hat is wonderful, soft and delicate, but very warm at the same time. The baby’s head has adequate ventilation. Merino wool is the best for products made for children. In addition, Drops Baby Merino has a very rich and beautiful colors, so everyone could find something for themselves.
You can find more my crochet projects in Crochet category.
If you want to be up-to-date with our newest posts, like our Facebook fanpage, follow us on Instagram and Pinterest.
What do you need to crochet bubble beanie?
- Video-tutorial from pasart.pl
- Yarn: Drops Baby Merino, I used colors: 27 (old pink), 41 (dark pink) i 02 (ecru).
- Hook – 3,5 mm for ribbing and 4 mm for the rest of the hat
How to crochet a bubble beanie?
Yarn and ribbing preparation
- First, I divided the yarns in half, accurately measuring the length with a tape-measure. It’s the first step if you need to crochet with a double thread.
- After obtaining 6 skeins (2 of each color, because my hat is three-colored) I started to crochet the rib. To do this, make 9 chain stitches using first color (mine was old pink).
- Then I made a single crochet in each stitch, beginning with the second stitch. After reaching the end of the row I crocheted an extra chain and turned the handiwork around. Next single crochets should be made in the back loop only. I continued until I reached the desired length of the rib. For the head circumference of 50 cm it was 43 cm.
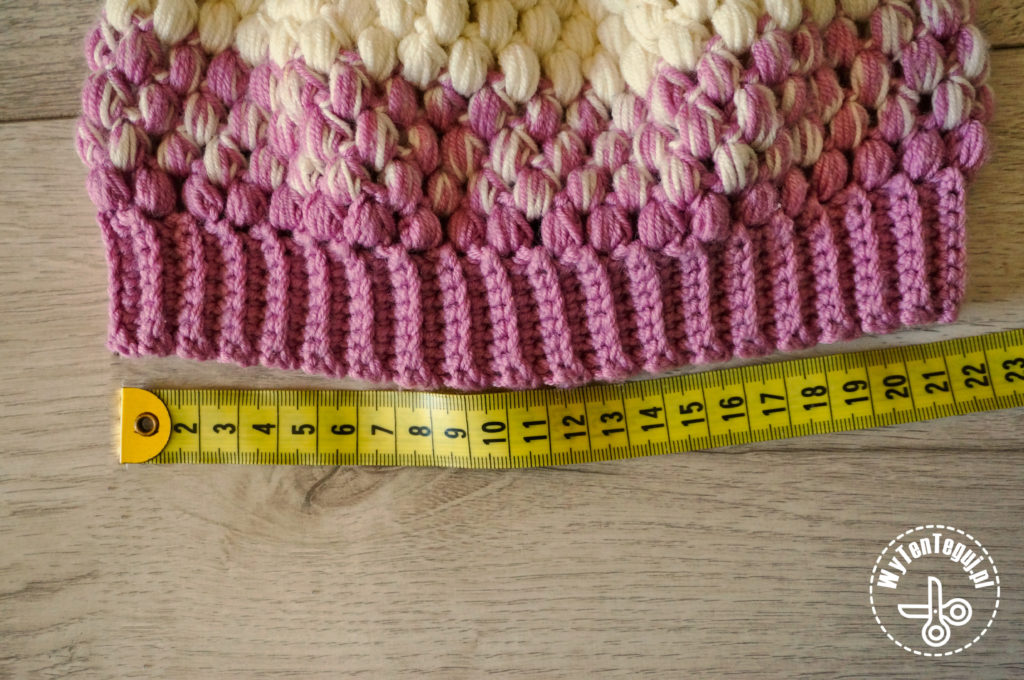
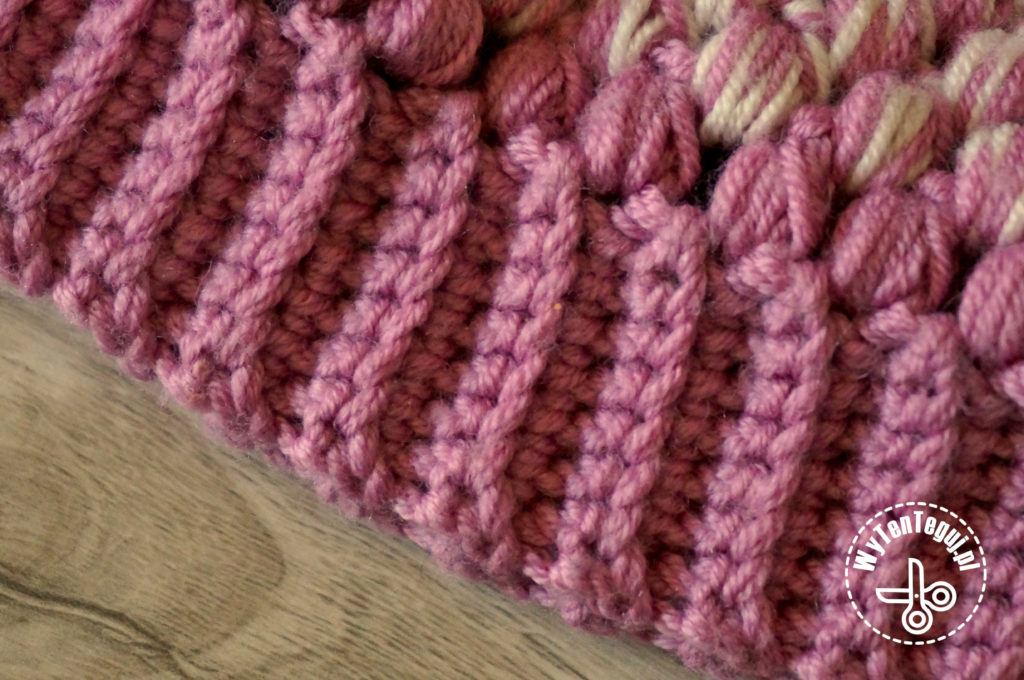
- In the next step, I folded the rib in half and secured it with a slip stitch.
How to crochet the rest of the hat with a bubble stitch?
- Time for bubbles 🙂 so now it will be the coolest 😁 Without cutting the thread I made 3 chains, and then 4 half double crochets in the stitch between the ribs of the welt. I pulled the thread through the entire bunch (“bubble”) and secured it with one chain. I continued until the end of the row.
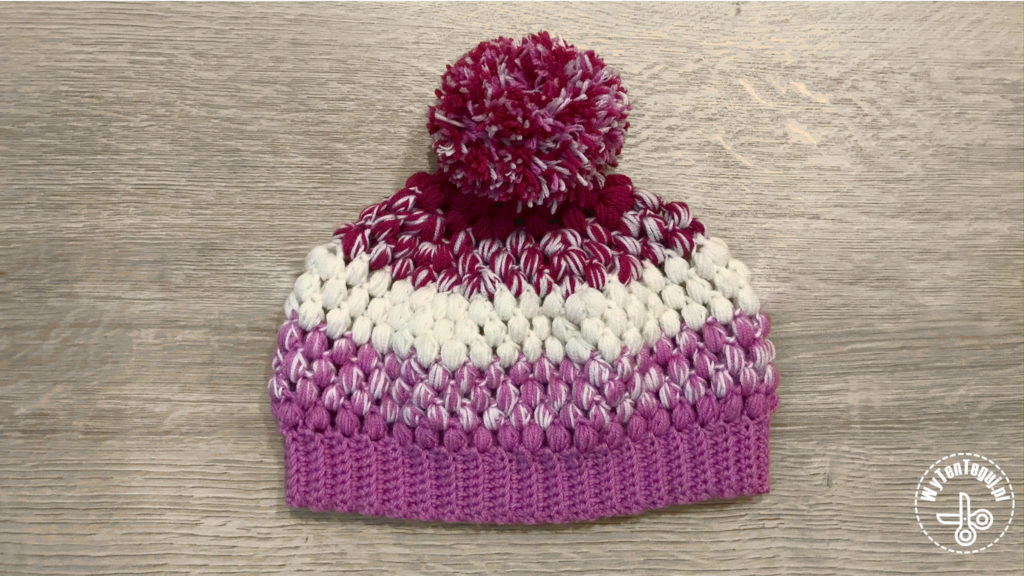
- In the next row I changed one thread to ecru. With this combination I crocheted 3 subsequent rows with bubbles.
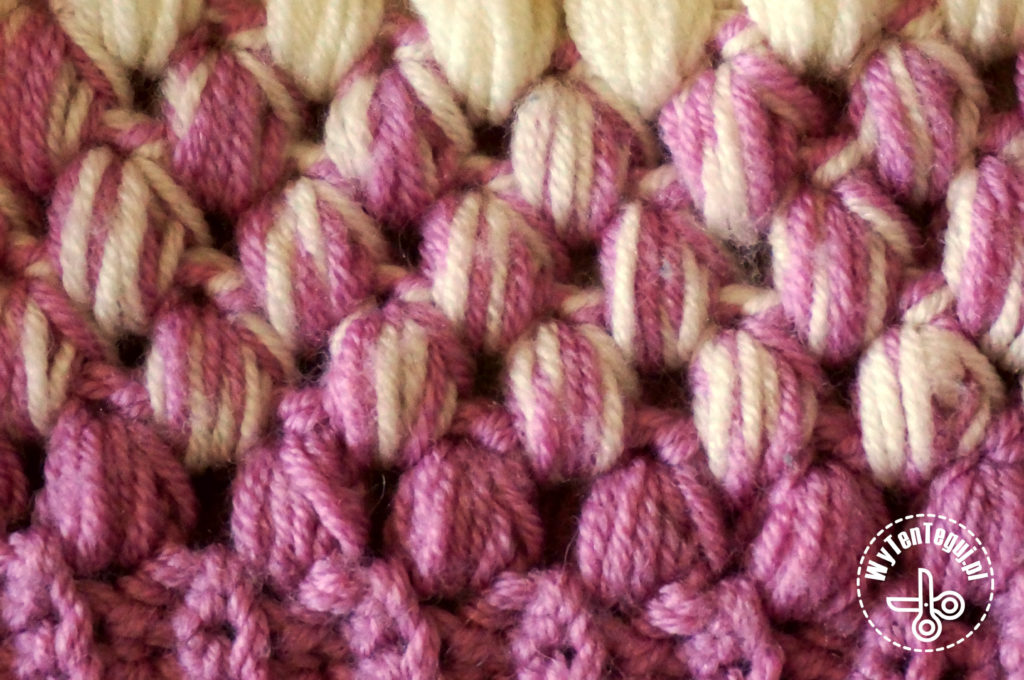
- In the fifth bubble row I replaced the old pink thread with ecru thread, thereby obtaining single-colored bubbles in the next 3 rows. In the seventh row I started to decrease the hat (start decreasing from the ninth row if you need a deeper hat). I made a decreasing in every fifth stitch.
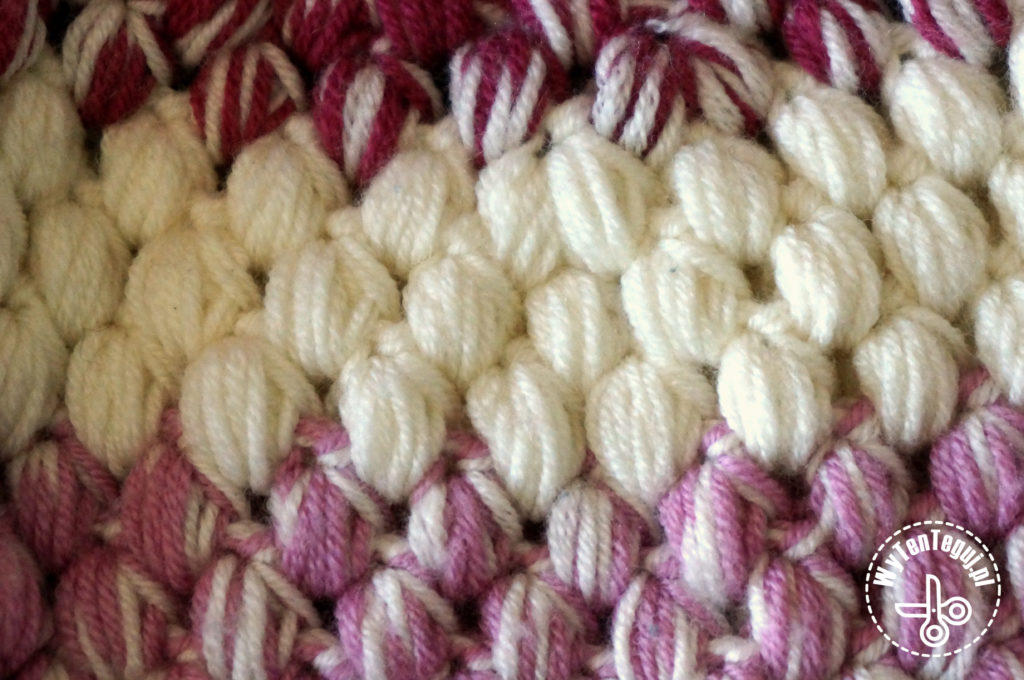
- At the beginning of the eighth row, I replaced one ecru thread with a dark pink thread, thus introducing a third color to my hat. In the eighth row I continued to decrease as in the seventh row, while in the ninth and tenth I started to decrease in every fourth stitch.
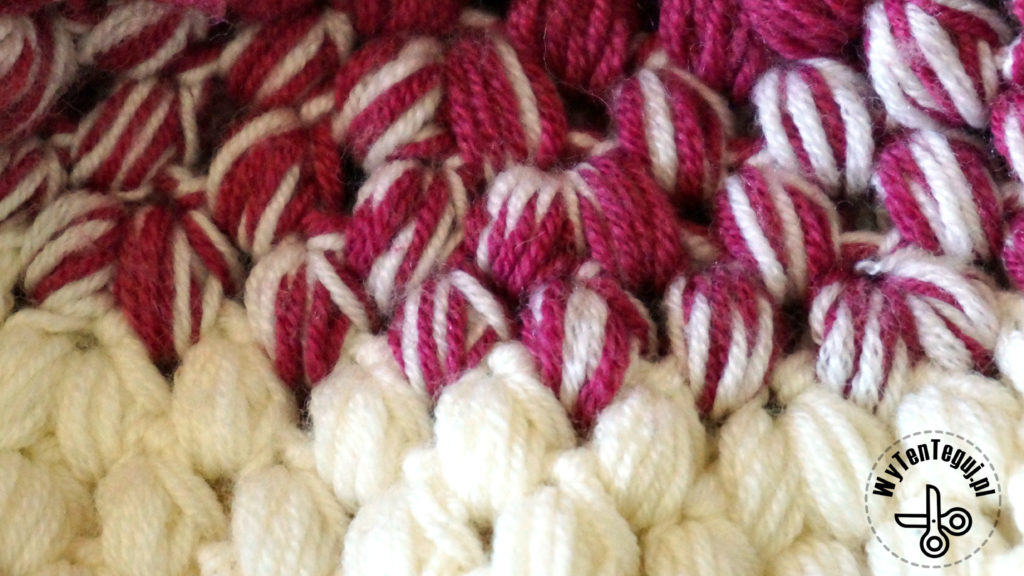
- The eleventh row is a change of thread color from ecru to dark pink to get a one-colored bubbles. In this row I decreased every third stitch, in the twelfth row every second and in the last row I decreased in every next stitch.
Pompom as the icing on the cake
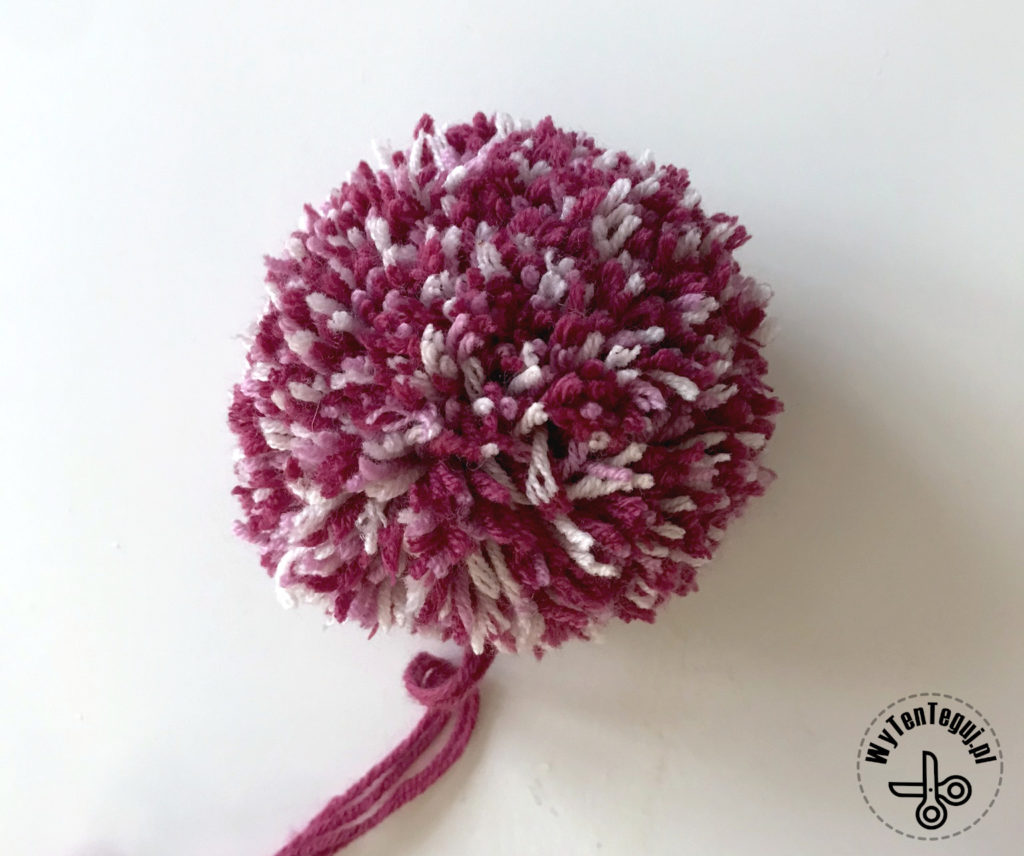
- Finally, I prepared a pompom using all three colors of the yarn. For this purpose I used the circles cut from cardboard. You can find other ways to create pompoms under this link.
- Sew the pompon to the top of the hat with a yarn needle.
Crochet puff stitch beanie is ready to wear! 😊
I have been passionate about DIY since my childhood, and my innate patience and accuracy make the whole process of creation a lot easier for me and that gives me a lot of satisfaction and pleasure. During my first pregnancy I learnt how to sew, what resulted with few tutorials about sewing clothes for kids on the blog. In the beginning of my second maternity leave, I have learned how to crochet amigurumi from yt. I found out, that I really love it, that’s why so many blog posts describe my crochet creatures.
