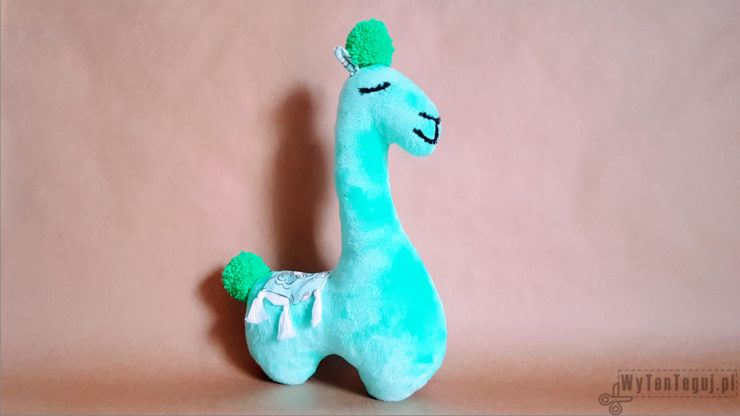
After the big lama it’s time for its smaller and plush version. The little plush llama has the same shape as her bigger sister, but is made of a different material, i.e. solid minky fabric. Thanks to that, the llama quickly became one the favorite cuddles of my several-year-old kid.
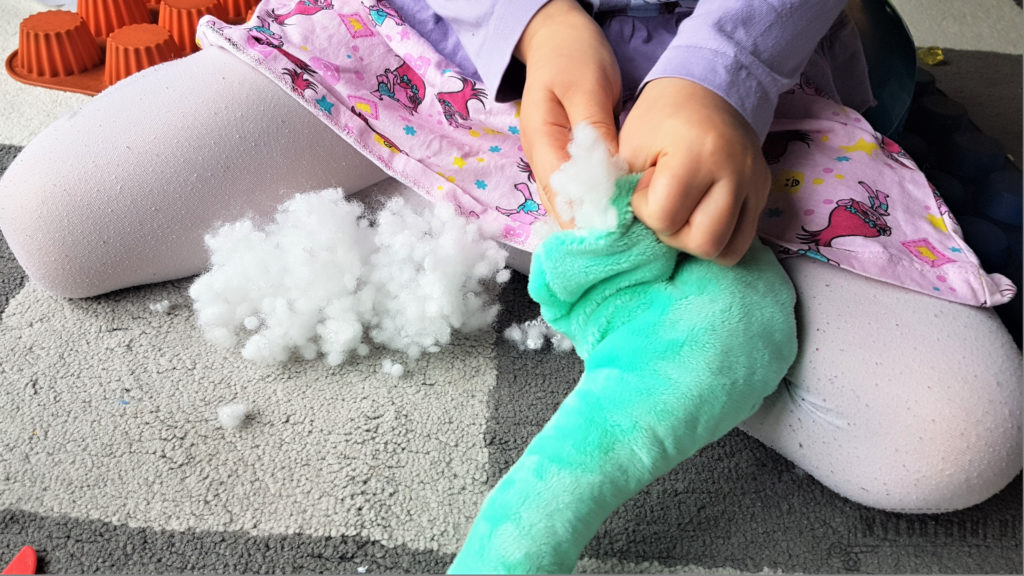
The lama is small, so I sewed it by hand. To the great joy of my children, I shared with them the pleasure of filling the lama. There was lots of laughter, a silicone ball beard, and of course, a lot of mess. Finally, kids made the pompoms on a fork and trimmed them to the shape of a ball. Kids had great satisfaction that they could be part of the lama project. It also helps them develop small motor skills and improves their self-confidence. I recommend to all making the little plush llama on long autumn evenings. The ready-to-print llama template can be found in the post below.
If you want to be up-to-date with our newest posts about sewing for kids and free patterns, like our Facebook fanpage and follow us on Instagram.
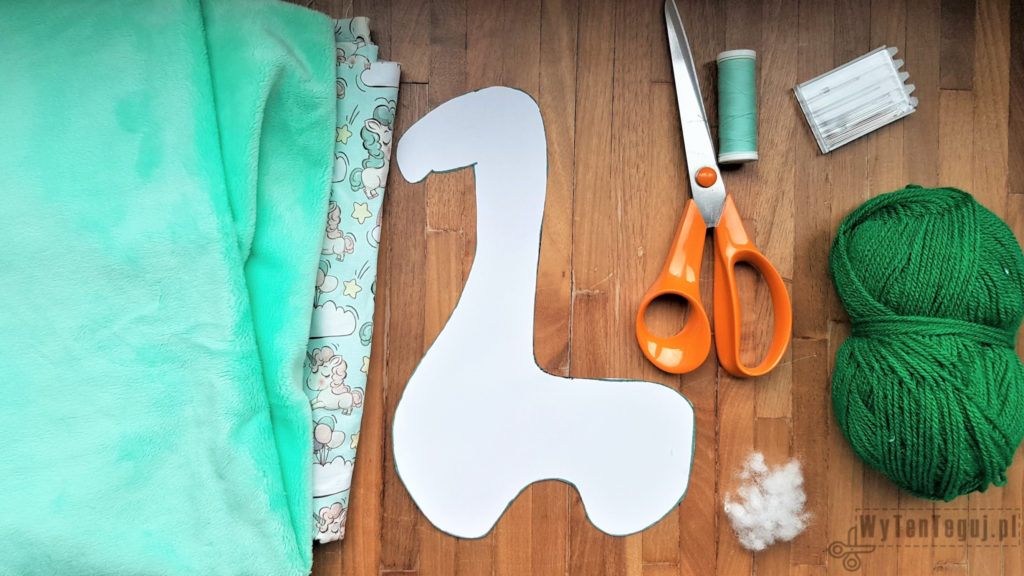
Supplies and tools
- Solid minky fabric
- Thread
- Needle
- Silicone ball – for the filling
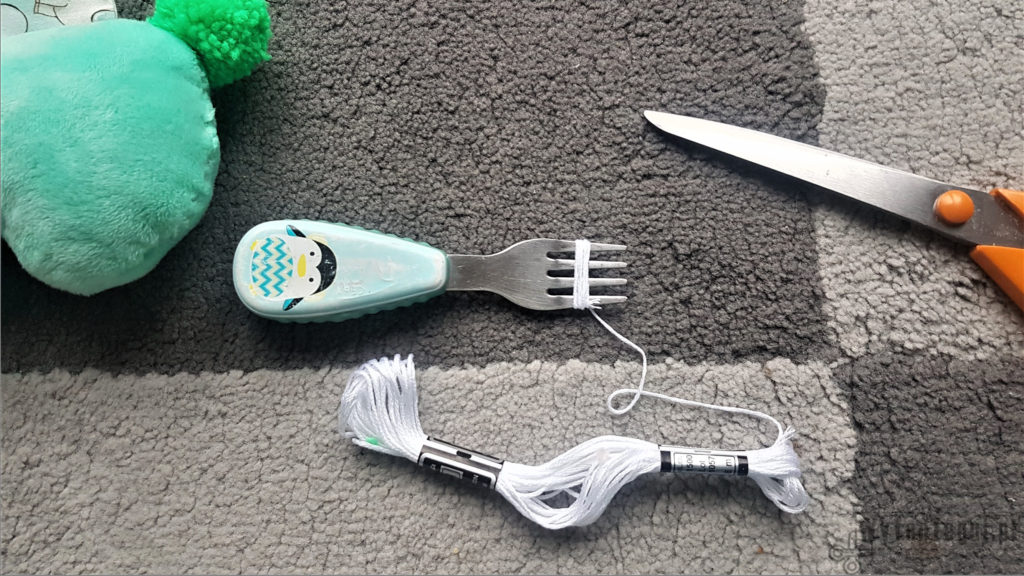
- Yarn – for pom poms
- Fork or other pompom maker – instructions and comparison of methods can be found here
- Color cotton fabric – for ears and saddle
- A piece of black fabric or black embroidery floss – for eyes, nose and mouth.
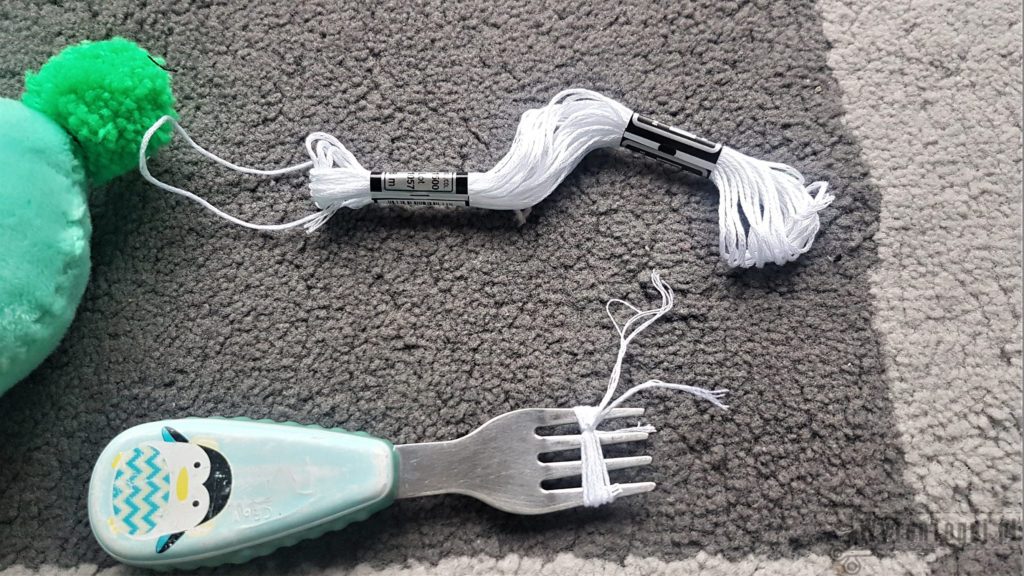
- Optional colored embroidery floss – for tassels
Making of the llama’s body
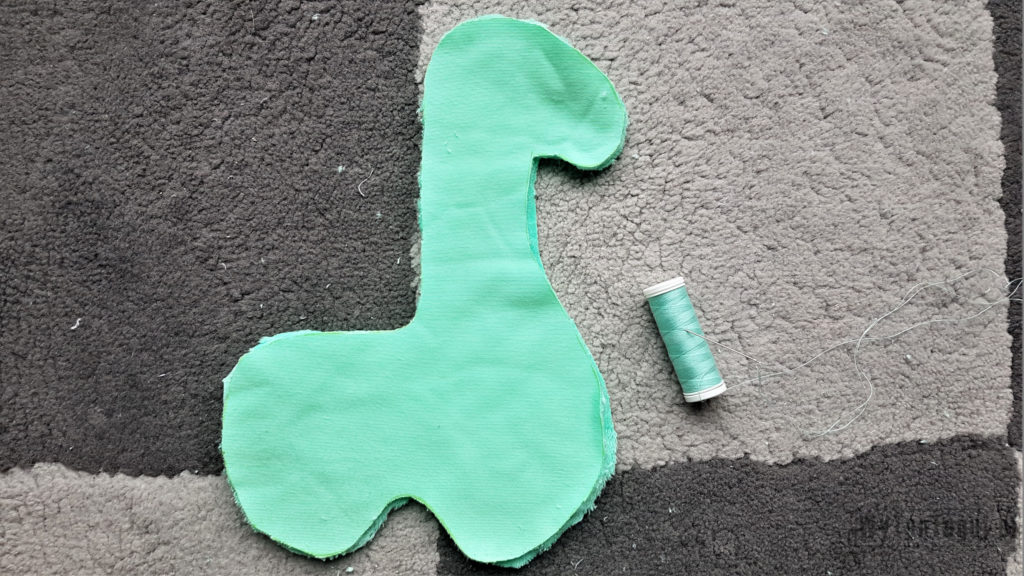
Cut out llama template.
Draw it twice on the left side of the fabric.
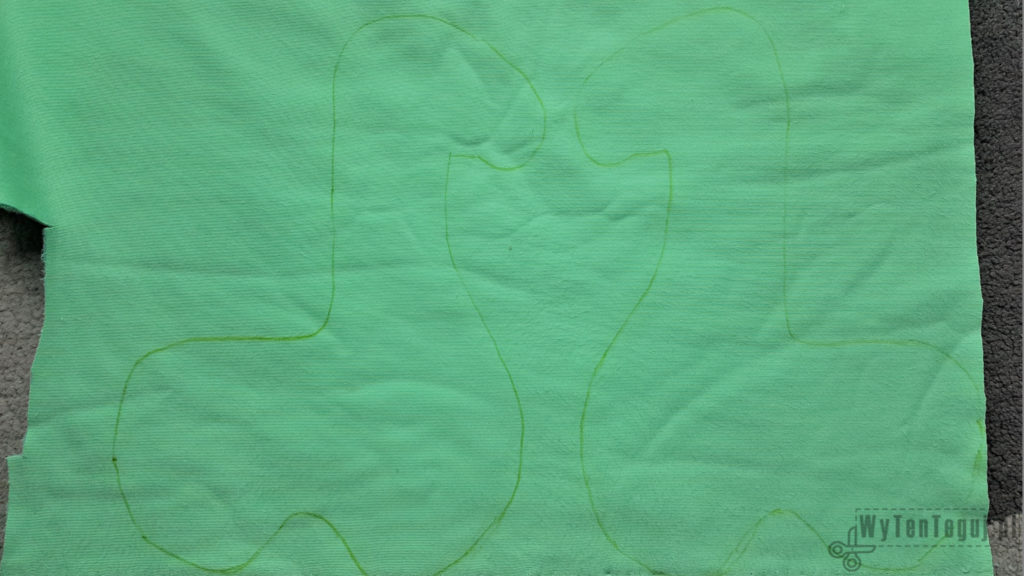
Then cut out the shapes of the llama.
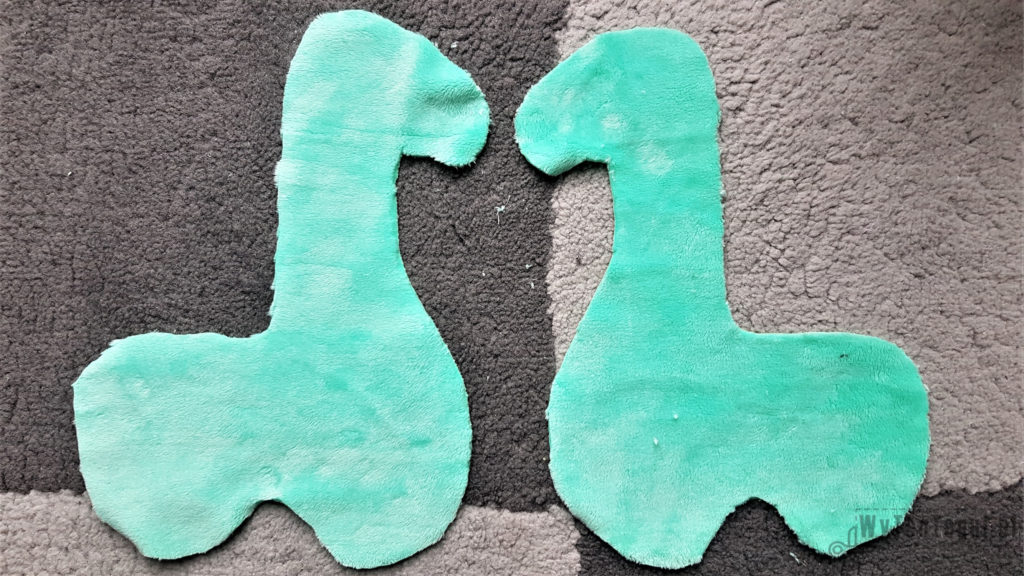
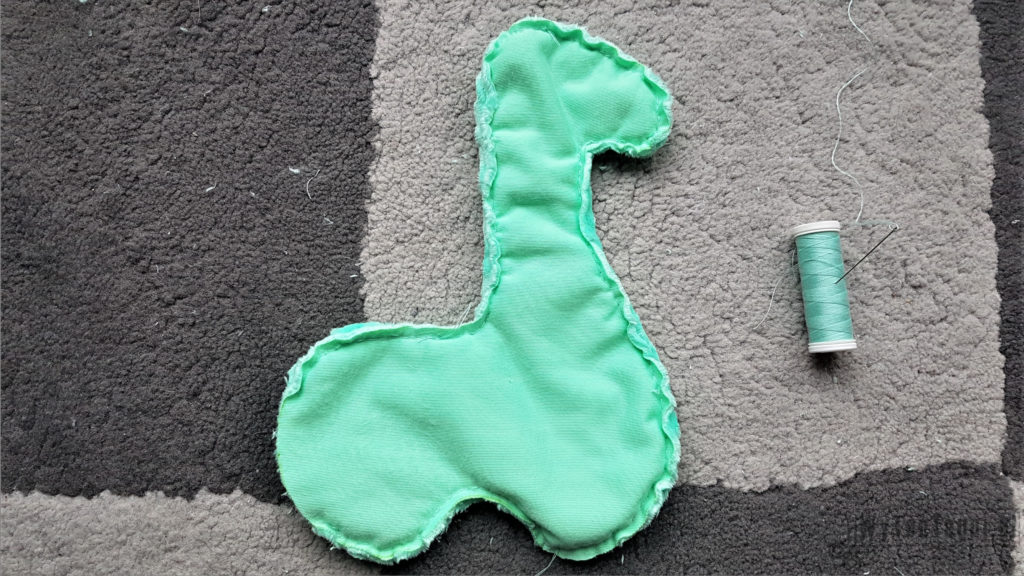
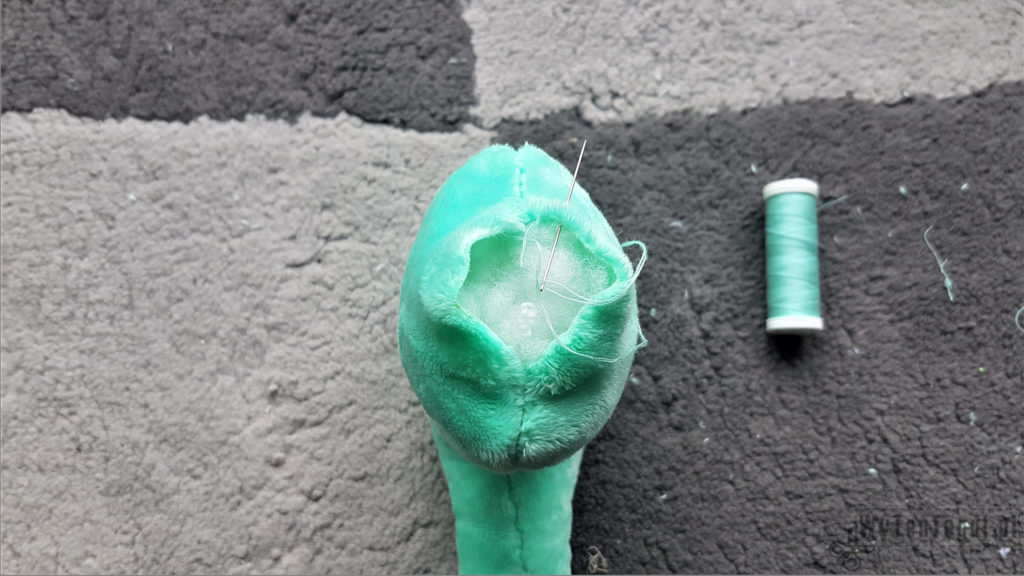
Fold up those two pieces right sides together. Sew edges leaving the hole about 2’’. Then turn it right side out through the hole.

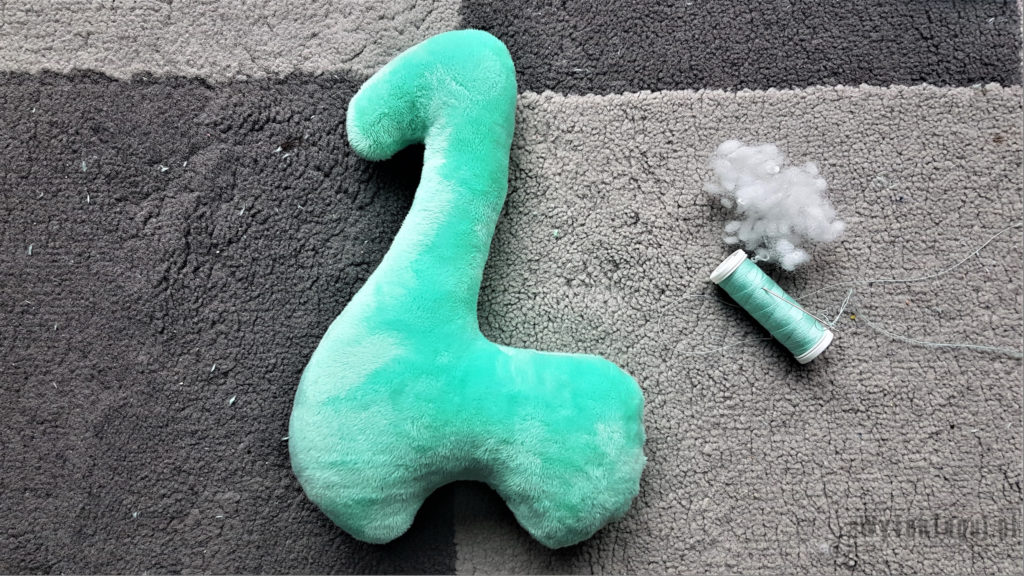
Fill the llama with a silicone ball. Fill the head and neck neatly so that the finished lama maintains rigid.
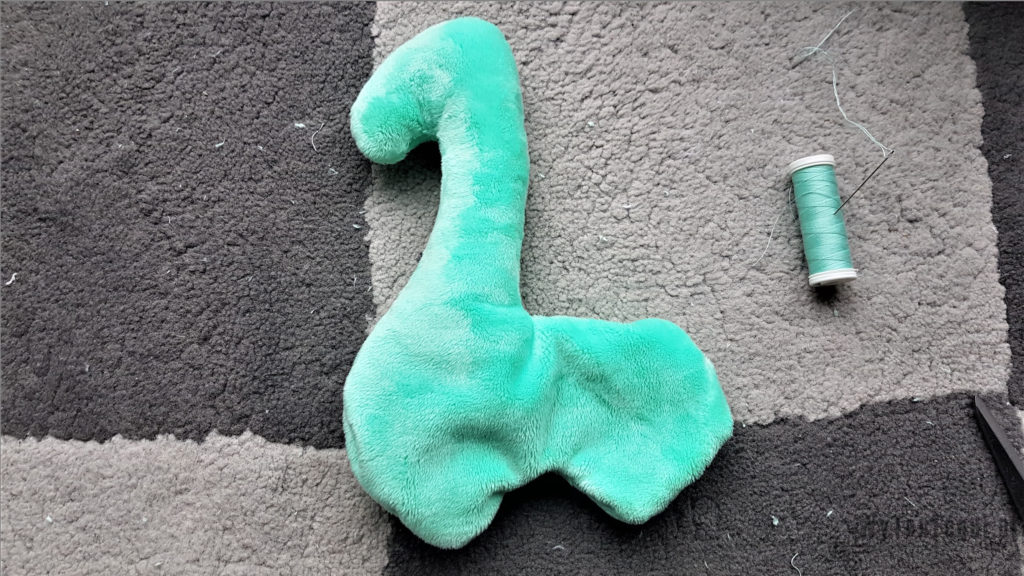
Finally, sew the whole using ladder stitch.
The lama’s body is ready, now it’s time to make it look pretty 🙂
Making of decorations
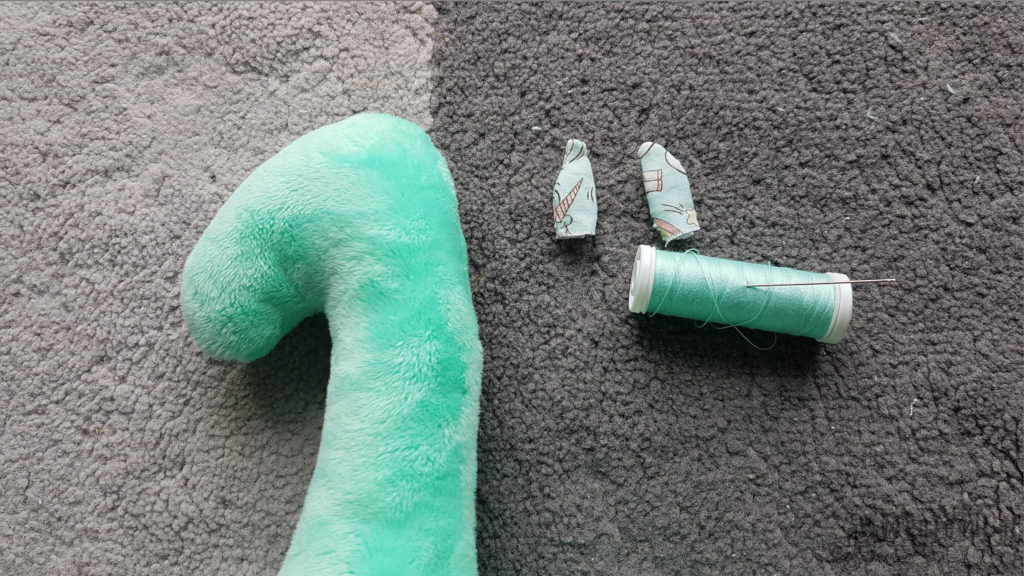
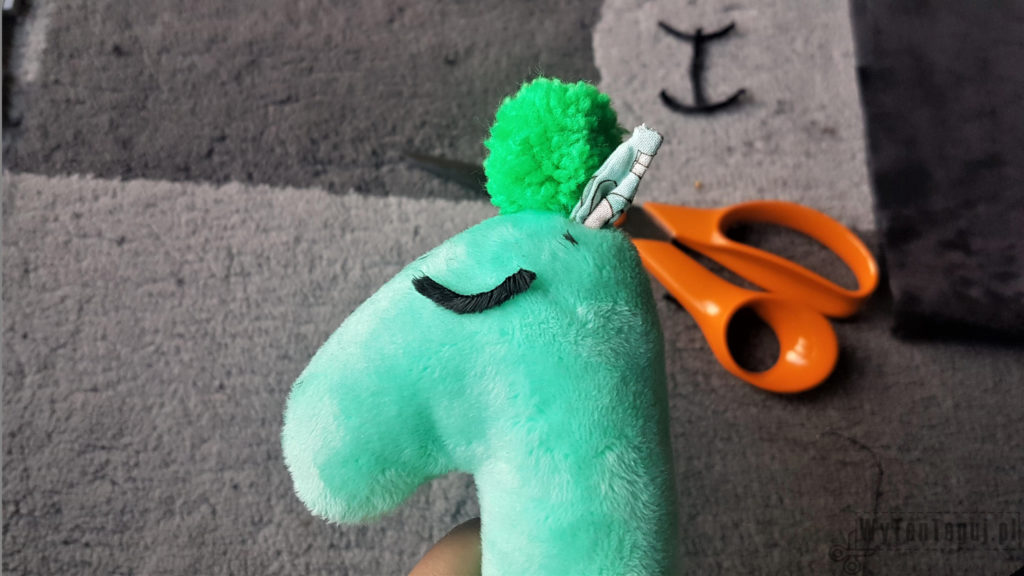
Ears
On the left side of colored cotton, draw the shape of the ears. The ears should be about 1 cm. Sew, cross over and sew to the lama.

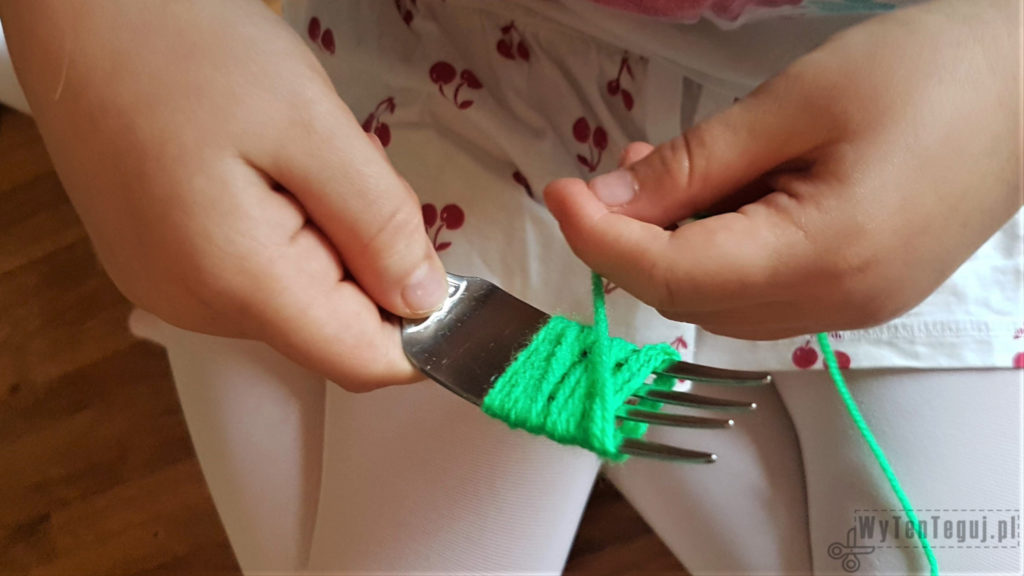
Pom poms for mane and tail
As I mentioned at the beginning, my daughter made the pom poms. For kids the best method of making pom poms is on a fork. Here you will find detailed instructions. You need 2 pom poms, one for the mane and one for the llama’s tail. Sew ready pompoms to the llama’s body.


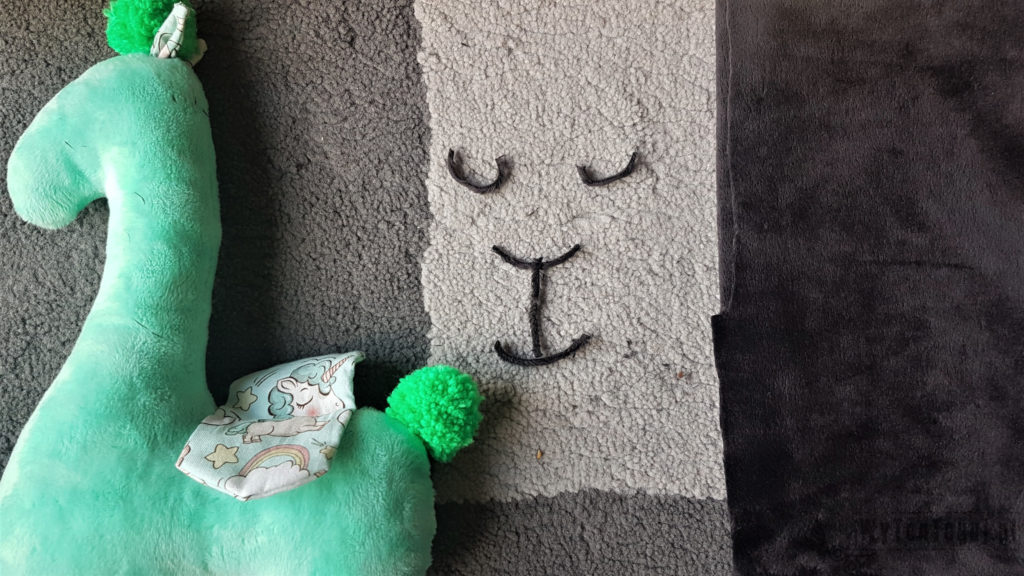
Eyes and muzzle
Muzzle was the biggest challenge for me. Initially, I began to embroider her with black floss, but she died in plush and I gave up quickly. In return, I decided to make an application of black minky fabric.
Just cut out black stripes for eyes and muzzle and then sew them to the llama’s head.
Saddle
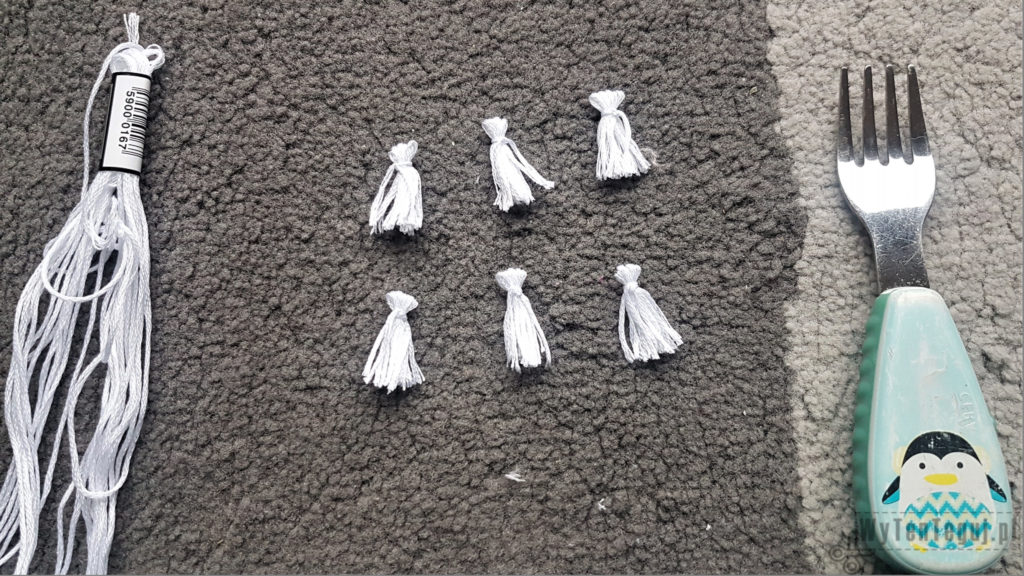
Cut two pieces of llama’s saddle from printed pattern cotton fabrics. Fold them up right sides together leaving the hole about 3 cm. After sewing turn it right side out. Sew the hole using ladder stitch. The saddle stood out a lot, so I decided to weight them with fringes, thanks to which the lama looks very chic 🙂
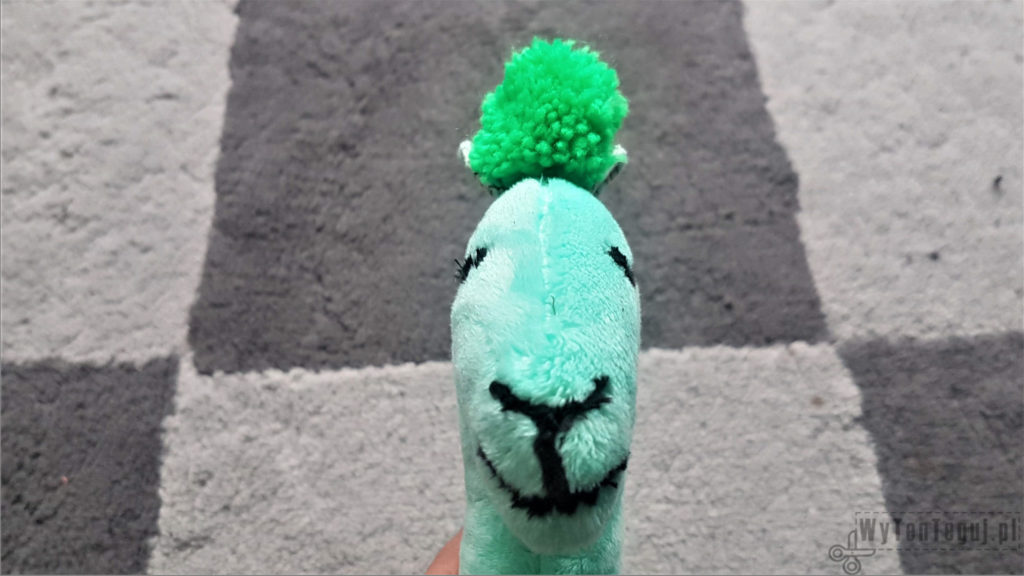
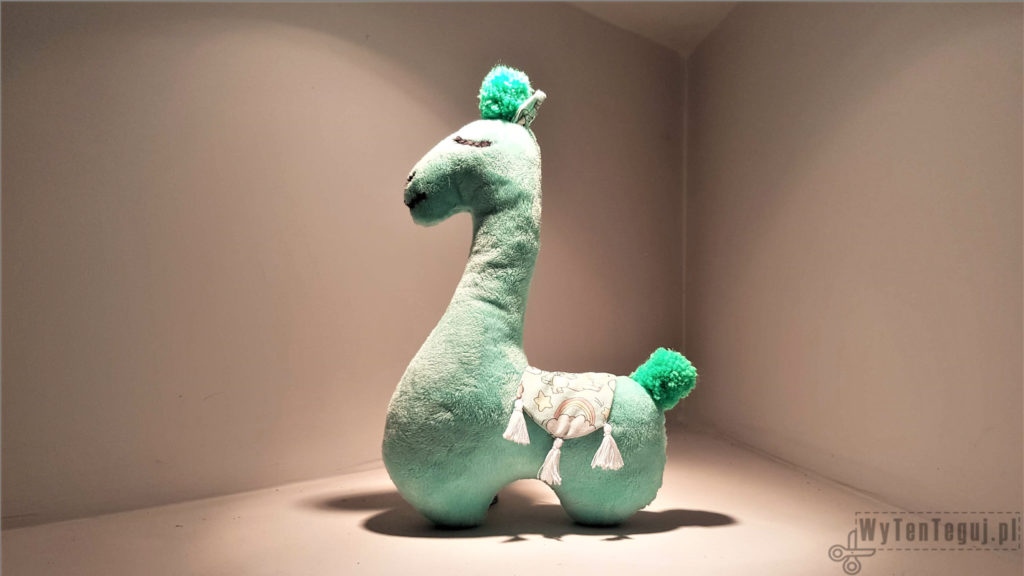
The little plush llama is ready
Congratulation! The little plush llama is ready to play, hug and love 🙂
You can find instructions for making the large llama together with the free pattern here.
Nothing gives more satisfaction than doing something yourself. I haven’t even thought about DIY as my hobby, I’ve just done different “projects” when it was needed. Sometimes it’s a disguise for the Masquerade Party in kindergarten. Another time, cutting out the pumpkin and baking the witch’s fingers for Haloween. Or simply organizing holiday souvenirs. Now I decided to share my realizations with you. Let’s go it together!
