
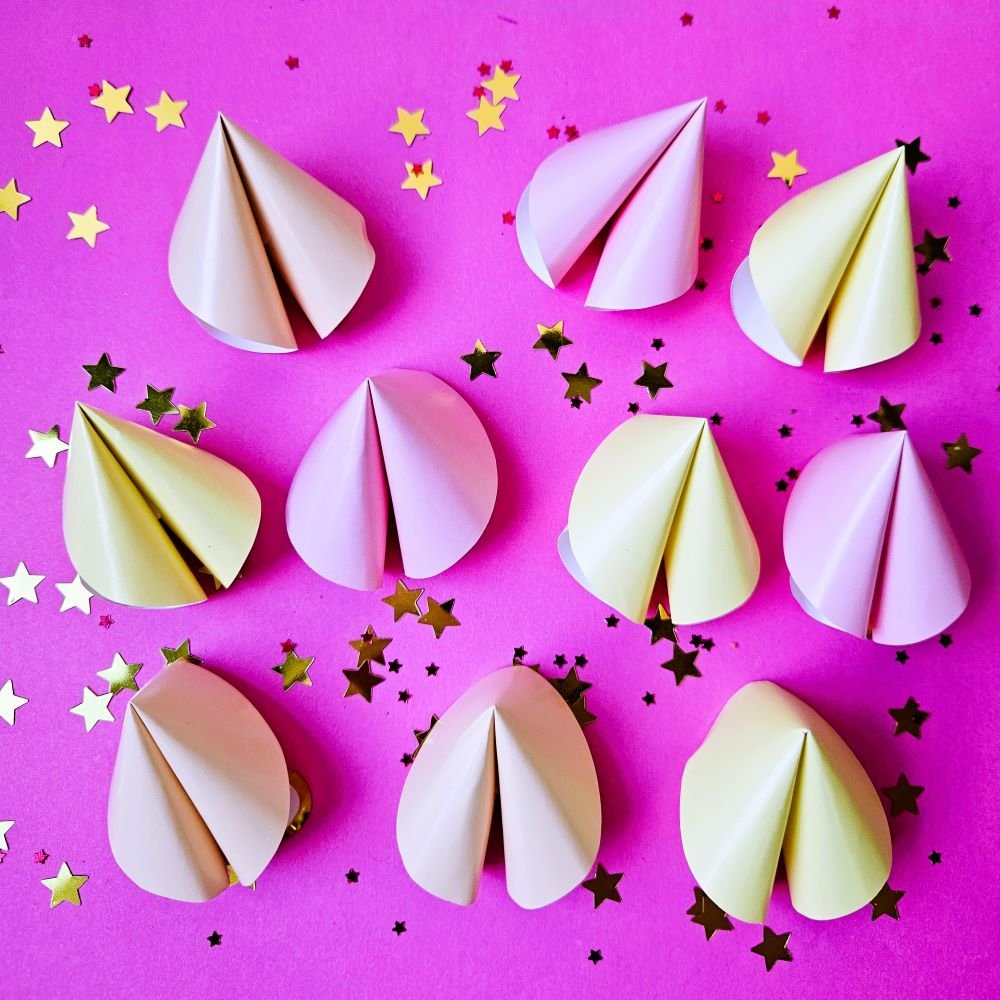
Fortune cookies are often associated with distant travels and Chinese restaurants, but they don’t have to be edible at all 😉 Paper fortune cookies are a great idea for a creative activity for kids, a table decoration, or a fun element of a New Year’s party. They are quick to make, inexpensive, and bring lots of joy—especially when they hide positive messages inside.
Ideas for Using Paper Fortune Cookies
Paper fortune cookies work perfectly:
- at a home New Year’s party,
- during a carnival or costume party,
- as part of art and craft activities at school,
- as a small add-on to a gift,
- at creative workshops for children.


What You’ll Need
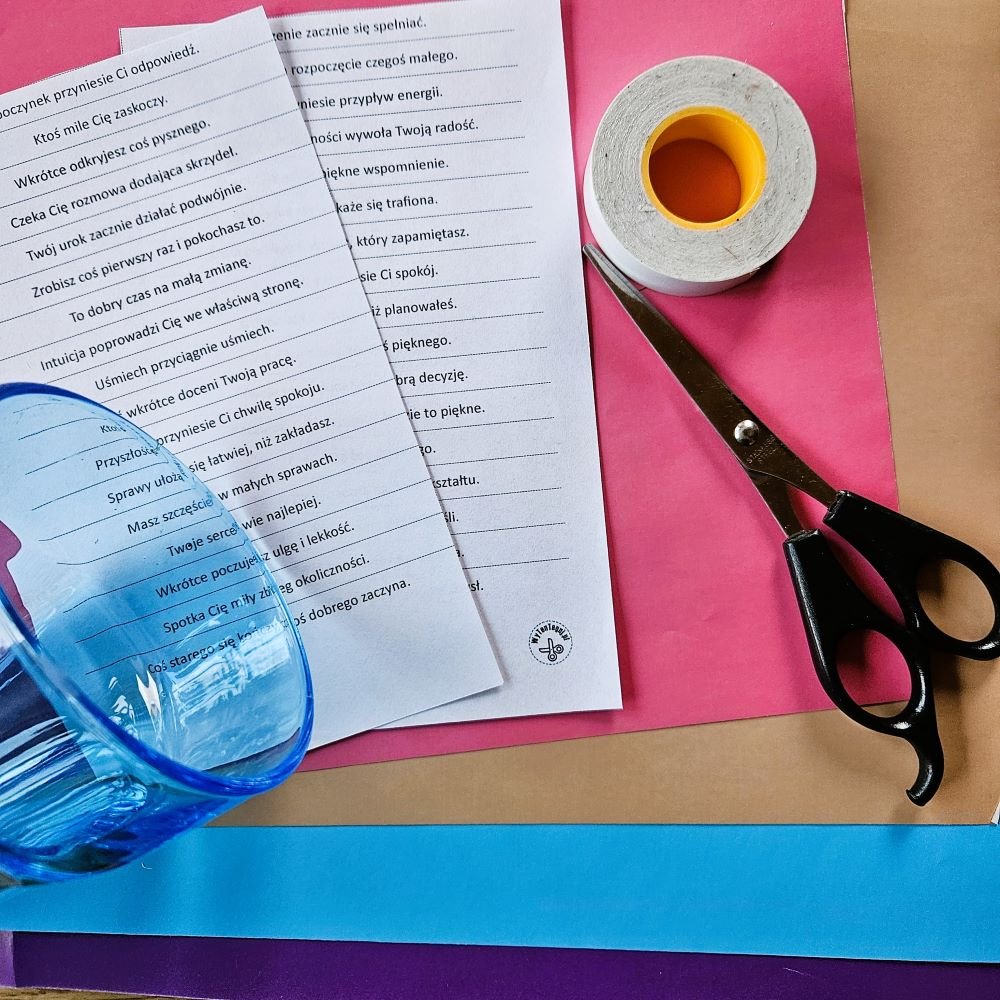
To make paper fortune cookies, you’ll need:
- sheets of paper – preferably colorful or decorative; they should be easy to fold and roll, so thick cardstock or technical drawing paper is not recommended,
- scissors,
- glue or double-sided tape,
- glitter, stickers, stamps, or markers – optional, to make the cookies more decorative,
- thin paper strips with fortunes – I’ve prepared several printable sets with 100 fortunes each. Simply download the set you like most, print it, and cut it into strips.
How to Make Paper Fortune Cookies
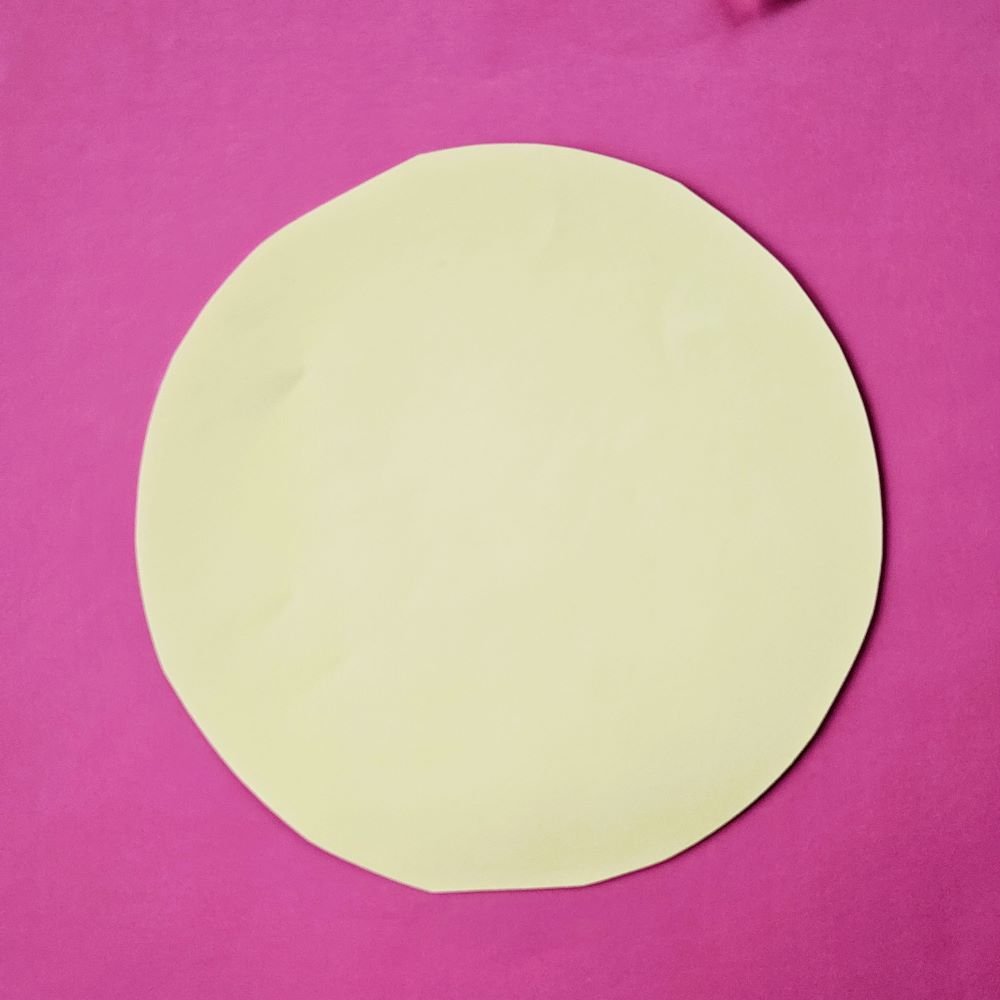
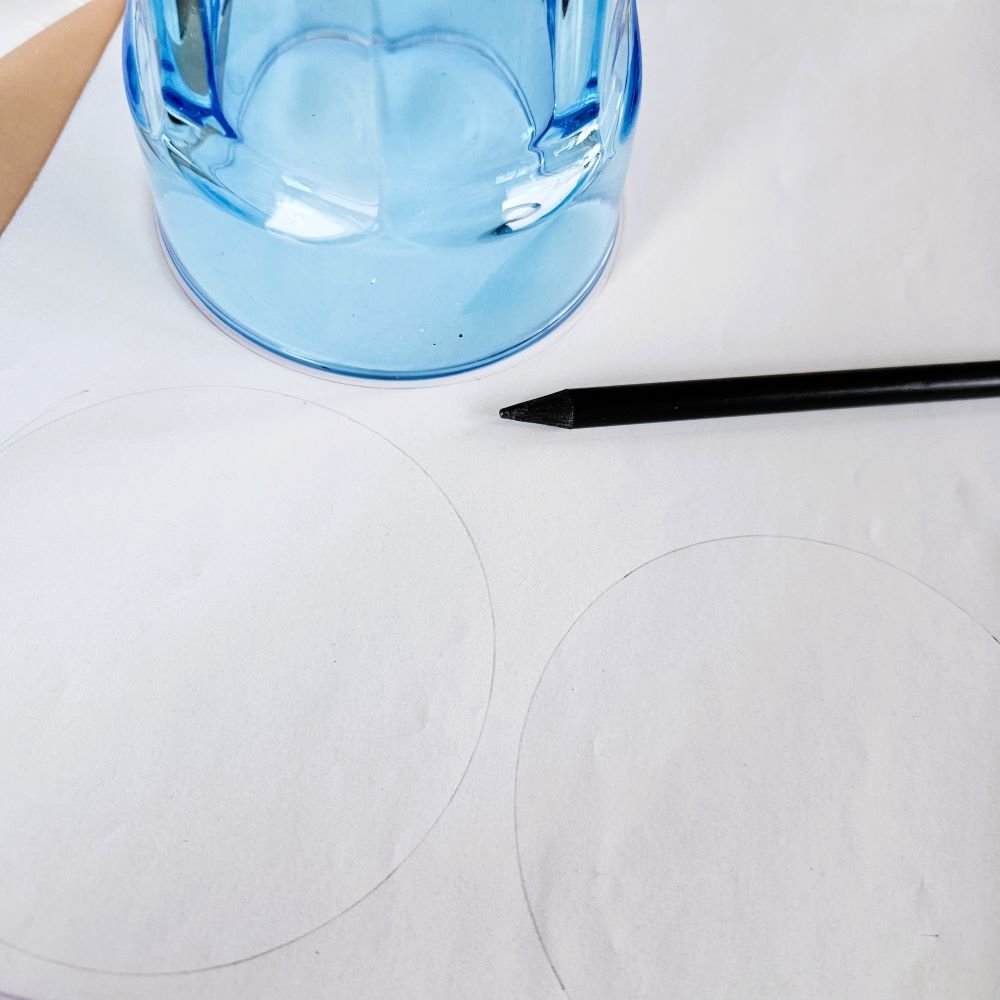
Step 1: Preparing the Paper Circles
Trace a circle onto colored paper using a pencil and, for example, a glass.
My circles are about 10 cm (4 inches) in diameter.
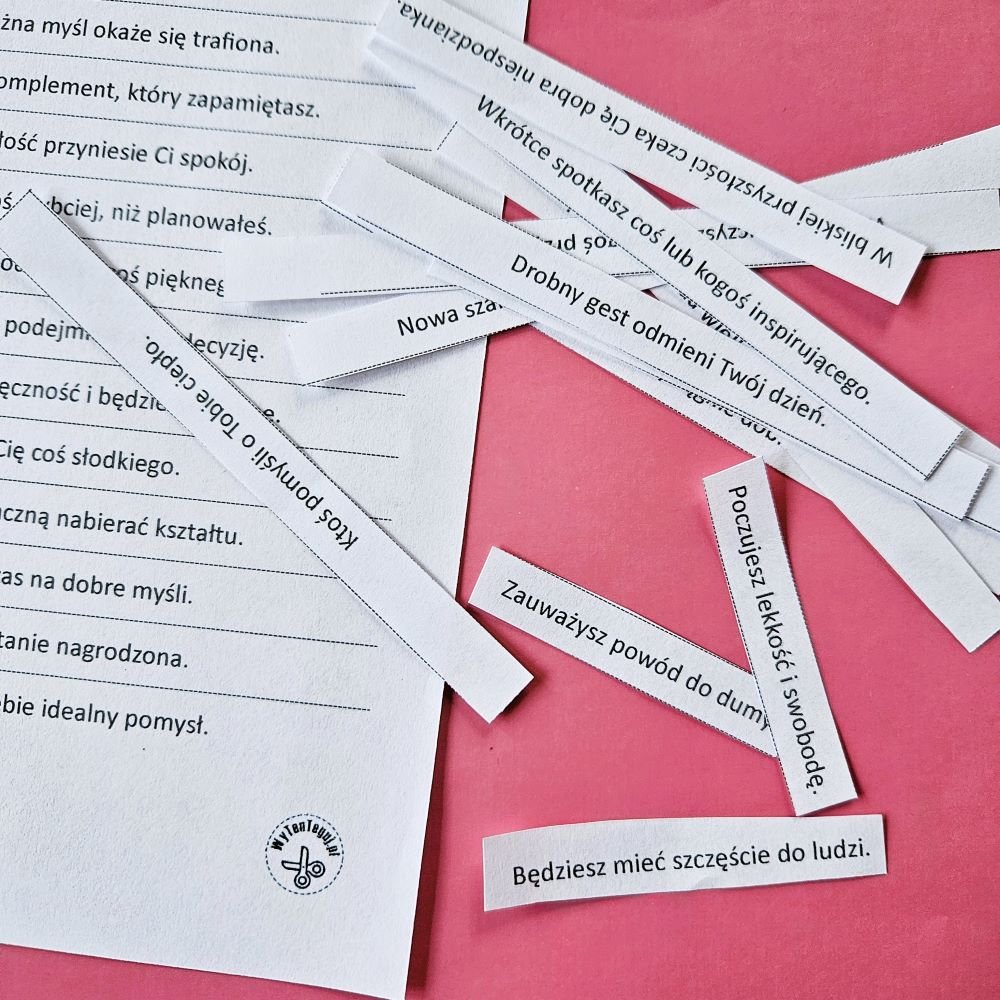
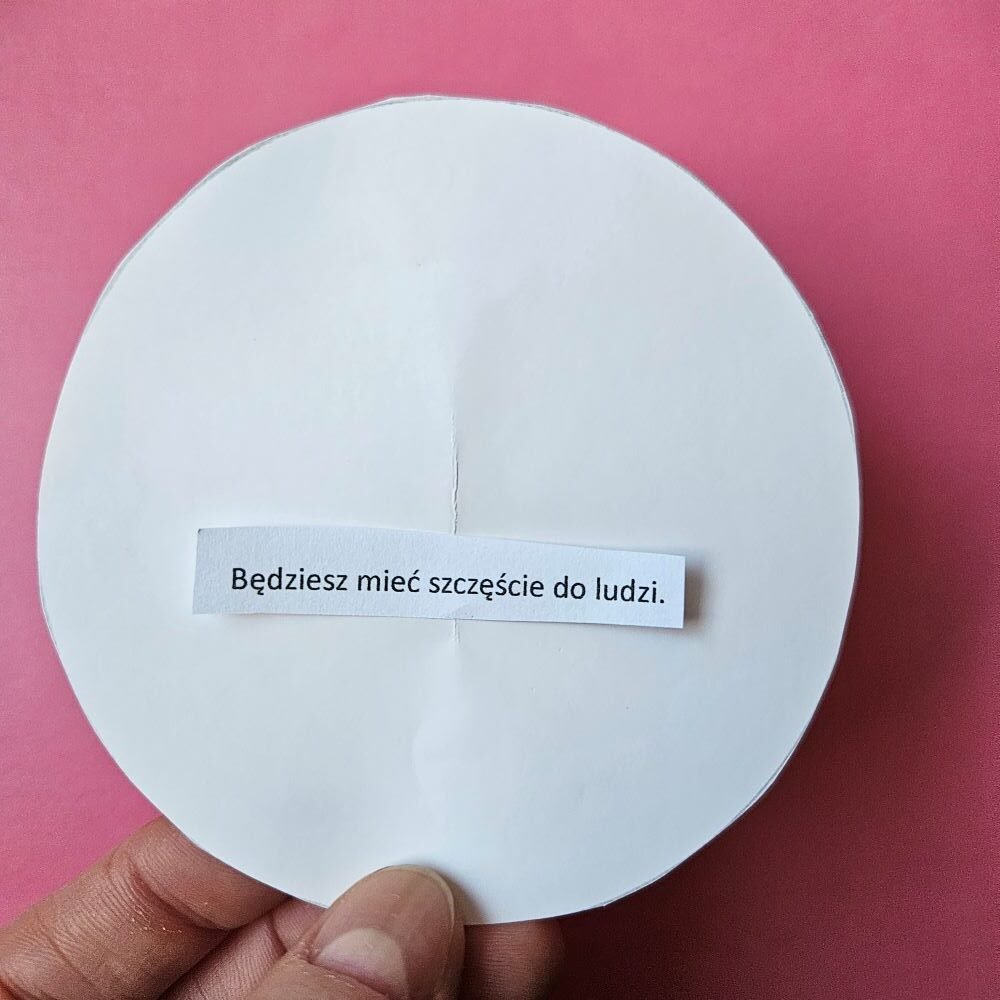
Step 2: Fortunes – the Heart of the Cookie
Prepare thin paper strips with fortunes.
I’ve created several ready-to-print sets with 100 fortunes each. Just download the set you like, print it out, and cut it into strips.
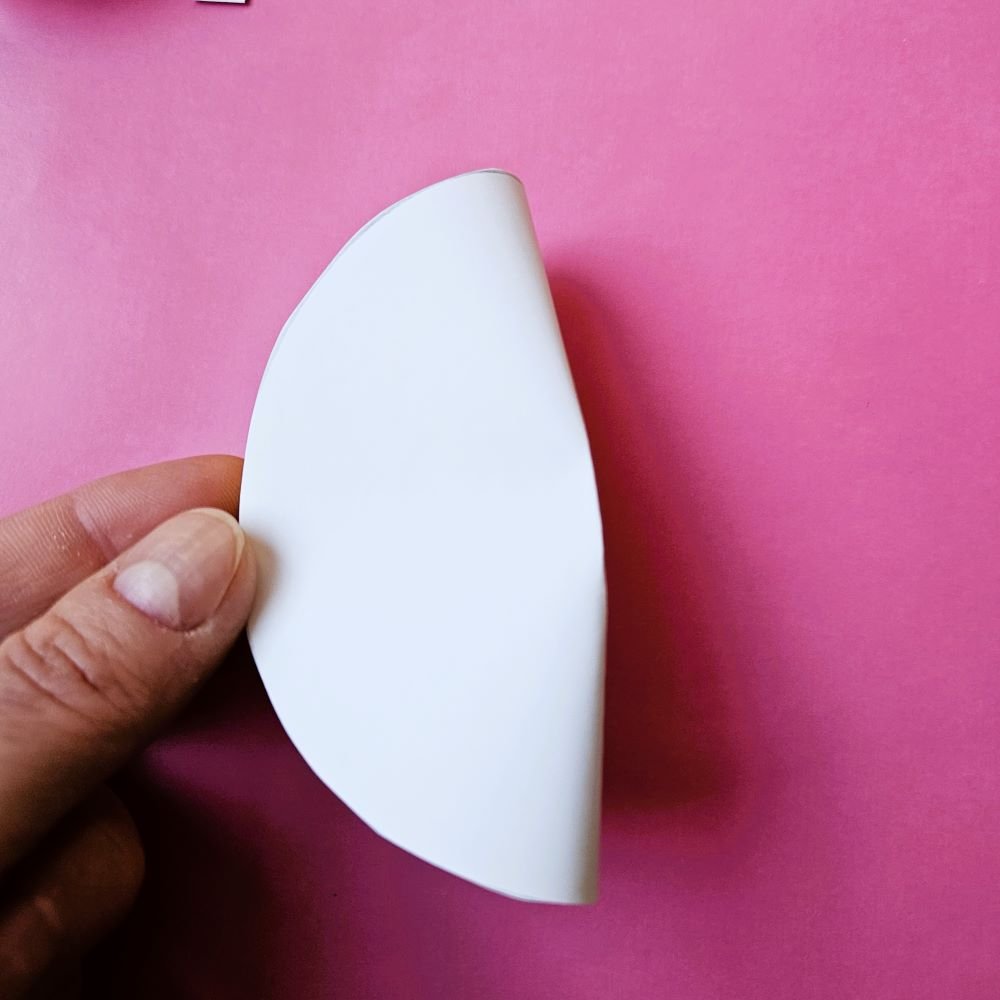
Step 3: The First Fold
Fold the paper circle in half on the inner side.
Gently crease only the center—do not fold the entire circle, just a few centimeters in the middle.
Step 4: Placing the Fortune
Rotate the circle 90 degrees and place the fortune strip perpendicular to the fold line, right in the center of the circle.
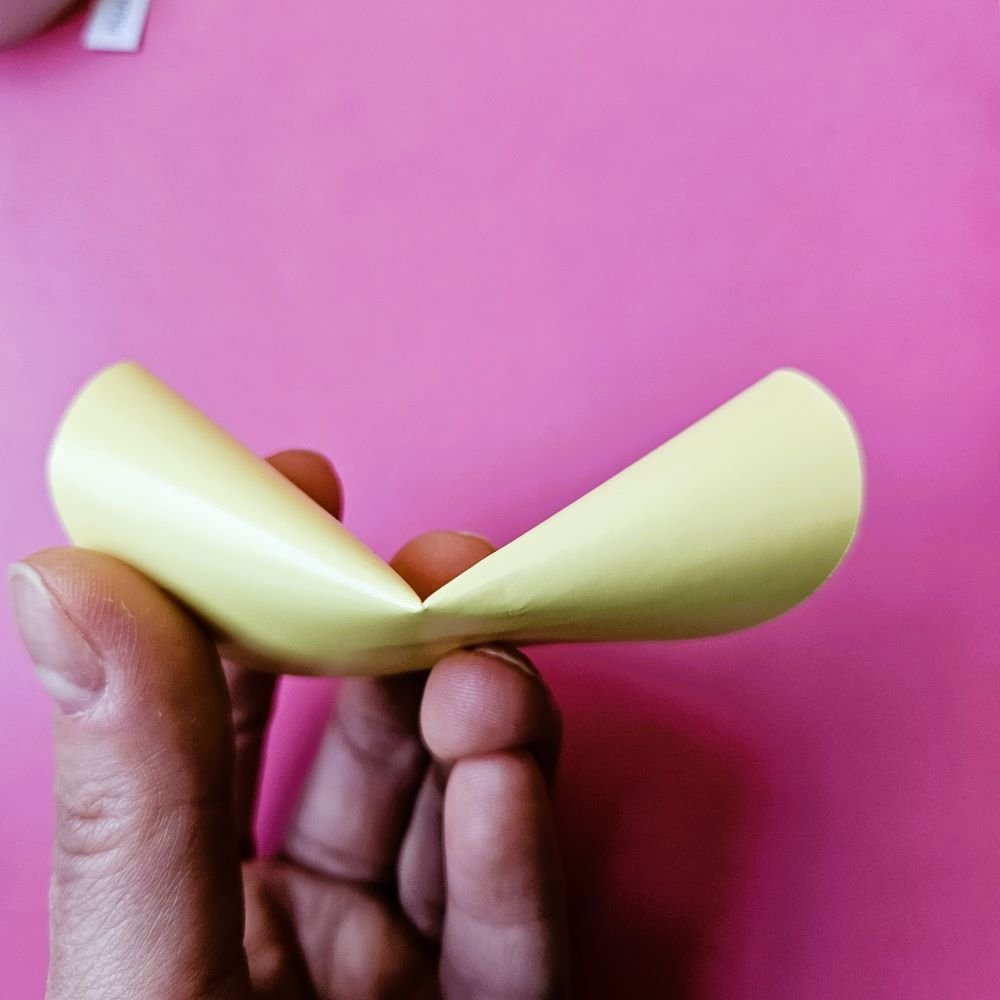
Step 5: Rolling the Paper
Fold the paper into a loose roll so that the fortune is hidden inside.
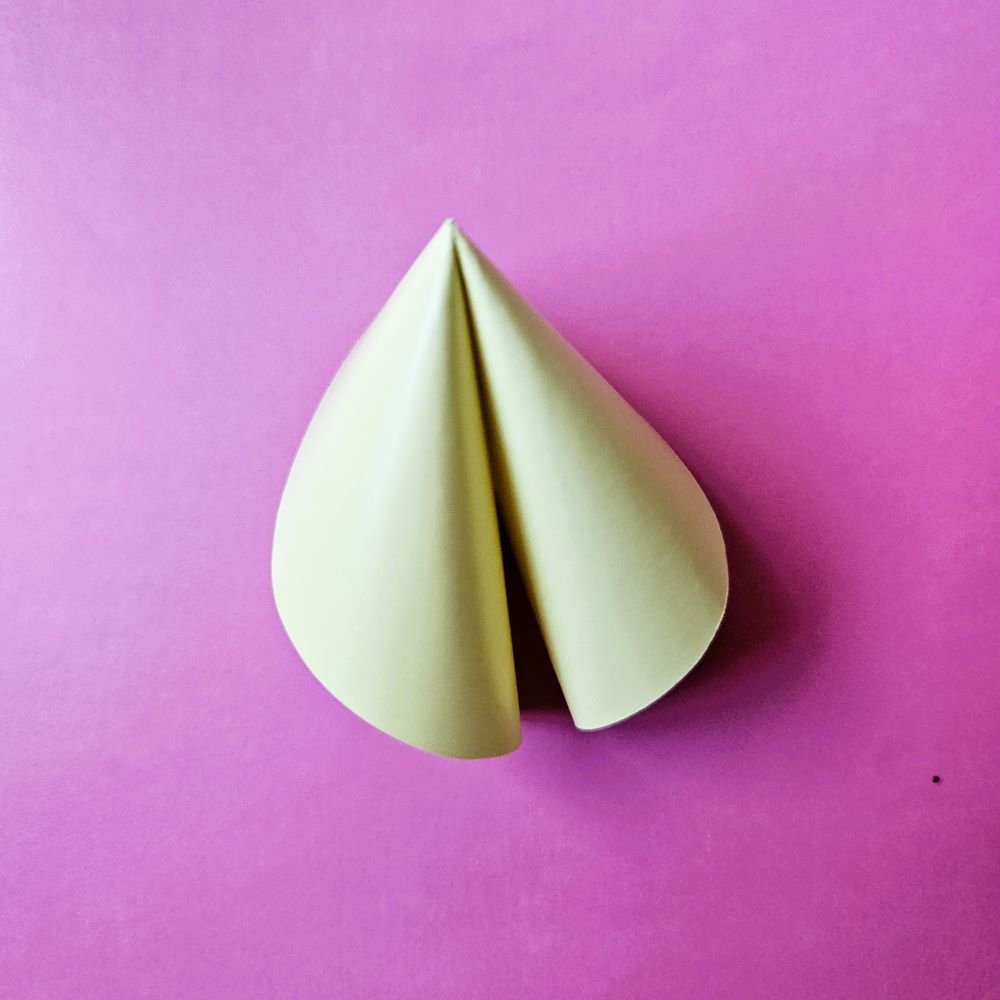
Step 6: Shaping the Cookie
Bend the roll away from you, “upwards,” exactly along the earlier crease.
This creates the characteristic fortune cookie shape.
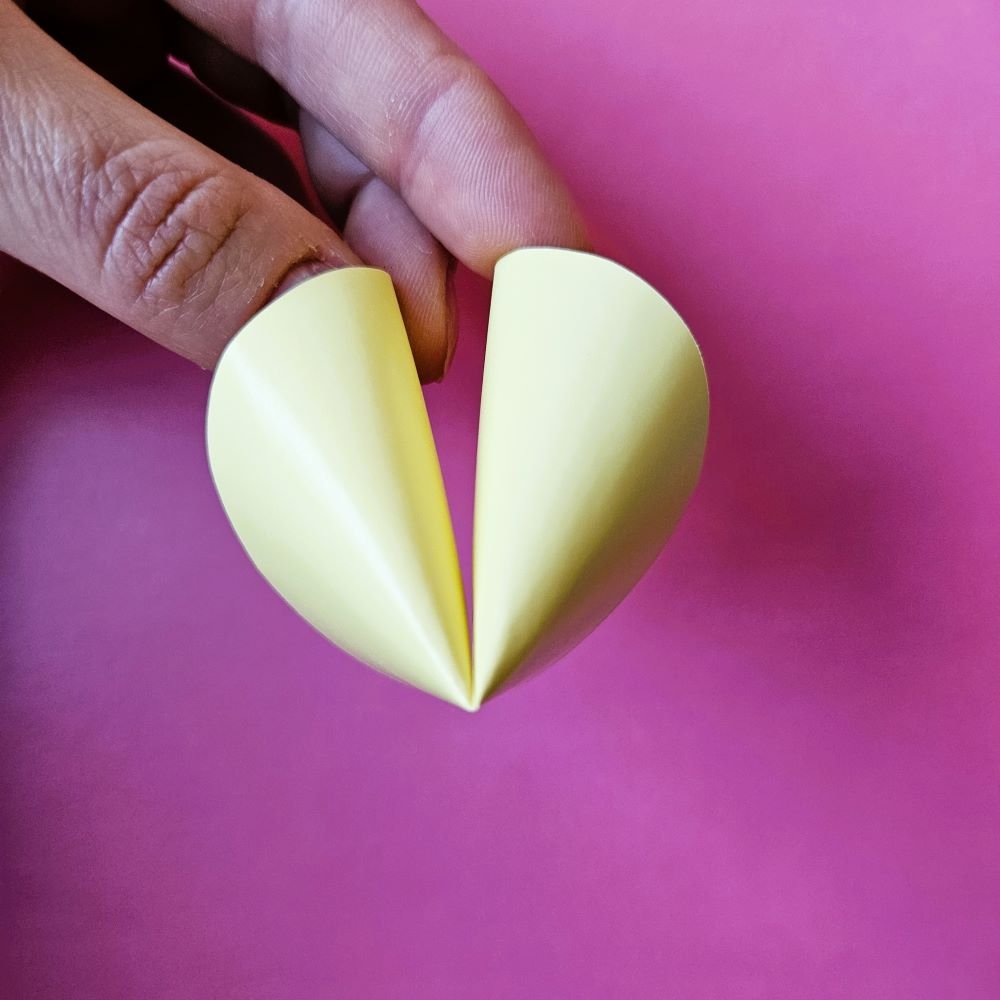
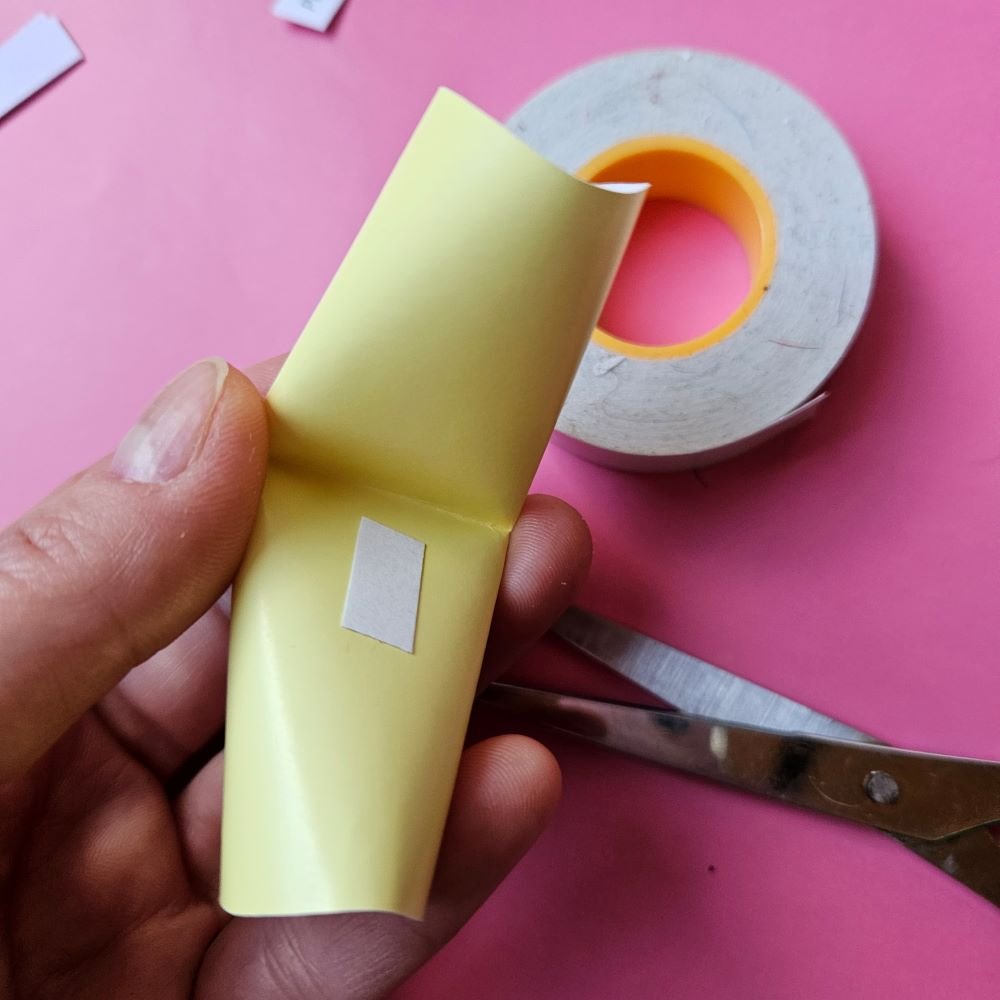
Step 7: Gluing the Ends
The paper fortune cookie won’t hold its shape on its own, so the two ends need to be glued together.
You can use double-sided tape or hot glue.
Step 8: Done!
Your paper fortune cookie is ready and waiting to be picked ✨
Paper Fortune Cookies – Creative Fun With a Message
Paper fortune cookies are not only a craft project, but also a great excuse to talk about dreams, plans, and positive thinking.
It’s a simple project that combines creativity, fun, and kind words—and there’s never too much of that.
If you enjoy easy yet eye-catching DIY ideas, be sure to visit us regularly for more inspiration ✨


Check out our ideas
🌼Other ideas for spring and summer crafts can be found in the Spring and Summer sections.
🎁 If you look for more DIY cards ideas check our Cards section.
✨ If you are looking for more creative activities for kids check our DIY with kids section.
Follow us in social media
f you want to be up-to-date with our newest posts, like our Facebook fanpage, follow us on Instagram, Pinterest and YouTube.
Nothing gives more satisfaction than doing something yourself. I haven’t even thought about DIY as my hobby, I’ve just done different “projects” when it was needed. Sometimes it’s a disguise for the Masquerade Party in kindergarten. Another time, cutting out the pumpkin and baking the witch’s fingers for Haloween. Or simply organizing holiday souvenirs. Now I decided to share my realizations with you. Let’s go it together!
