We decided to take advantage of freezing winter time this year to build an igloo. We immediately embarked on the idea of creating colorful ice bricks. Not everything went our way and we gathered a lot of valuable experience. Fortunately, the colored ice wall looks amazing and all initial failures are forgotten 🙂
![]() Polska wersja: Budujemy kolorowe iglo
Polska wersja: Budujemy kolorowe iglo
We invite you to watch the movie with our winter igloo building adventure 🙂
Materials
- Trays – this is the most important element of preparations. It seems that the best would be tetra packs after juice or milk, which would allow for the perfect shape of the ice blocks. Tetra packs would have to be collected for several months, so we took a shortcut. Eco trays of sugarcane were a very bad idea as they get wet and cannot be reused. We heard that aluminum cake molds work well, if you have any experience with them, let us know 🙂 Summarizing:
- Milk/juice cartons – they seem perfect, but you have to start collecting them in summer
- Eco cane trays – they are eco, but they get wet and cannot be reused
- Plastic trays – to be checked
- Aluminum cake molds – supposedly good
- Food dyes
- Water
- Bucket, watering can
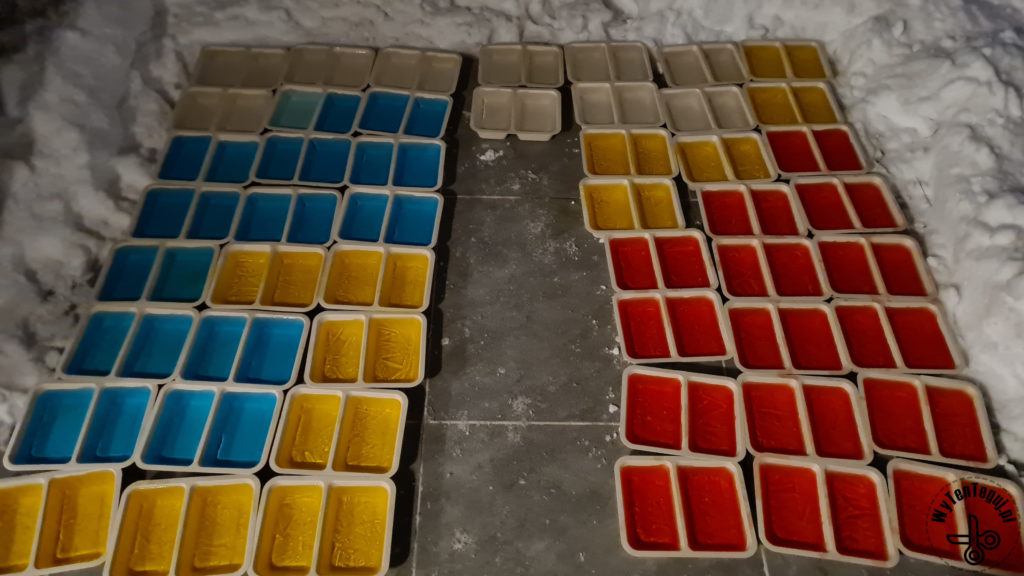
- Heavy frost and snow. It was -9°C the first night and it wasn’t enough, because not every brick froze completely. The dye separates and the part with its greater saturation needs longer freezing time or greater frost.
Preparation of ice bricks
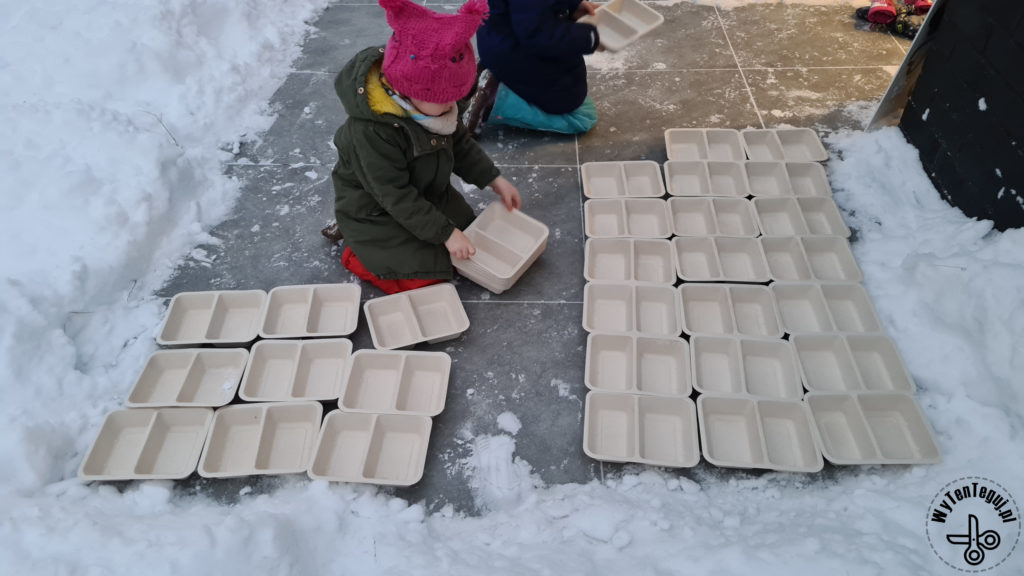
The first step is to prepare the ice bricks. As I mentioned, we used eco trays molds. Initially, we planned to make several batches, but it turned out that the sugar cane trays are completely unsuitable. They get wet, so you cannot remove the ice cubes and reuse them. Next year we will try with tetra packs 🙂
Undoubtedly, colored ice gives the most charm, so with all the work required to build an igloo, it is worth investing in dyes.
The next stages of work are:
- Arrange the molds
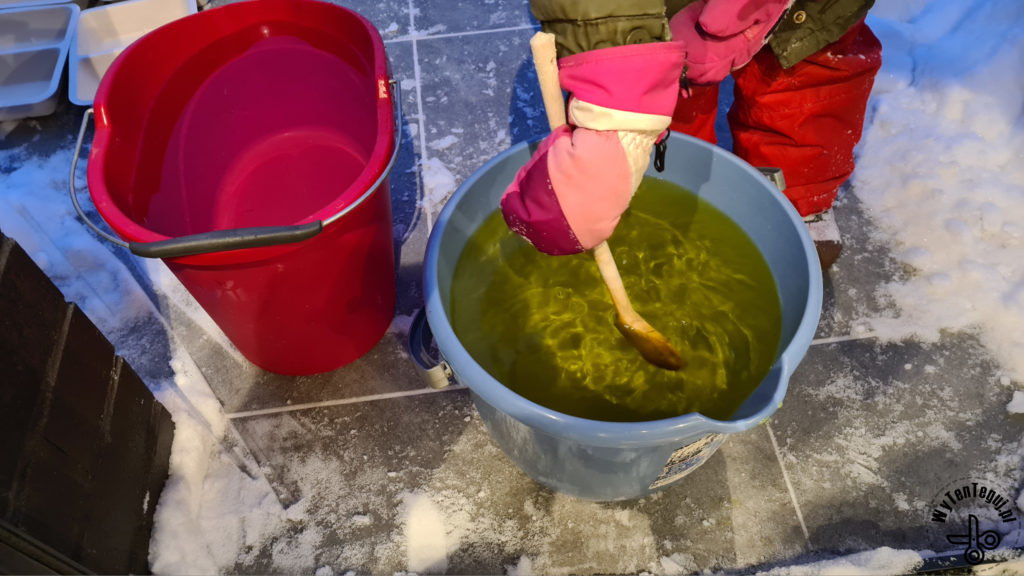
- Prepare colored water
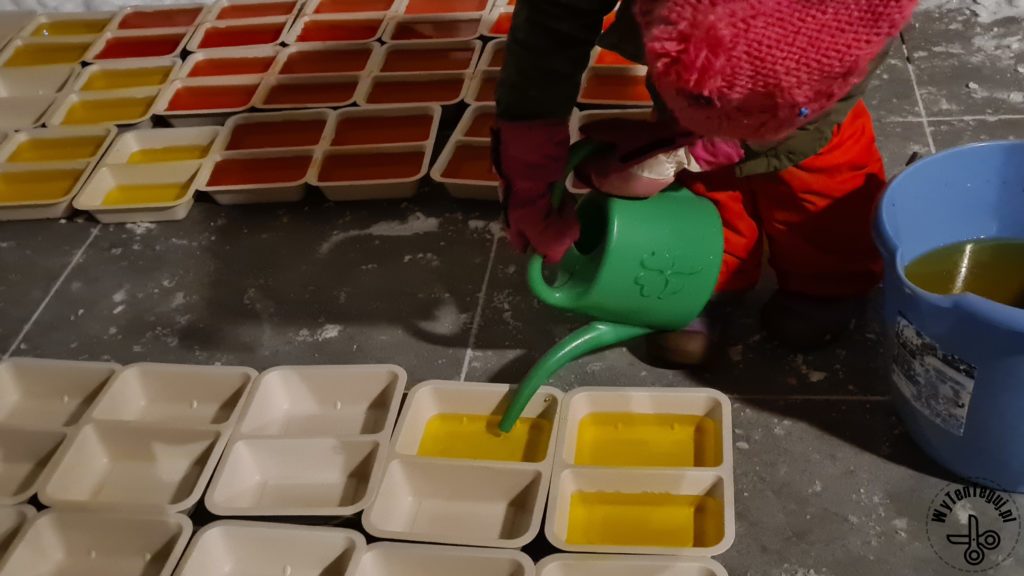
- Spill water into the molds
- Let it freeze overnight
- Take out the ice cubes mold bricks
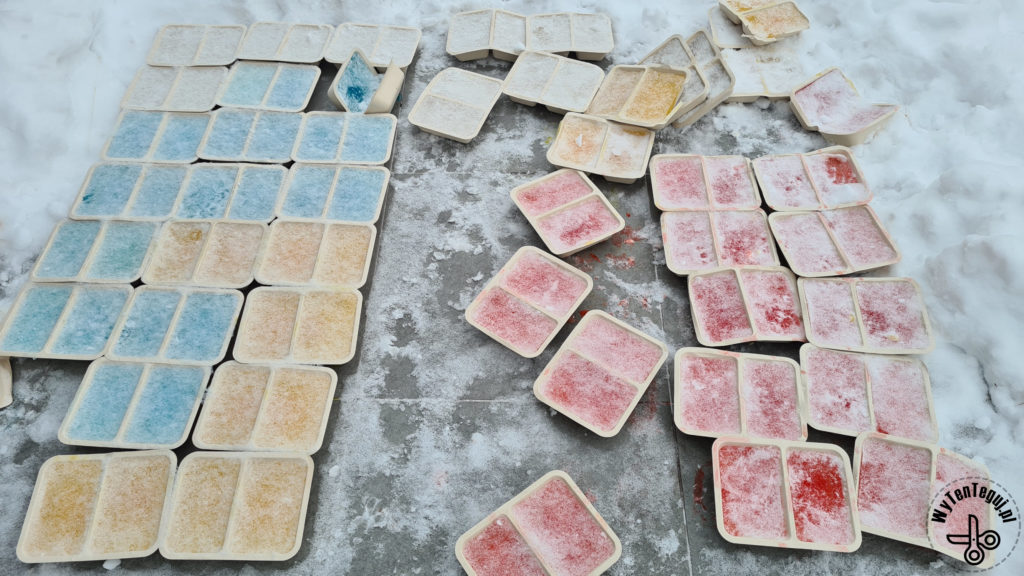
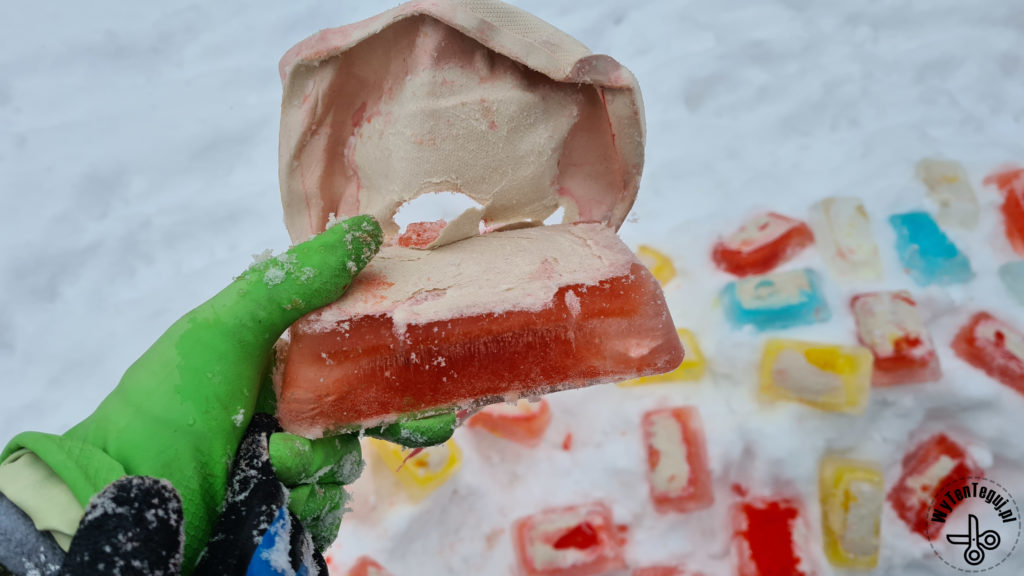
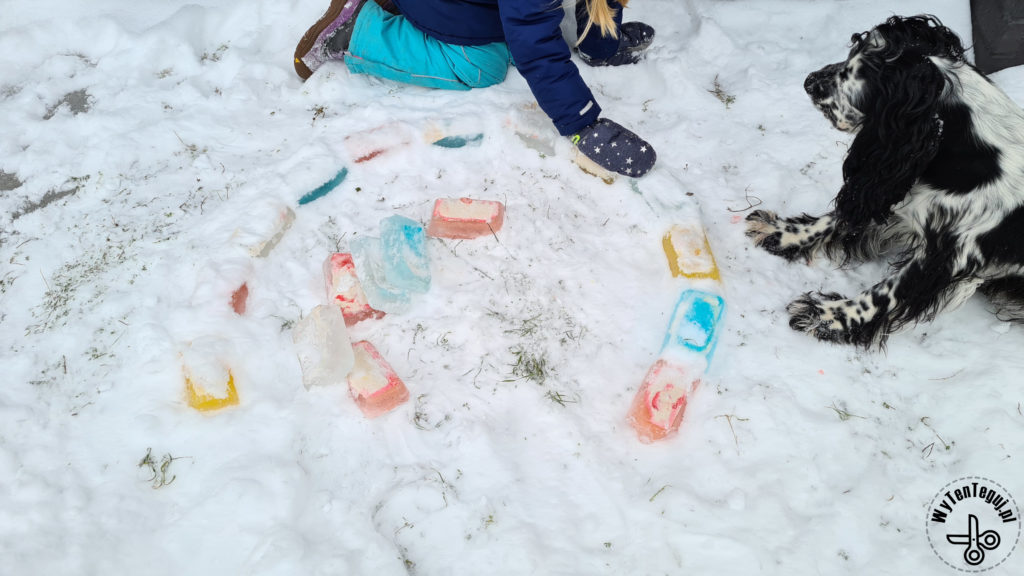
We’re building an iglo
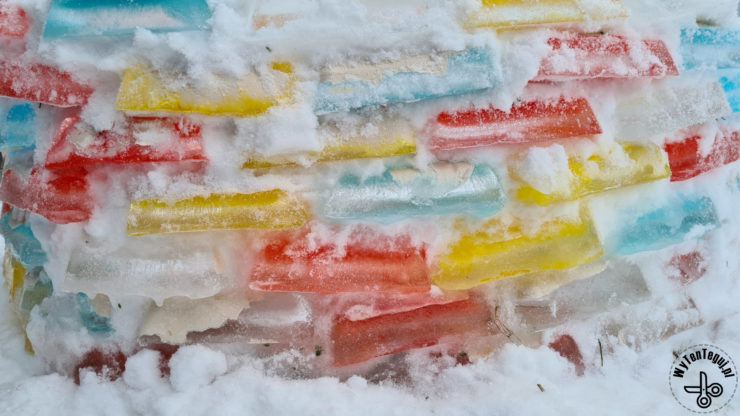
The coolest part is building the igloo. Our resources were limited, so we focused on a smaller structure. We joined the successive layers with snow and poured some water over the night. We were building 2-3 layers in stages.
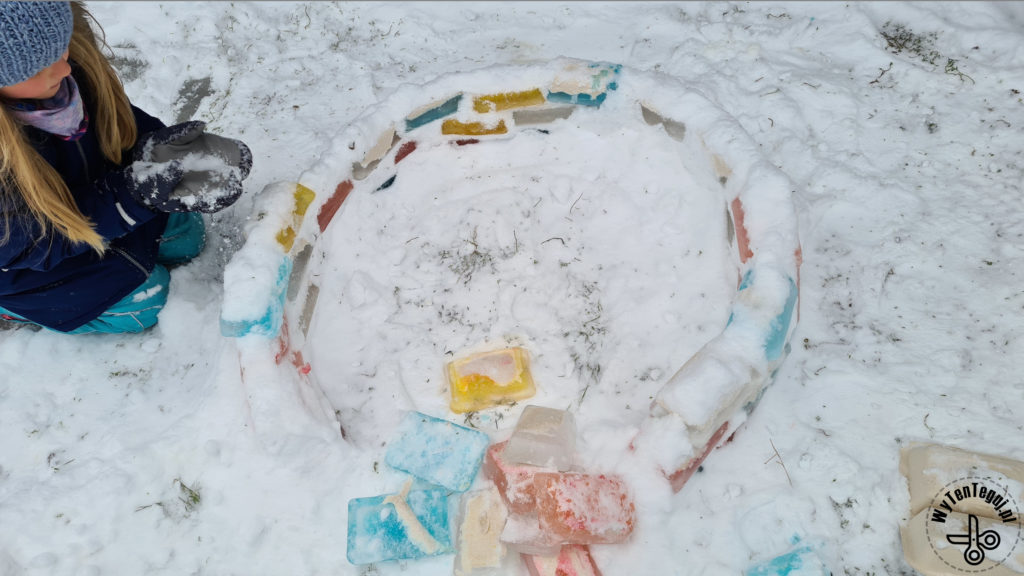
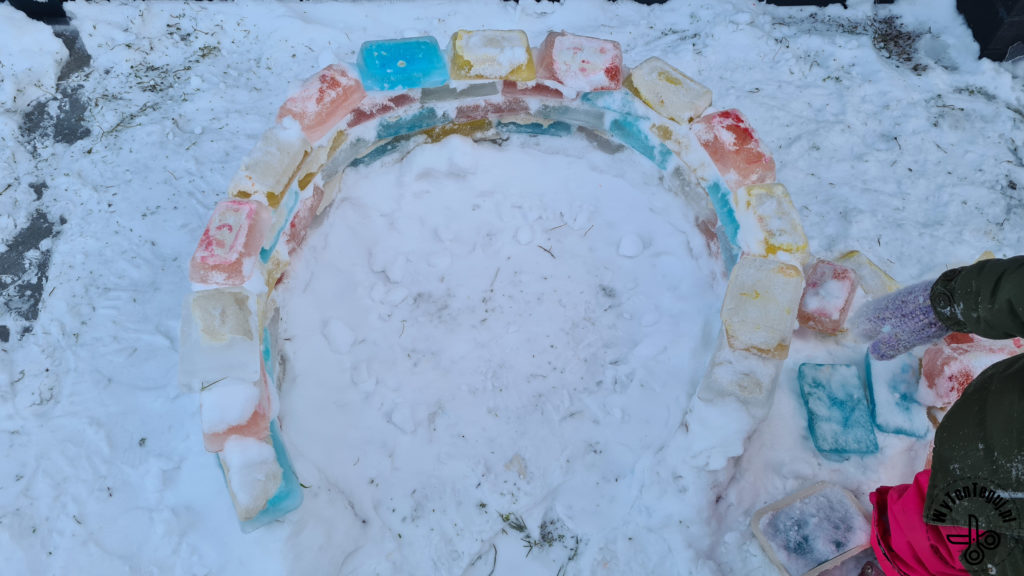
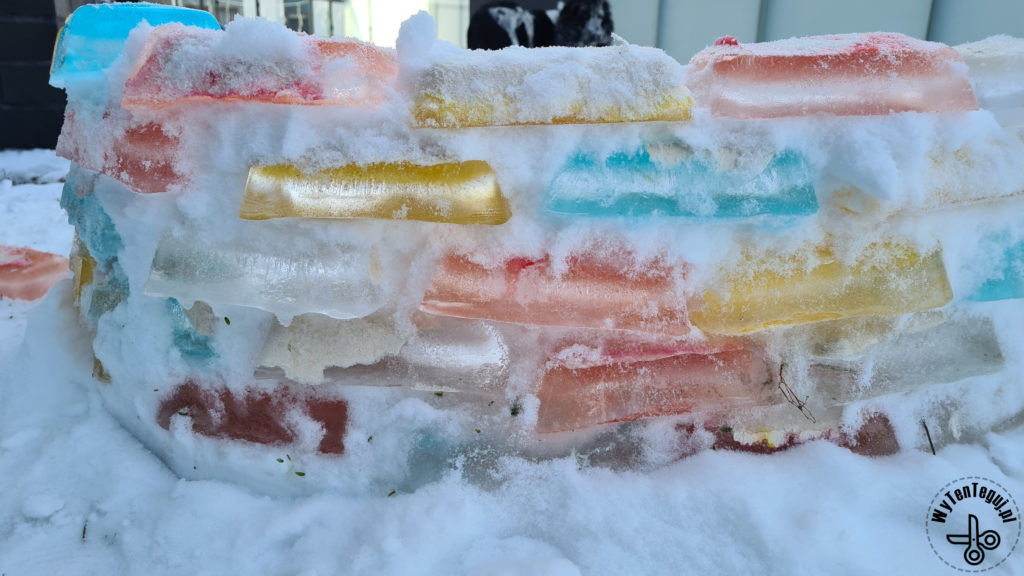
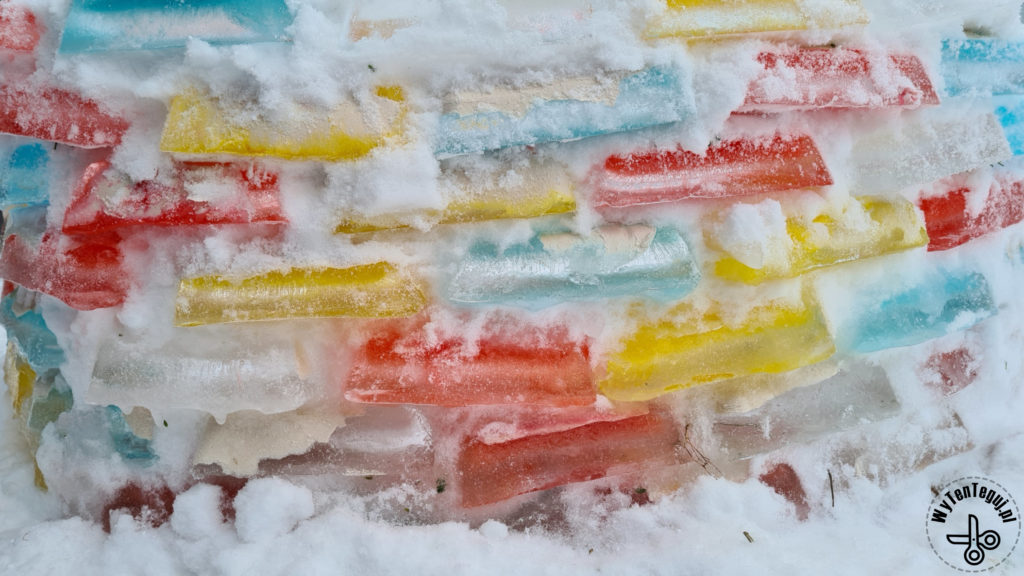
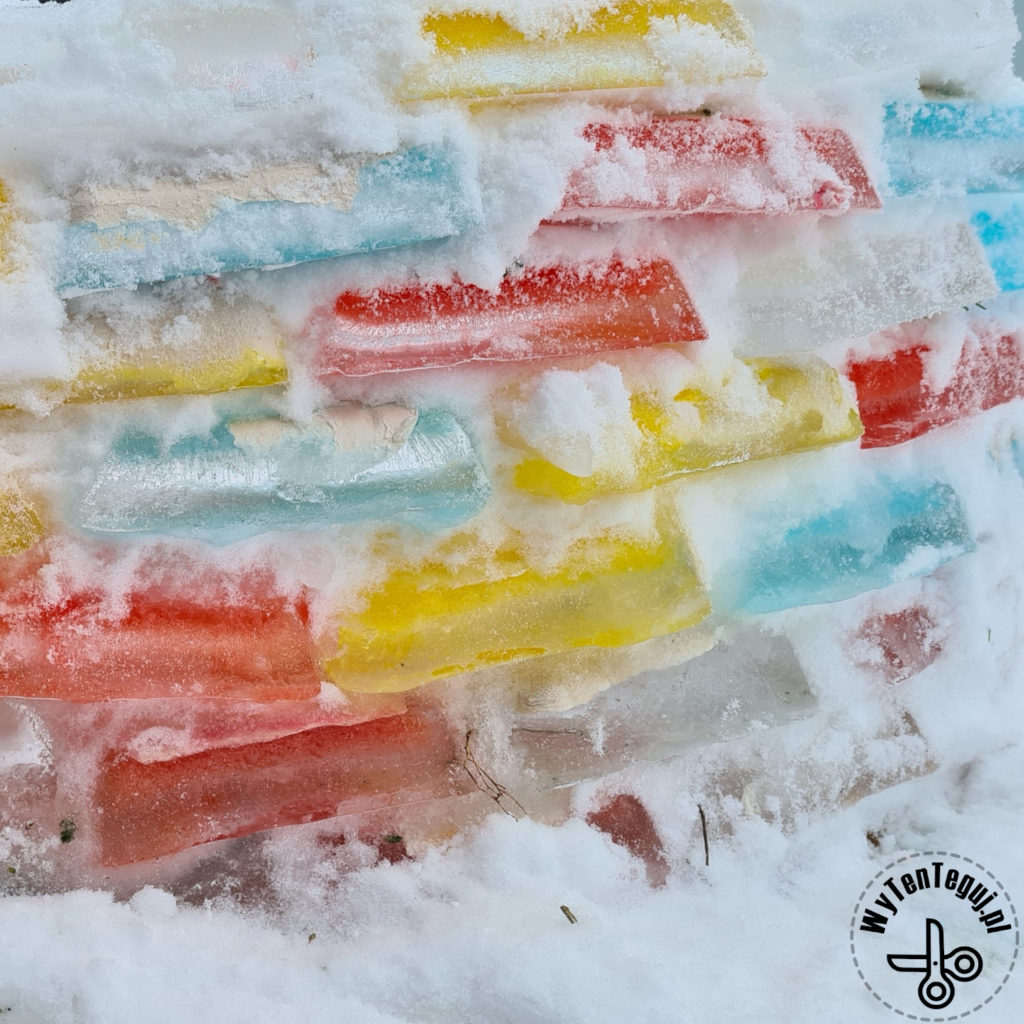
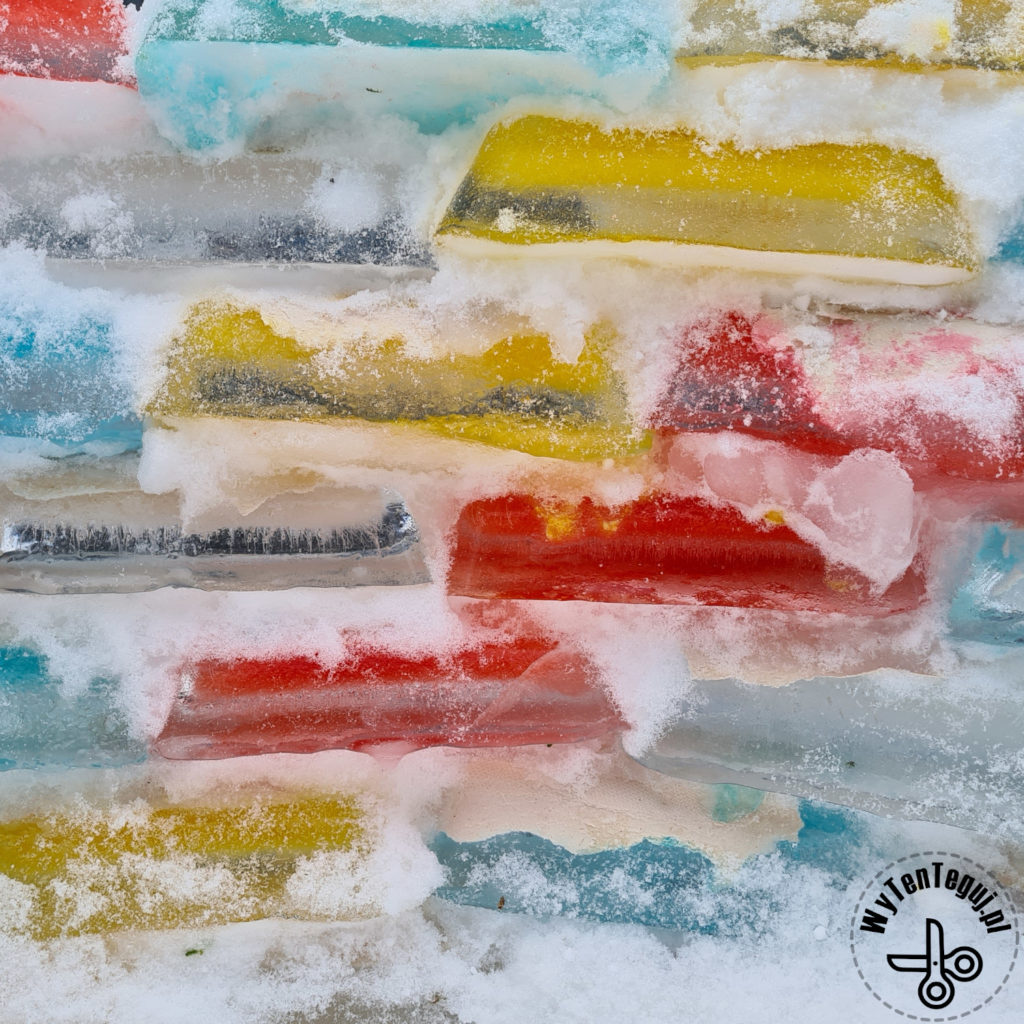
The color ice wall looks awesome 😀
Check out our ideas
If you are looking for more ideas for playing with children, then you will find them in the DIY with children section.
Follow us in social media
If you want to be up-to-date with our newest posts, like our Facebook fanpage, follow us on Instagram and Pinterest.
Nothing gives more satisfaction than doing something yourself. I haven’t even thought about DIY as my hobby, I’ve just done different “projects” when it was needed. Sometimes it’s a disguise for the Masquerade Party in kindergarten. Another time, cutting out the pumpkin and baking the witch’s fingers for Haloween. Or simply organizing holiday souvenirs. Now I decided to share my realizations with you. Let’s go it together!

One thought on “How to build the rainbow igloo?”