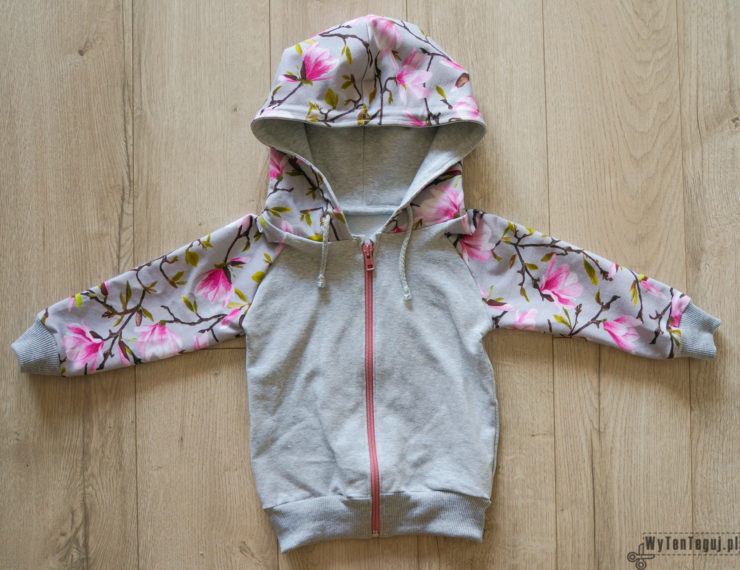
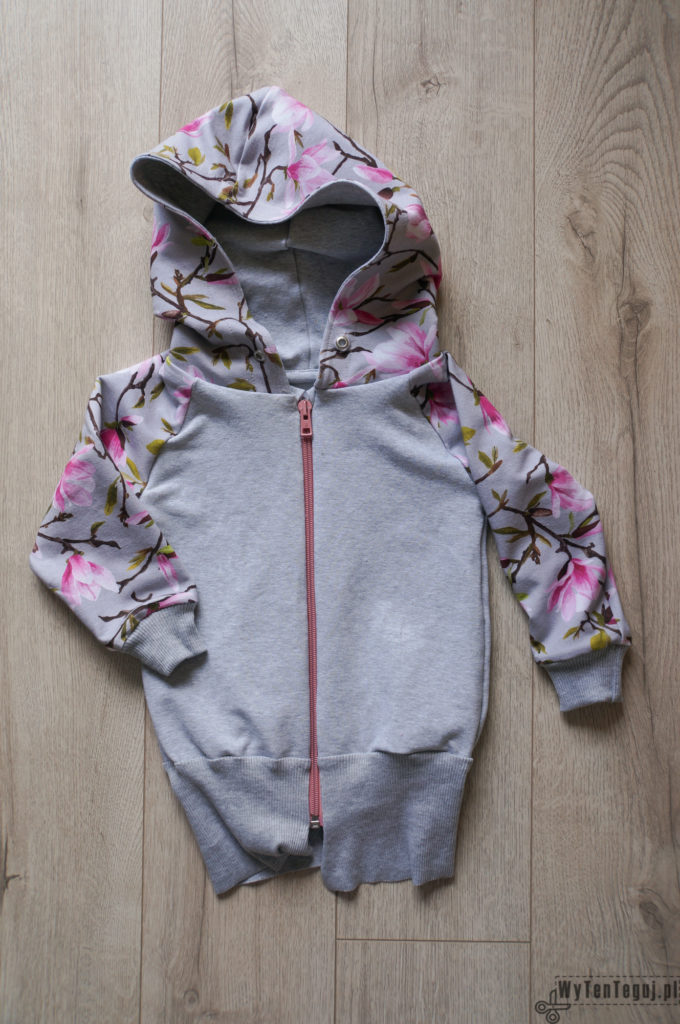
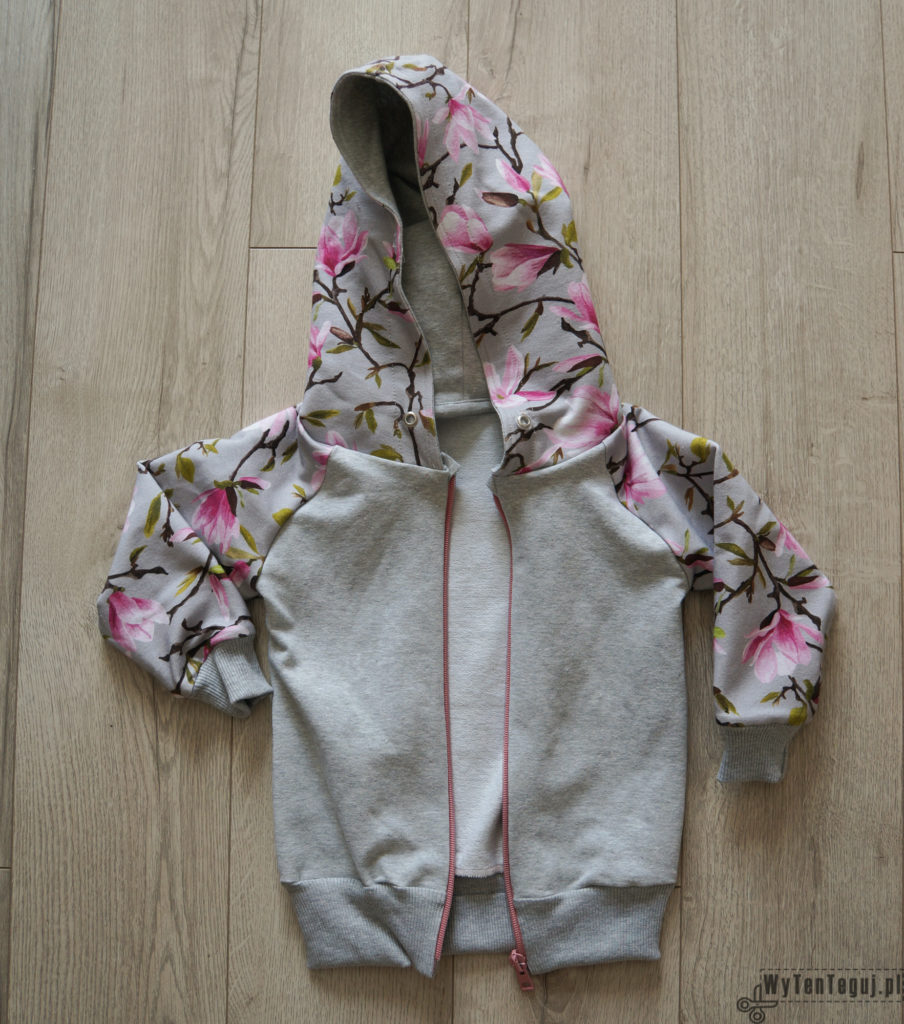
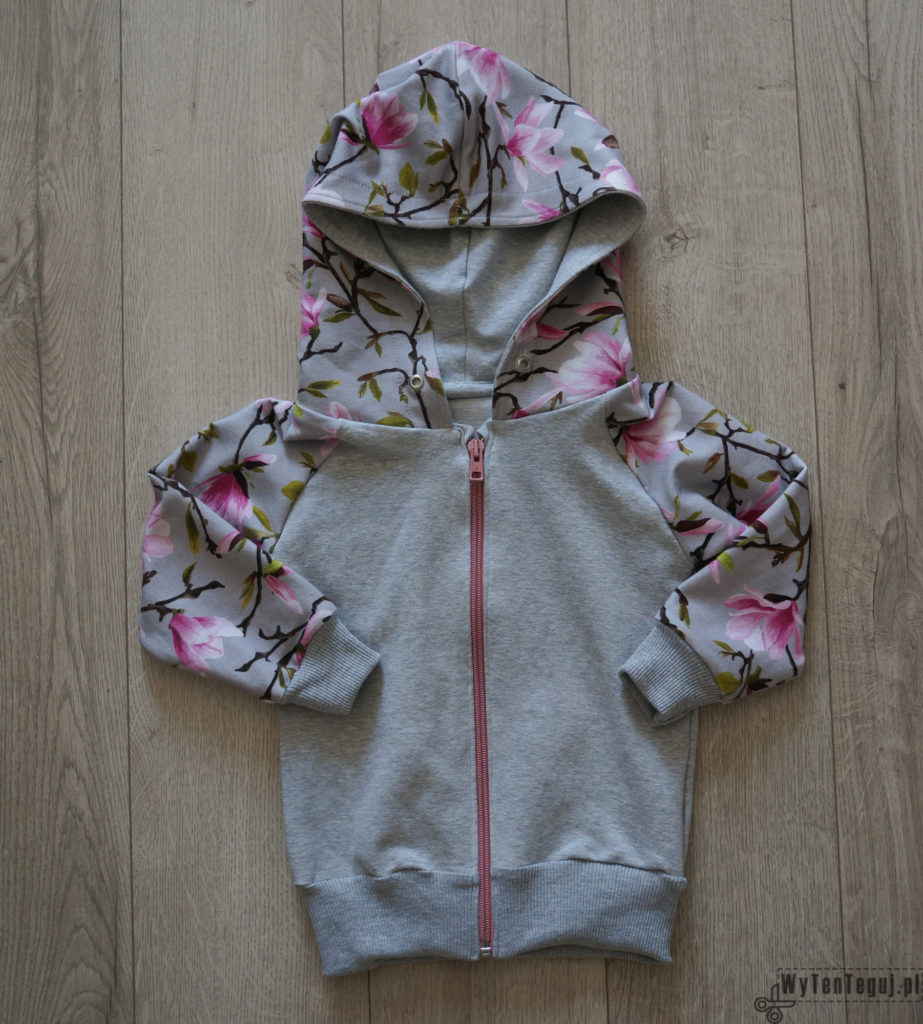
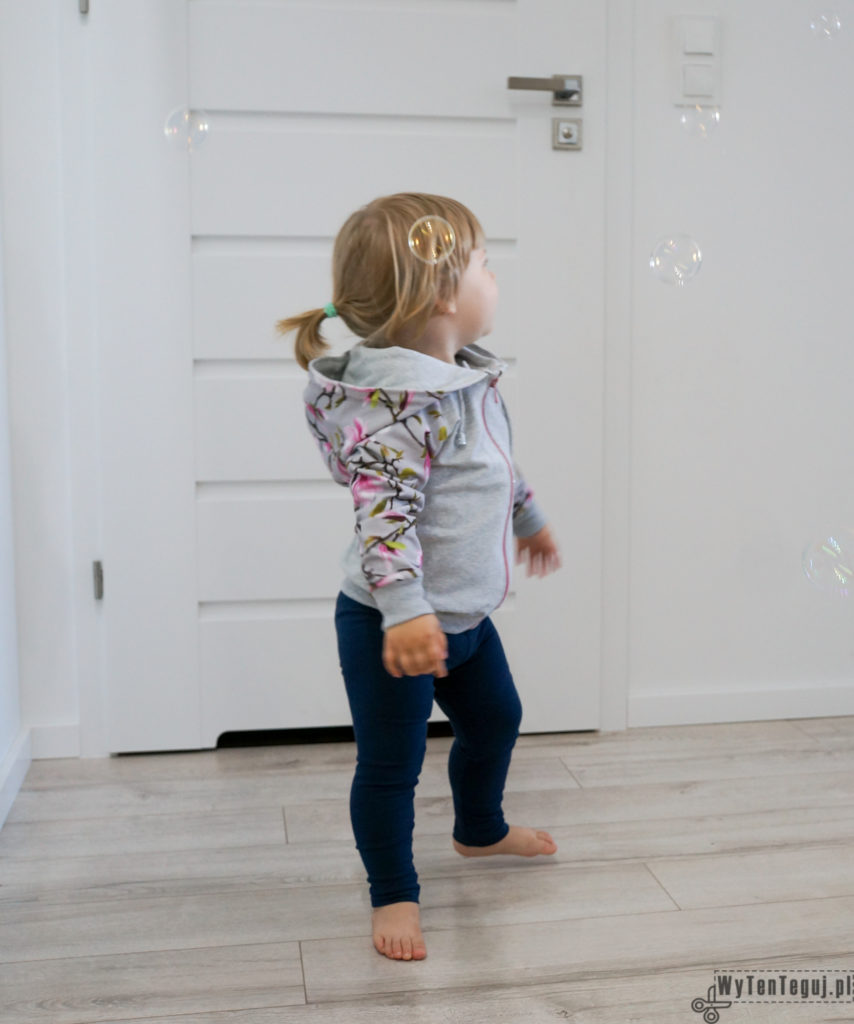
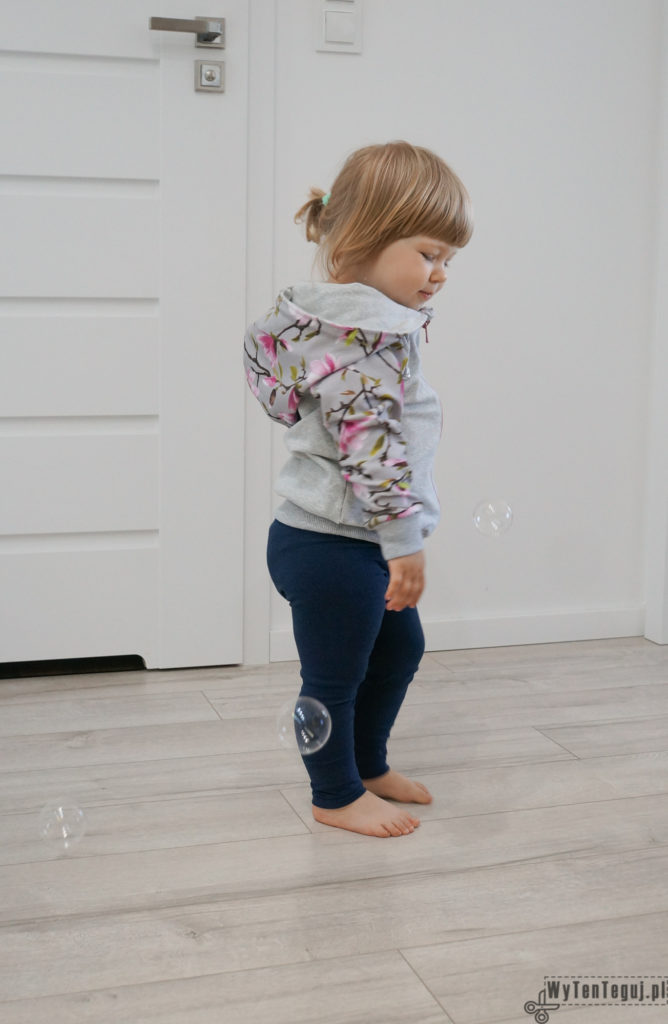
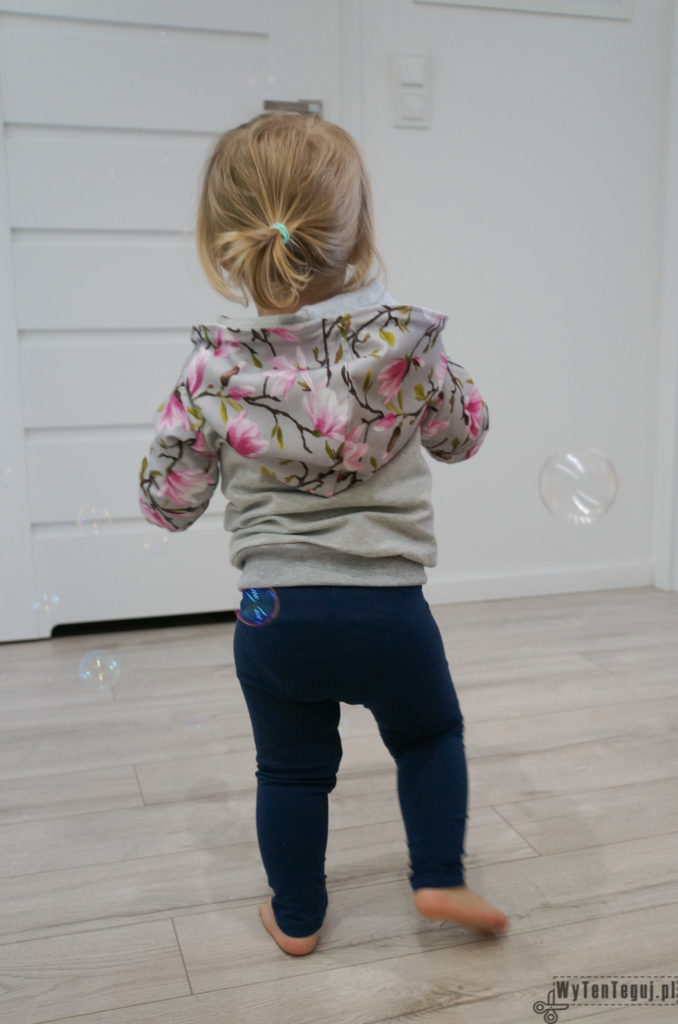
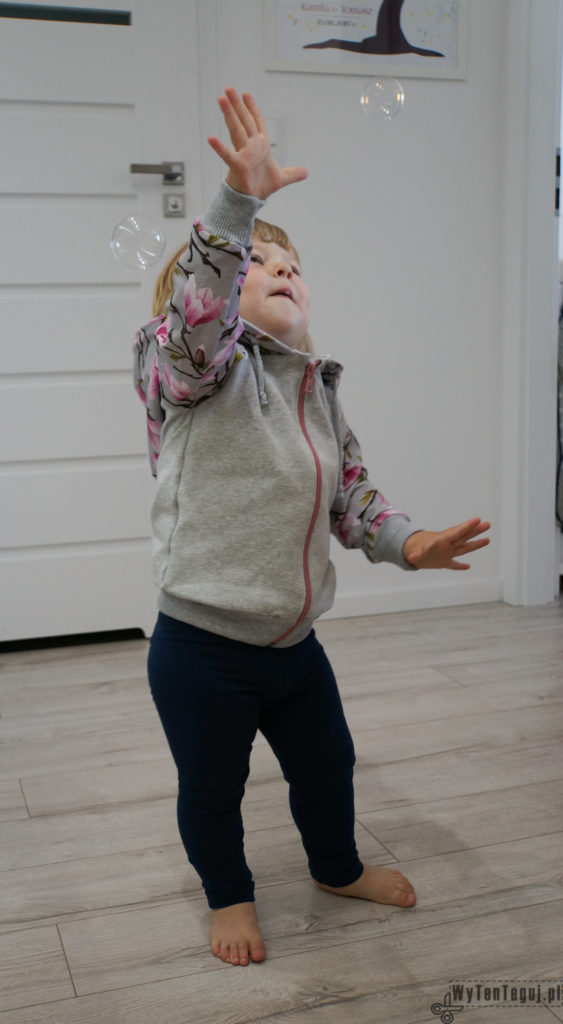
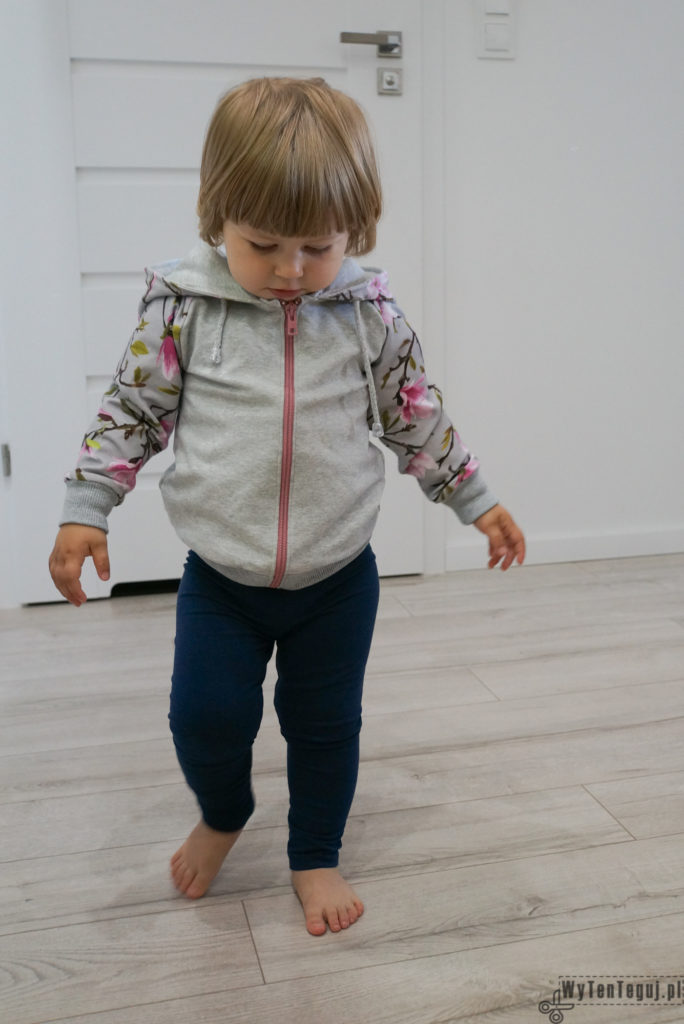
Probably like the majority of people inexperienced in sewing, I gave zipper a wide berth. I was thinking, that sewing it in is comparable to making spaceship. To my surprise, it took me only few minutes. I looked at my newly sewed raglan zipped hoodie with the wide smile 🙂
Hoodie for my (almost) two-year-old maybe is not perfect, but I defeated the first challenge 🙂. I made lots of mistakes, but after all, lessons learned. The next one will be better 😺
In today’s post I would like to share with you the description of obstacles that crossed my way during sewing. Maybe it helps some of you to avoid unstitching 😉. Exceptionally the sewing pattern is not free, but I will show you noteworthy alternative. Enjoy reading and sewing!
If you want to be up-to-date with our newest posts about sewing for kids and free patterns, like our Facebook fanpage and follow us on Instagram.
More information about the types of fabrics used by me and online shops I recommend the most you can find here.
I encourage you to visit one of the best sewing Facebook group SZYCIE-WYKROJE-DIY (unfortunately for polish speaking readers). This is a mine of knowledge about sewing and you can ask questions and get help from more advanced in sewing.
You’ll need
- the sewing pattern from makerist, sizes from 80 to 164. From time to time there are great discounts and selected pattern you can buy for only 2€. Noteworthy alternative is the hoodie sewing pattern from Brindille & Twig, but there is no zipper, so you have to make it on your own
- wide looped back french terry / brushed back french terry both smooth and printed pattern – quantity depends on chosen size
- ribbed knit fabric – quantity depends on chosen size
- twine
- cord ends and\or string stoppers
- eyelets
- zipper with length suitable to chosen size
How to sew it
Hoodie cockpit
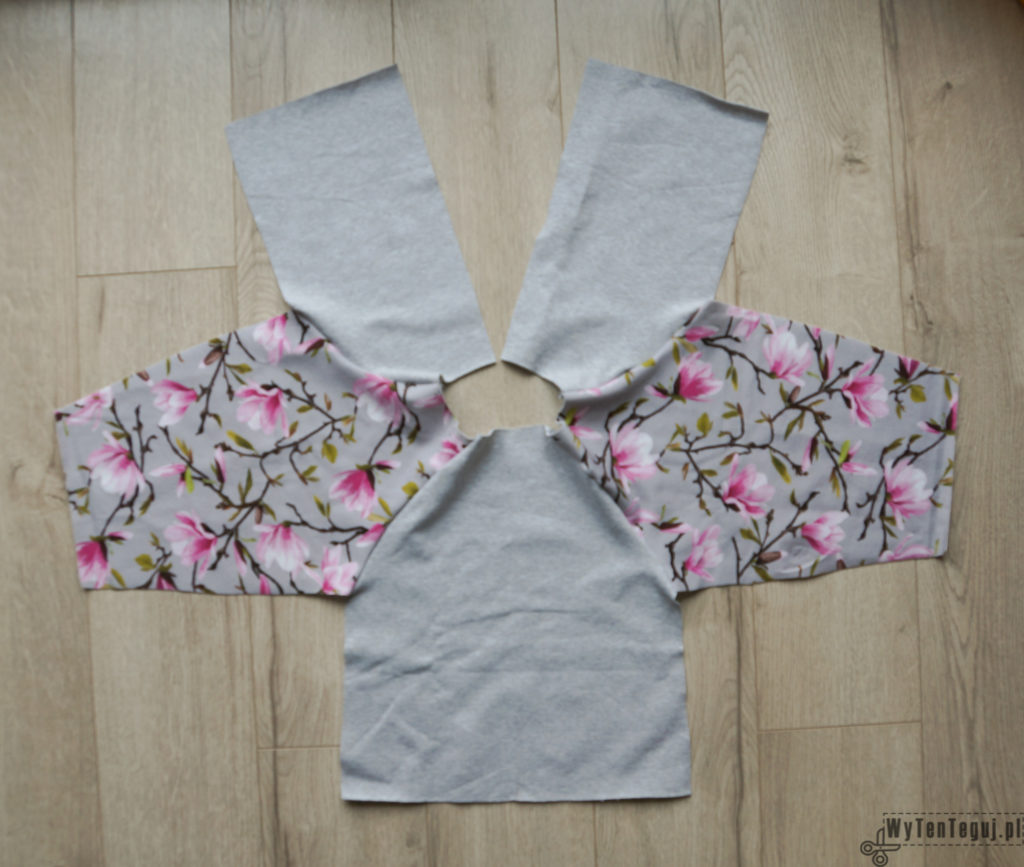
- At the beginning, as always, cut the elements from the pattern:
- using smooth looped back french terry: back and front of the hoodie and two pieces of hood for its inner side,
- using printed pattern looped back french terry: two sleeves and two pieces of hood for its outer side.
- Sewing pattern from makerist doesn’t have seam allowance, so I added 0,7 cm before sewing on overlock. I chose 98 size, but it is necessary to note that I received a little too big hood compared to the rest.
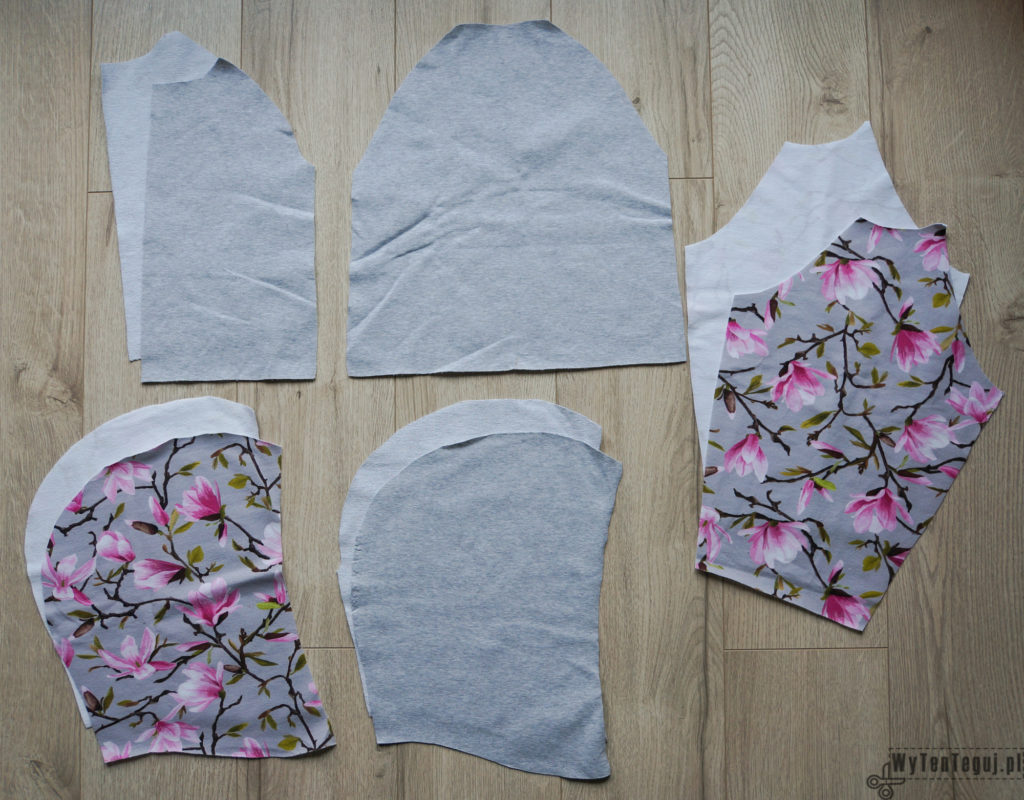
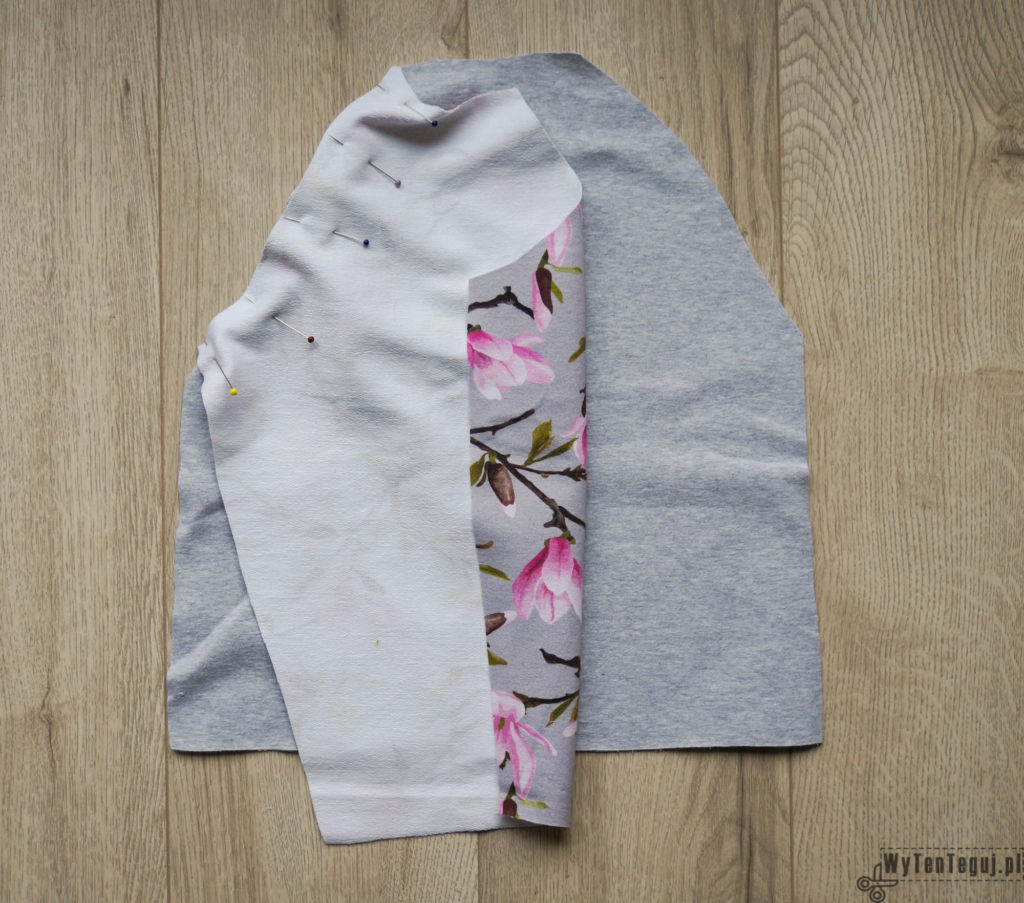
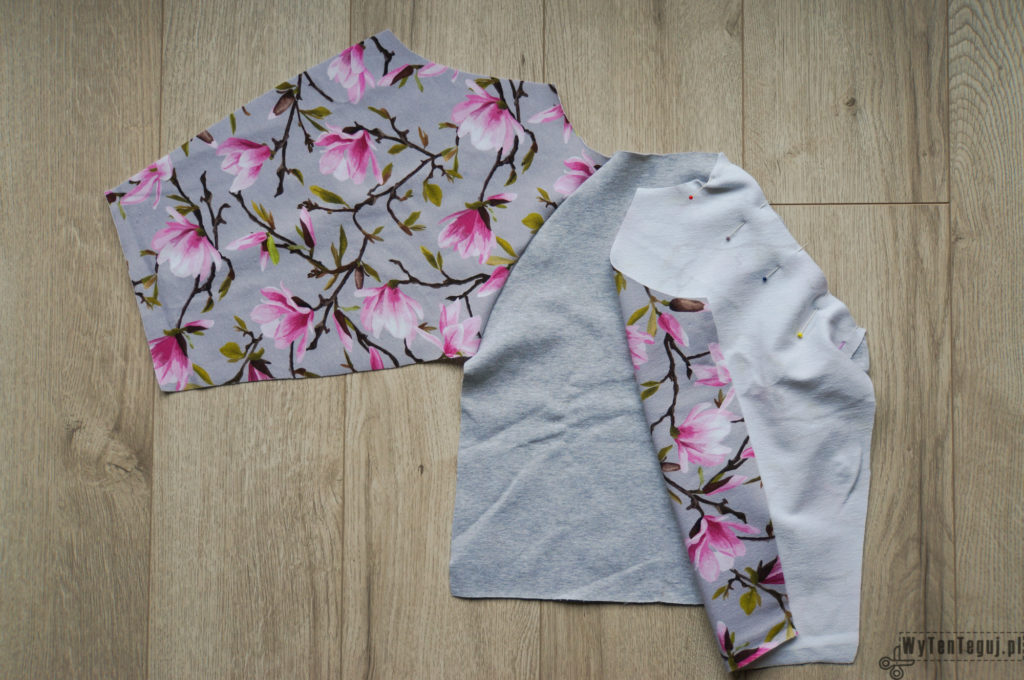
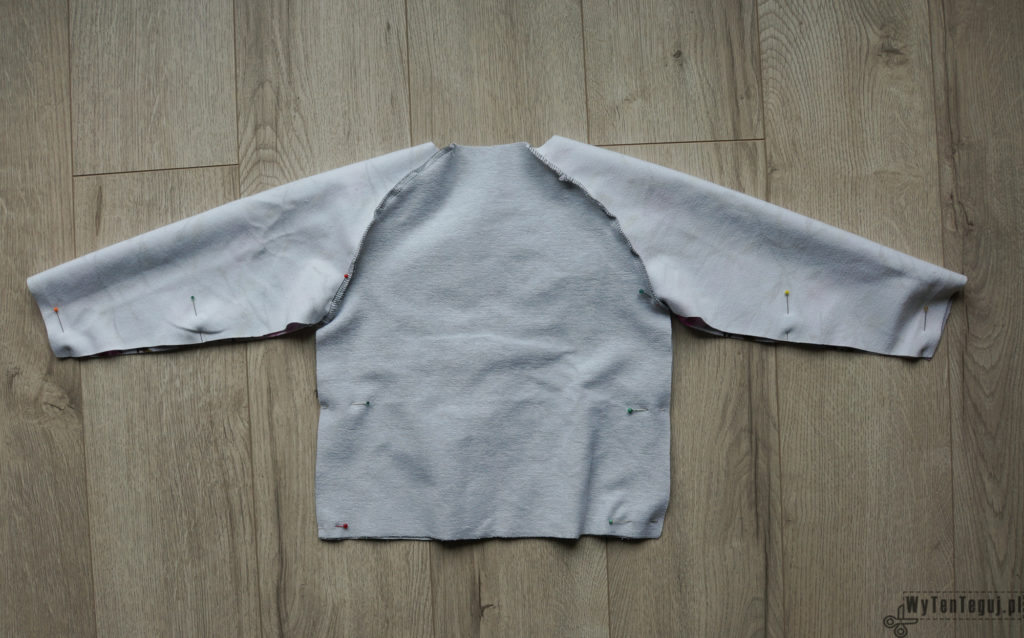
- Sew both of the sleeves to the back of the hoodie.
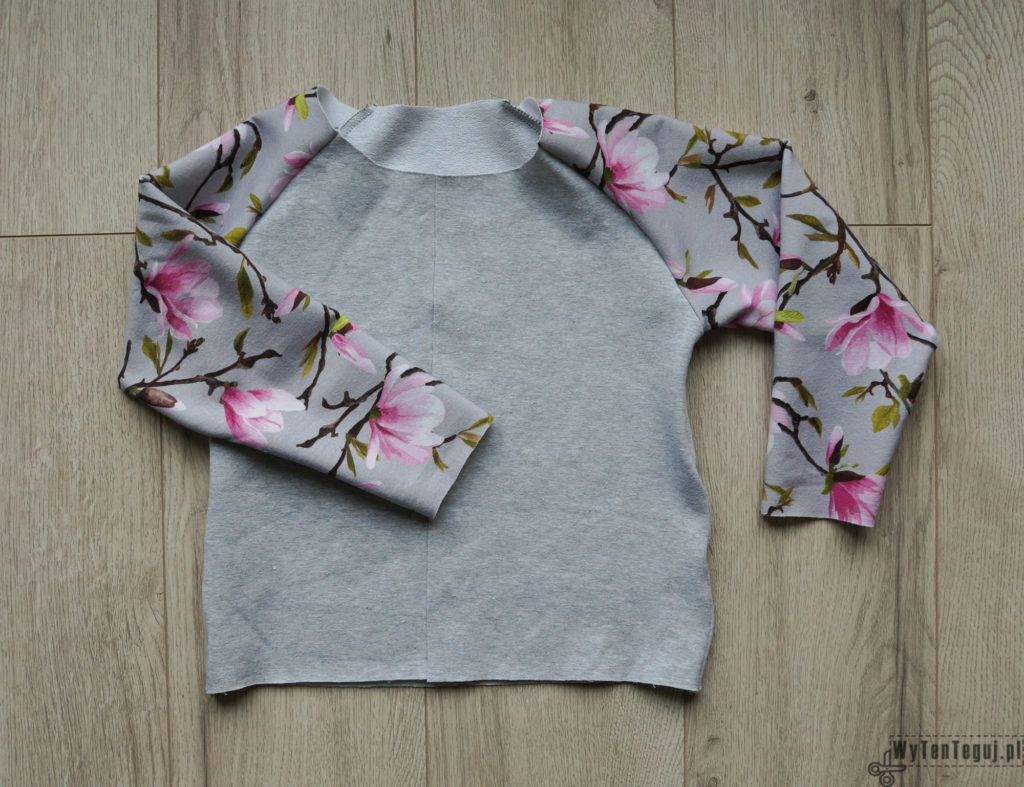
- In the next step sew the front side, that is made of two pieces.
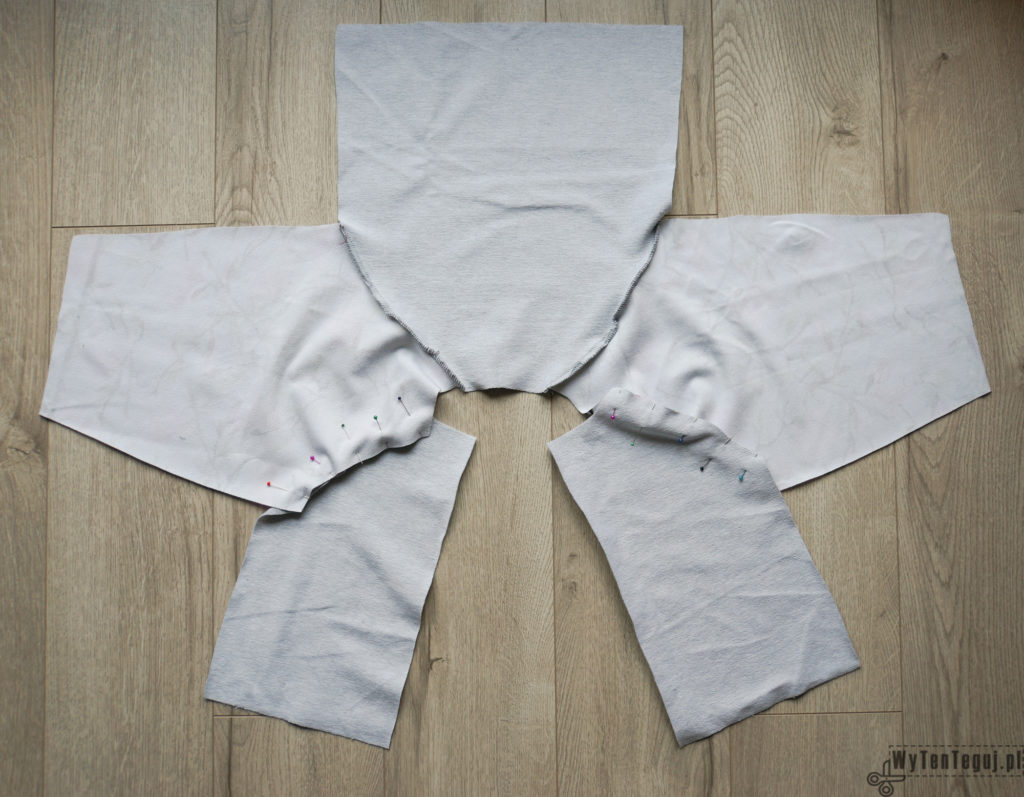
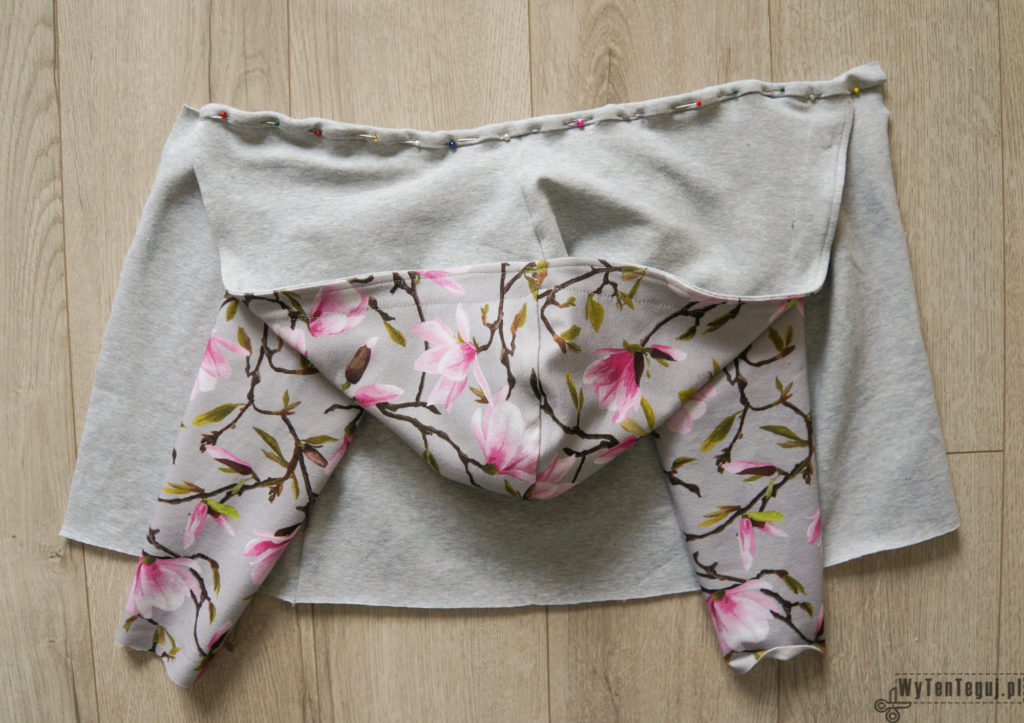
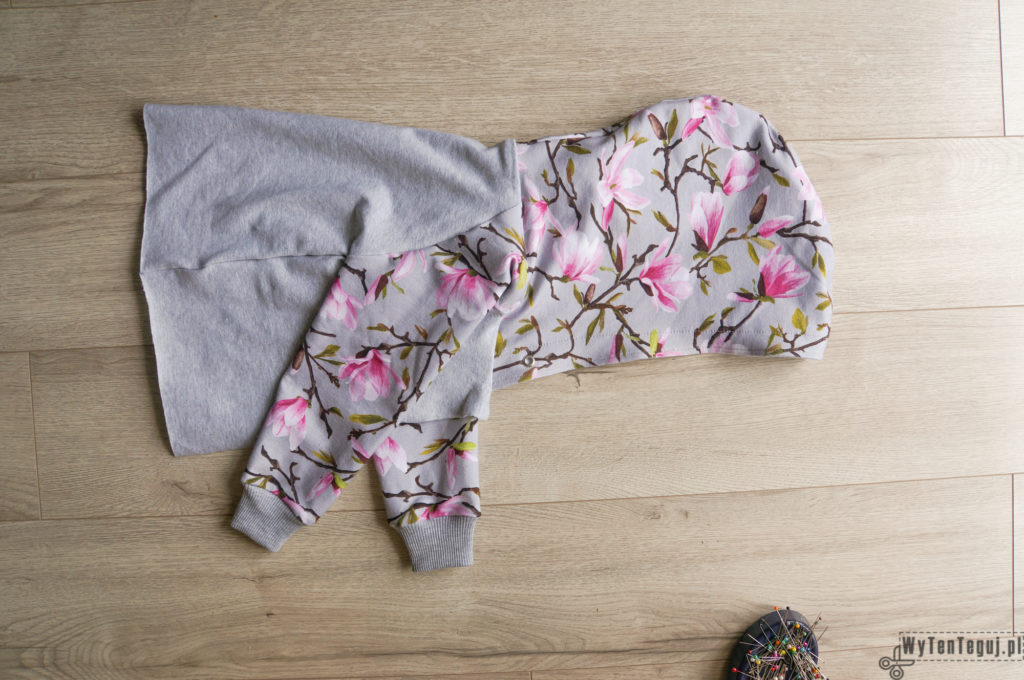
- Then sew inner edges of hoodie including sleeves. This is the way to achieve hoodie “cockpit”.
The hood
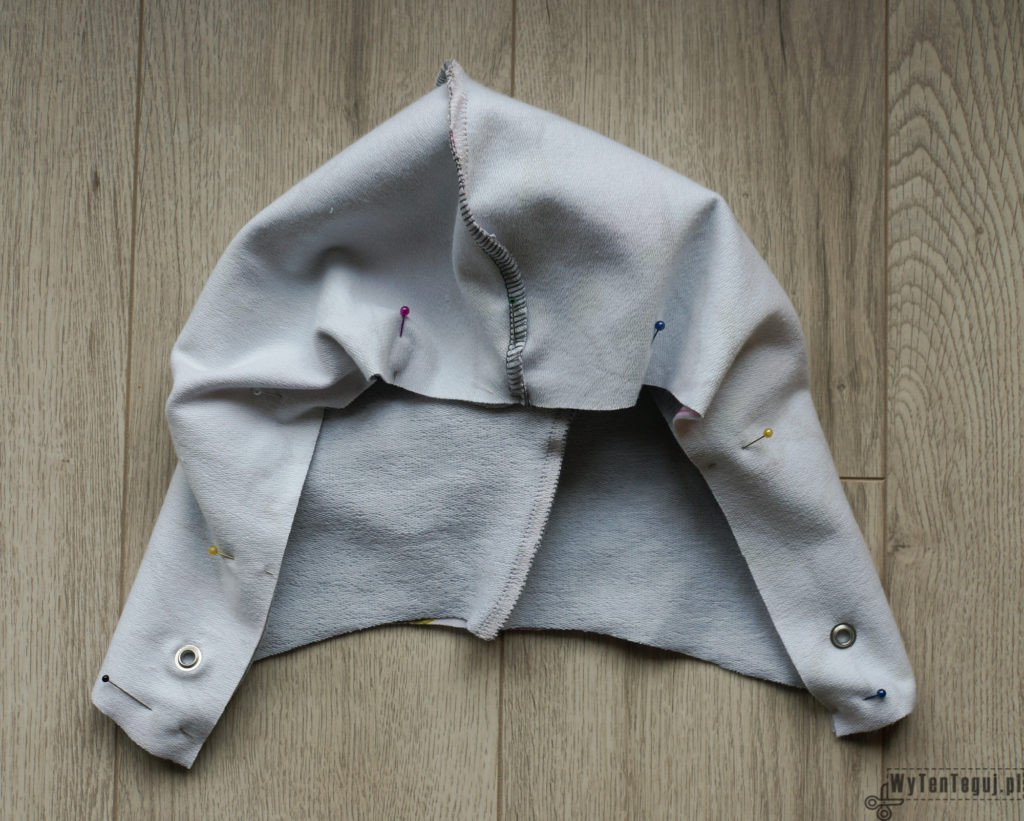
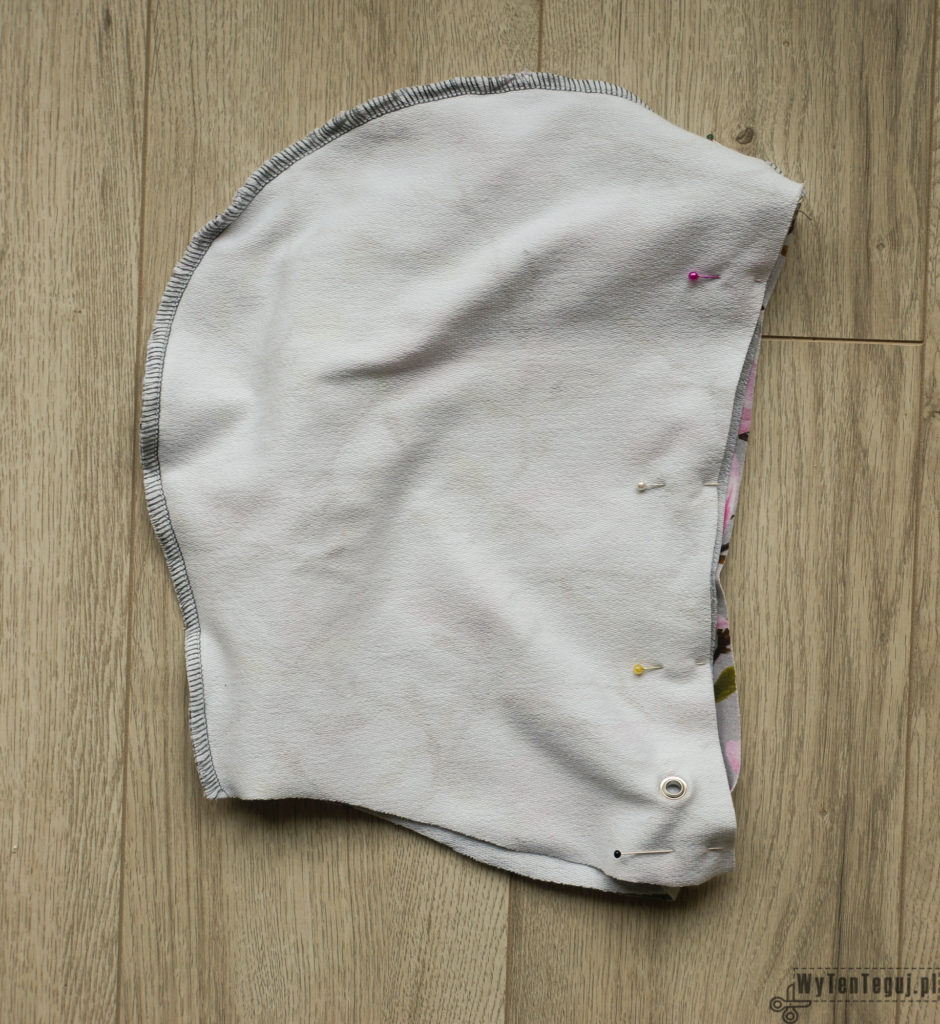
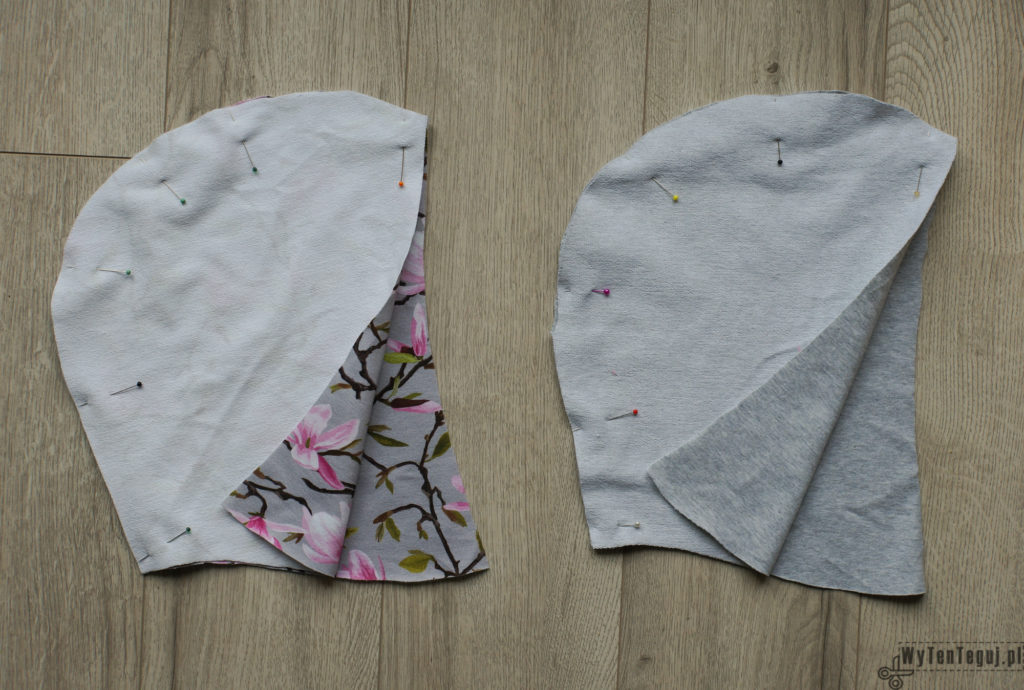
- Two elements of hood both for inner and outer side fold up right sides together and sew as on the pictures below.
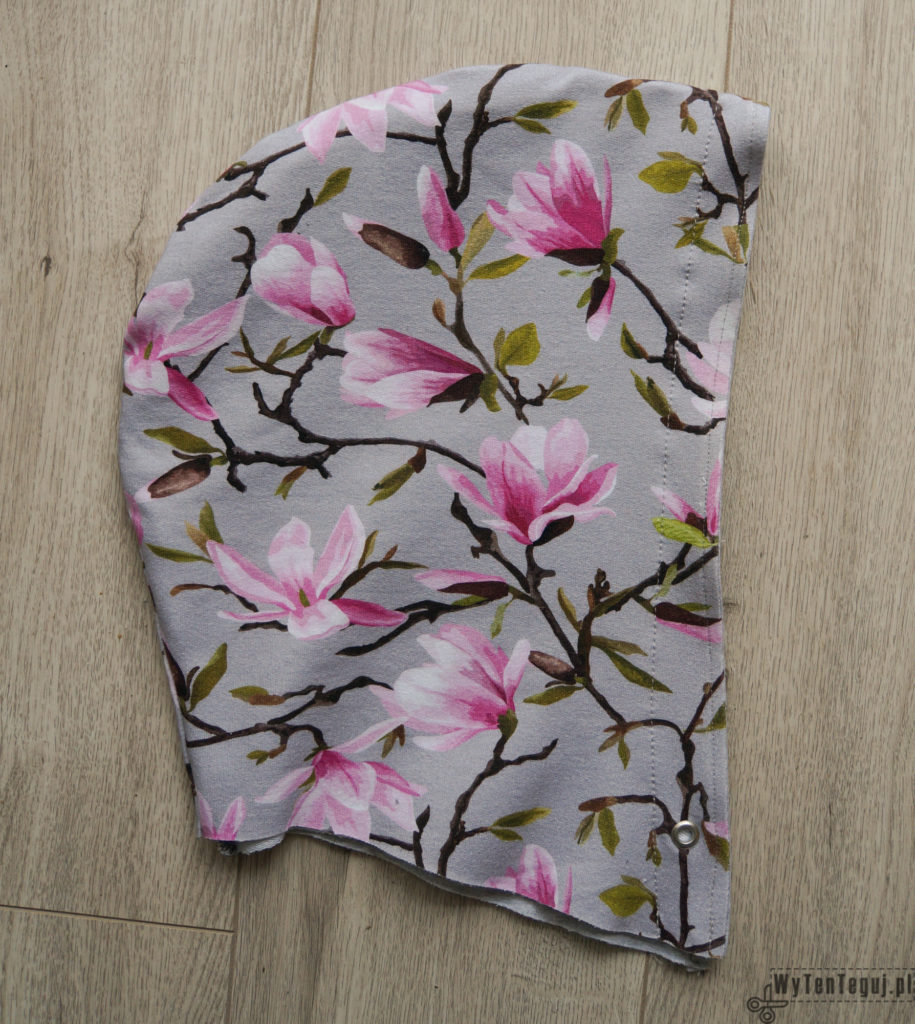
- Put eyelets for twine in outer side of the hood.
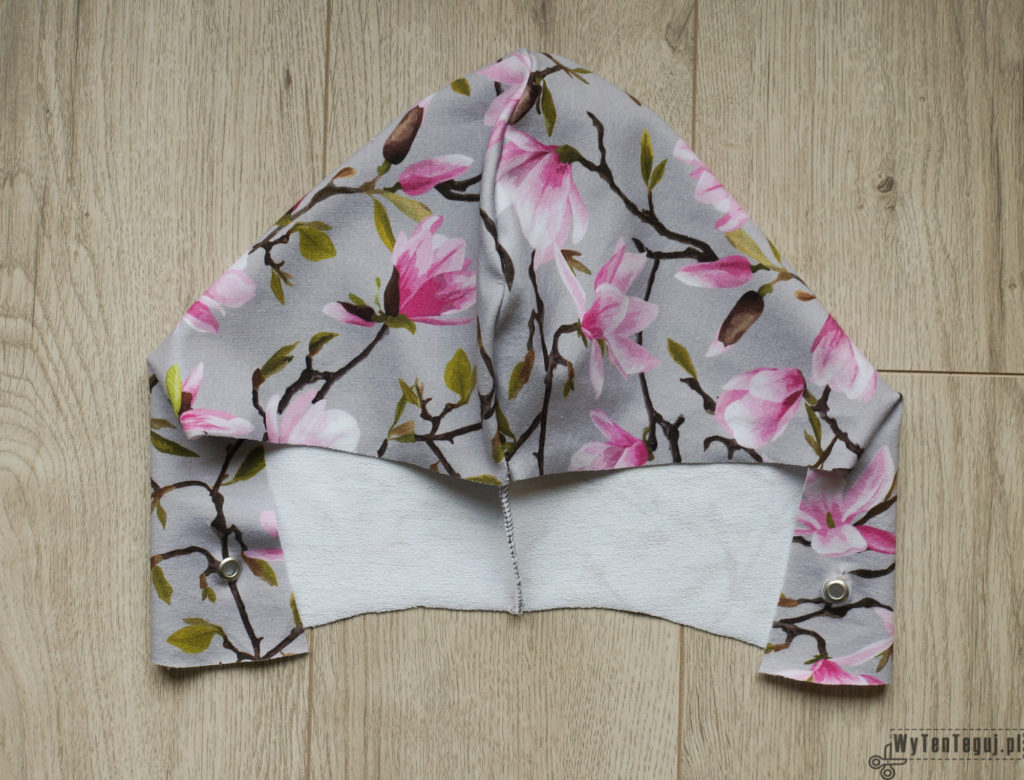
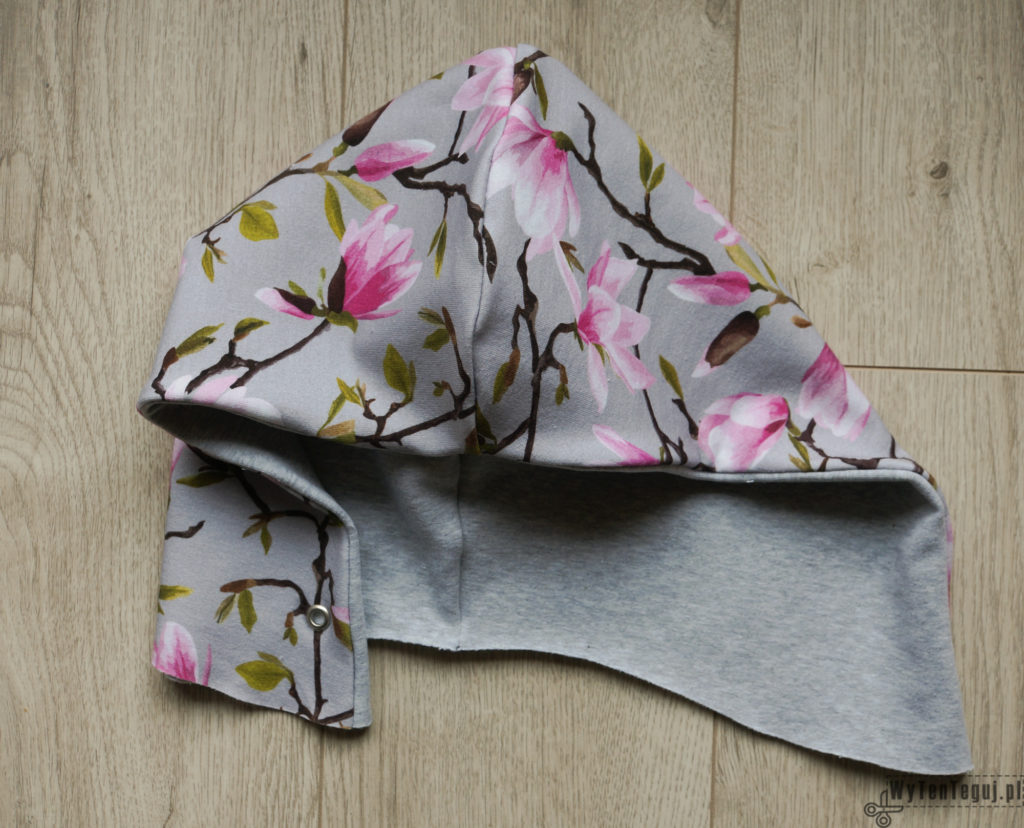
- In the next step inner and outer side of the hood fold up right sides together and sew leaving the bottom open.
- Turn derived hood right side out and backstitch to obtain tunnel for twine.
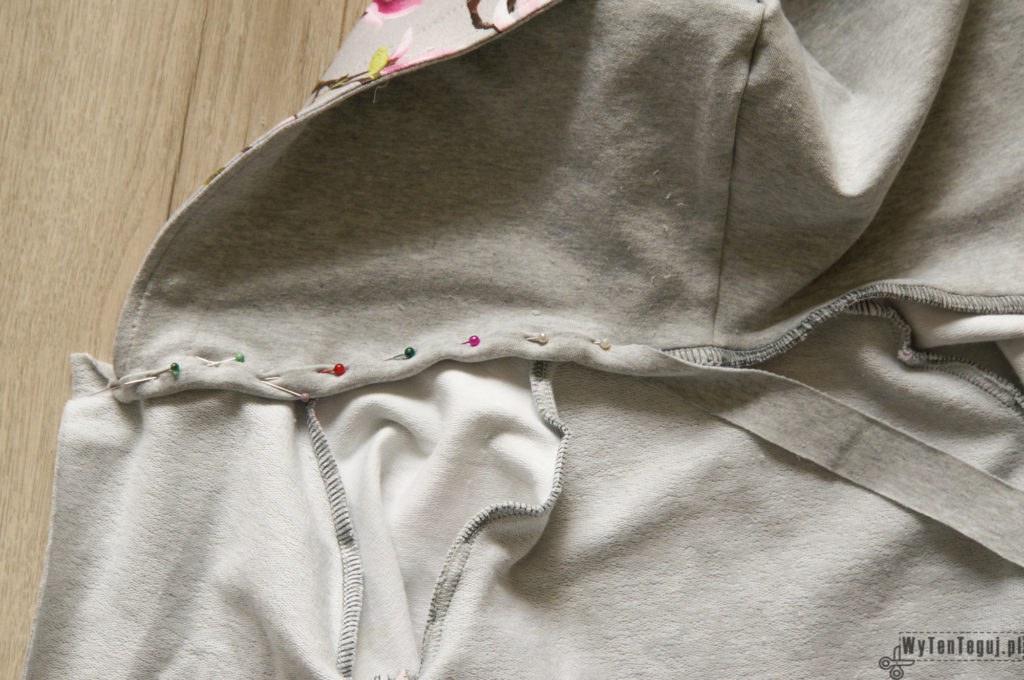
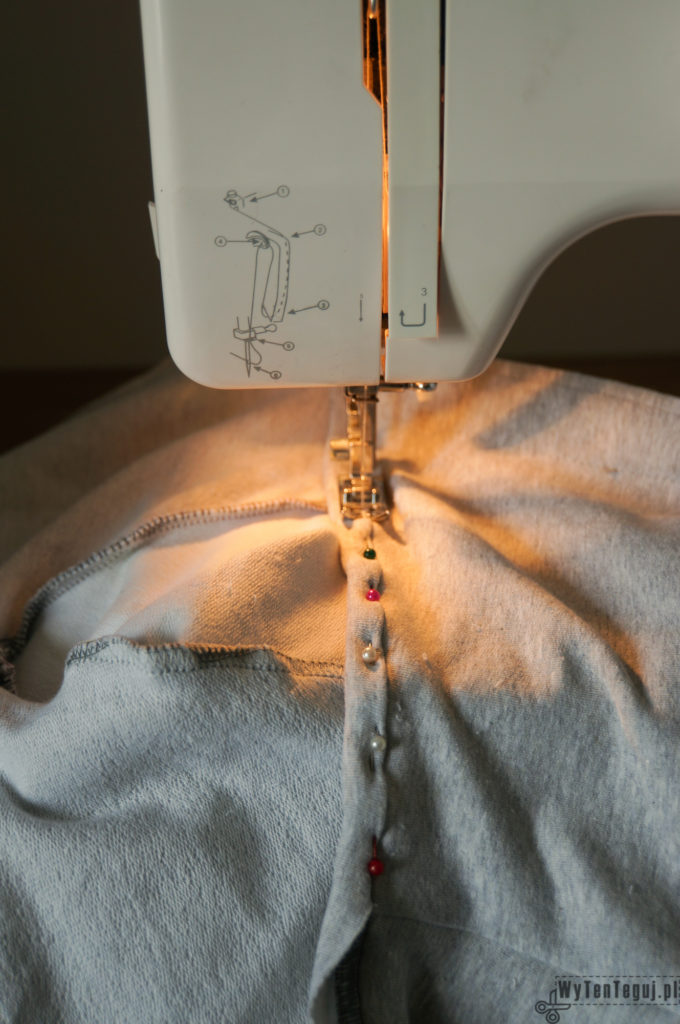
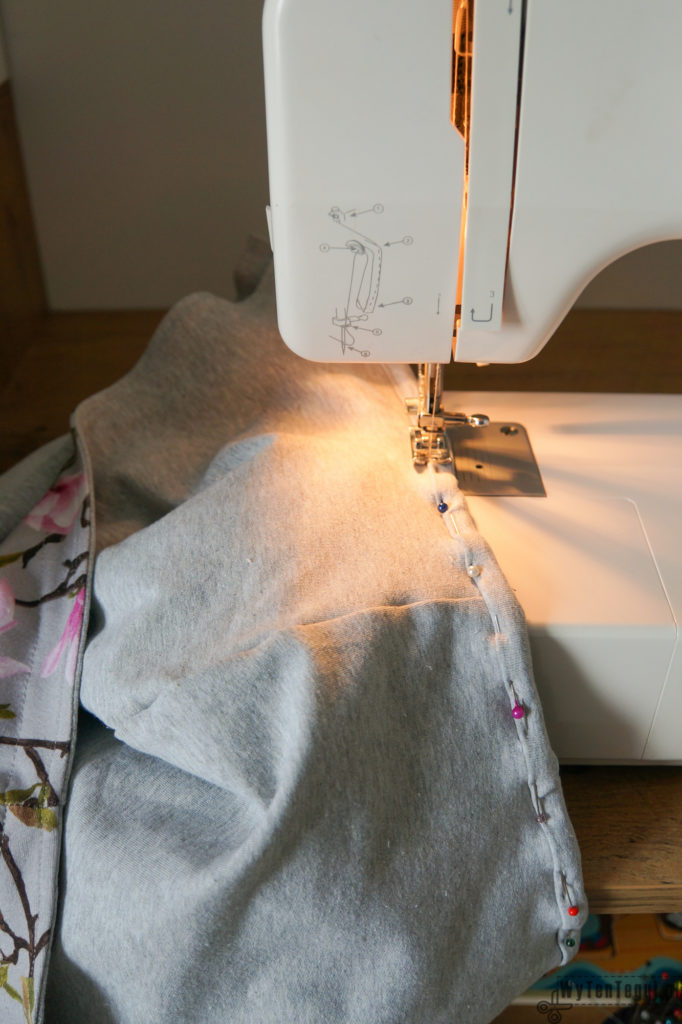
- Sew in the hood to the hoodie cockpit.
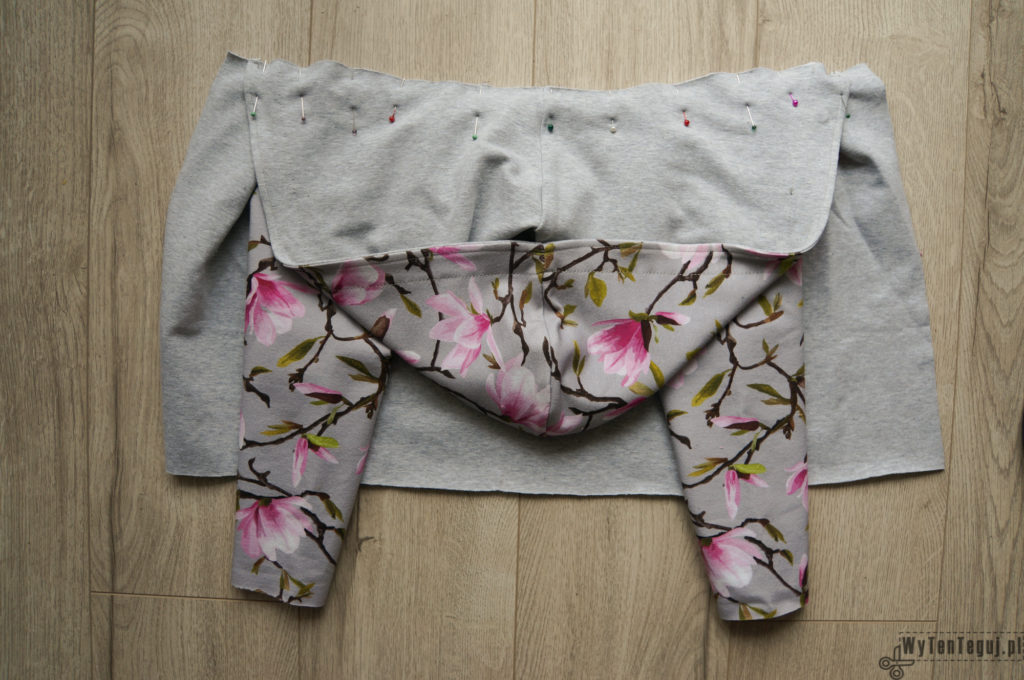
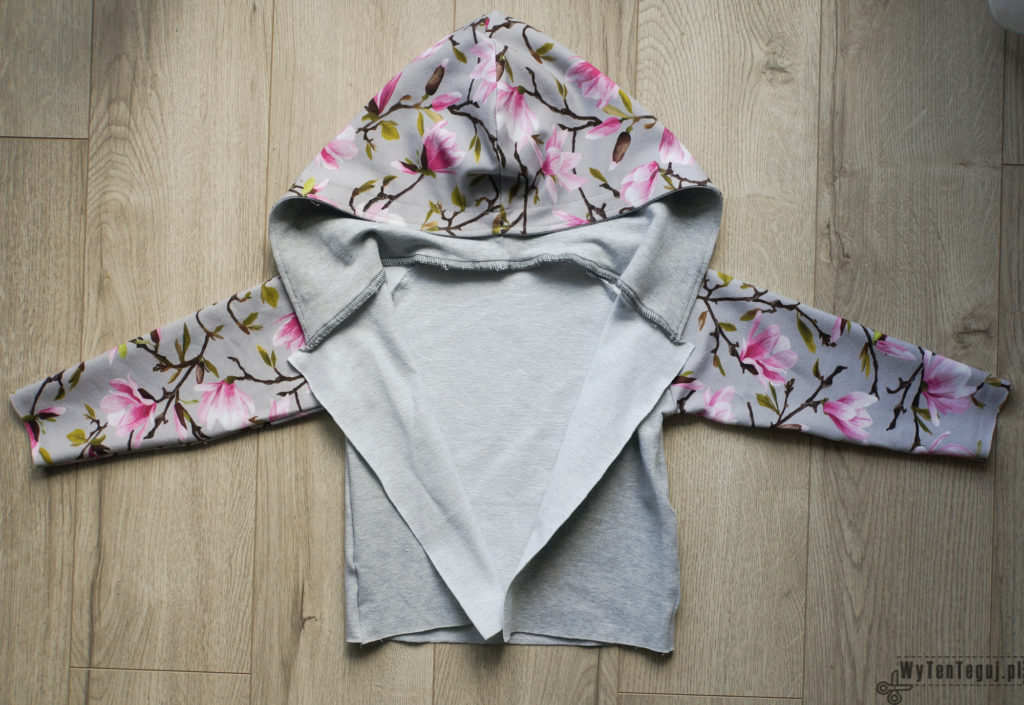
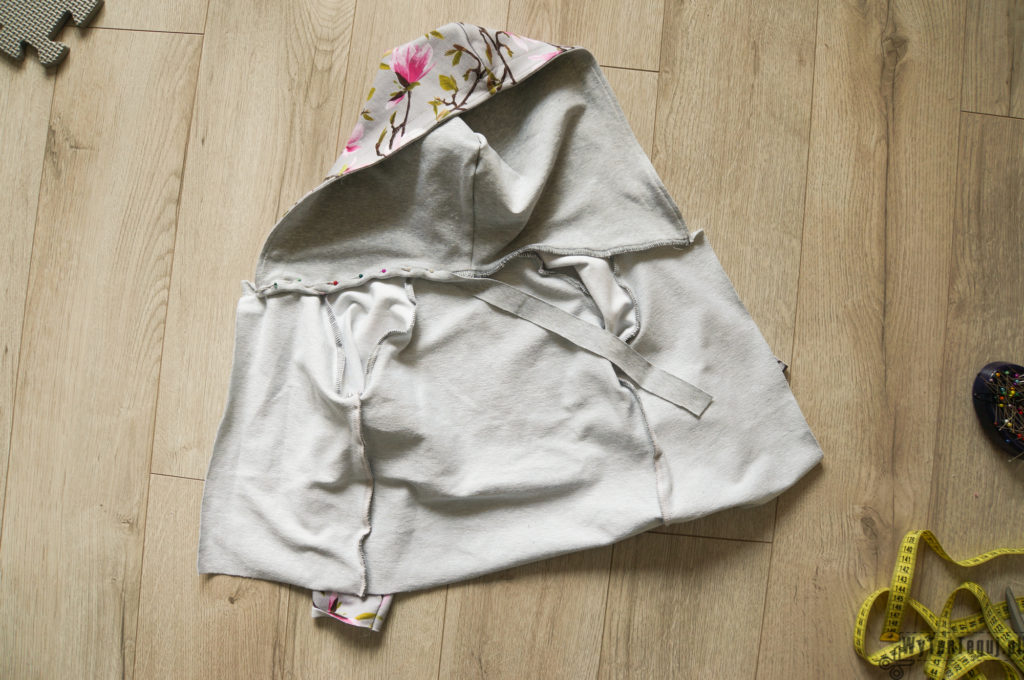
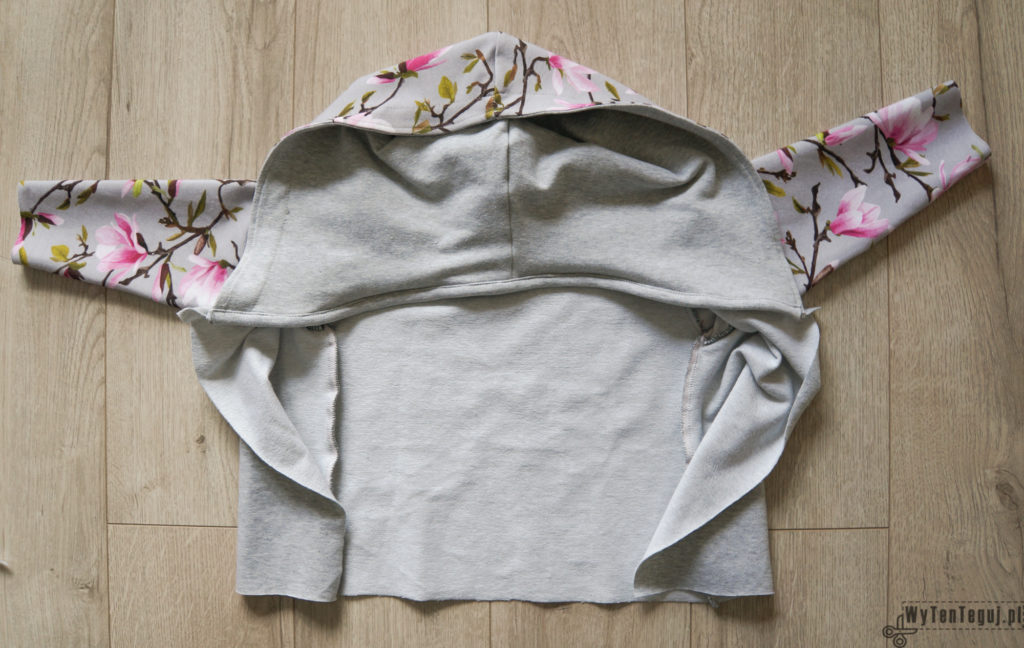
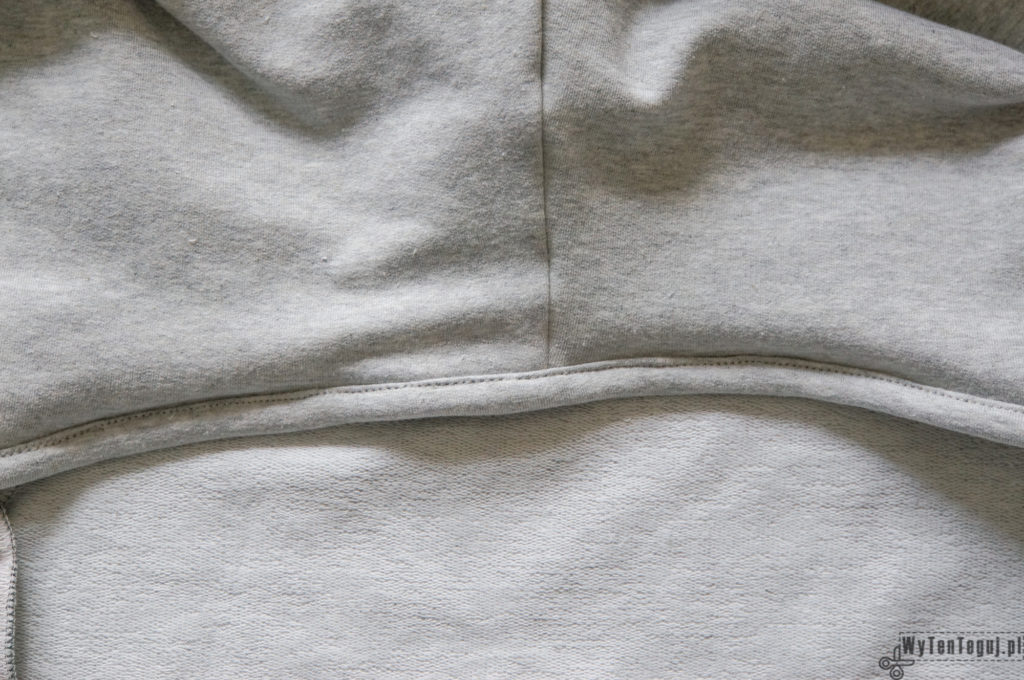
- Stitch is in a prominent place, so it is worthy to hem it with fabric. Cut the strip with the length equal to the length of the stitch and with the width equal to 2,5 cm.
Finishing the hoodie off
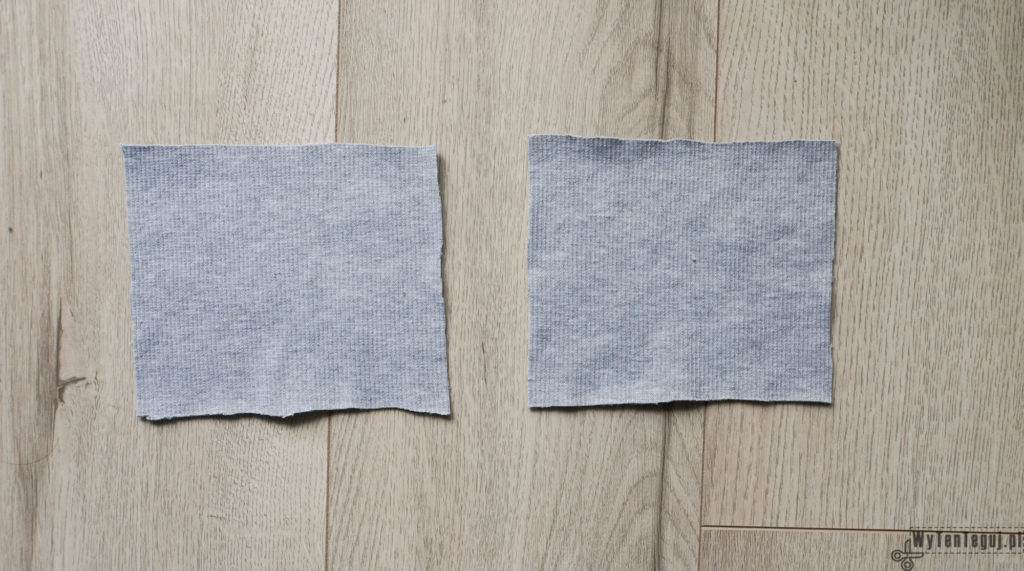
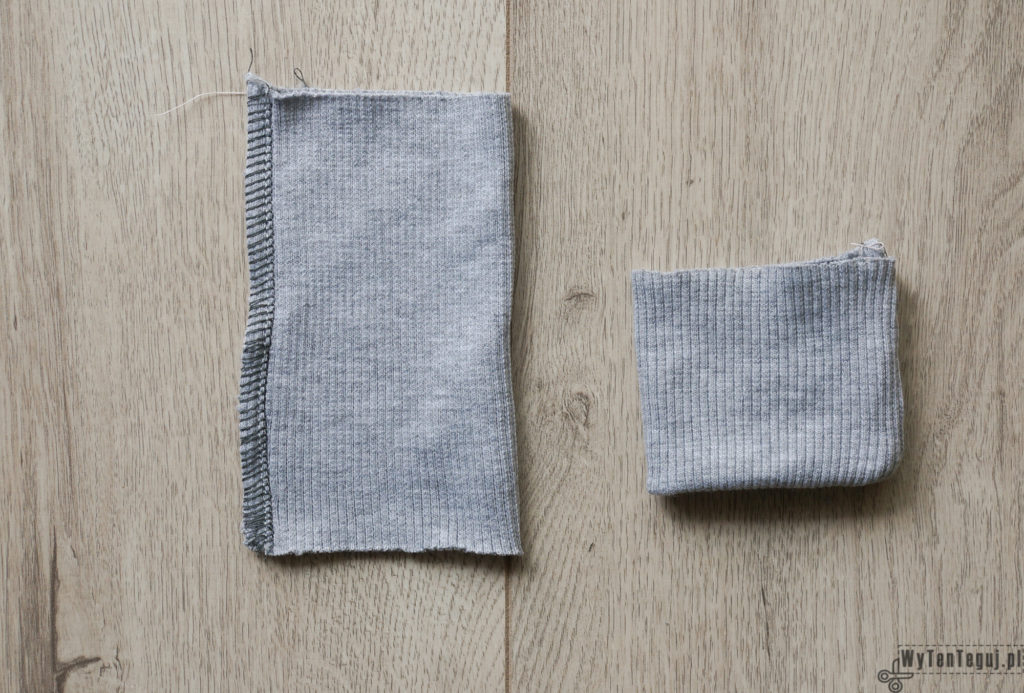
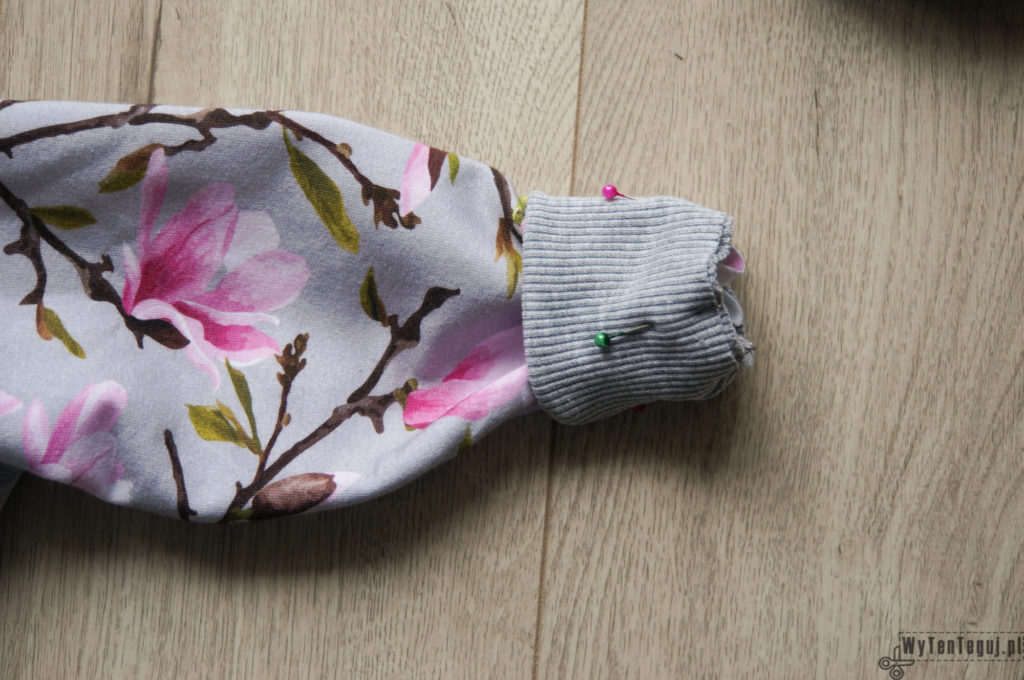
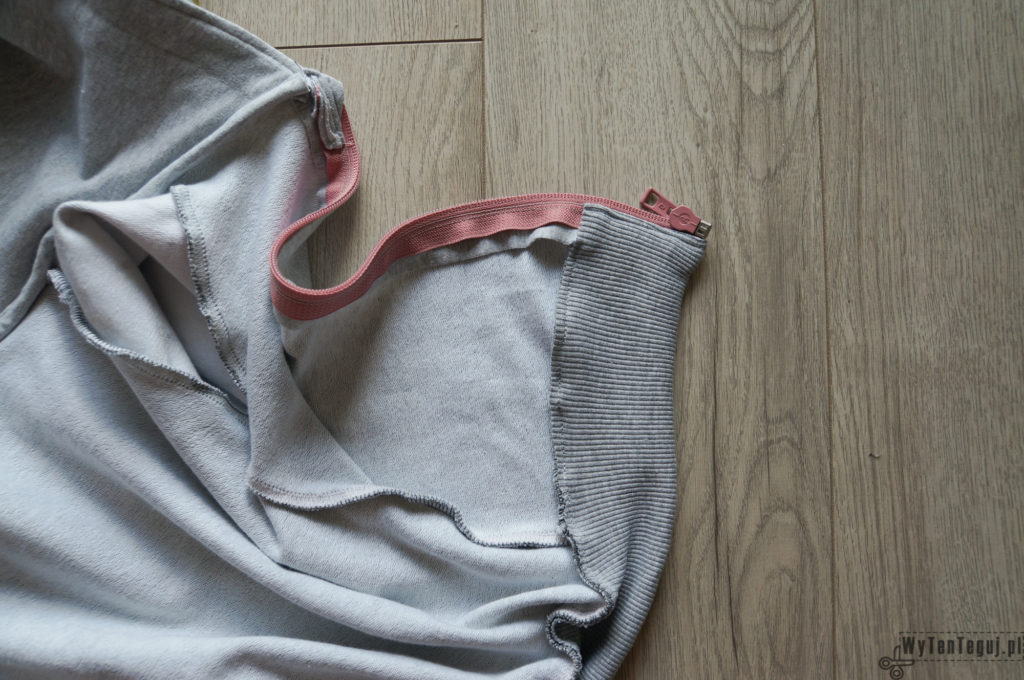
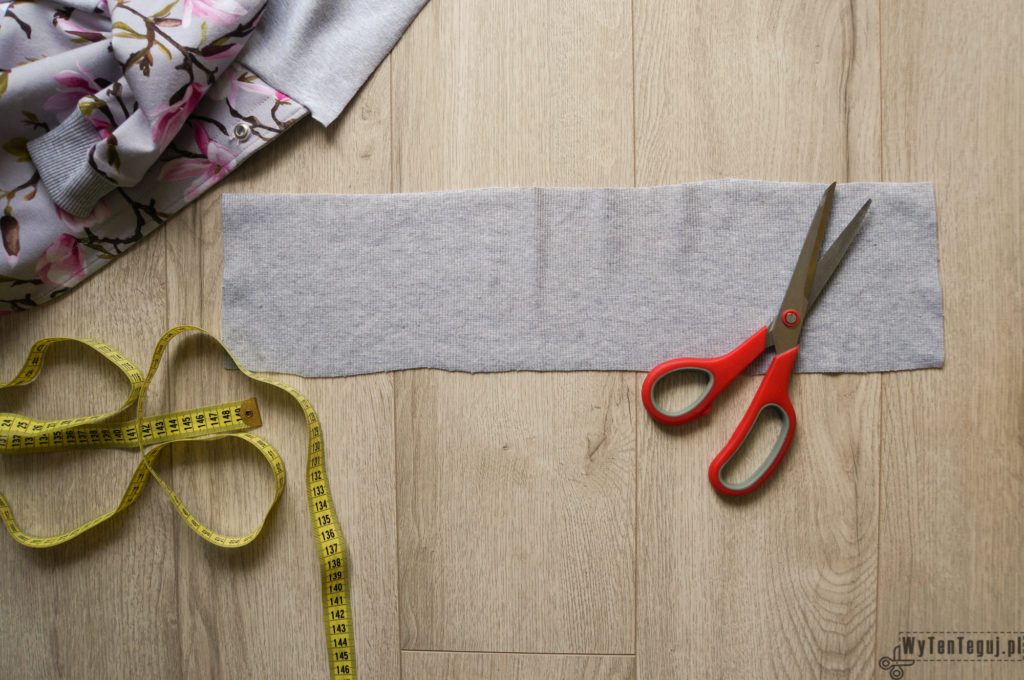
- There are only few details to finish hoodie off. Cut two rectangles from the ribbing fabric with dimentions: 0,7 of sleeve’s circuit and 12 cm. Then fold them up like in the picture below and sew. In the next step turn it right side out and simultenously fold in half.
- In the next step derived ribbings sew in to the hoodie.
- For the bottom ribbing cut rectangle with dimention: 0,7 of the bottom edge of the hoodie and 12 cm width. Such a strip sew in to the hoodie (without folding in half as in the sleeves’ ribbings).
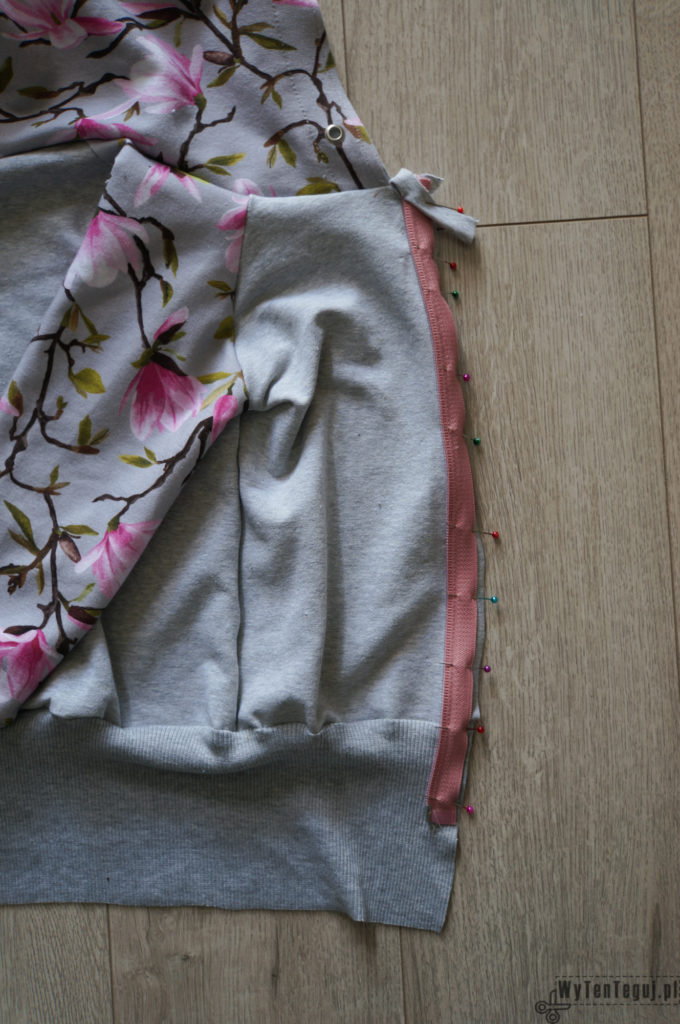
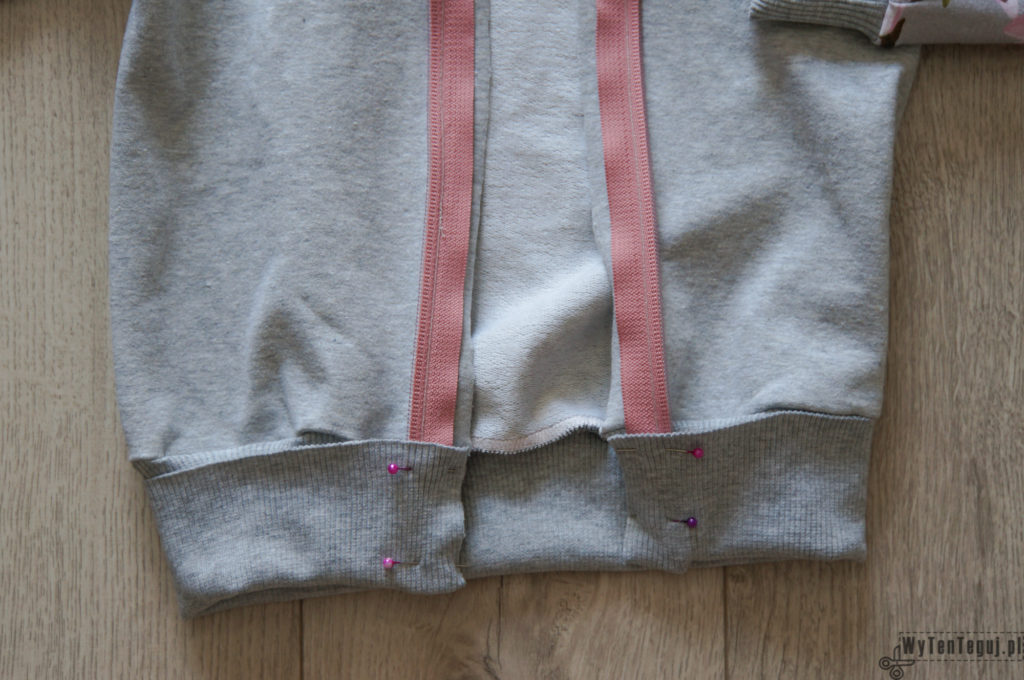
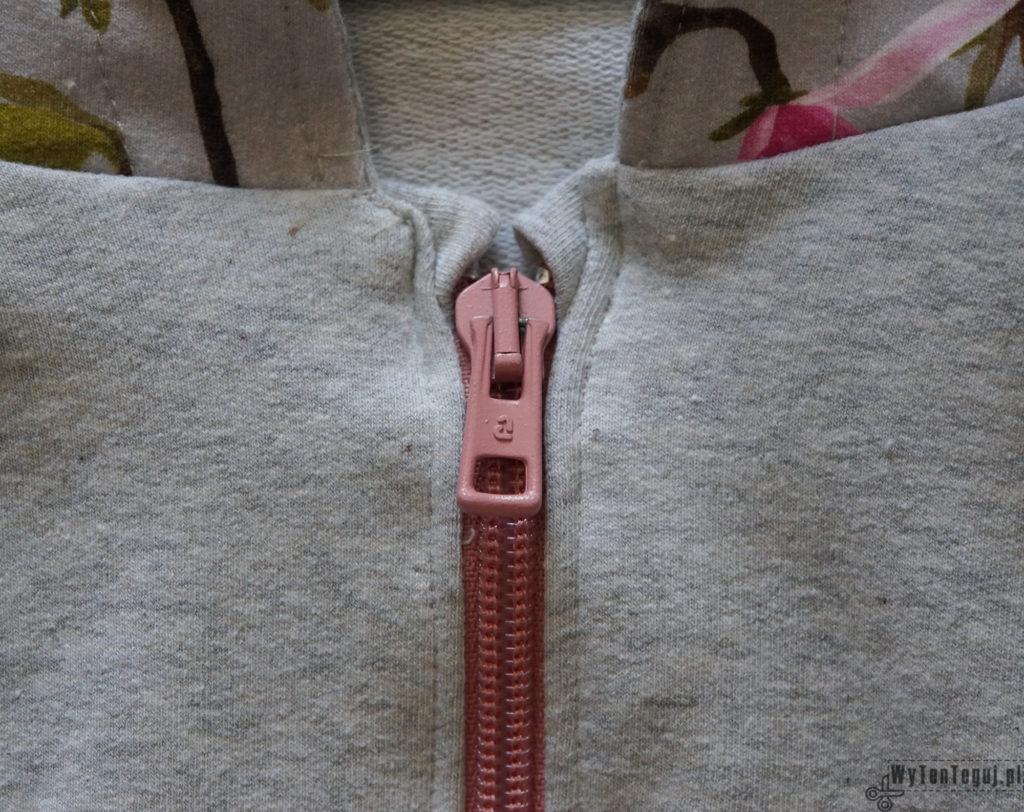
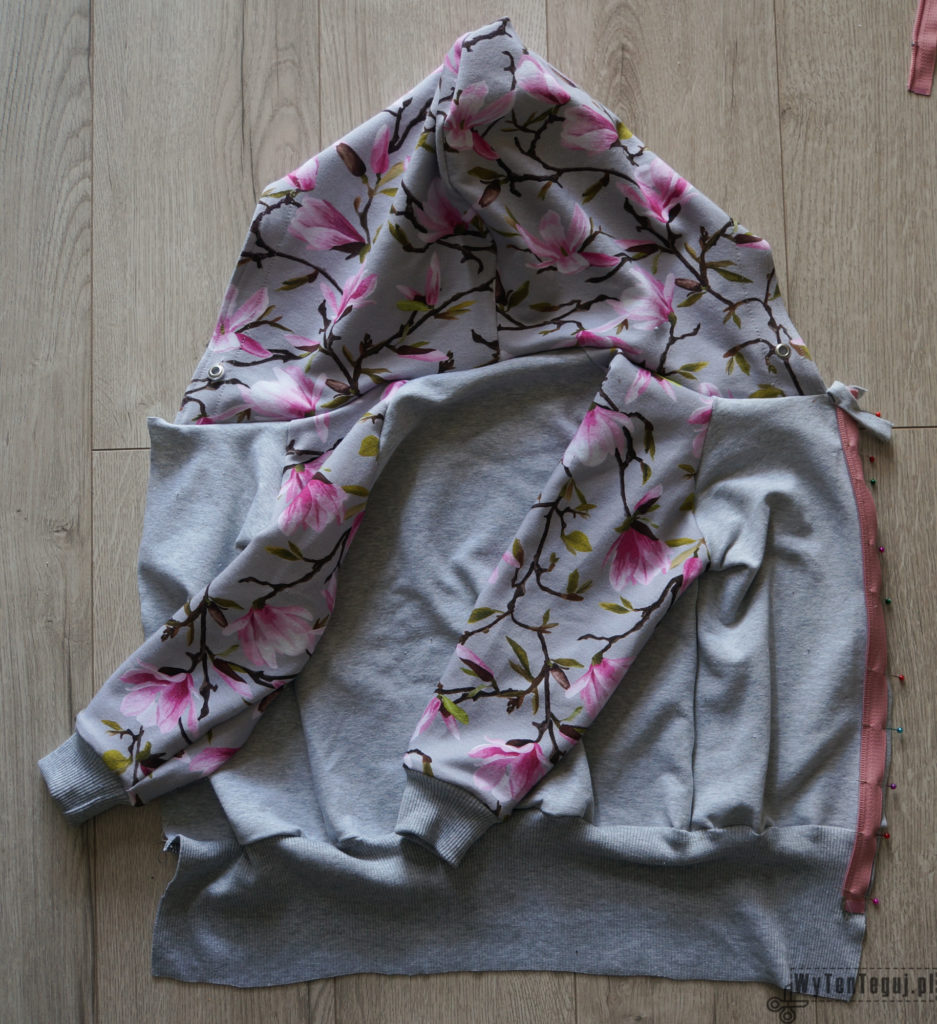
- Now is the time for the zipper. I used hints from this videotutorial, but with modification of protecting element close to the neck. My solution is not necessarily good, because it doesn’t look aesthetically. I recommend to sew textile strap in.
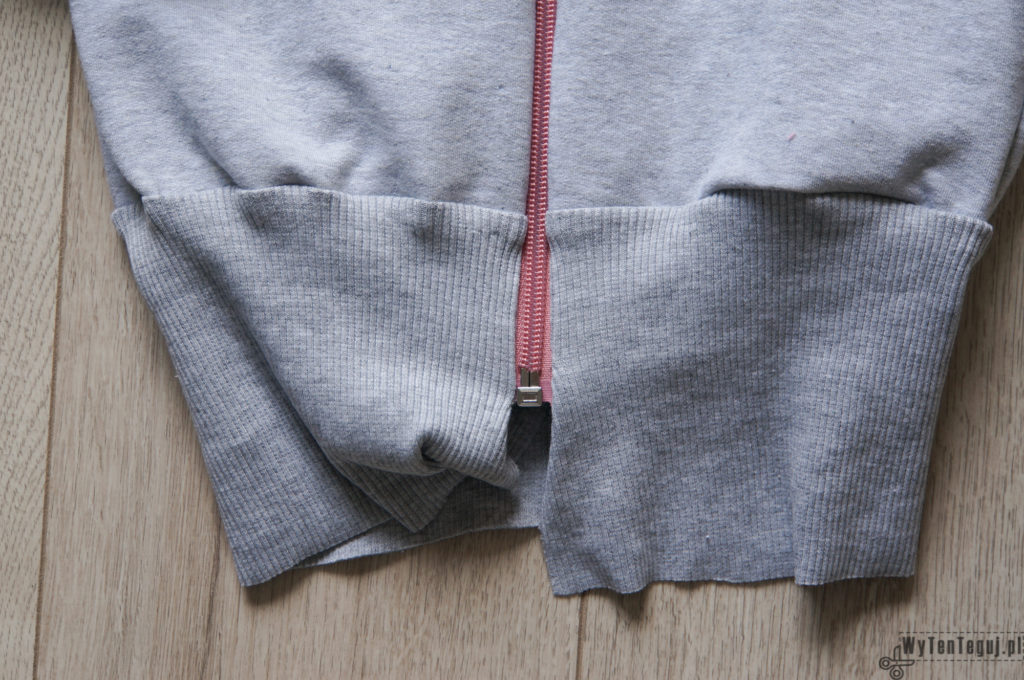
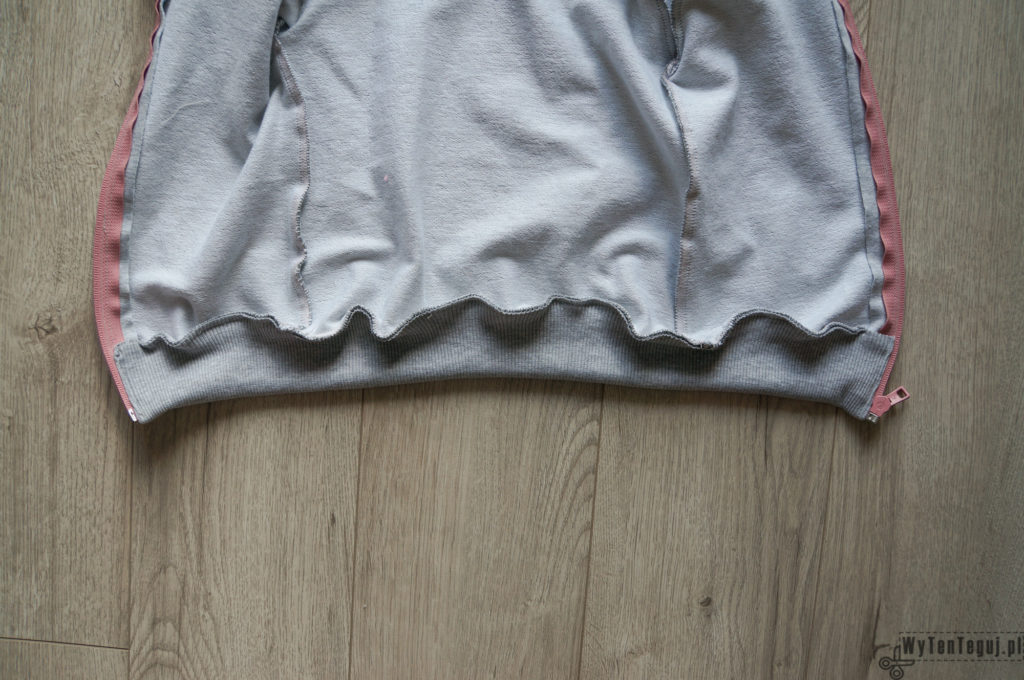
- Bottom ribbing turn left side out and sew along the zipper line. Then turn it right side out.
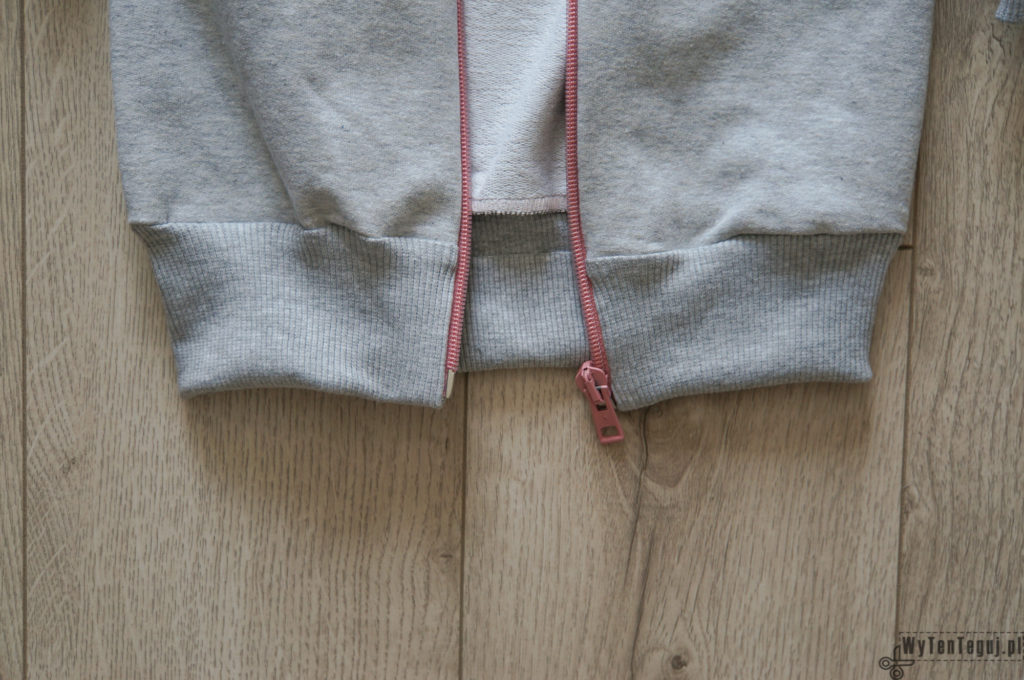
- One of the last task is backstitching zipper on its both sides.
- Bottom ribbing fold in half and sew. Finally, thread the string through the eyelets and the hood’s tunnel. Finish it off with string stopper and the knot.
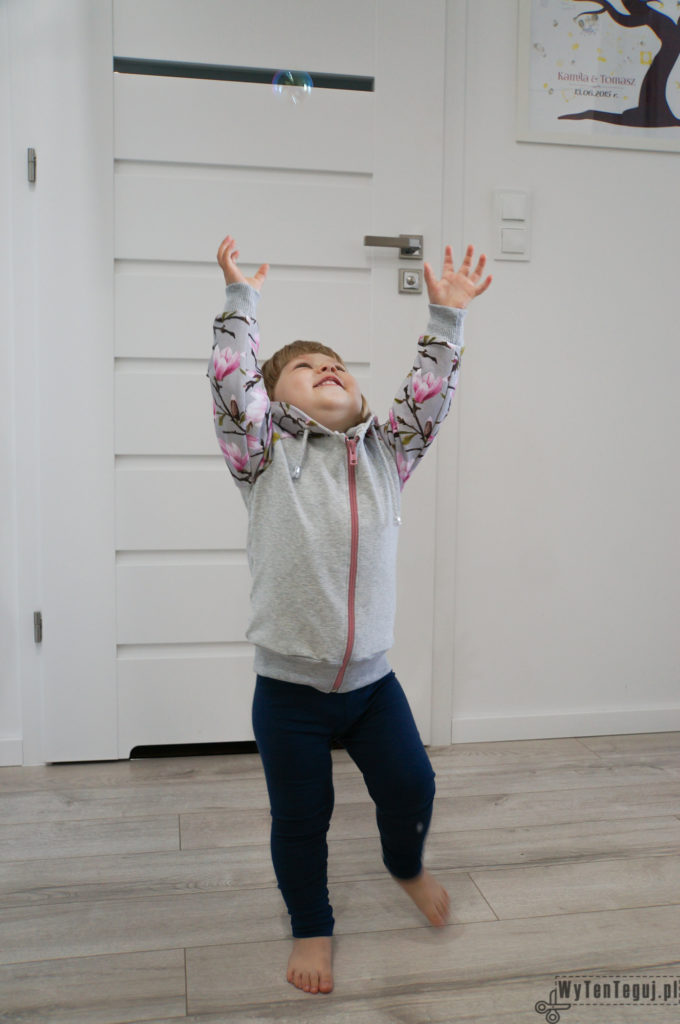
As always, I present you a few pictures with my two-year-old wearing her new outfit 😊
Related posts
I have been passionate about DIY since my childhood, and my innate patience and accuracy make the whole process of creation a lot easier for me and that gives me a lot of satisfaction and pleasure. During my first pregnancy I learnt how to sew, what resulted with few tutorials about sewing clothes for kids on the blog. In the beginning of my second maternity leave, I have learned how to crochet amigurumi from yt. I found out, that I really love it, that’s why so many blog posts describe my crochet creatures.
