
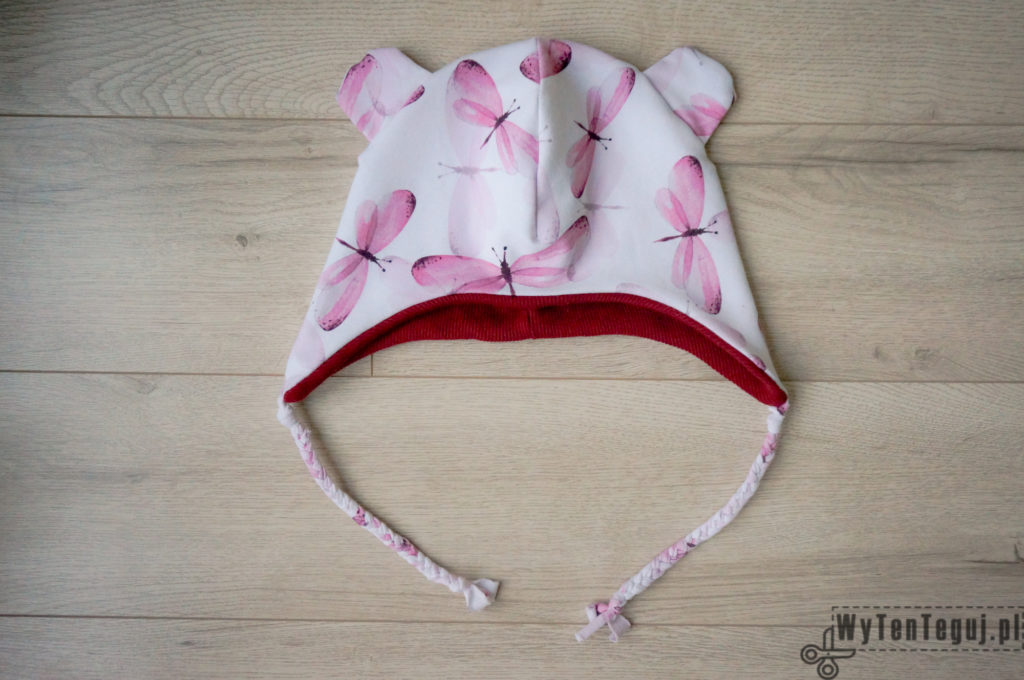
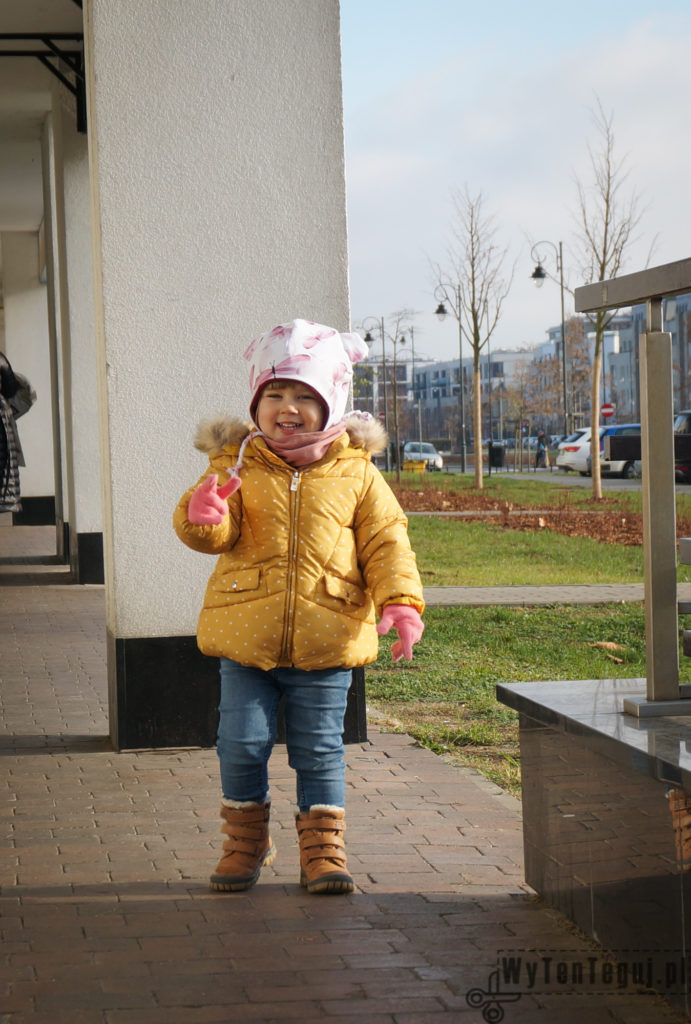
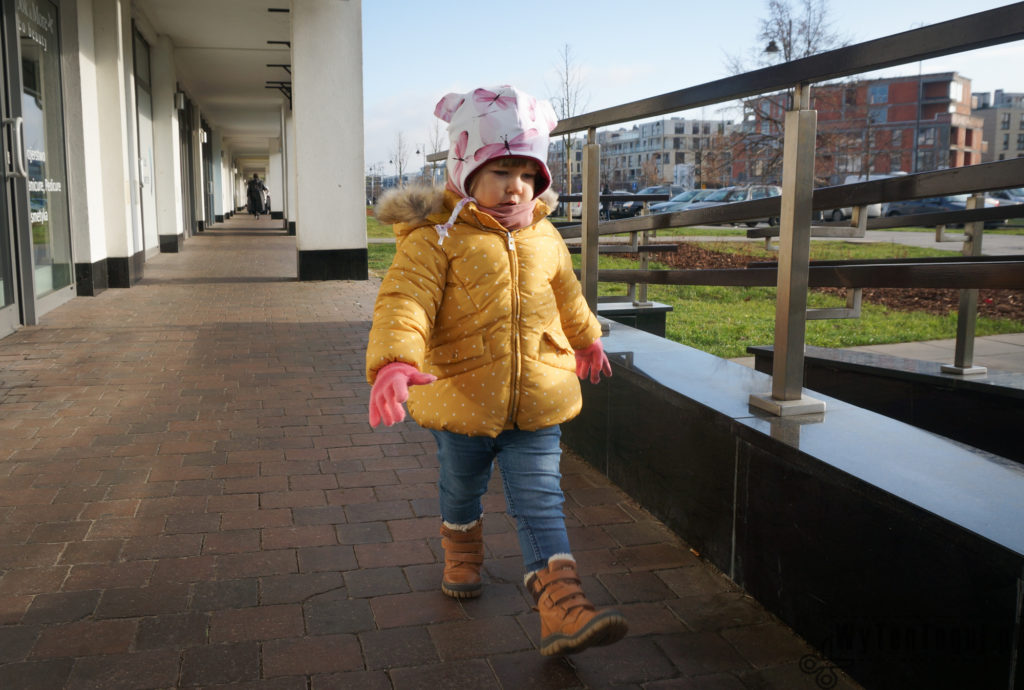
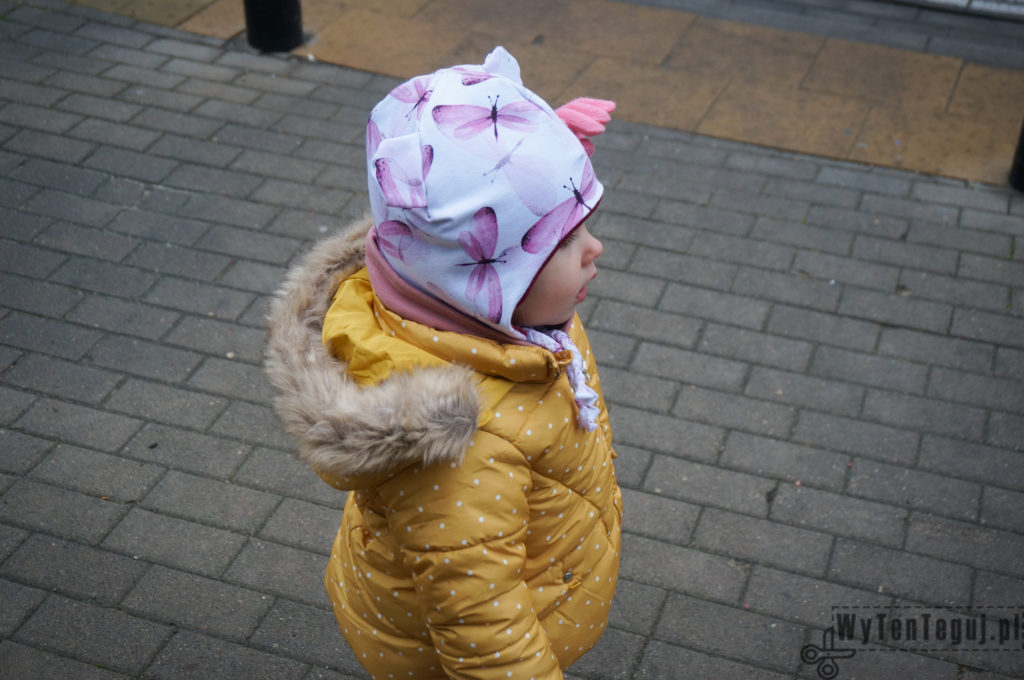
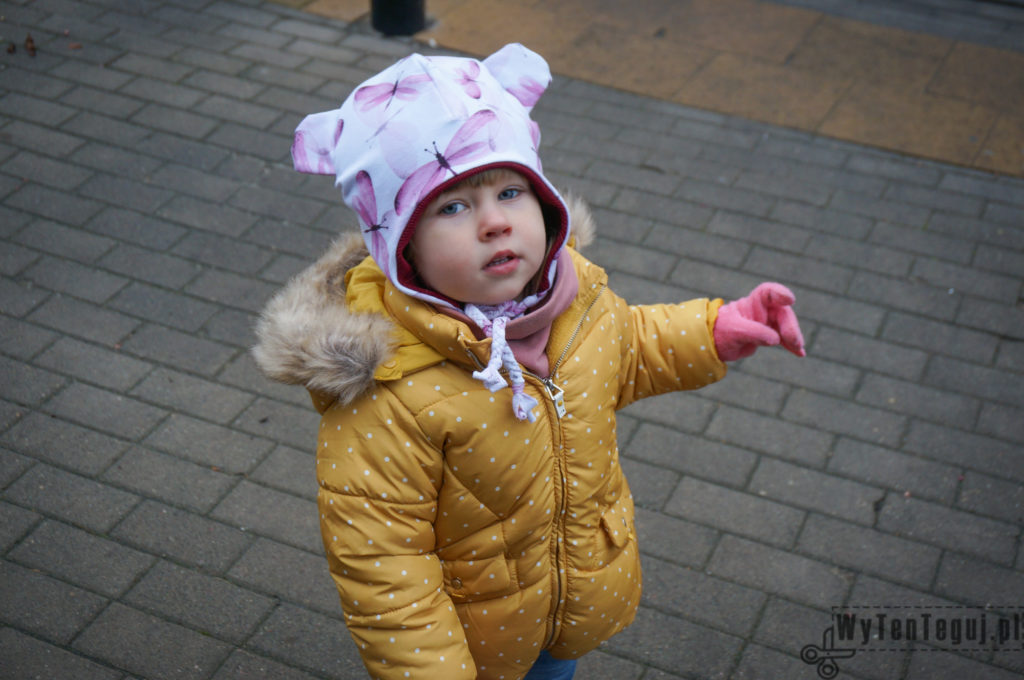
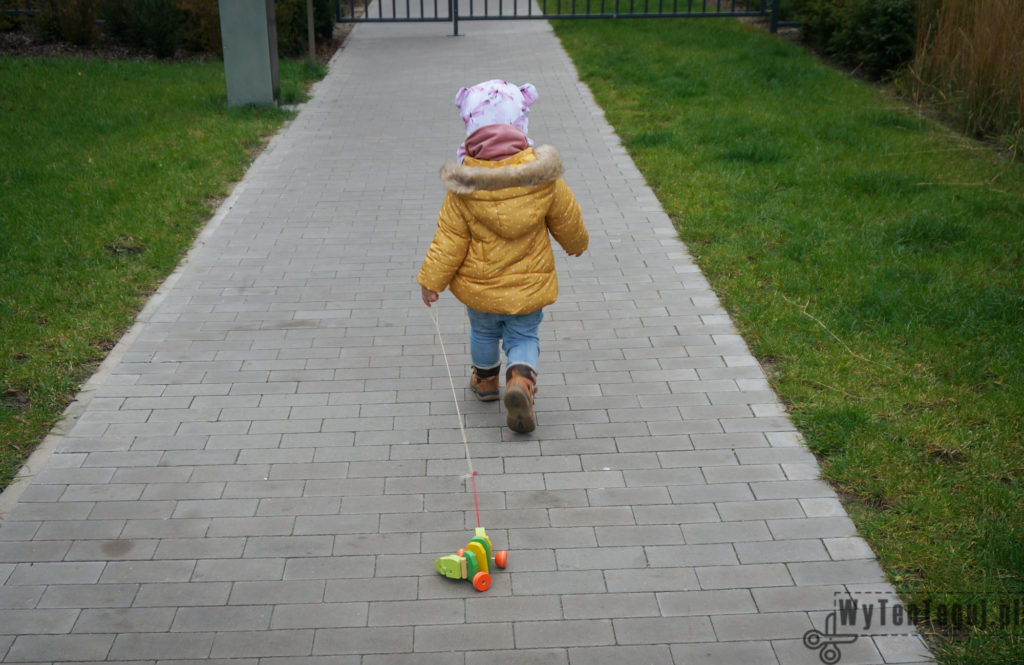
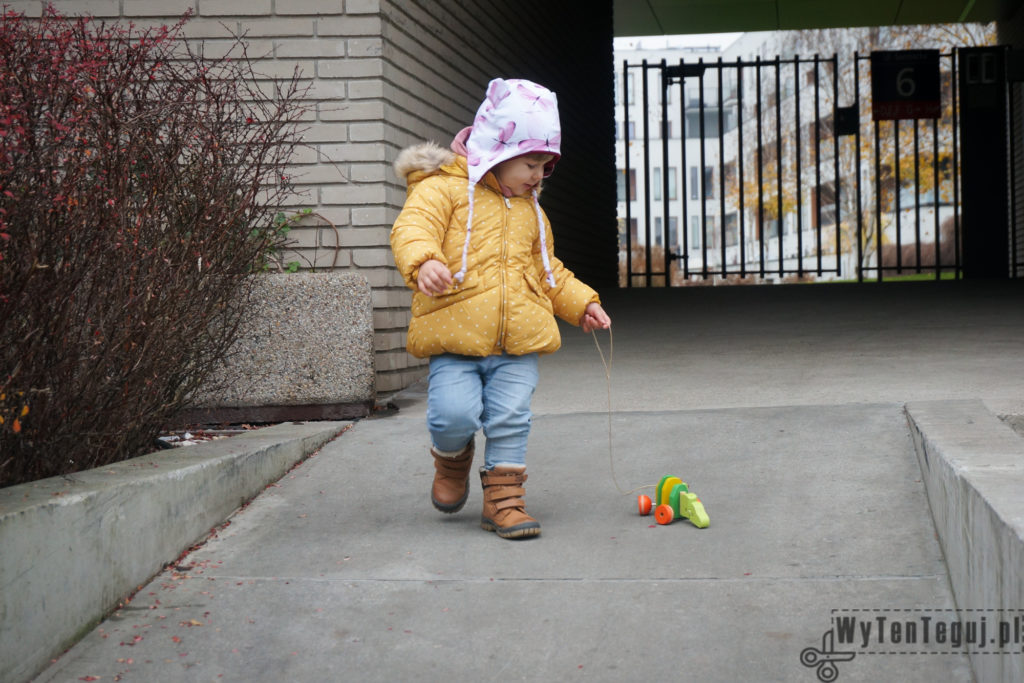
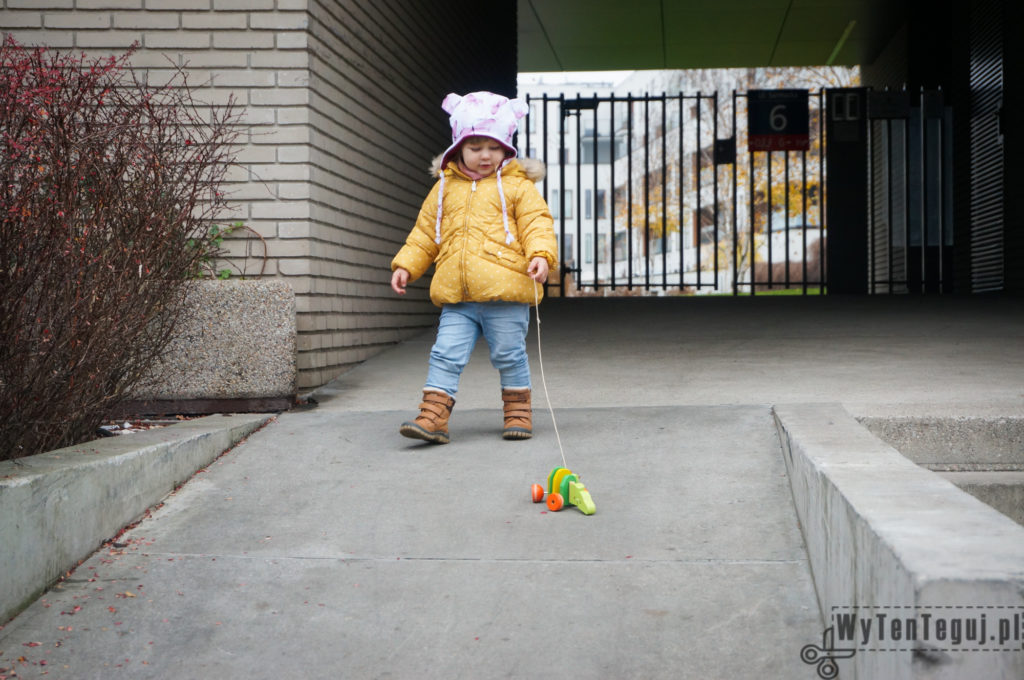
A beautiful hat is an esential element of a winter outfit. Similarly to last year, I spend some time to sew a warm, “breathable” winter hat for my Wiktoria. Unfortunately, most hats that you can buy in shops are made made of polar fleece, which causes the baby’s head overheating. I have already written about it almost year ago. There you will also find a free sewing pattern and step-by-step tutorial how to make a similar winter hat.
This time I used a different pattern, which I created by myself. In spite of appearances, it wasn’t so difficult 😉
More information about the types of fabrics used by me and online shops I recommend the most you can find here.
I encourage you to visit one of the best sewing Facebook group SZYCIE-WYKROJE-DIY (unfortunately for polish speaking readers). This is a mine of knowledge about sewing and you can ask questions and get help from more advanced in sewing.
Before you start sewing, read the box below. I made a notes about what I would change sewing this hat again.
You’ll need
Free sewing pattern made by yourself based on the tips from this site. Particular measurements are given for the hat suitable for a child with head circumference about 51 cm.
Prepare 0,5 m of:
- 1,5 m wide looped back french terry / brushed back french terry for the outer side
- 1,5 m wide looped back french terry / brushed back french terry for the inner side
How to do it?
- In the first step, create a pattern on A3 sheet and cut it.
- Pin the pattern to the fabrics for the outer side of the hat and cut it. Do the same with the fabrics for the inner side of the hat. As a result, you should get two pieces of material.
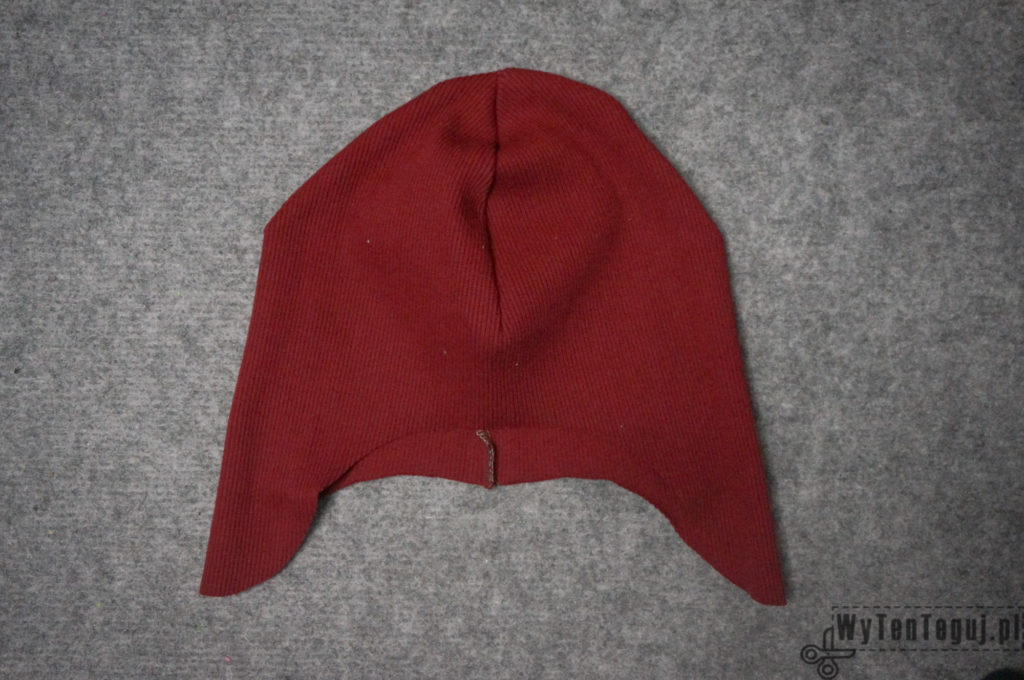
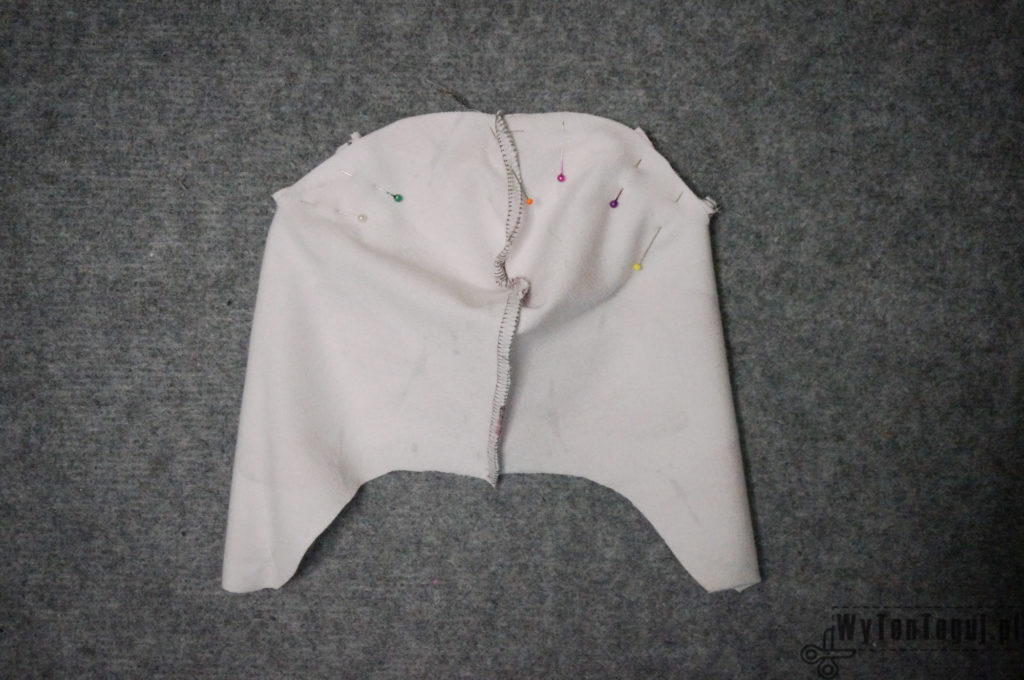
- Then fold each piece in half right sides together and stitch the sew edge up to the top of the hat to obtain a closed circumference. You should also sew a part of the edge that will be at the back of the hat in the middle.
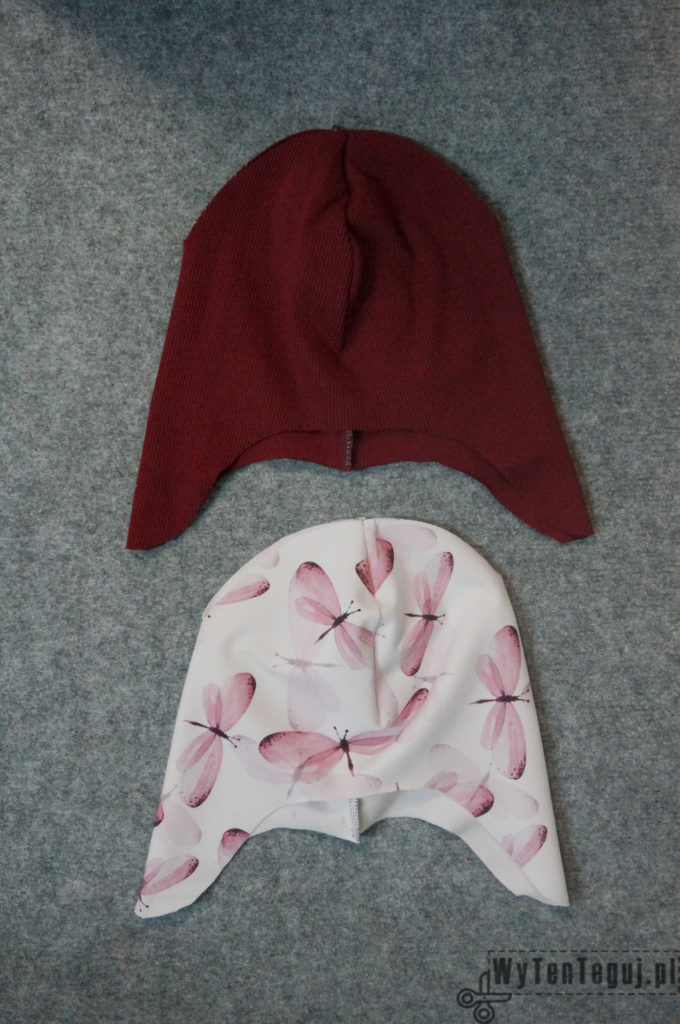
- In the next step sew the whole arc of the fabric for the inner side of the hat.
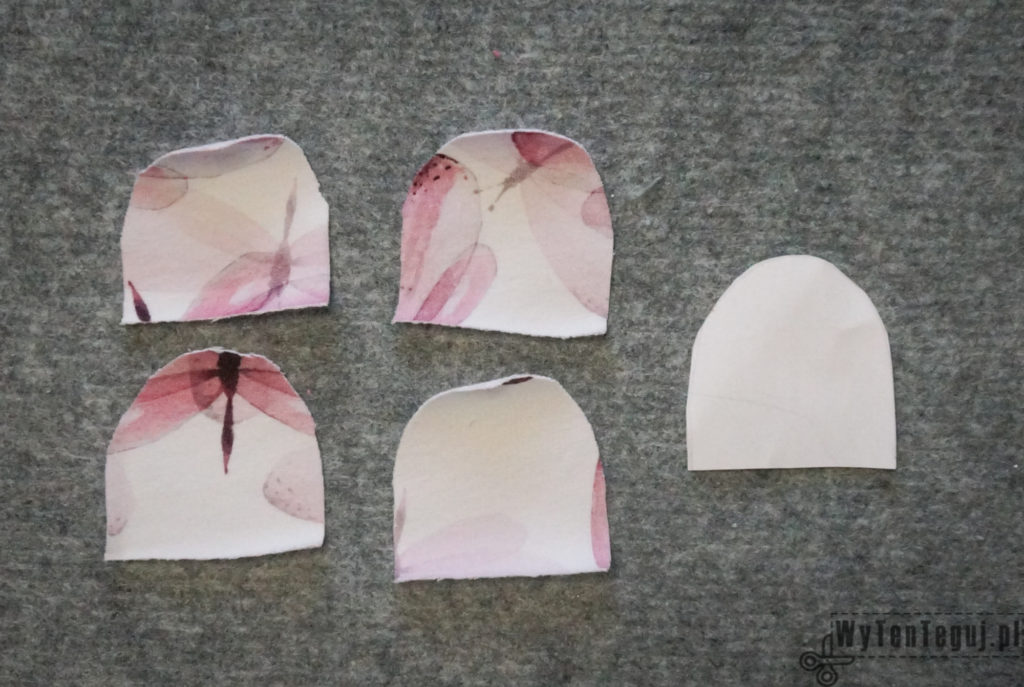
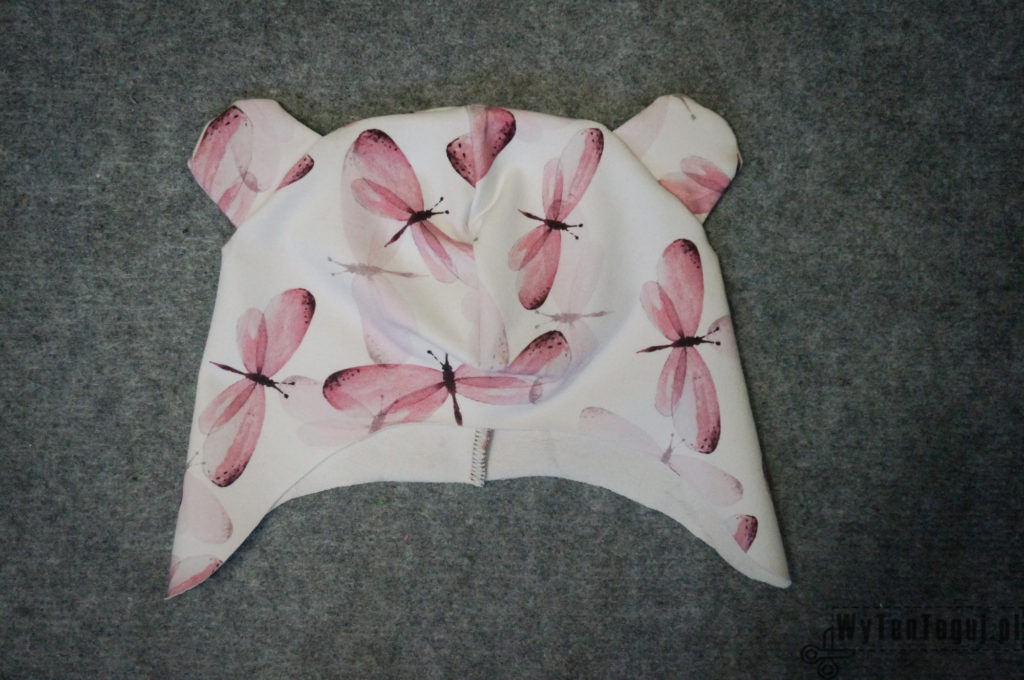
- Due to the fact that my hat has a teddy bear ears, the next step is to prepare the pattern and cut them out of the fabric. You’ll need four elements like on the picture below. Then fold each two pieces right sides together and sew, leaving the hole at the bottom. Turn them right side out.

- Place the ears inside the outer part of the hat, on the sides of the non-sewed arch. Then sew the entire edge and turn it right side out.
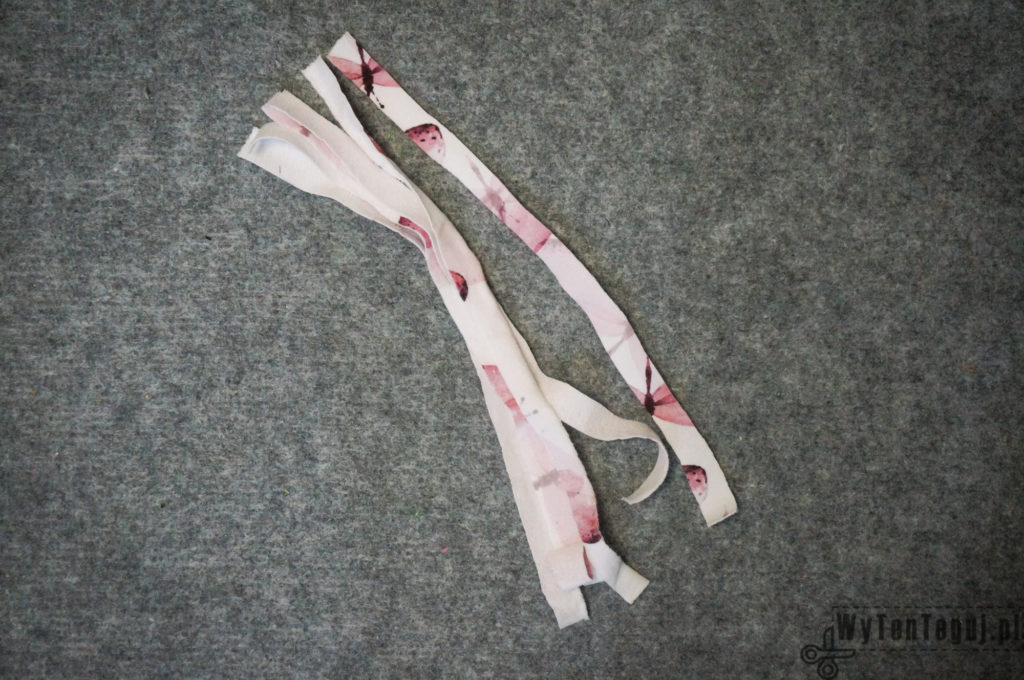
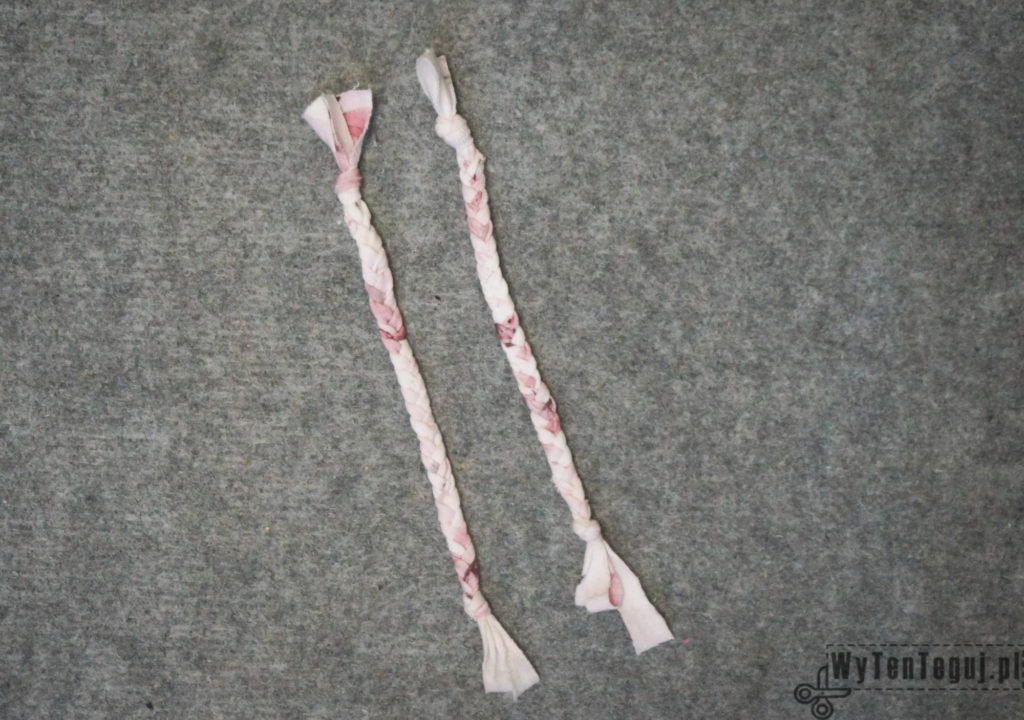
- From the fabric for the outer side of the hat cut 6 strips. The strip should be about 1 cm wide and 15 cm long. Then braid them as in the picture below. Tie the knots at the bottom ends (at the top it’ll be the stitch).
- Both pieces of the hat put the right sides together. Remember to put the braids at the ear flaps and sew the whole bottom edge. Leave a small hole at the back to be able to turn the hat right side out.
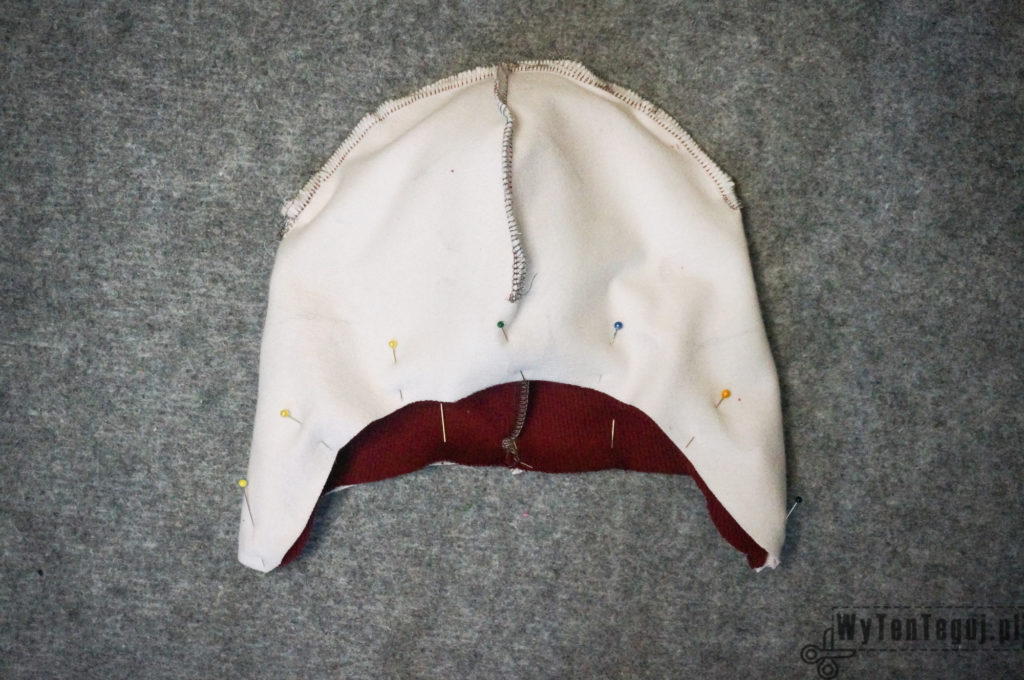
- The left hole sew manually with ladder stitch. And the winter hat is ready 🙂
I have been passionate about DIY since my childhood, and my innate patience and accuracy make the whole process of creation a lot easier for me and that gives me a lot of satisfaction and pleasure. During my first pregnancy I learnt how to sew, what resulted with few tutorials about sewing clothes for kids on the blog. In the beginning of my second maternity leave, I have learned how to crochet amigurumi from yt. I found out, that I really love it, that’s why so many blog posts describe my crochet creatures.
