
Air-dry clay gnomes are one of those projects that simply cannot go wrong. There’s something so charming about them that whether you’re making them for the first time or you’re already a pro at clay decorations, the result is always delightful. And once they dry and get a bit of color from acrylic paints, they turn into tiny works of art.
Today, I’ll show you how to make clay gnomes step by step. It’s a quick, relaxing project—perfect for those long autumn and winter evenings.
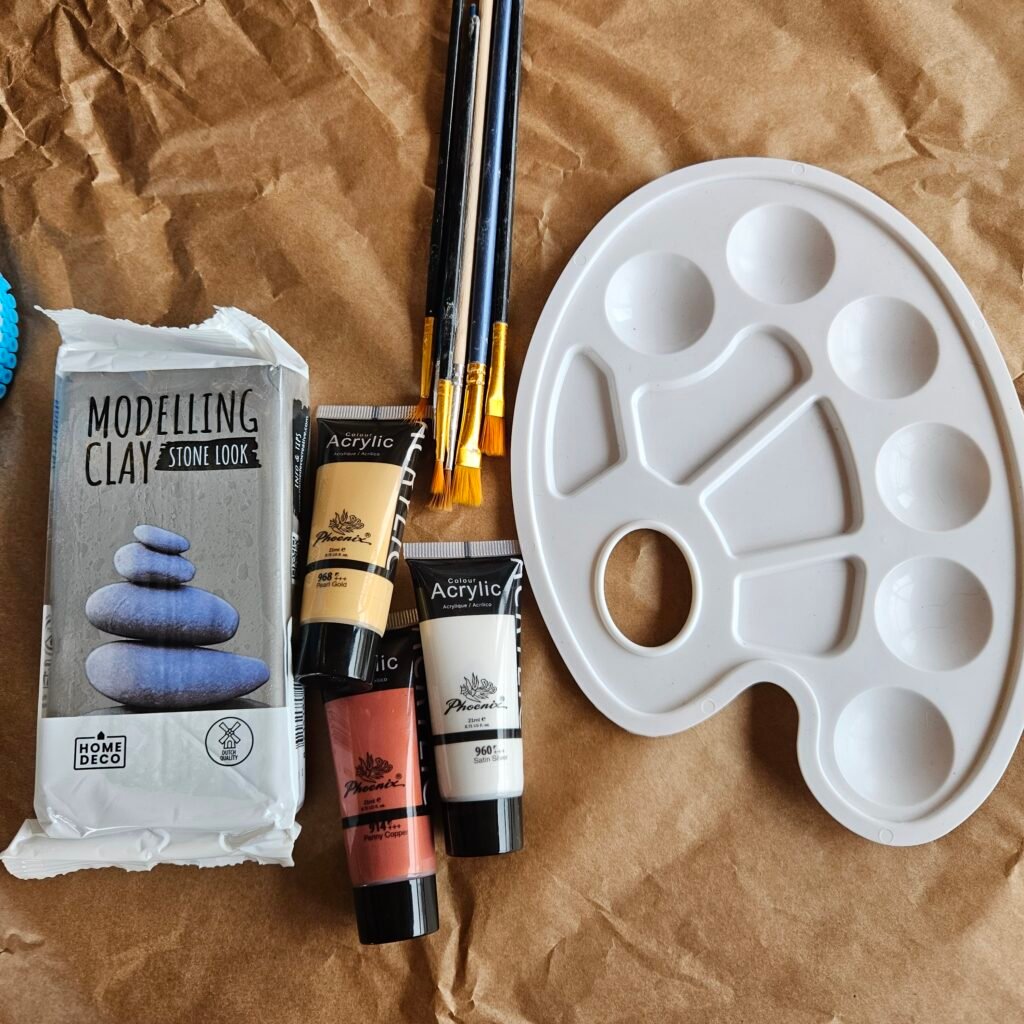
Materials
- self-hardening clay
- knife or modeling tool
- toothpick / texture-marking tool
- acrylic paints
- paintbrushes
- optional: acrylic varnish for sealing
How to make a clay gnome – step by step
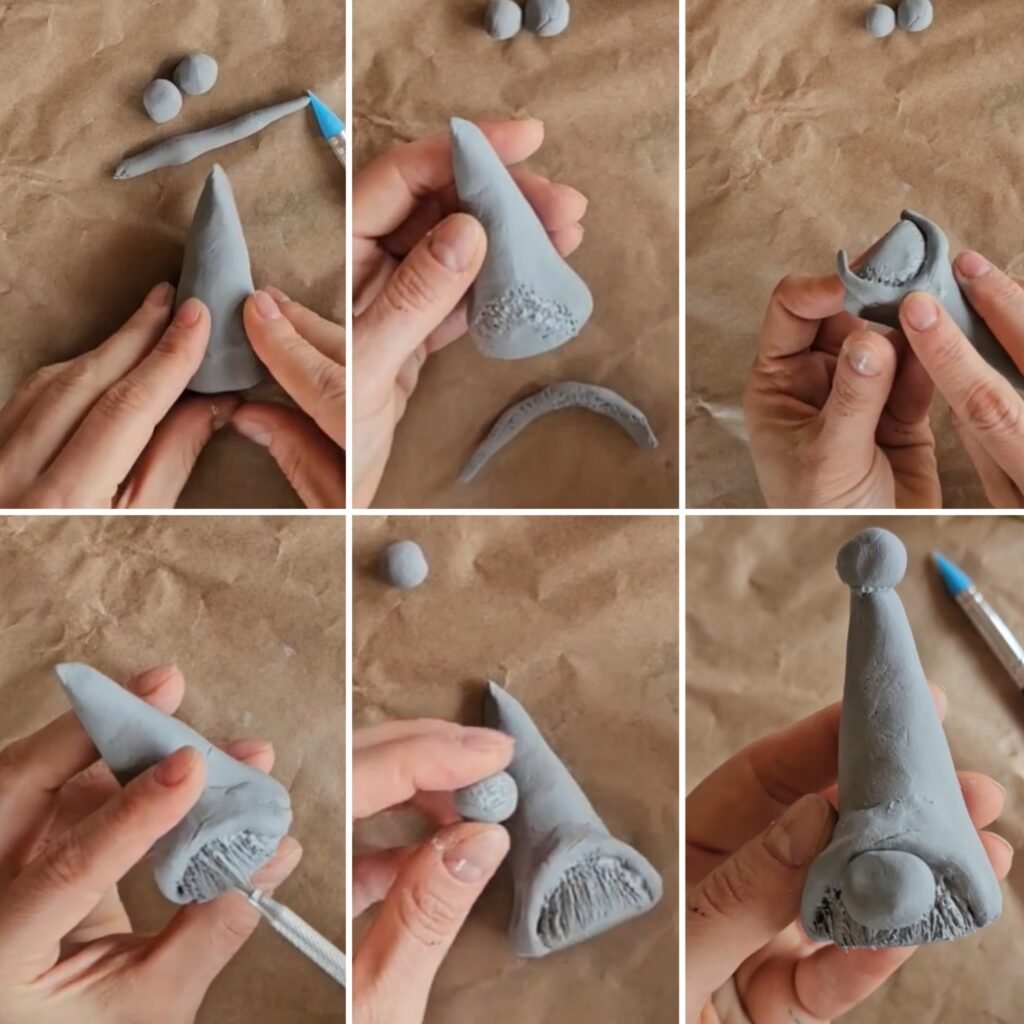
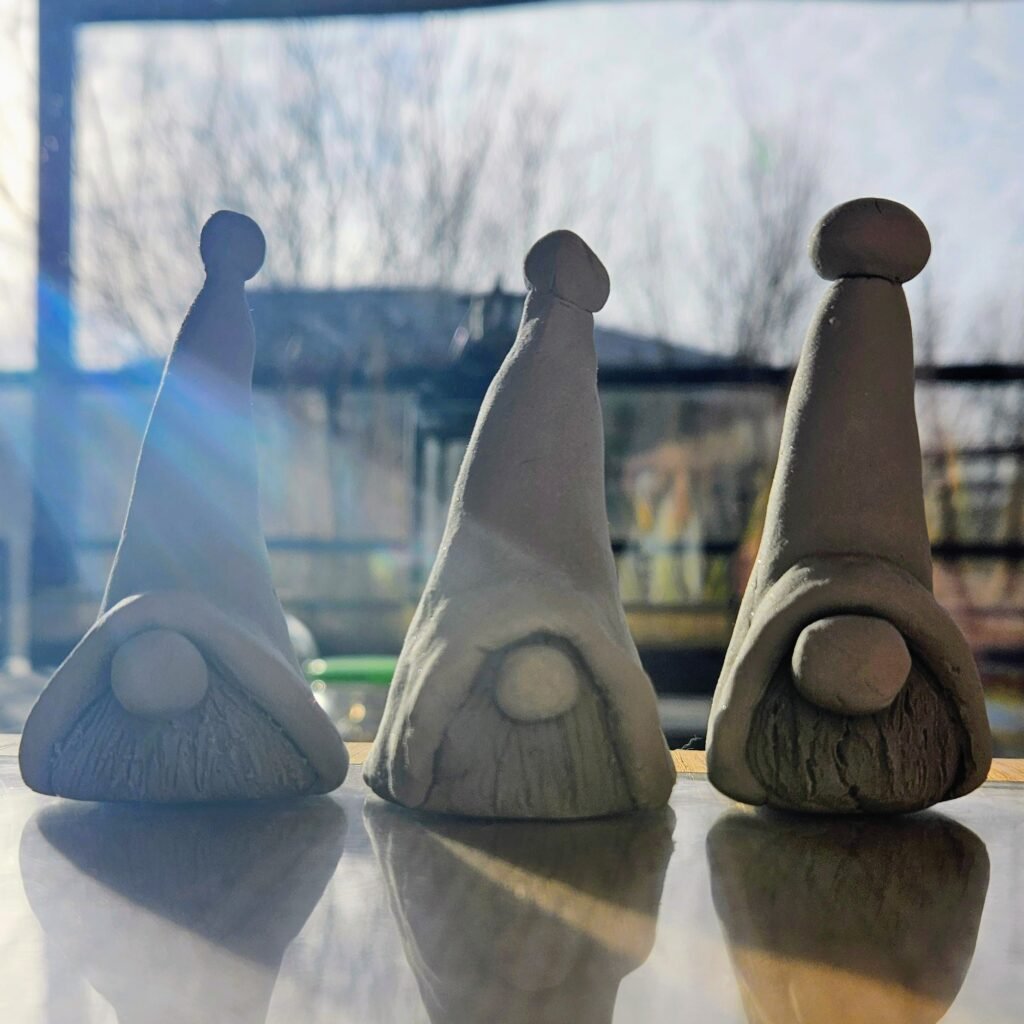
1. The cone – the base of the gnome
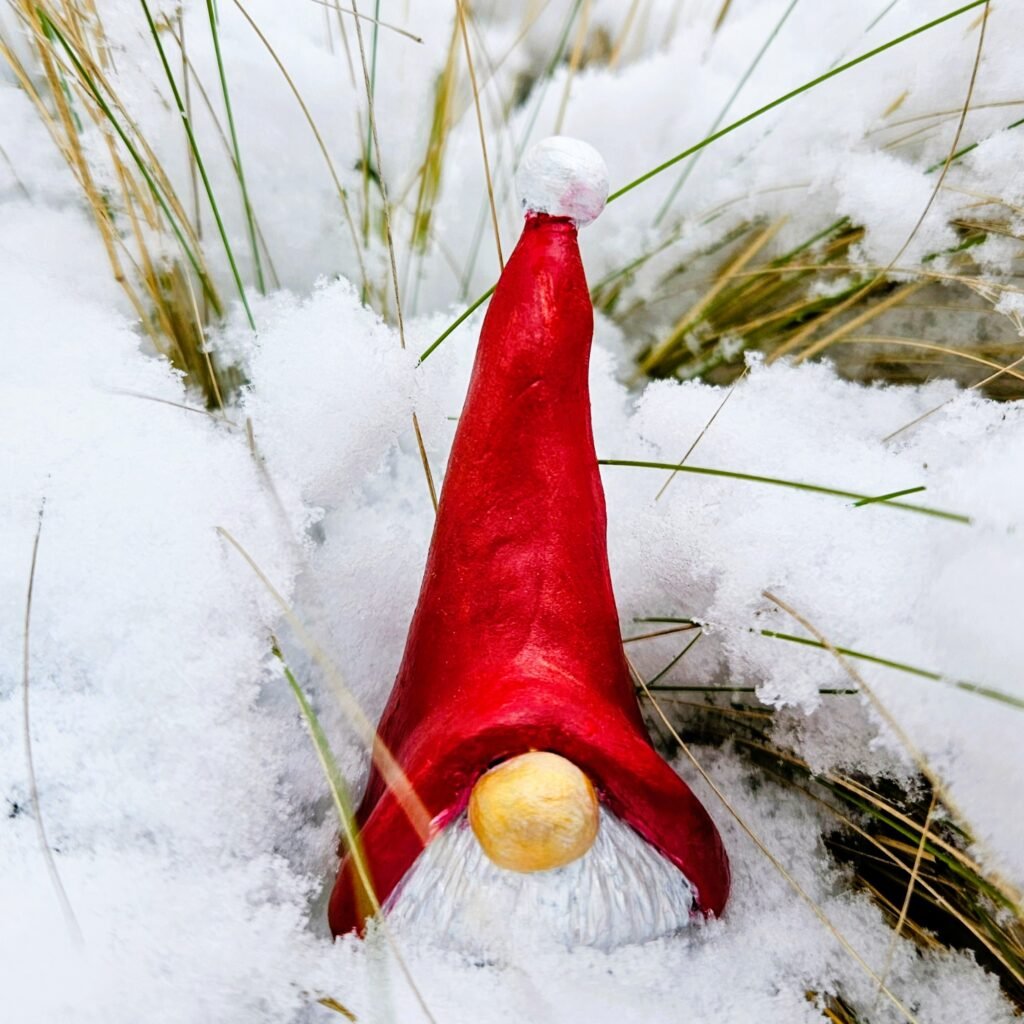
Shape a cone out of the clay — this will be the gnome’s body combined with his hat. A bit of kneading and forming is all it takes. It’s a perfect base, because the gnome instantly gets that characteristic “big-headed” look.
2. The beard
Roll a small piece of clay into a thin strip, gently curve it, and press it onto the front of the cone.
To create a fluffy beard, simply use a texture tool to draw short, irregular scratches. These little marks are what give the beard a natural, three-dimensional look.
3. The nose
Form a small ball and press it just above the beard. At this stage the gnome already gains personality — the nose is his most iconic feature!
4. The pom-pom on the hat
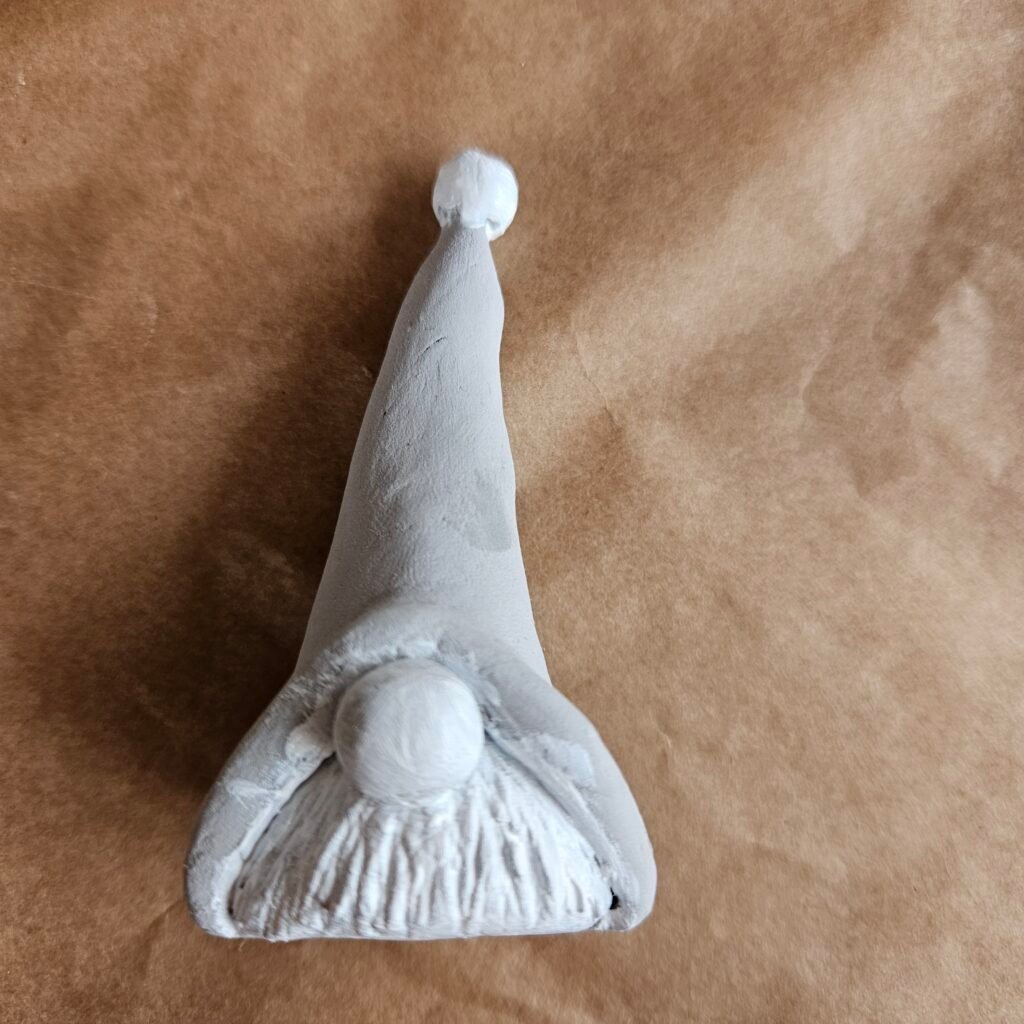
Press another small clay ball onto the tip of the hat. Done!
Leave the gnome to dry completely. This usually takes around 24 hours, depending on the thickness of the clay.
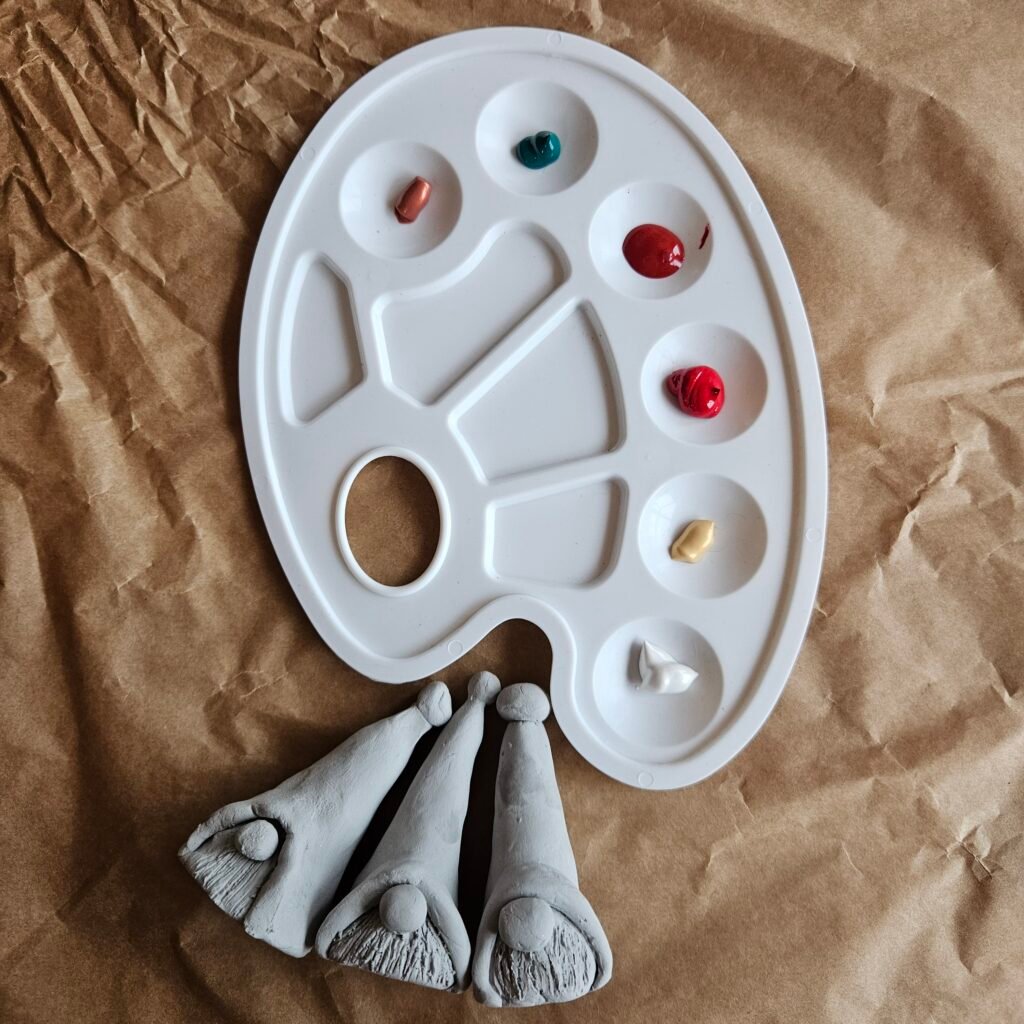
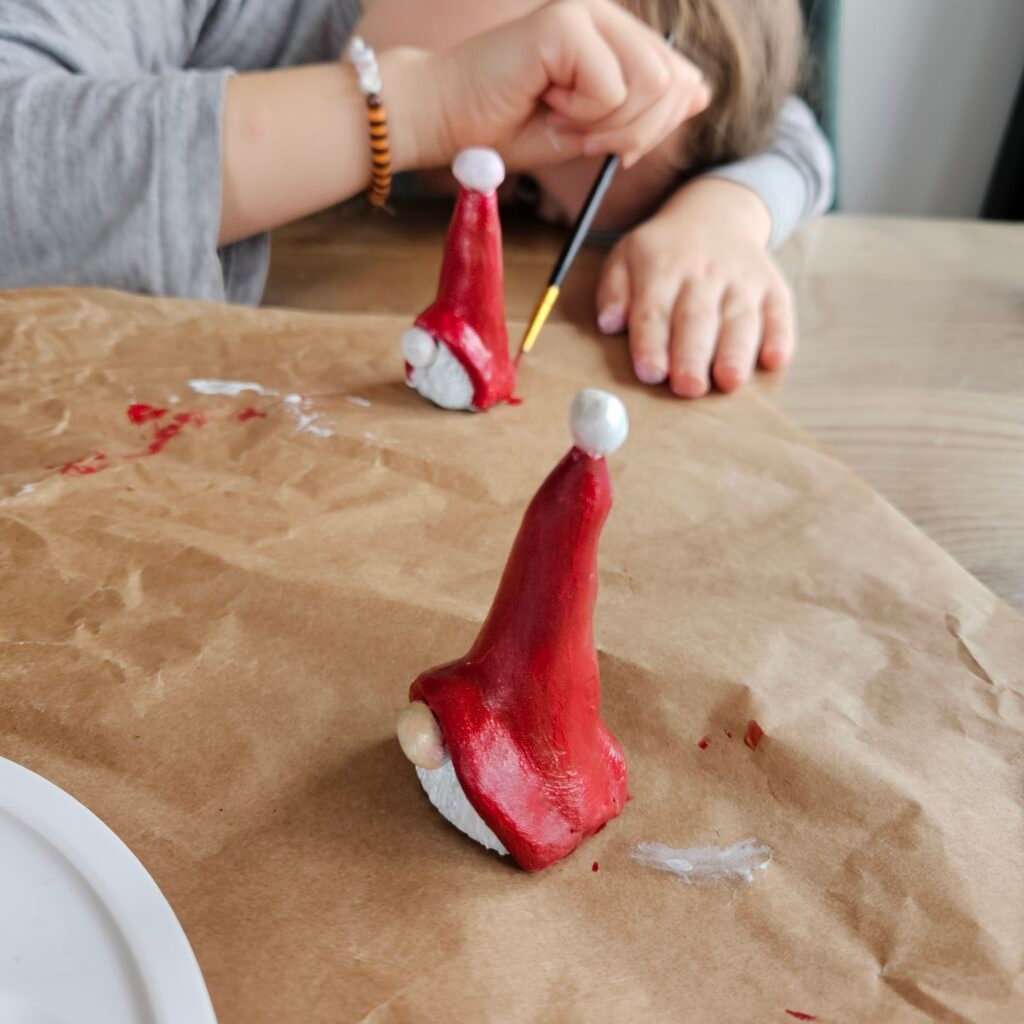
Painting the gnomes with acrylics
Once the clay is dry and light in color, you can move on to the best part — painting!
Acrylics adhere beautifully to clay, offer strong pigmentation, and dry fast.
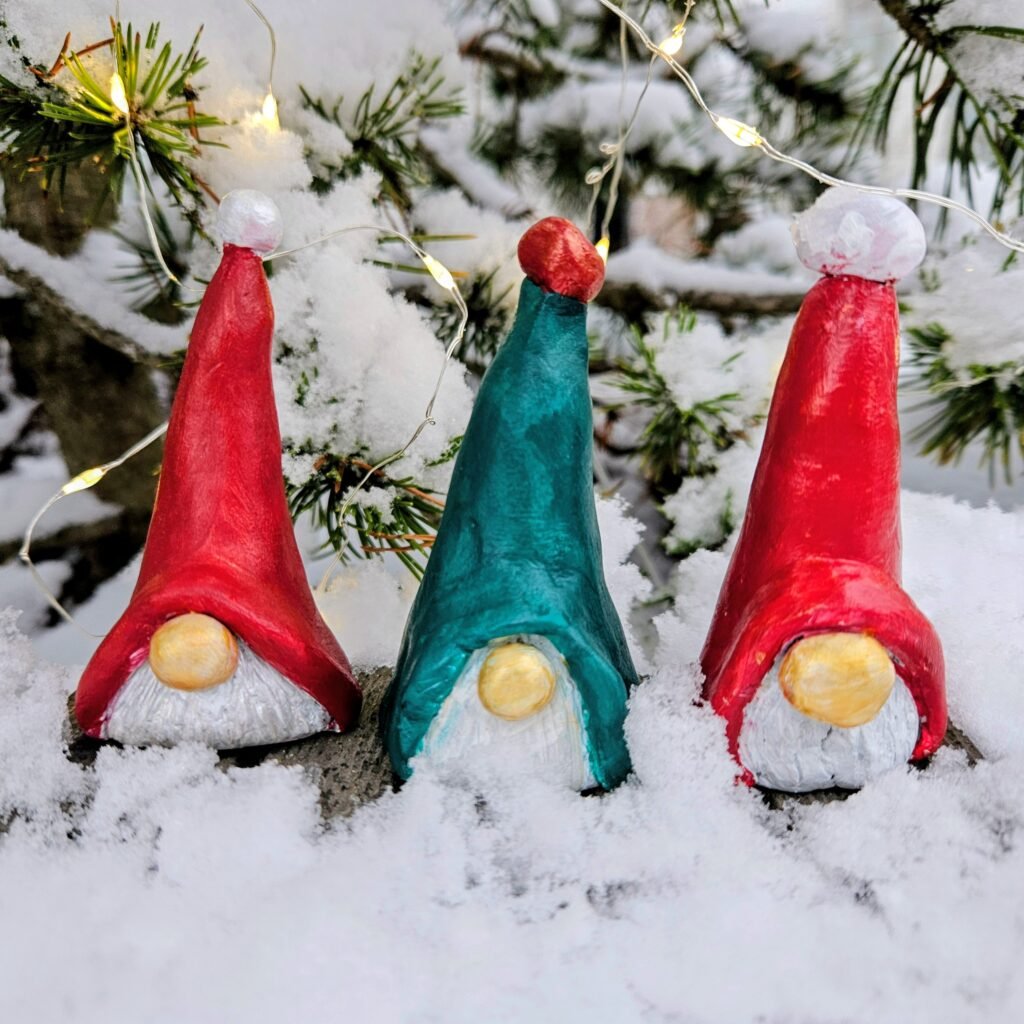
Most often we paint:
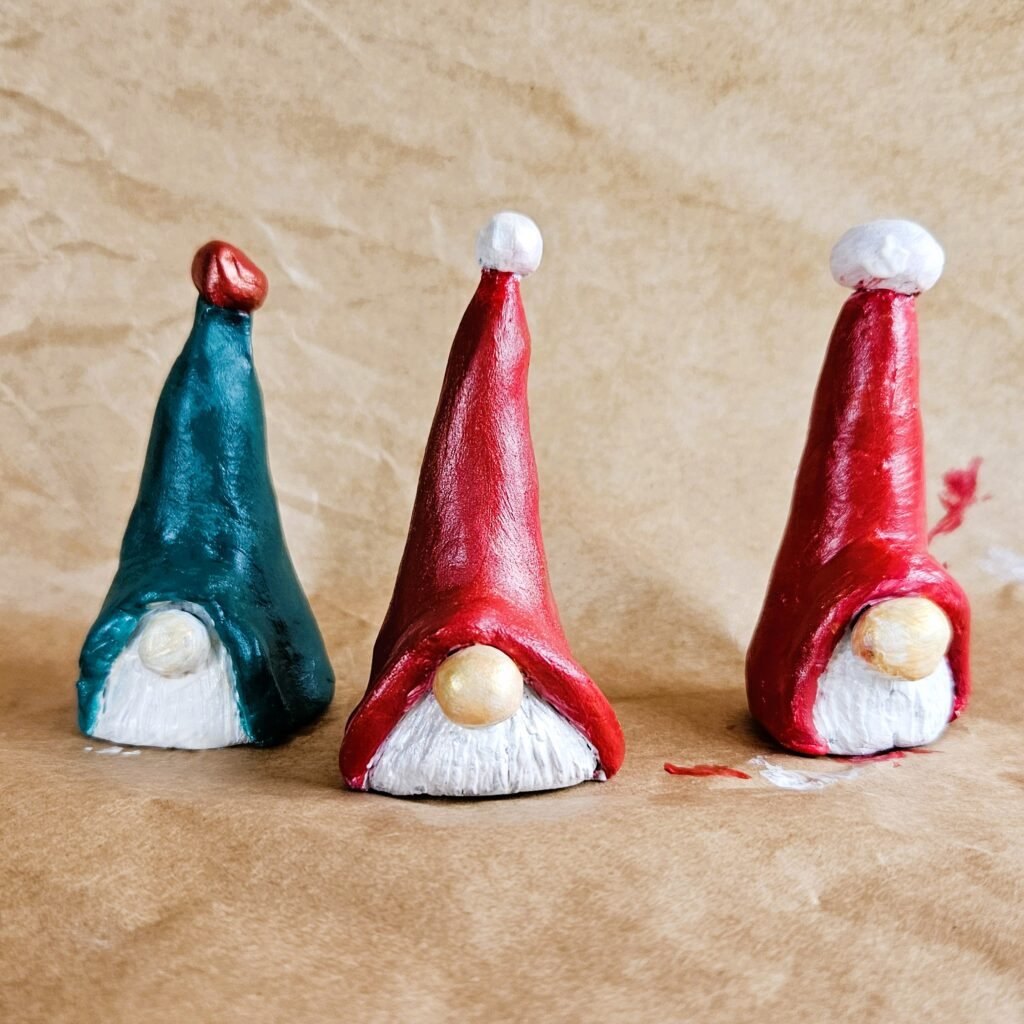
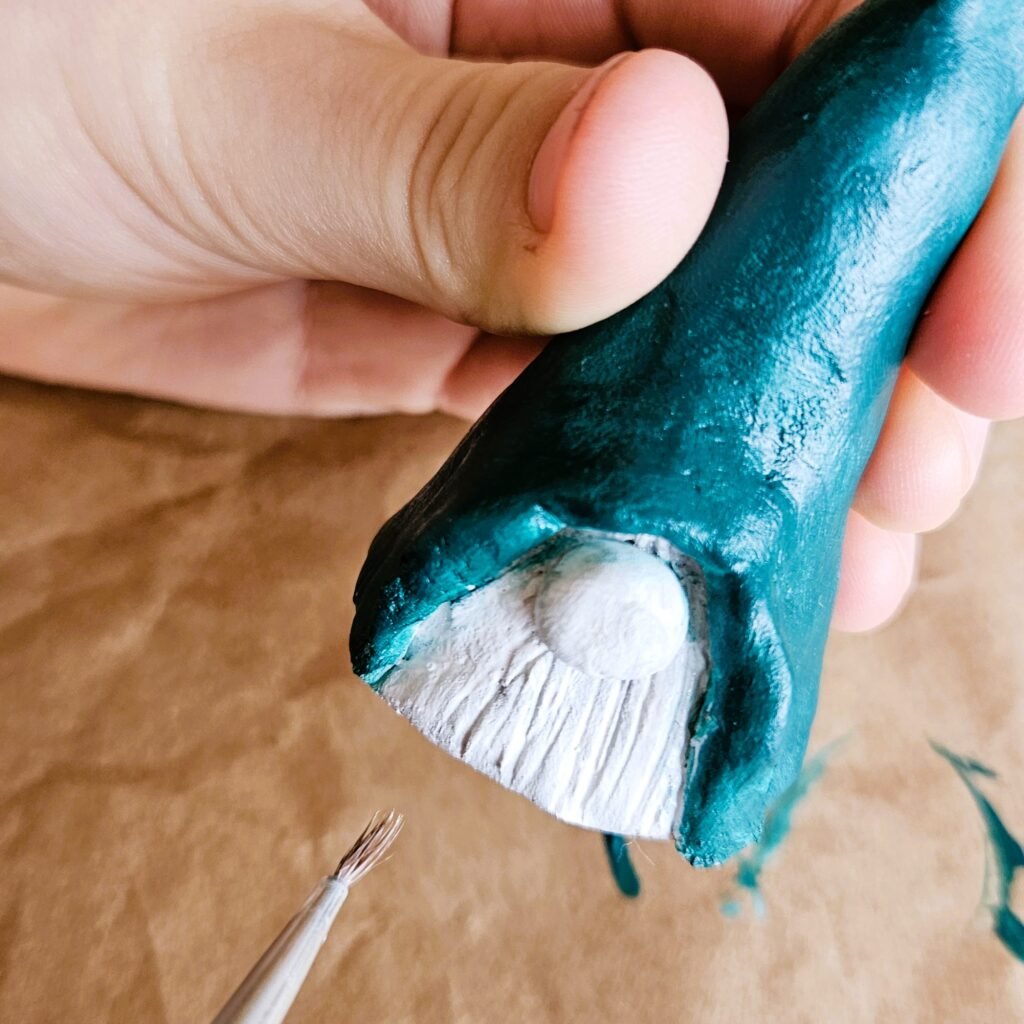
- hats — red, green, navy, or pastel shades
- noses — beige or pink tones
- beards — white, grey, or warm cream colors
You can also add small accents: dots on the hats, golden stars, brush textures, or even festive patterns.
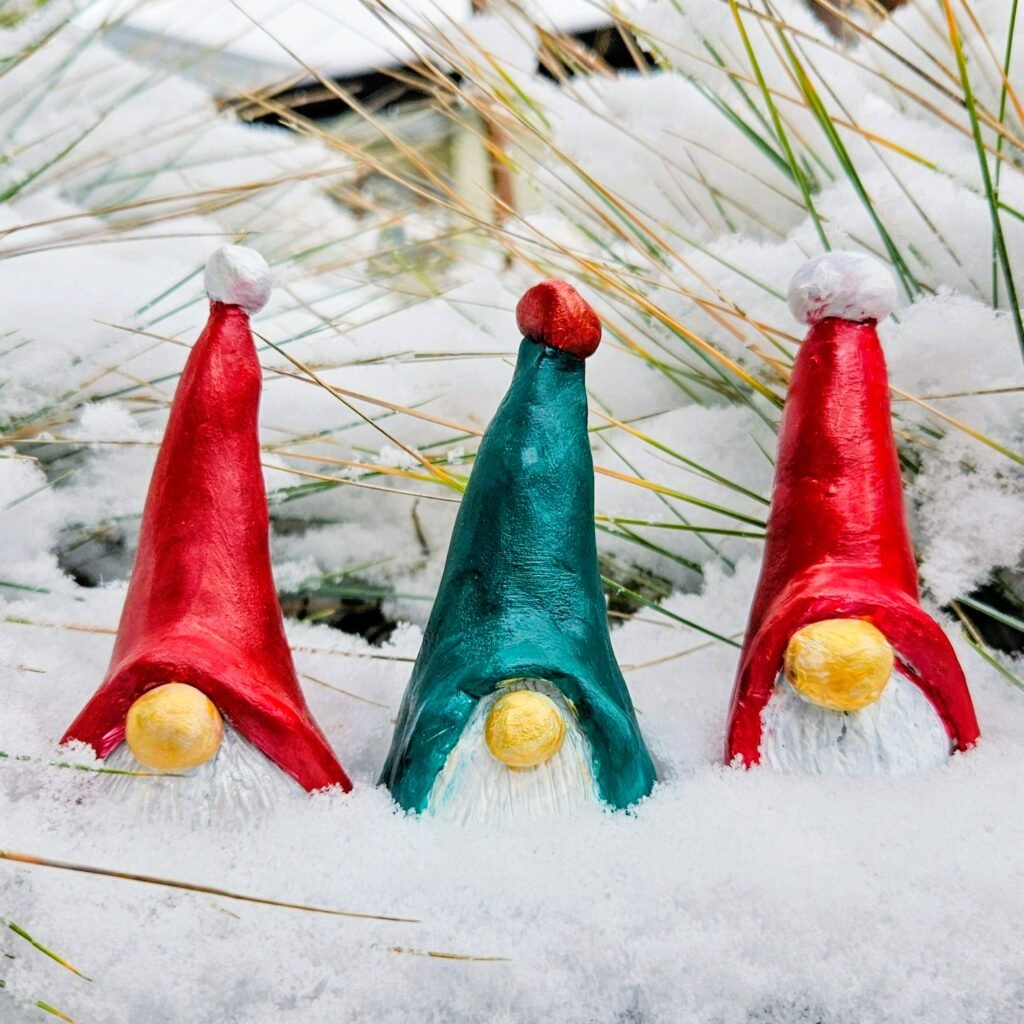
After the paint dries, it’s a good idea to varnish your gnome — this makes the colors more vibrant and helps the figurine last through many seasons.
Why is it worth making these?
- Self-hardening clay is easy to work with
- The project is affordable and accessible to everyone
- Gnomes can be personalized endlessly
- They make a great gift idea
- Perfect decorations for winter and the holidays
And above all — making them is truly relaxing!
If you decide to craft your own gnomes, be sure to share your results. These little creatures have a special charm, and I guarantee you won’t stop at just one!
Happy crafting! 🧙♂️✨
Check out our ideas
![]() If you are looking for more DIY Christmas ideas, you can find them in the Christmas section.
If you are looking for more DIY Christmas ideas, you can find them in the Christmas section.
![]() Advent calendars tutorials are here. We also check ideas for activities for the advent calendar which you can download and print.
Advent calendars tutorials are here. We also check ideas for activities for the advent calendar which you can download and print.
![]() Ideas for Christmas cards you will find here.
Ideas for Christmas cards you will find here.
![]() Ideas for Christmas tree ornaments are here.
Ideas for Christmas tree ornaments are here.
![]() All other DIY ideas for Christmas, including potato stamps or gift tags are available here.
All other DIY ideas for Christmas, including potato stamps or gift tags are available here.
![]() If you are looking for more inspiration for playing with children, check our section DIY with kids.
If you are looking for more inspiration for playing with children, check our section DIY with kids.
Follow us in social media
If you want to be up-to-date with our newest posts, follow us on Facebook, Instagram, Pinterest and YouTube.
Nothing gives more satisfaction than doing something yourself. I haven’t even thought about DIY as my hobby, I’ve just done different “projects” when it was needed. Sometimes it’s a disguise for the Masquerade Party in kindergarten. Another time, cutting out the pumpkin and baking the witch’s fingers for Haloween. Or simply organizing holiday souvenirs. Now I decided to share my realizations with you. Let’s go it together!
