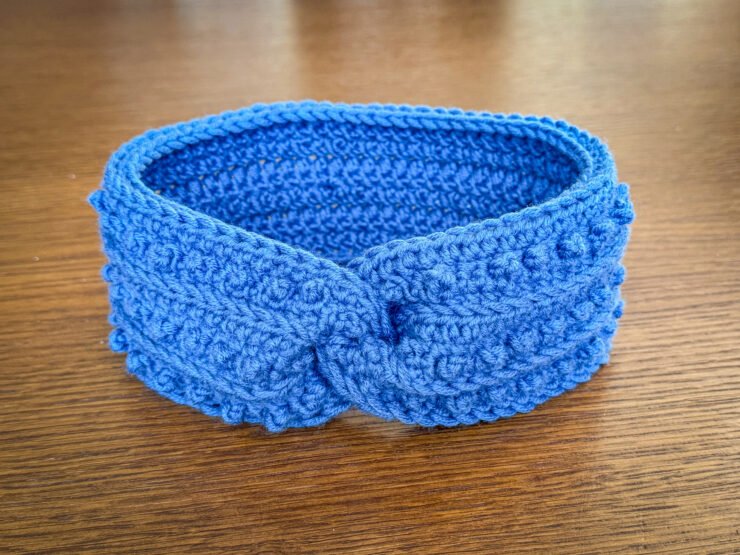
Spring has officially arrived on the calendar, but the temperatures outside don’t seem to agree at all. So what do you do when your child refuses to wear a hat? Headbands have always been my solution! The sheer variety of available patterns means that even the most fashion-conscious little one will find something they love.
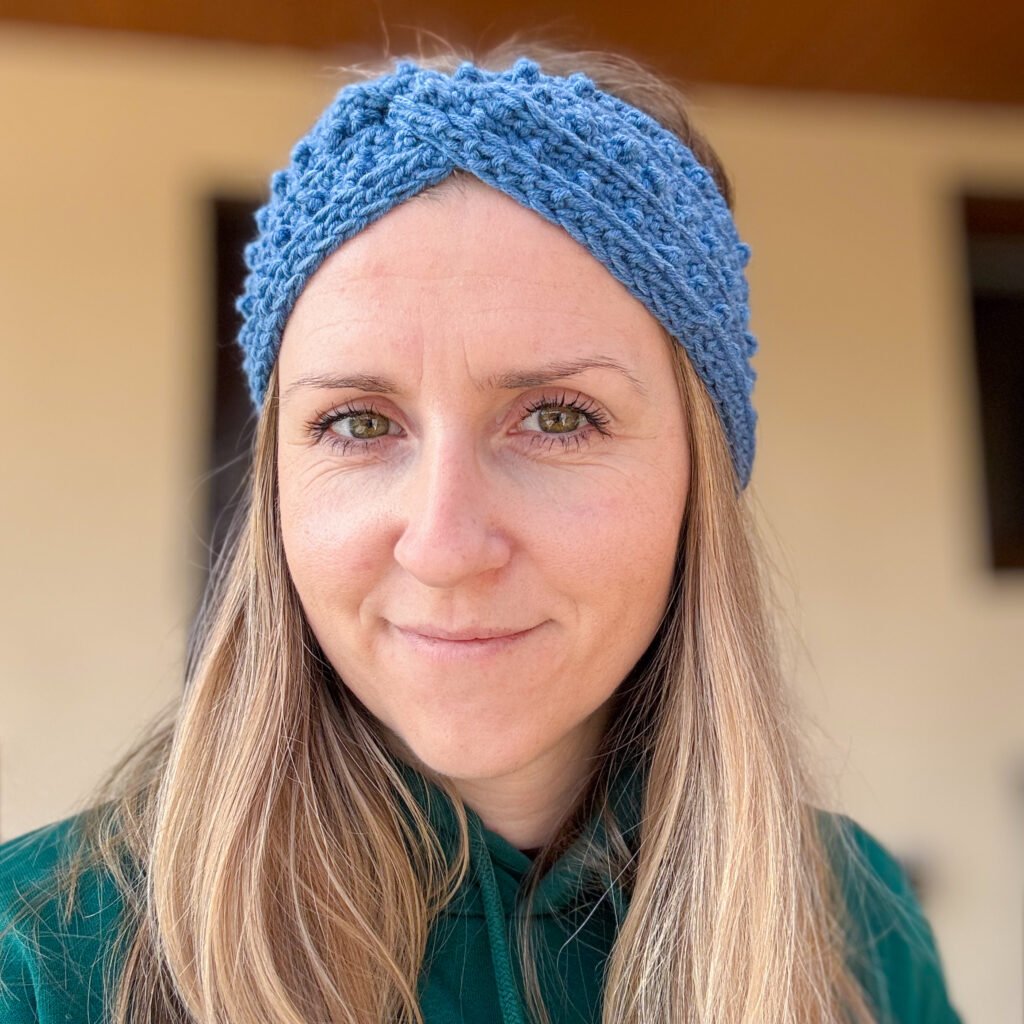
This crochet knotted headband with a beautiful picot stitch looks incredibly stylish and chic, and it doesn’t take long to make at all. Well, unless something goes wrong along the way and you have to frog it multiple times 😂
 Polska wersja: Szydełkowa pikowana opaska z węzłem – darmowy wzór
You will need
- Drops Merino Extra Fine yarn
- 5 mm crochet hook
- Yarn needle
- Scissors
A word about the yarn 🧶
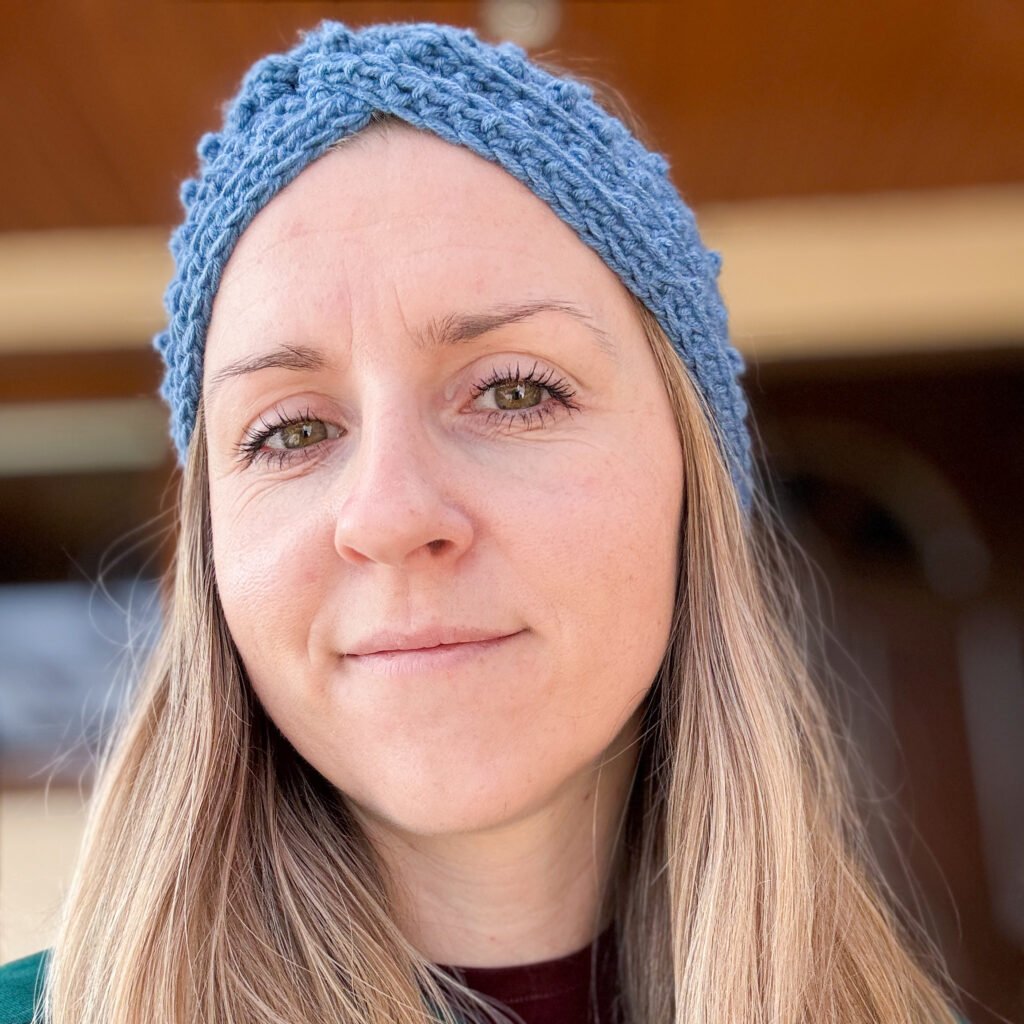
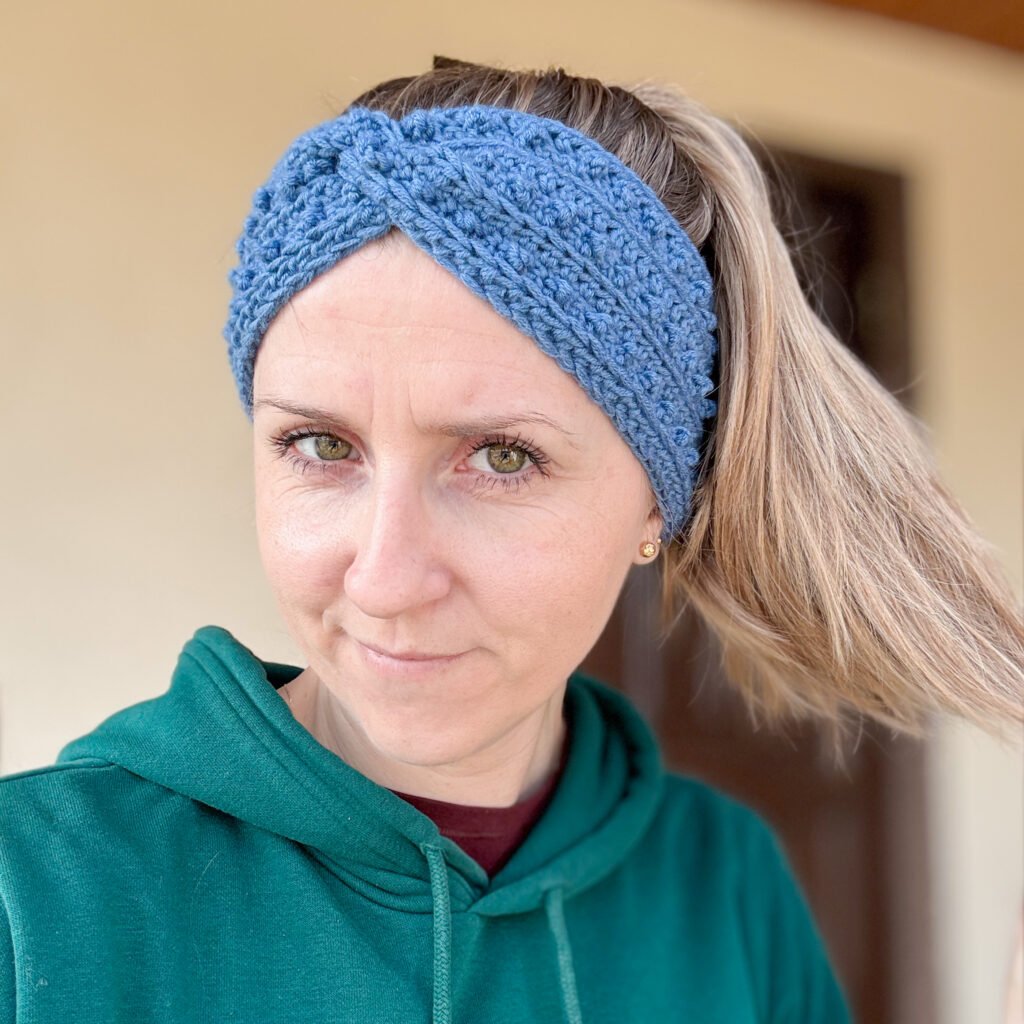
For this headband I used Drops Merino Extra Fine, because I think it’s absolutely perfect for children’s hats and headbands. Merino is exceptionally soft – no itching, no scratching, and the headband sits on your head perfectly ✨ The natural elasticity of merino wool means it fits beautifully and holds its shape.
Sizing
The headband is approx. 9 cm (3.5 inches) wide. The number of starting stitches depends on head circumference – the important thing is that it should always be an odd number.
I used Drops Merino Extra Fine yarn with a 5 mm hook and worked 71 stitches for an 8-year-old child.
Keep in mind that after tying the knot, the headband will shorten slightly, so the starting chain should be a little longer than the actual head circumference.
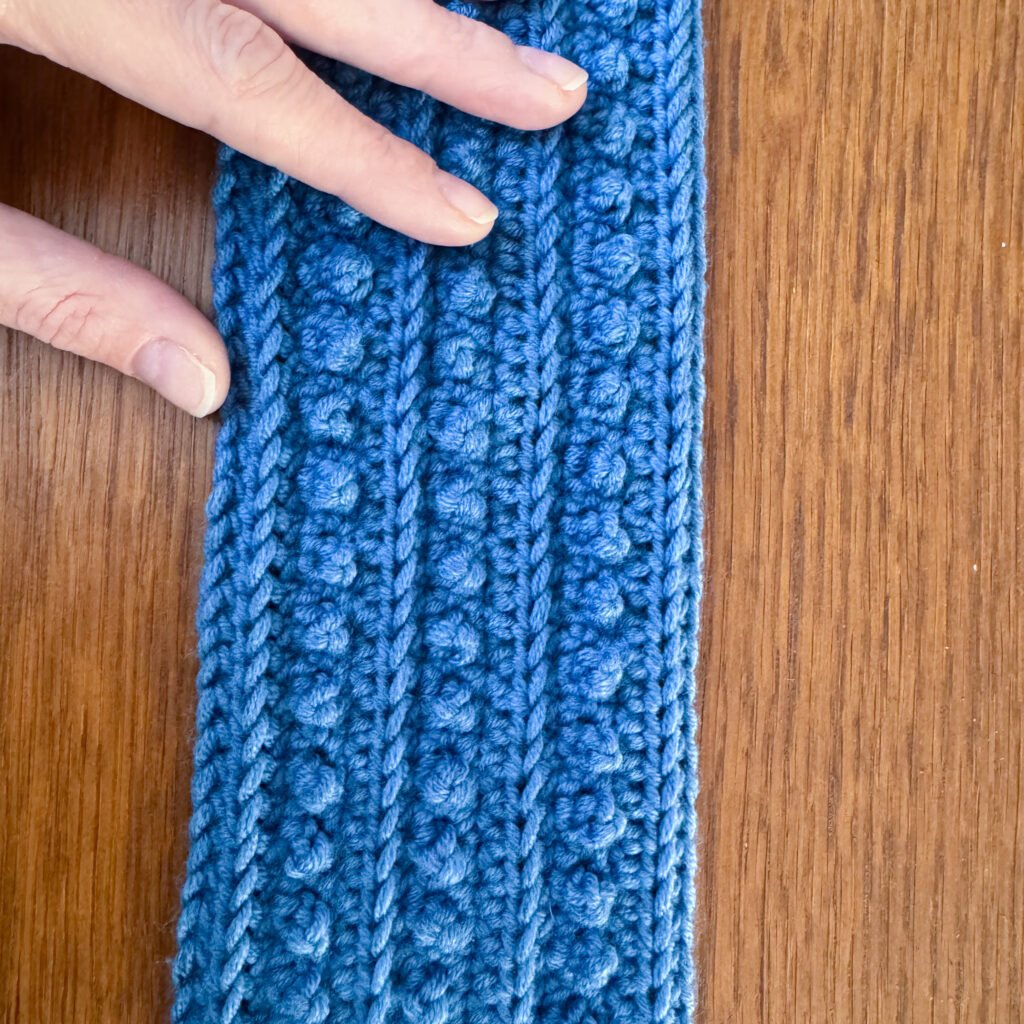
Step-by-step pattern
Row 1 – Foundation HDC
Instead of making a chain and then working a row of half double crochets separately, we combine them into one – this is the foundation half double crochet (FHDC). It saves a row and gives a stretchier edge.
How to make FHDC:
- Make a slip knot and chain 2.
- Insert your hook into the 2nd chain from the hook, yarn over and pull up a loop, yarn over and pull through one loop only – this is your new foundation chain.
- Yarn over and pull through all 3 loops on your hook – your first FHDC is done!
- Work the next FHDC into that new foundation chain. Repeat to the end of the row.
Work as many FHDCs as you need for your size (I worked 71). The stitch count remains the same throughout the entire pattern.
Row 2 – Back loop only single crochet (ribbing)
Chain 1, turn. Single crochet in the back loop only of each stitch across. This creates a beautiful ribbing effect on the front of the headband 🪡
Row 3 – Picot stitches ✨
Chain 1, turn. Then:
- 1st stitch: regular sc
- 2nd stitch – picot sc: insert your hook, yarn over and pull up a loop, then yarn over and pull through 1 loop three times in a row (making a chain 3), then yarn over and pull through both loops. Push that chain 3 to the back with your finger.
- 3rd stitch: regular sc (this “pushes” the picot stitch forward)
Repeat: picot sc, sc, picot sc, sc… to the end of the row 😊
Row 4 – Single crochet
Chain 1, turn. Sc in each stitch to the end of the row.
Row 5 – Half double crochet
Chain 1, turn. HDC in each stitch to the end of the row.
Row 6 – Back loop only single crochet
Chain 1, turn. Same as row 2 – sc in the back loop only of each stitch across.
Repeats
Repeat rows 3–6 two more times → 14 rows total
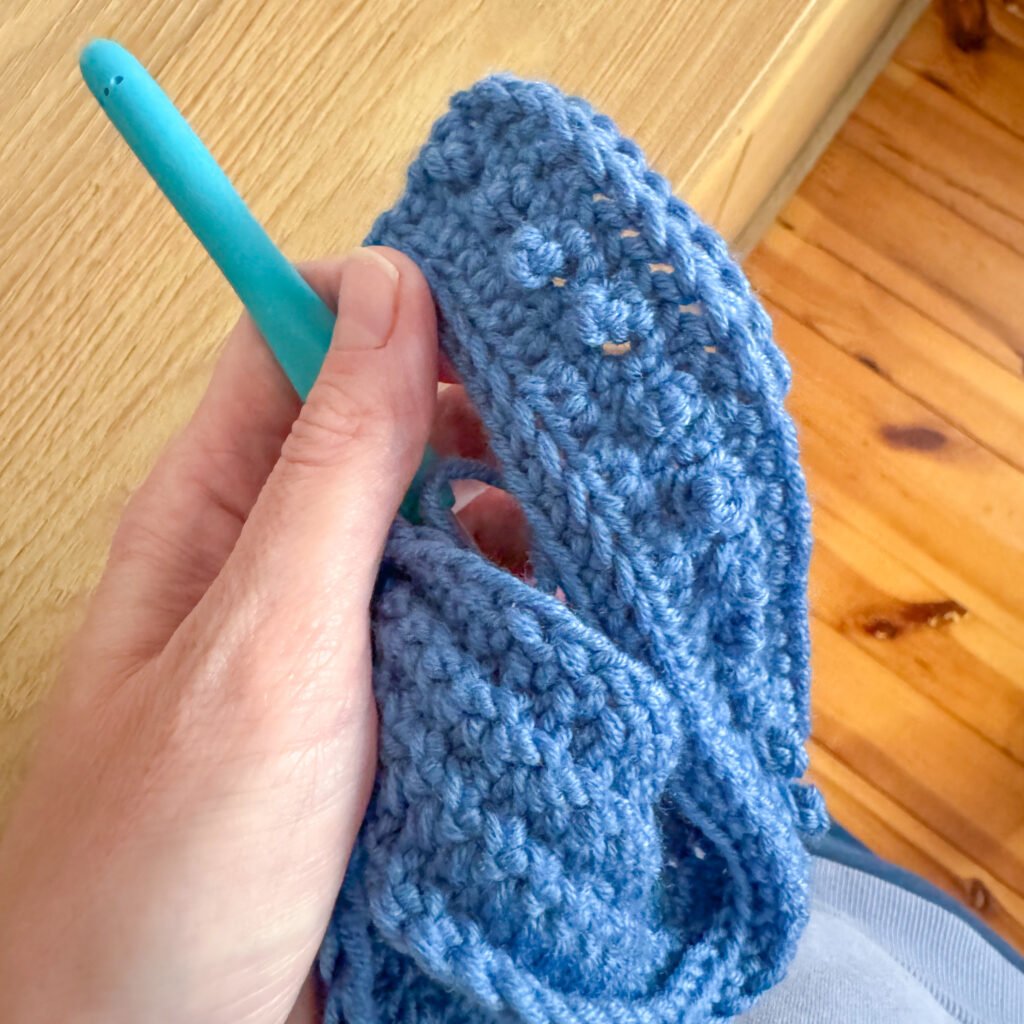
Finishing – knot and seam 🪢
Now for the fun part – making the knot!
- After your last row, chain 1, cut the yarn leaving approx. 30 cm (12 inches) tail for seaming.
- Fold both short ends of the rectangle so they meet in the middle – like little wings 🦋 Do this on both sides and interlock them to form the knot.
- Seam with your tapestry needle in an S-shape – attaching all 4 layers to each other one by one using whip stitch.
- Weave in ends, flip the headband to the right side and you’re done!
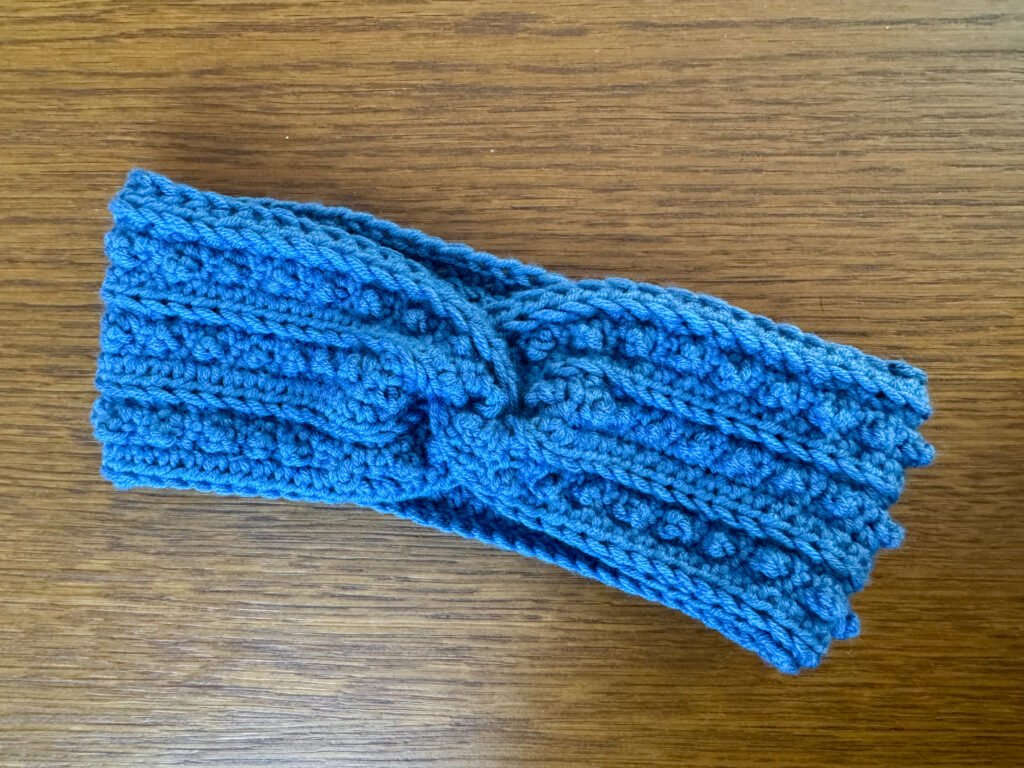
Our tips 😄
If the headband is too loose after seaming – tighten the knot a little to shorten it. And if it’s too tight – just add a few extra starting stitches next time.
Have you made crochet headbands before? Let us know in the comments how yours turned out and what yarn you used! 🧶💛
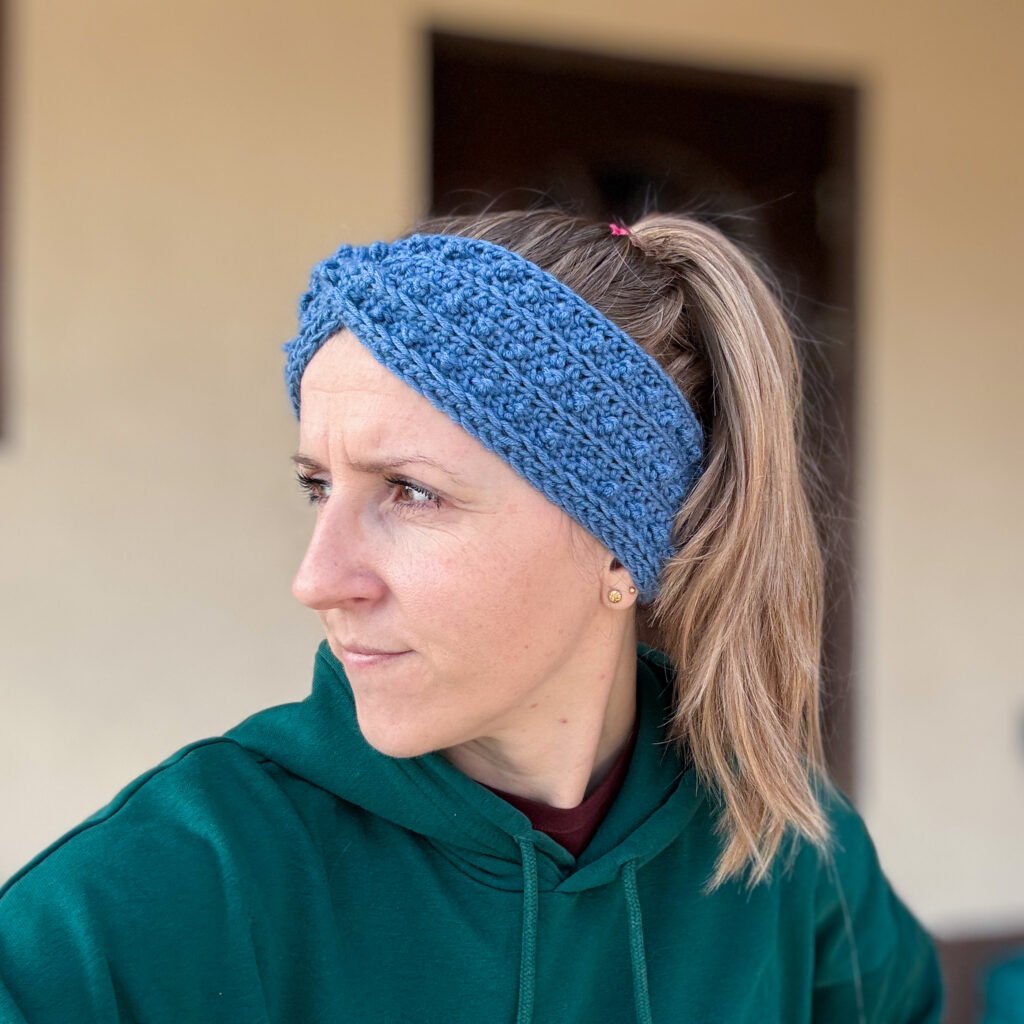
Check out our ideas
🧶 Looking for another crochet headband pattern? Check out our previous post:
🧶 More crochet patterns can be found in the Crochet section.
🧶 Looking for a quick gift idea? Head over to DIY gift ideas.
Follow us in social media
If you want to be up-to-date with our newest posts, like our Facebook fanpage, follow us on Instagram and Pinterest

I have been passionate about DIY since my childhood, and my innate patience and accuracy make the whole process of creation a lot easier for me and that gives me a lot of satisfaction and pleasure. During my first pregnancy I learnt how to sew, what resulted with few tutorials about sewing clothes for kids on the blog. In the beginning of my second maternity leave, I have learned how to crochet amigurumi from yt. I found out, that I really love it, that’s why so many blog posts describe my crochet creatures.

One thought on “Crochet knotted headband – free pattern”