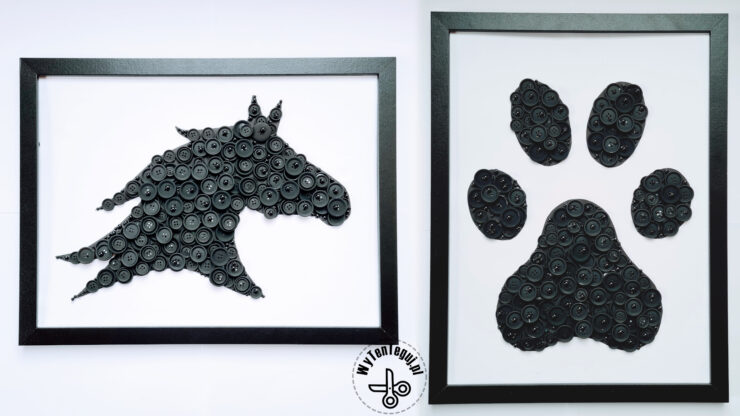
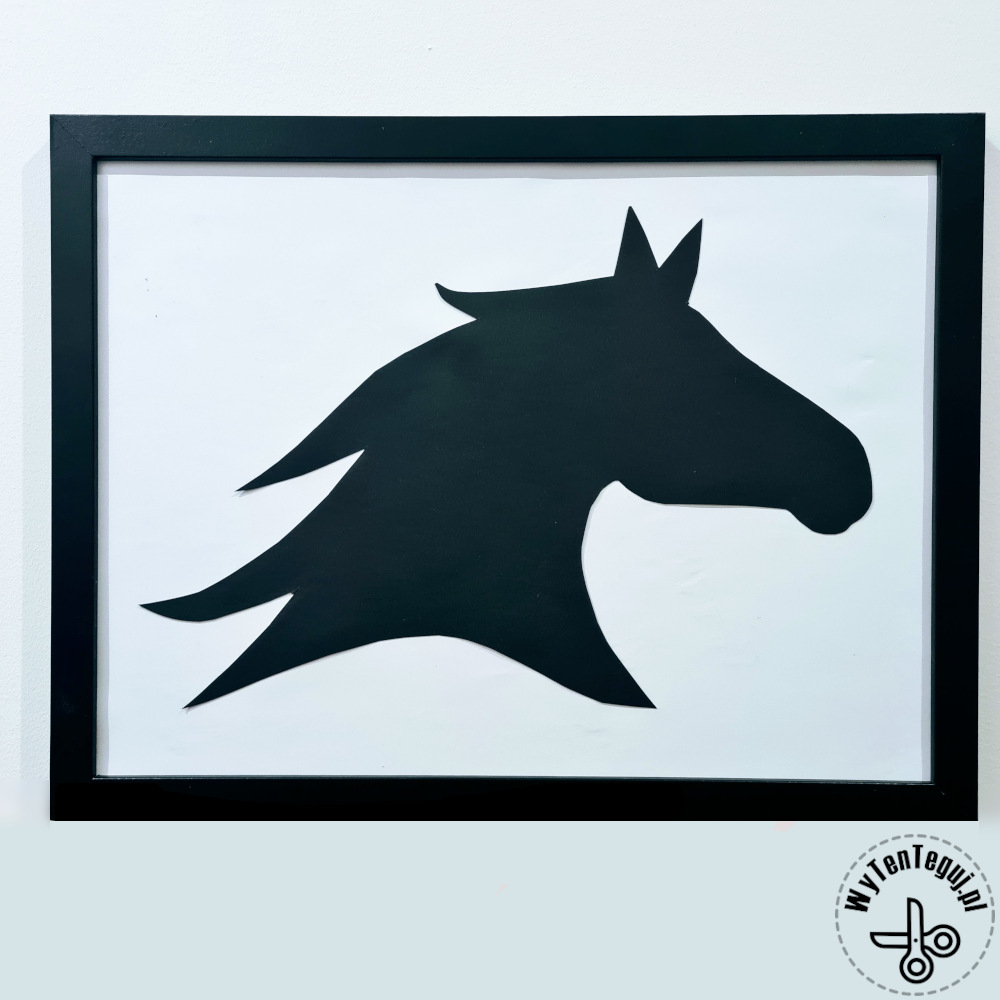
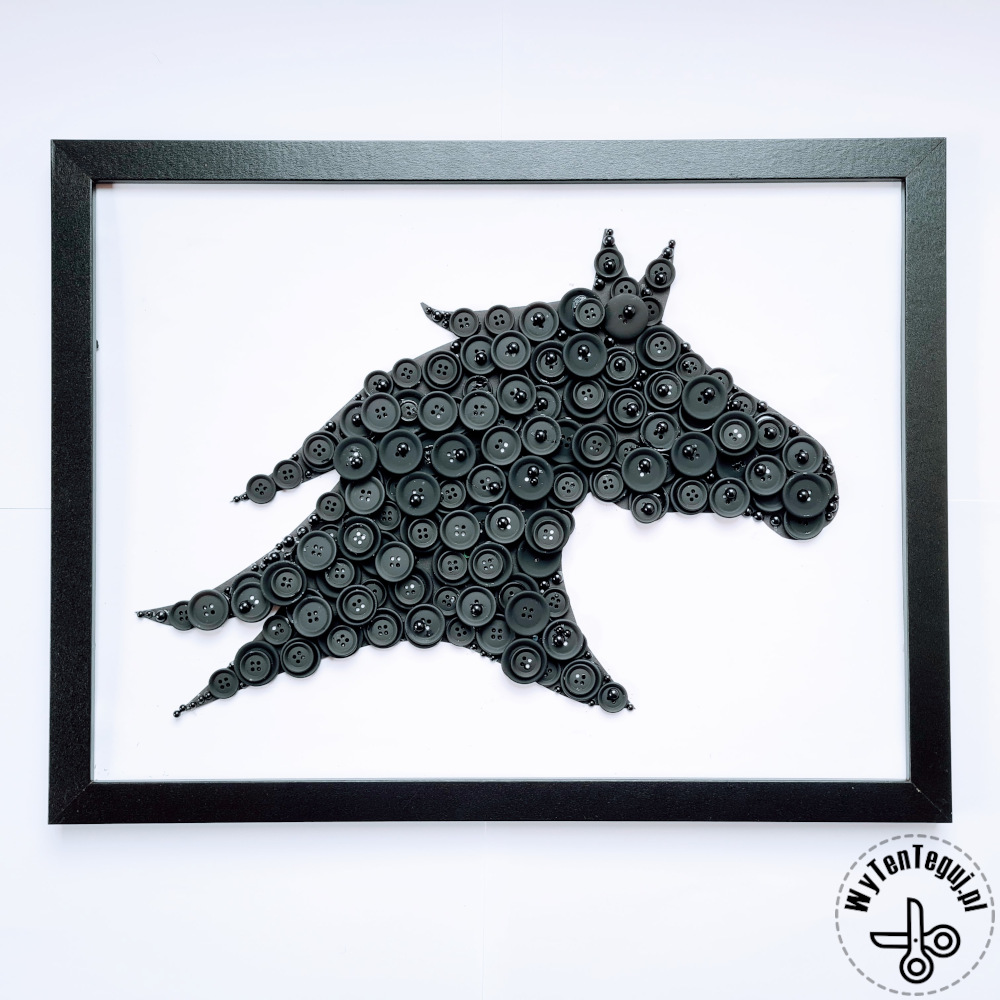
This is our second button project, the first was a big red heart for Valentine’s Day. This time we had a lot of black buttons at our disposal, so we decided on monochrome designs with a horse’s head and a dog’s paw ![]()
![]() . We prepared our paintings during workshops at school together with second-graders. Read the post and learn how to make button art
. We prepared our paintings during workshops at school together with second-graders. Read the post and learn how to make button art ![]()
![]()
![]() .
.
![]() Polska wersja: Jak zrobić obraz z guzików
Polska wersja: Jak zrobić obraz z guzików
You will need
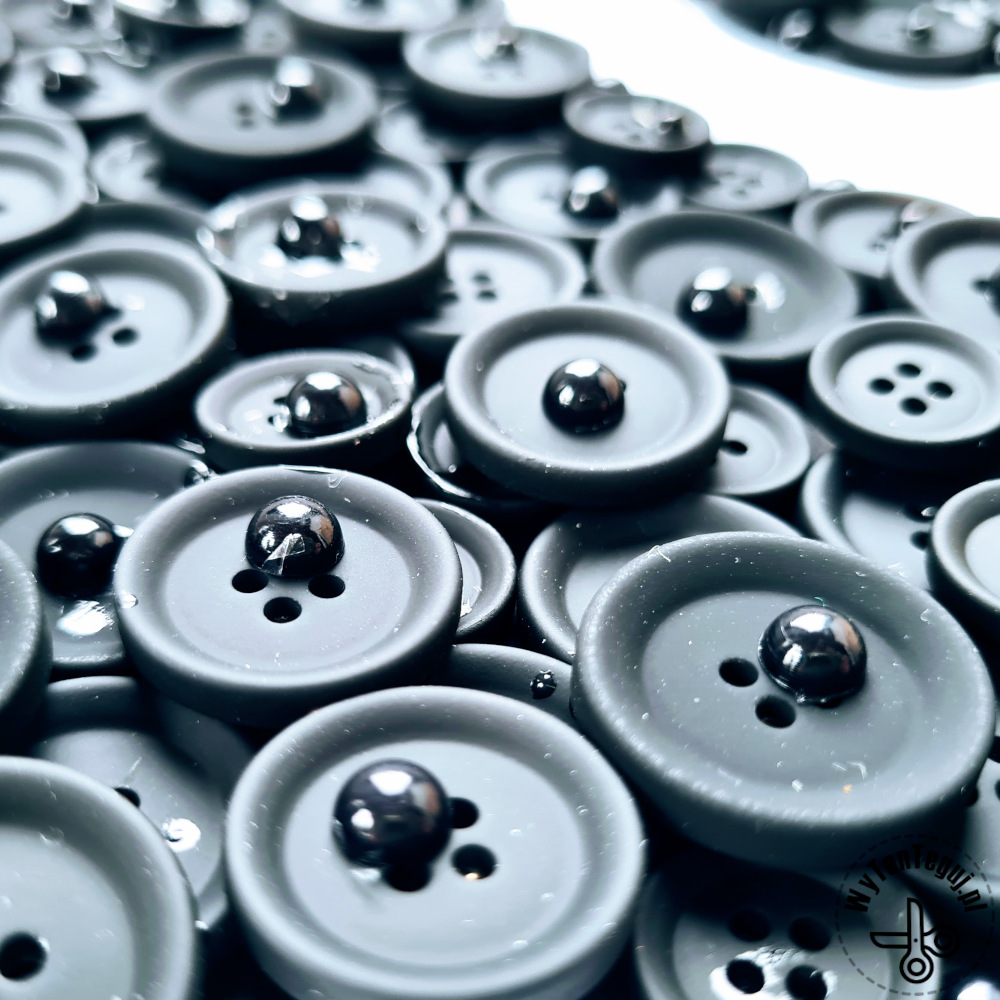
- Buttons, lots of buttons 😁
- Frame – I used frame in A3 format, i.e 30x40cm
- Black and white cardboard
- Glue
- Scissors
- Self-adhesive pearls
- Template – I prepared the paw pattern myself and you can download it below. Horse head template you can get here. The paw pattern is available in two sizes, on 1 and on 2 sheets. However, if you want to print an enlarged image in A3 format, i.e. on 2 A4 pages, you must use the PDF option of printing a poster.

How to make button art?
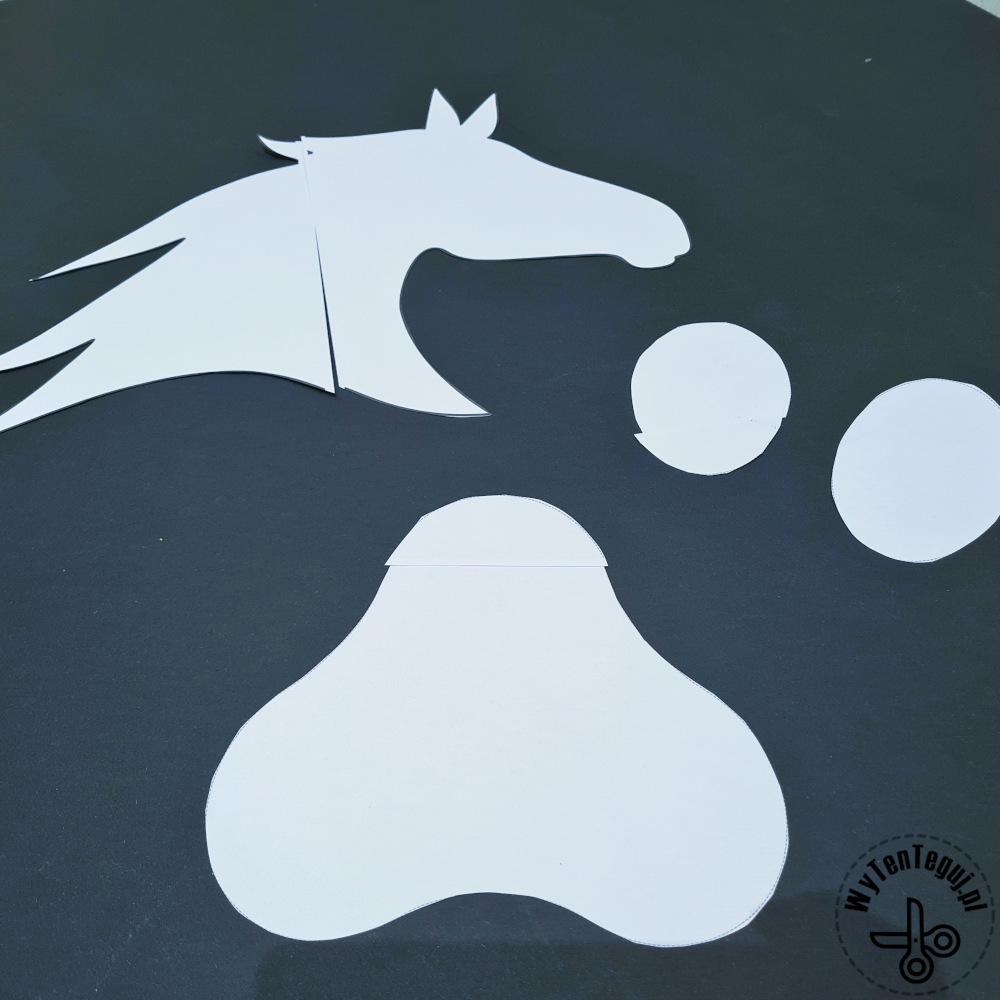
The first step is to print the template at the correct size. The Adobe program gives you this option, so all you need to do is download our template and choose Poster in the print options.
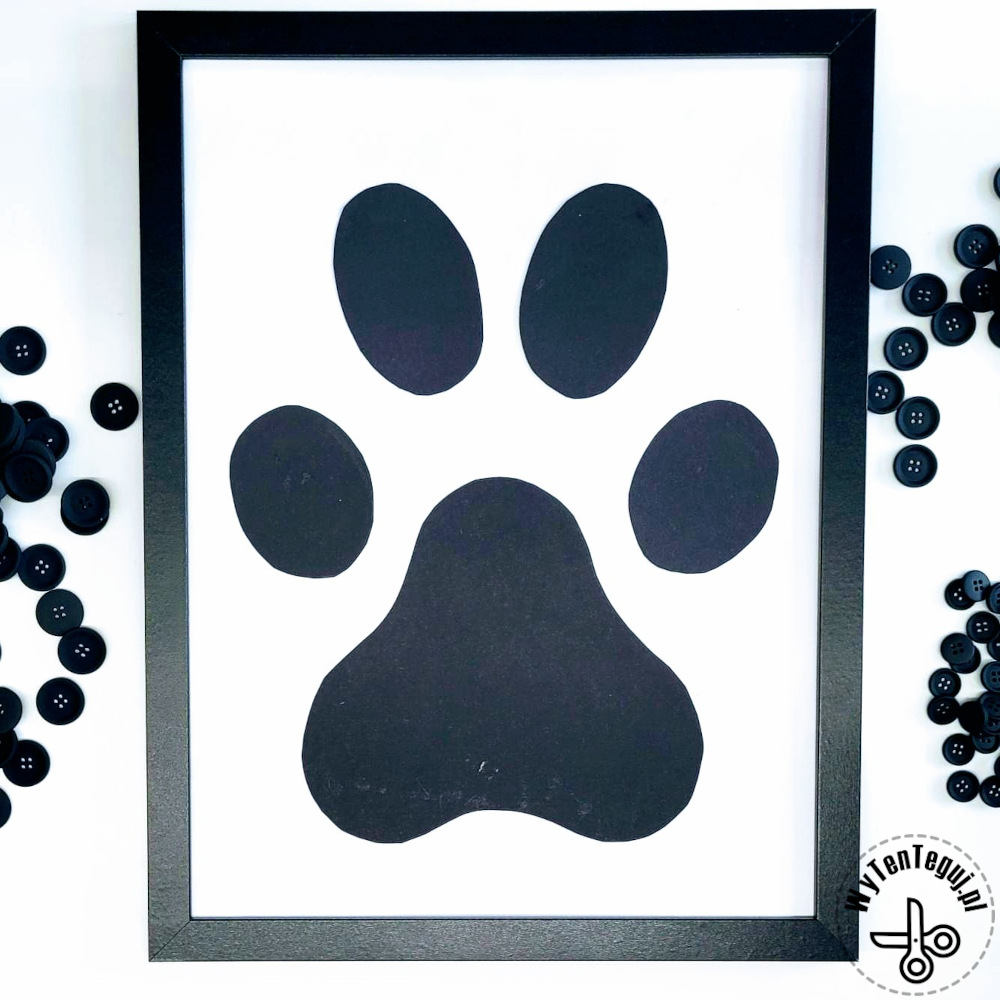
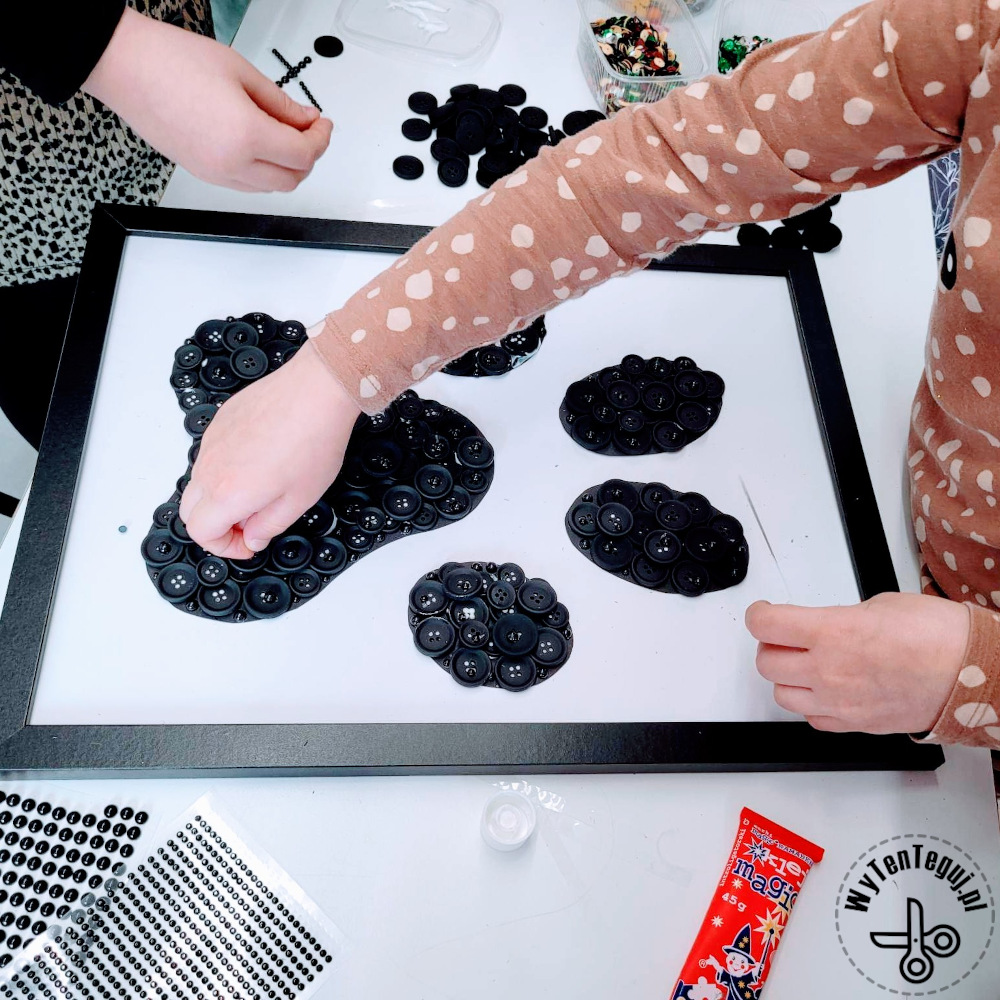
Then cut out the shape, trace it on the black cardboard, cut out and glue on the white picture base.
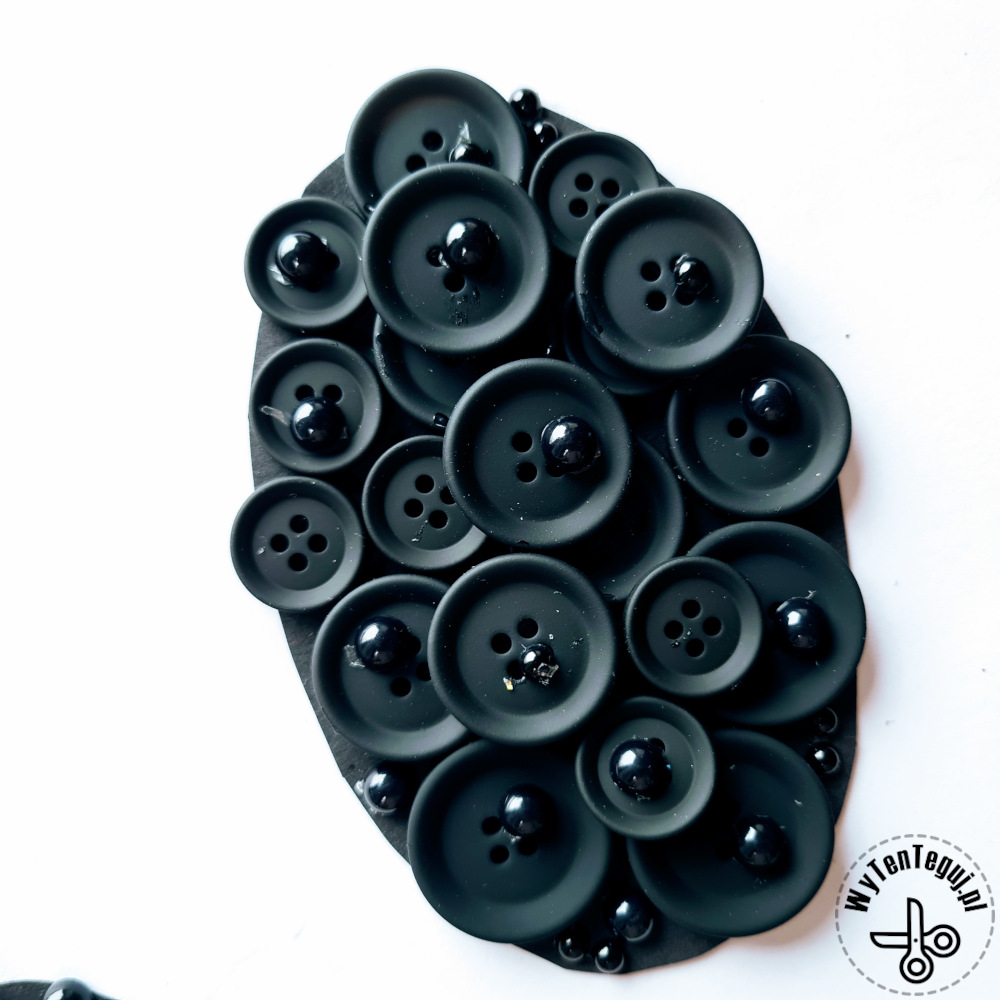
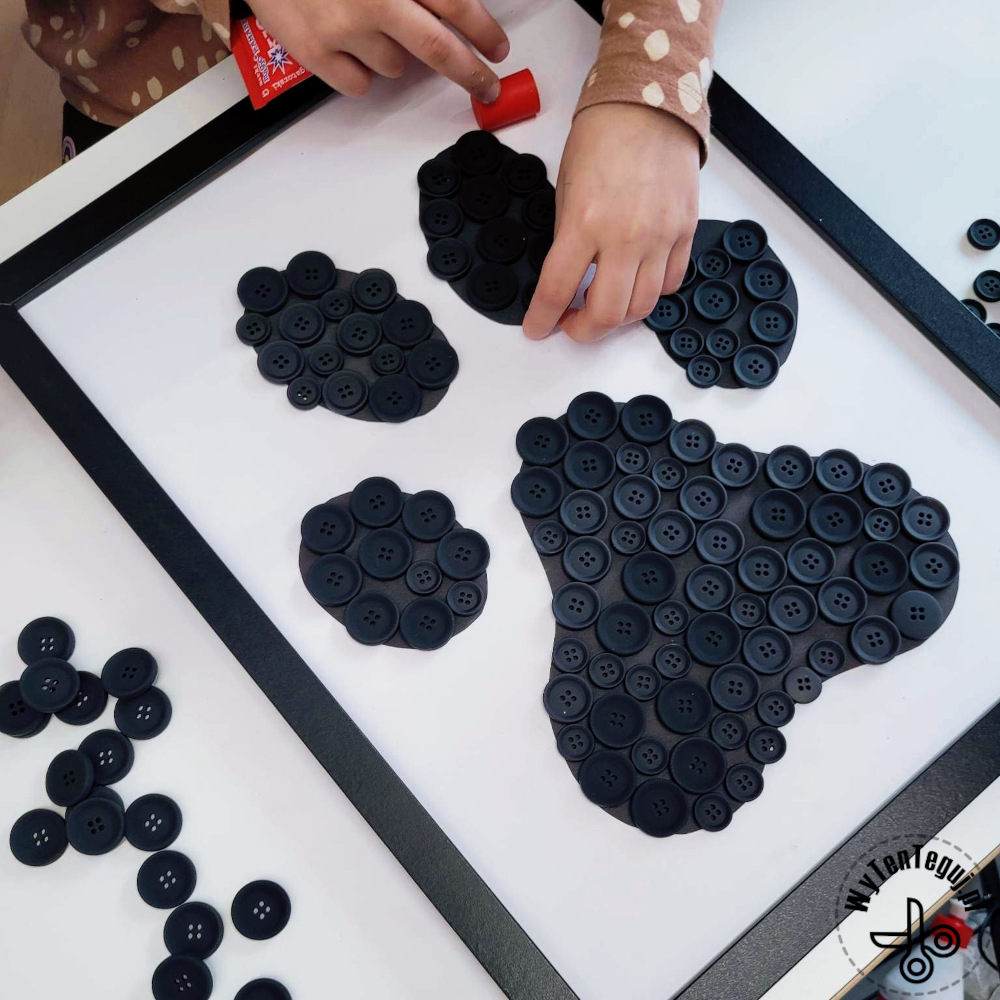
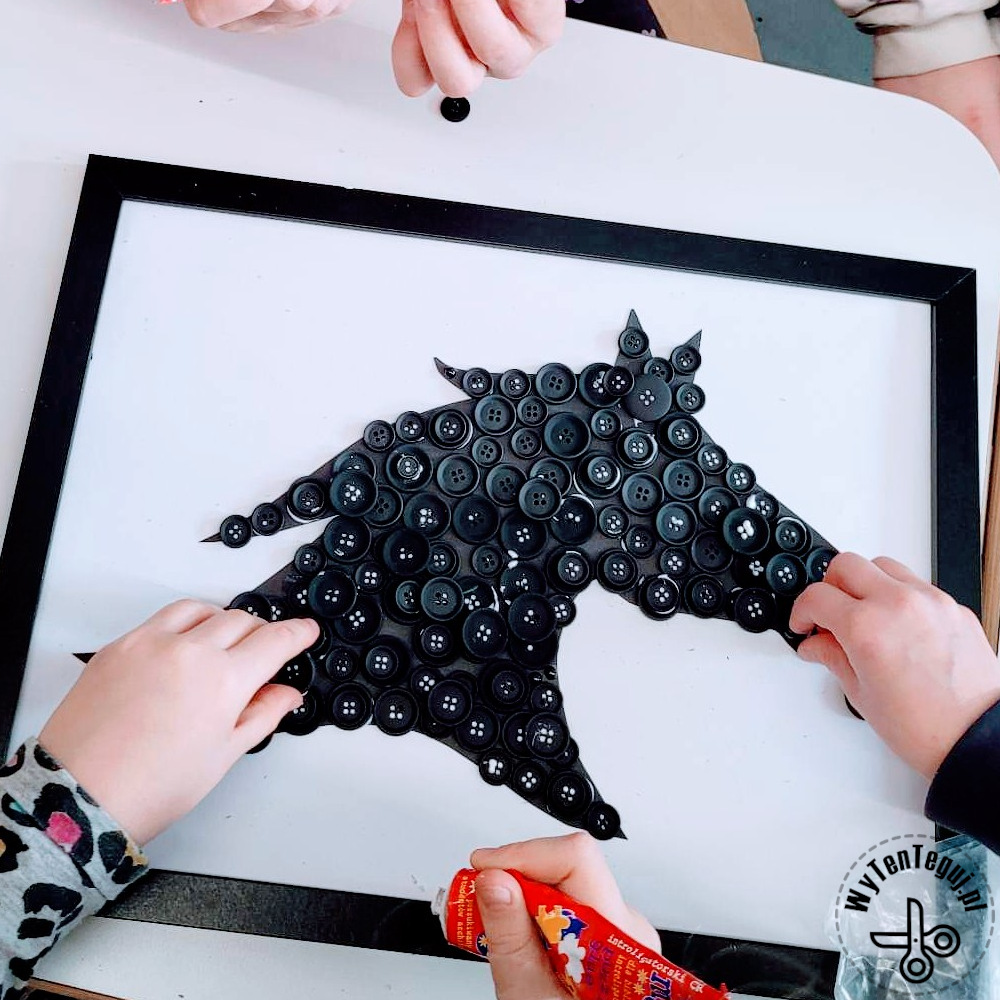
Now it remains to stick the buttons. Buttons can be glued with double-sided tape or hot glue. I did it together with my children, so I decided to use the universal glue.
To fill the holes in the picture, we glued the second layer of buttons and additionally filled the gaps with black self-adhesive pearls.
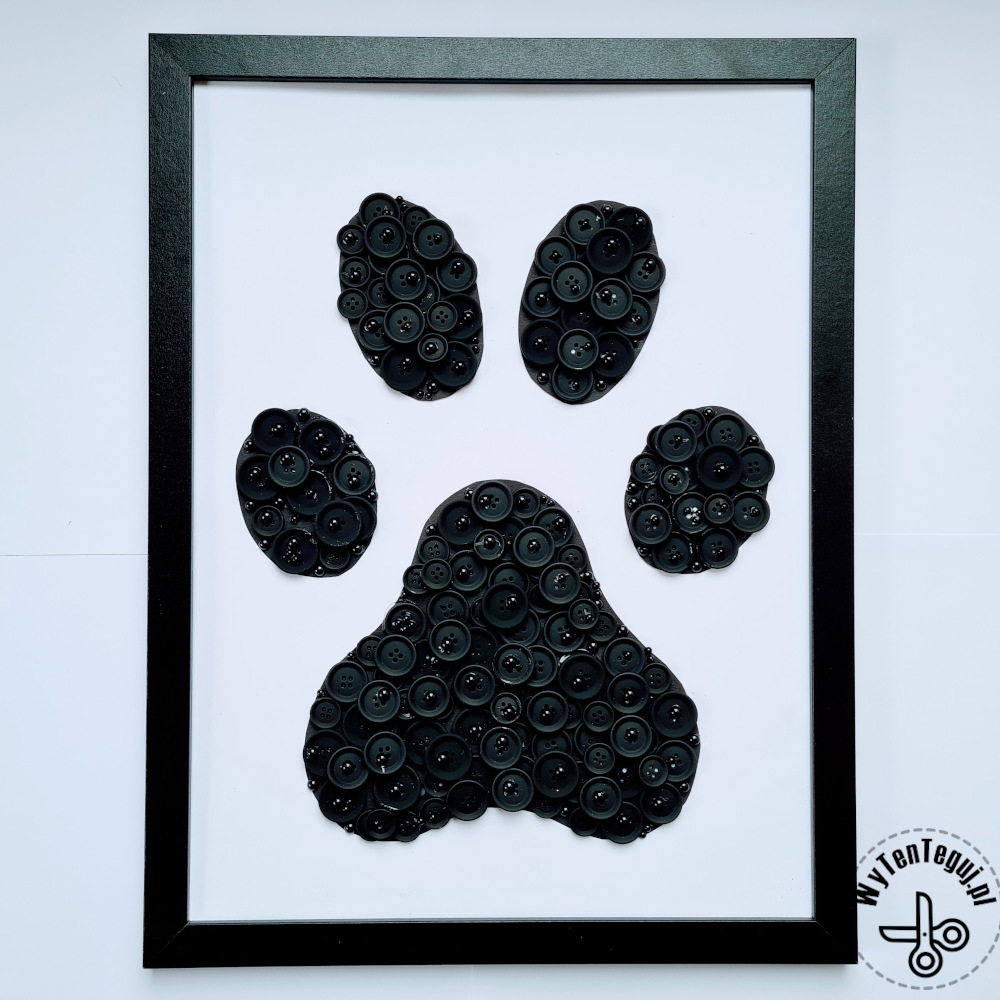
The final result of our button art
Check out our ideas
If you look for more DIY cards ideas check our Cards section.
If you are looking for more creative activities for kids check our DIY with kids section.
Follow us in social media
If you want to be up-to-date with our newest posts, like our Facebook fanpage, follow us on Instagram and Pinterest.
Nothing gives more satisfaction than doing something yourself. I haven’t even thought about DIY as my hobby, I’ve just done different “projects” when it was needed. Sometimes it’s a disguise for the Masquerade Party in kindergarten. Another time, cutting out the pumpkin and baking the witch’s fingers for Haloween. Or simply organizing holiday souvenirs. Now I decided to share my realizations with you. Let’s go it together!
