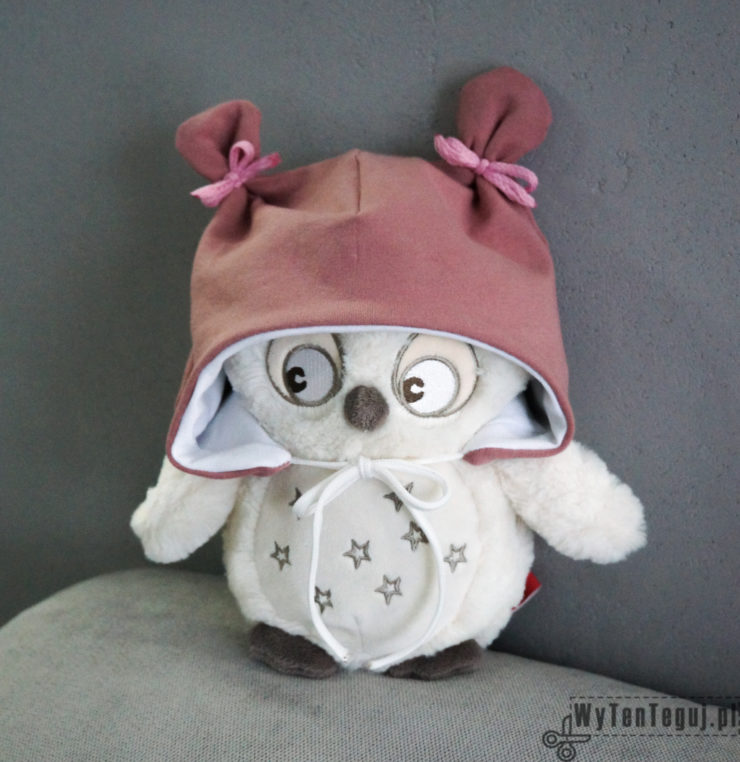
The aim of this post is to show you how simple is sewing cozy, “breathable” beanie for a little girl. If somebody is getting started with sewing, doesn’t want to invest much and is afraid of not catching the bug there is a good news – the Internet is full of free sewing patterns. Firstly it’s worth taking a look at a Facebook group SZYCIE-WYKROJE-DIY (for Polish speaking readers). It’s a great place to ask questions and get inspirations from more advanced in sewing.
Most of the hats for kids available on the market are made of polar fleece. It is a synthetic, polyester fabric. Consequently using it may cause little heads overheating, which is very dangerous. Handmade cotton hat sounds like perfect solution. Moreover availability and variety of breathable fabrics is boundless, so everyone can find something for themselves.
More information about types of fabrics and my favorite online shops here.
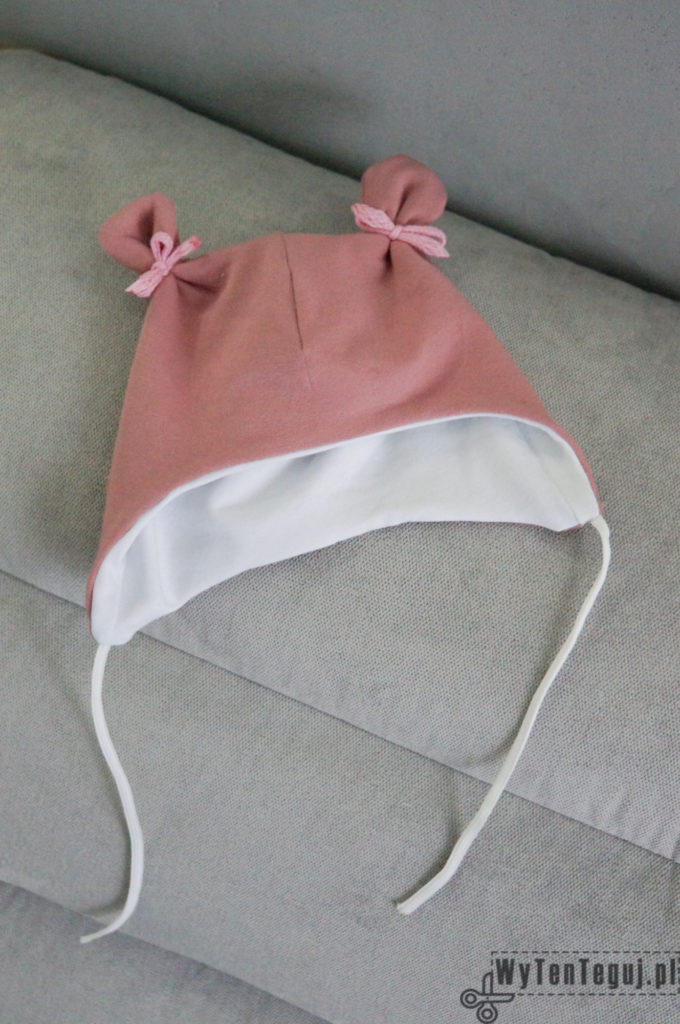
The hat has chin ties, what is perfect for those kids that are obsessed with taking everything off. You need about 2 hours for sewing this project.
You’ll need
Free sewing pattern from Monstabella Ohrenmütze
Prepare 0,5 m of:
- 1,5 m wide looped back french terry / brushed back french terry / single jersey for the outer side
- 1,5 m wide looped back french terry / brushed back french terry / single jersey for the inner side
- twine or ribbon for teddy bear ears with bows
- twine for chin ties
How to do it?
- Firstly print the pattern and tape it together. After that choose the size of the hat based on baby head circuit. Draw contours for the chosen size on transparent paper (I’m using the same for baking :D). Remember to add 0,5-0,7 cm for seam allowance, because this pattern doesn’t include it.
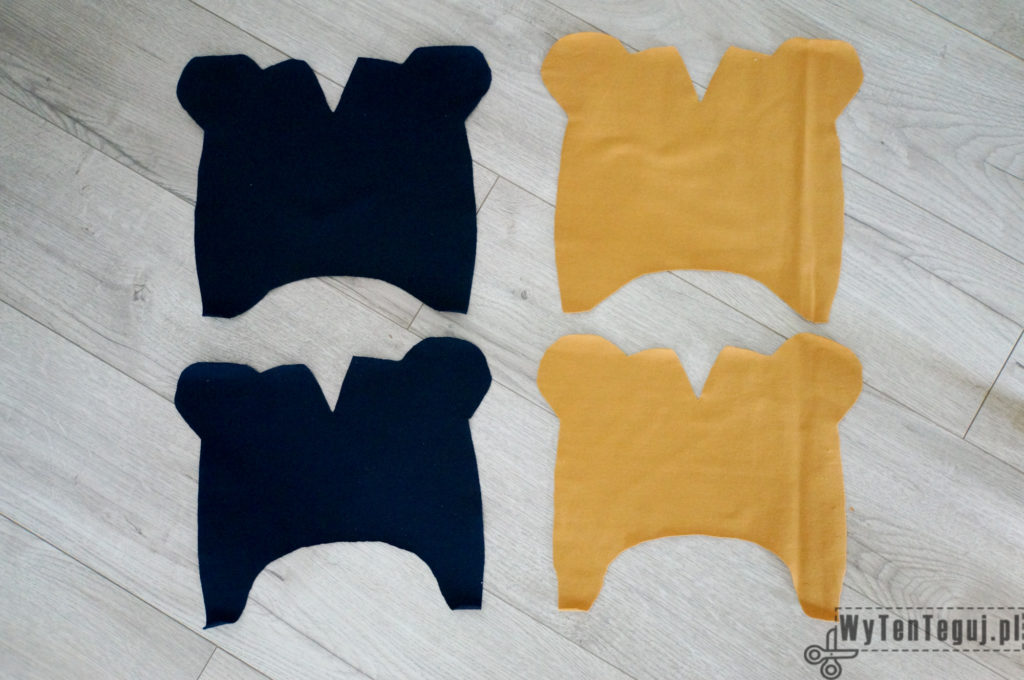
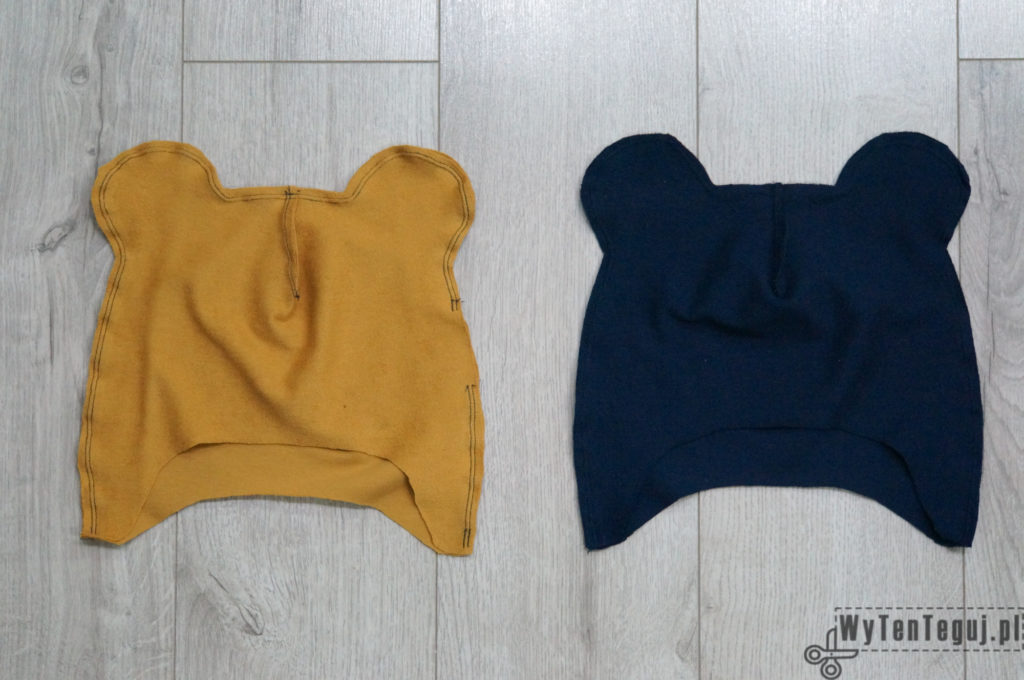
- Pin the pattern to the fabric and cut. As a result you should get 4 pieces as below. Mustard fabrics are for inner side and navy for outer side of the hat.
- Sew along short edges in the middle of the fabrics to form one round (connected) piece.
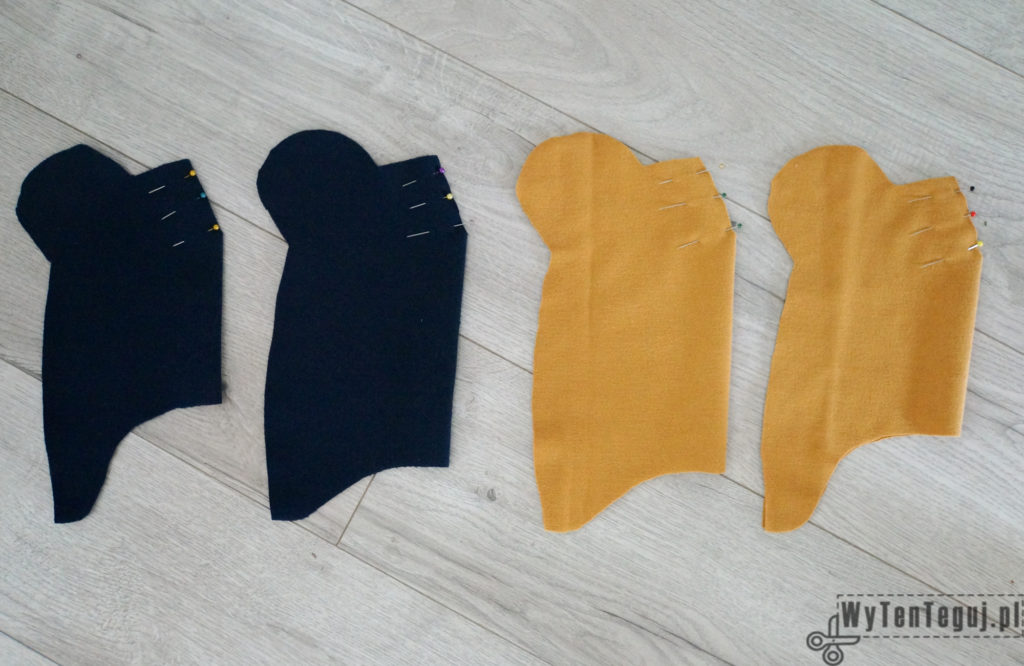
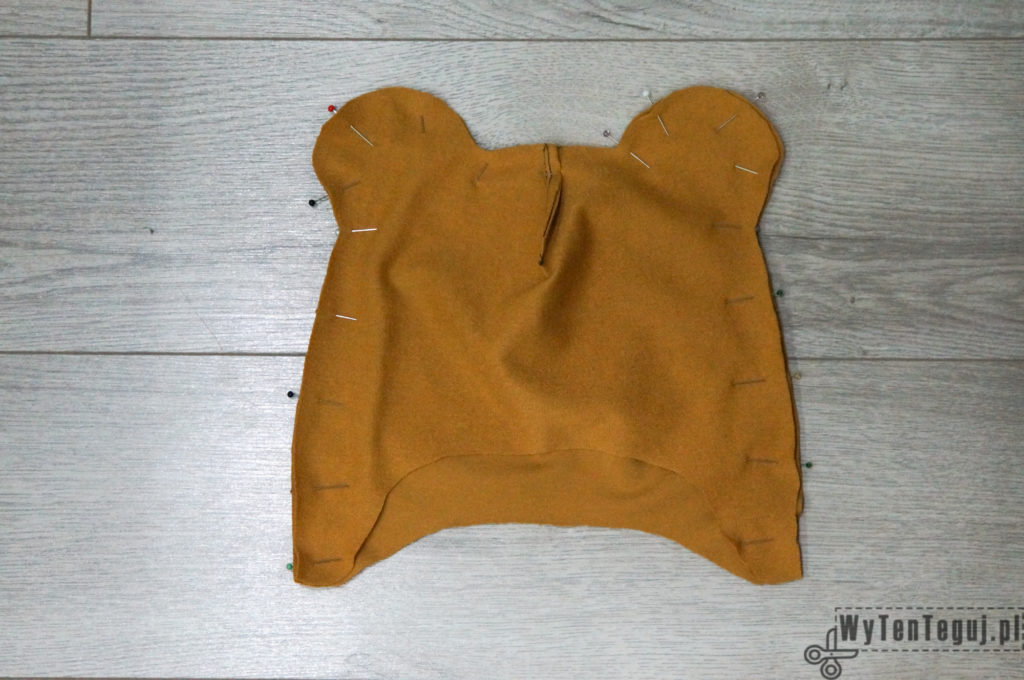
- Pin the pieces of fabrics for the outer side of the hat (right sides together) . Then sew them leaving the bottom open. Then do the same for fabrics for the inner side of the hat with one difference – it is necessary to leave about 4 cm hole. I used double needle to do the above.
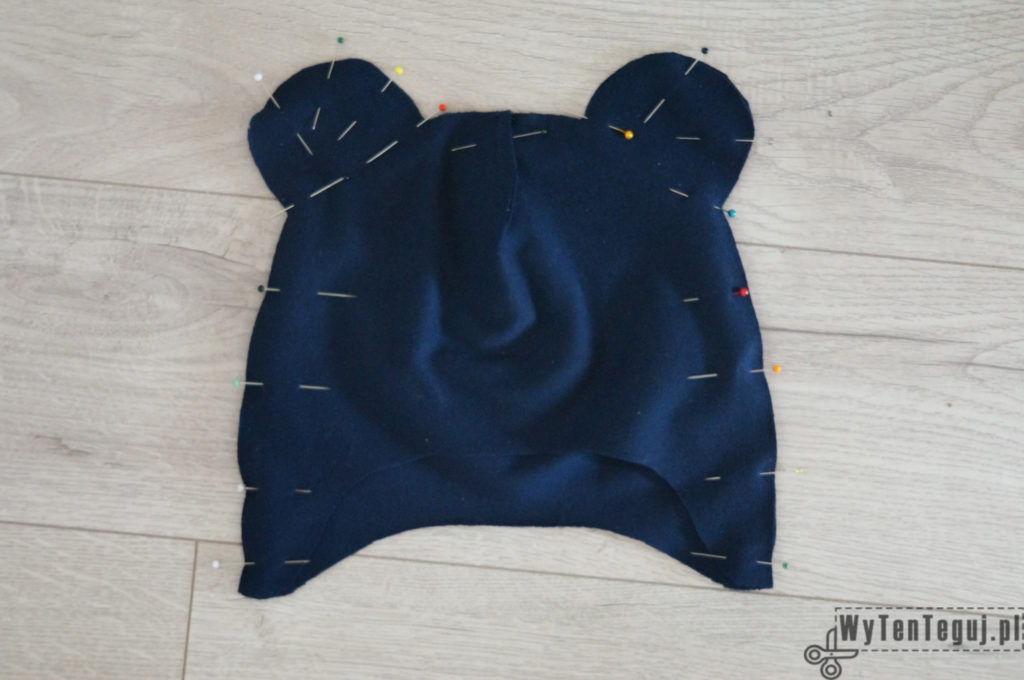
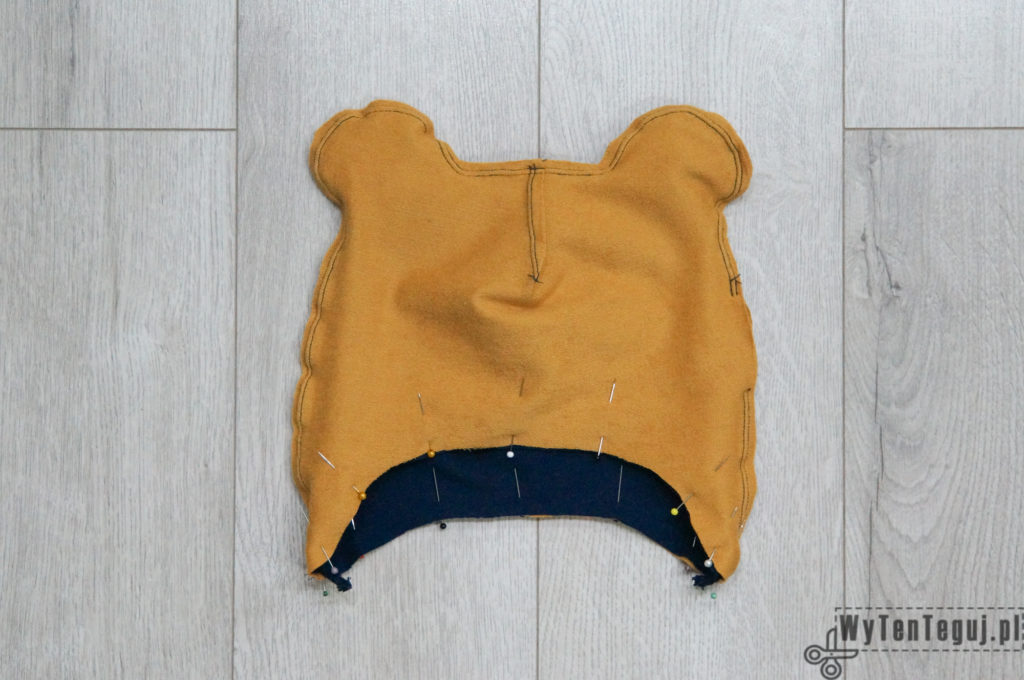
- Turn the outer part of the hat right side out. Don’t do it with the inner part. The outer part put on the inner part of the hat, right sides of fabrics together, back to back, front to front.
- Pin the bottom of the hat and sew it remembering about letting the pieces of twine in so the longer parts of the twine are between fabrics.
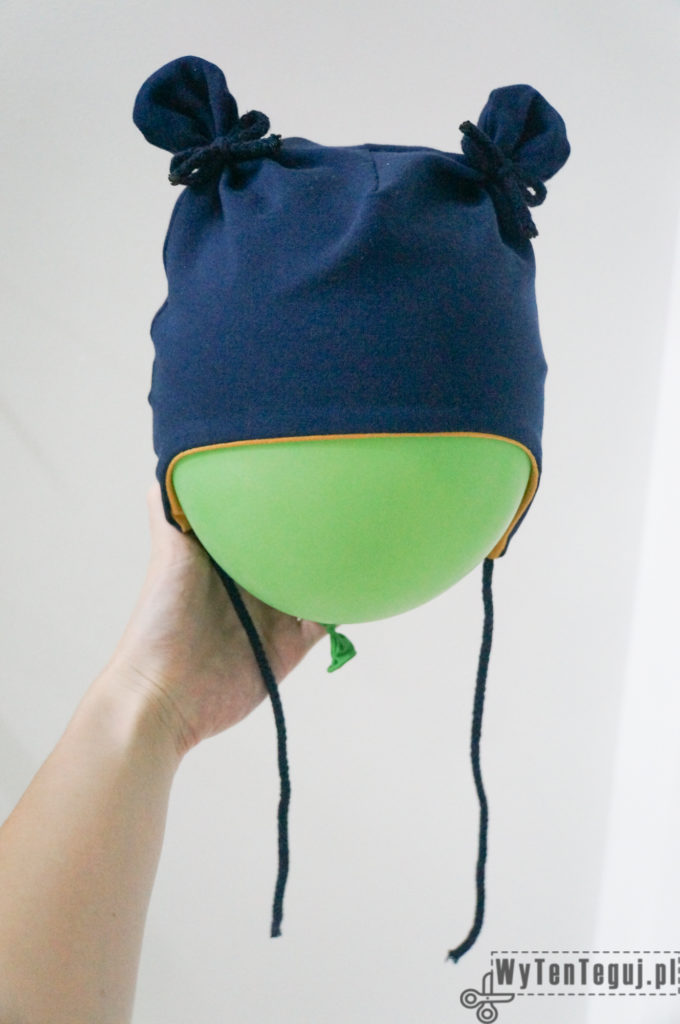
- Once the hat is sewn turn it right side out through the opening left in inner side. Then sew up this hole by hand using ladder stitch. On the teddy bear ears tie a ribbon or twine to form a bows.


I have been passionate about DIY since my childhood, and my innate patience and accuracy make the whole process of creation a lot easier for me and that gives me a lot of satisfaction and pleasure. During my first pregnancy I learnt how to sew, what resulted with few tutorials about sewing clothes for kids on the blog. In the beginning of my second maternity leave, I have learned how to crochet amigurumi from yt. I found out, that I really love it, that’s why so many blog posts describe my crochet creatures.
