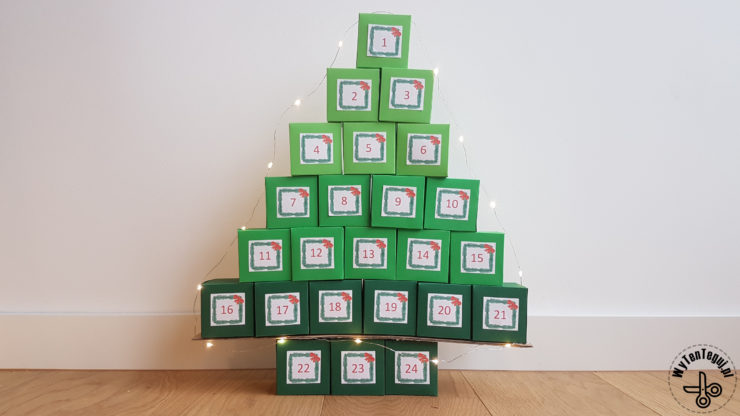
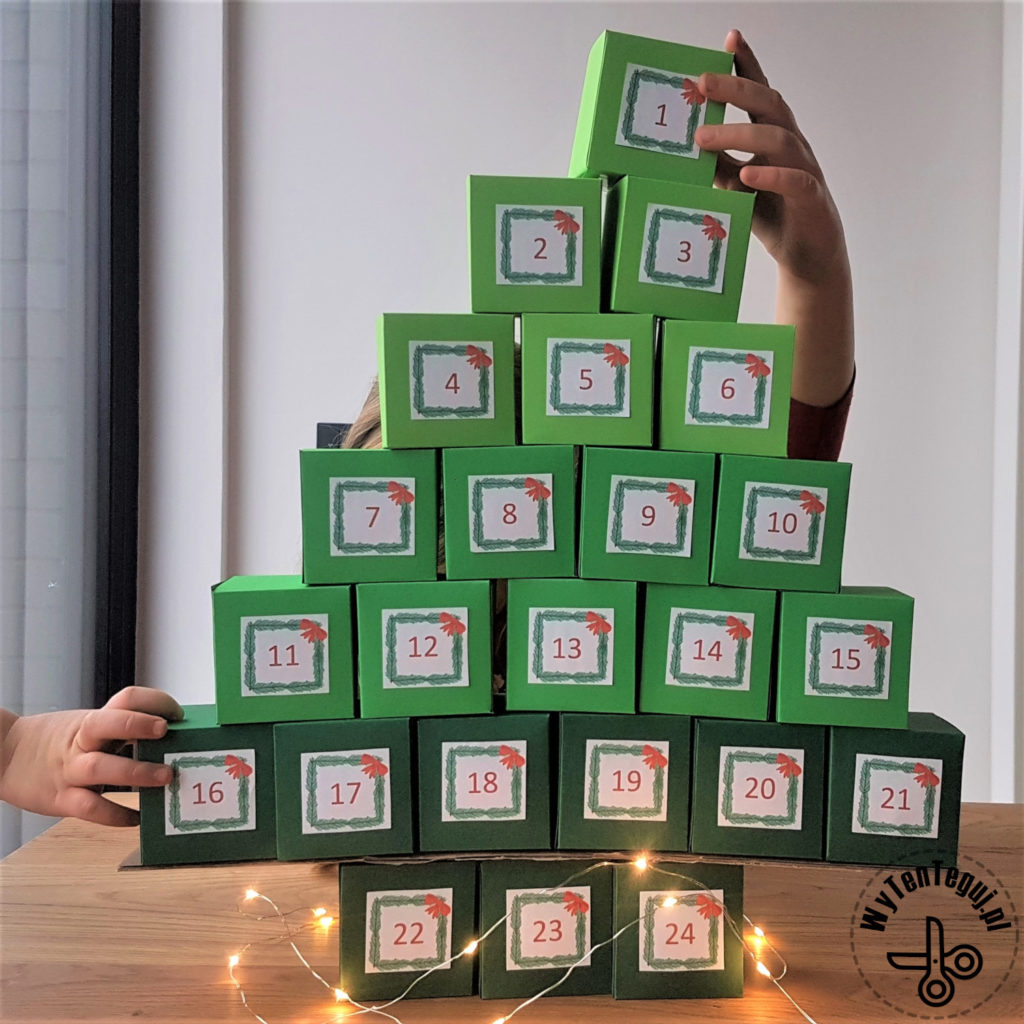
After the paper Christmas tree advent calendar, I sank into the magic of Christmas for good. There was also a lot of cardboard left, so I had to act. The paper Christmas trees were quite laborious, so I wanted to simplify the process a bit. This is how I came up with the idea for the Christmas tree treasure box advent calendar. I figured out the cube template to minimize the number of joints and gluing 🙂
Supplies for Christmas tree treasure box advent calendar
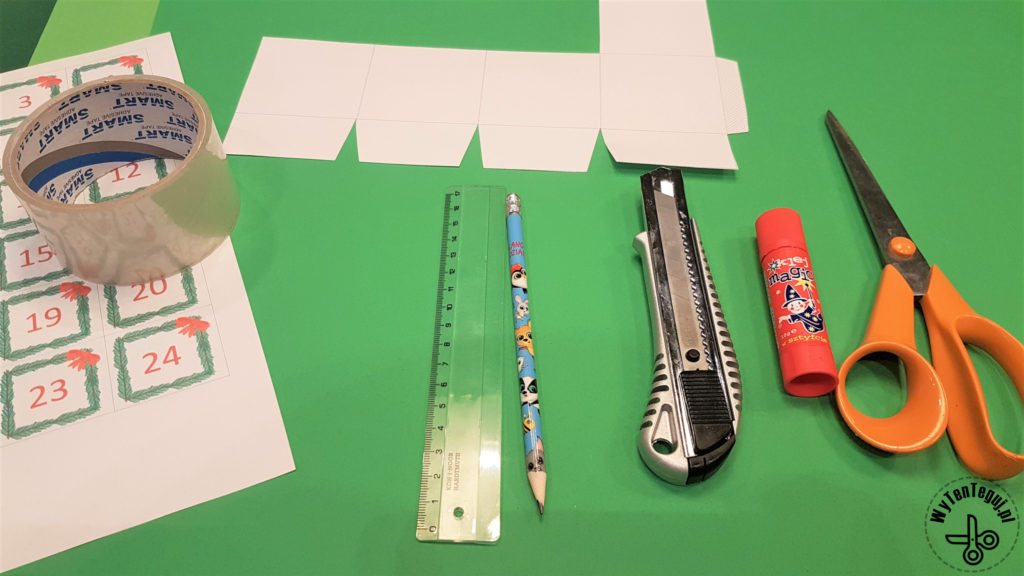
- Cube templates – download below
- Paper or cardboard – I used 3 shades of green, but white is just as good. It is best to buy cardboard in a large sheet (50x70cm), because then there will be less waste.
- Pencil
- Scissors
- Rurel
- Glue and adhesive tape
- Paper knife – delicate cuts at the fold make it much easier to work and fold the cubes.
- Numbers – you can buy sticker sets or use our templates.
Cube-shaped box template
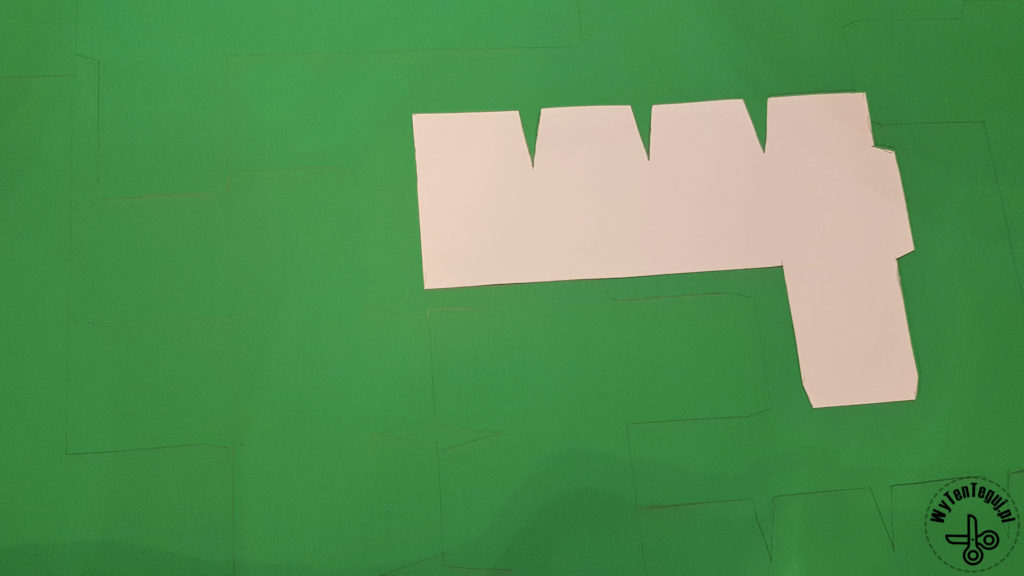
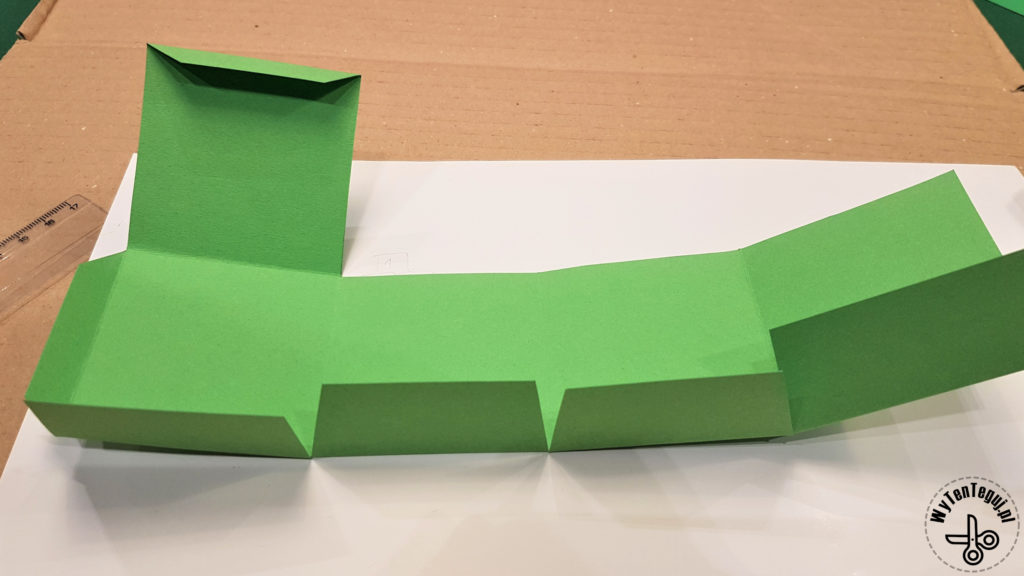
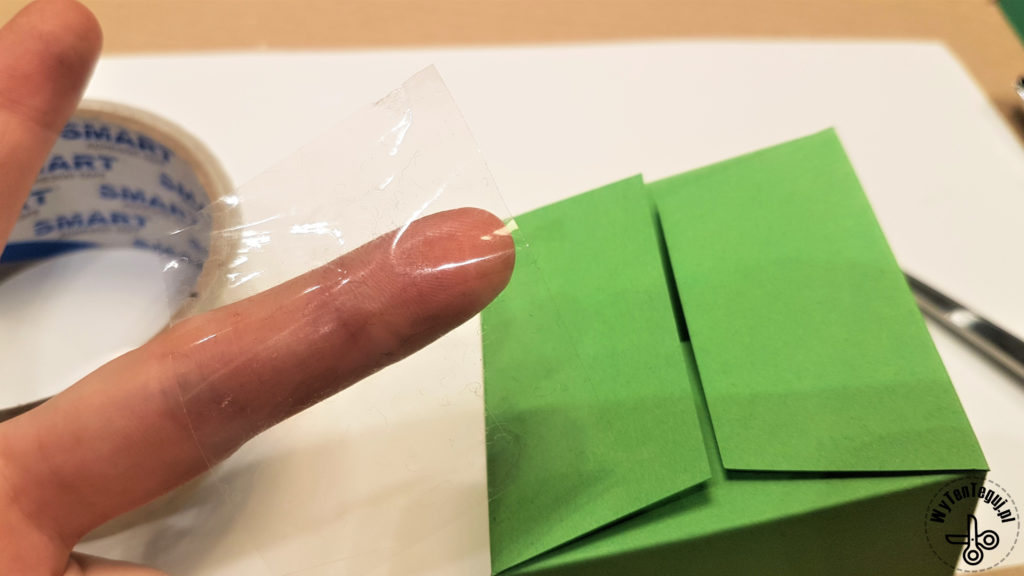
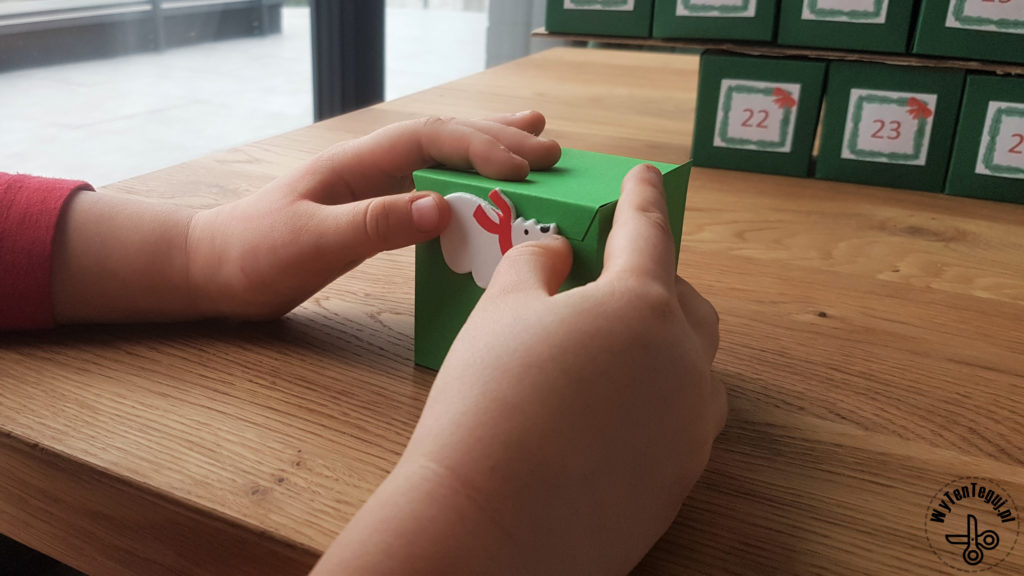
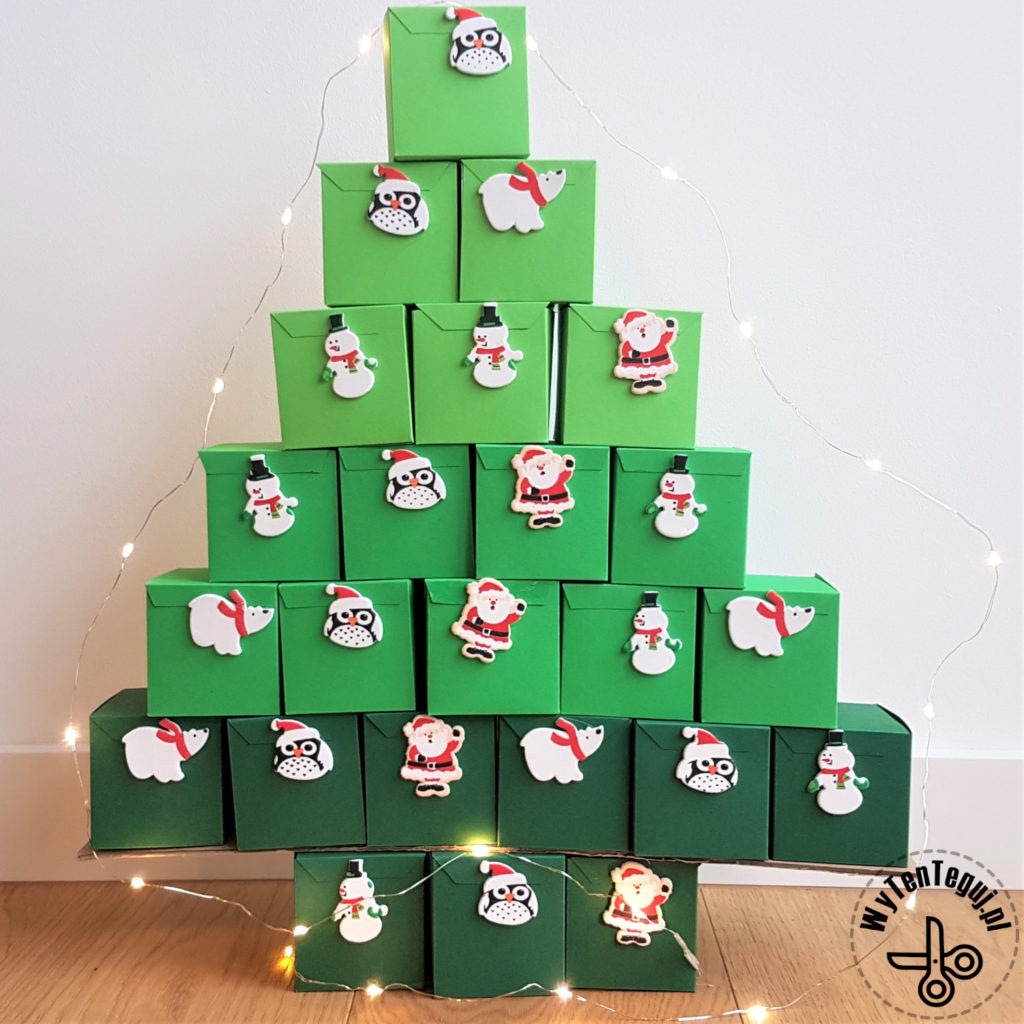
I prepared a cube template so that there were as few joins as possible. The base is made of overlaps, which you just need to catch with adhesive tape. The box closes with one tab, which you can stick or attach with a sticker (that’s what I did with my elves, so the back looks even better than the front 🙂 )
How to make Christmas tree treasure box advent calendar
First choose the colors that you want to work with. I decided on 3 shades of green.
Below I have described all the steps, but the fastest way is to work in batches, i.e. perform each step x24.
- Start by cutting out the printed templates.
- Redraw the template on the cardboard.
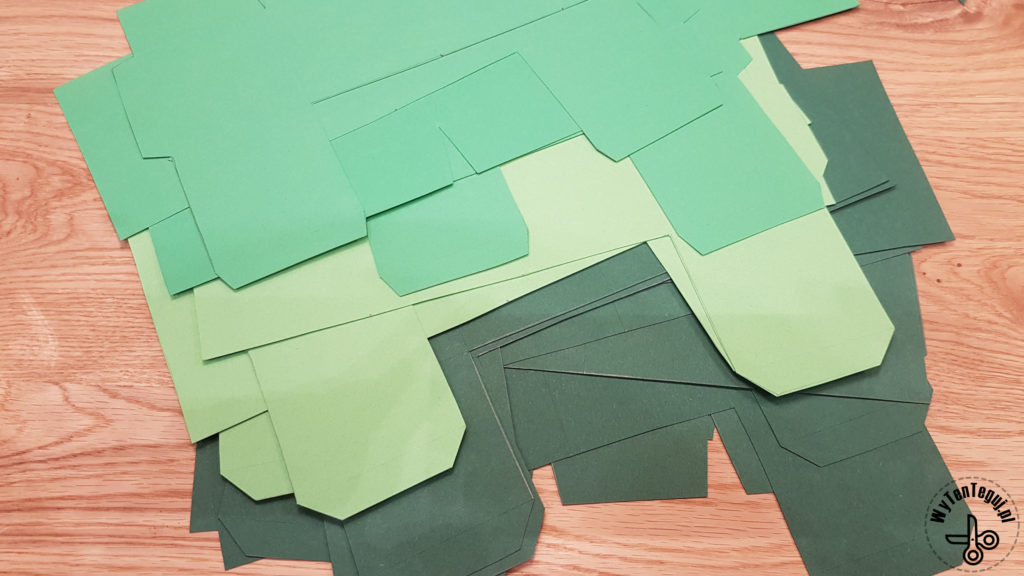
- Cut out.
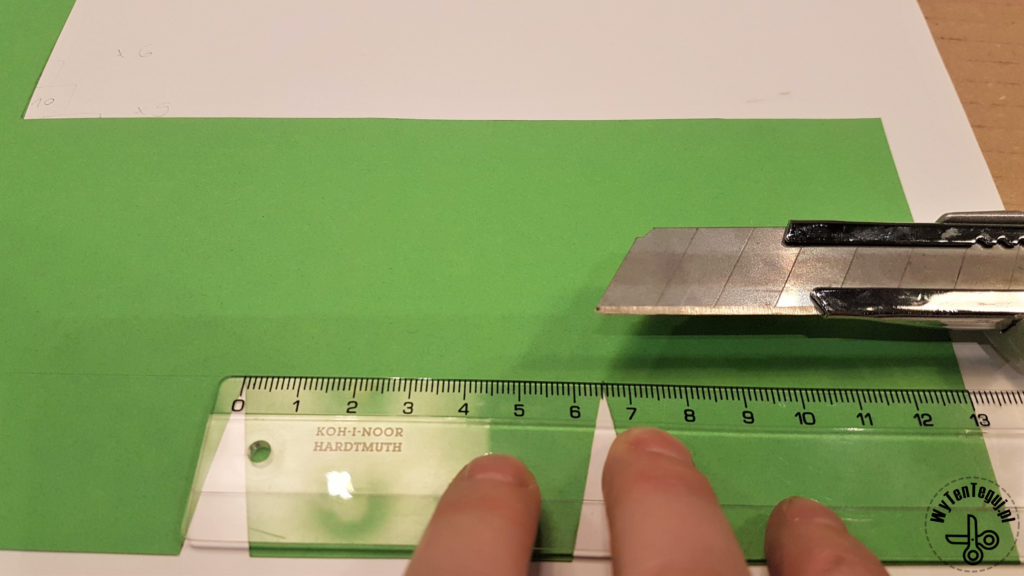
- At the folds, gently cut with a paper knife. This allows the cardboard to fold easily and exactly where it should.
- Fold along the cuts.
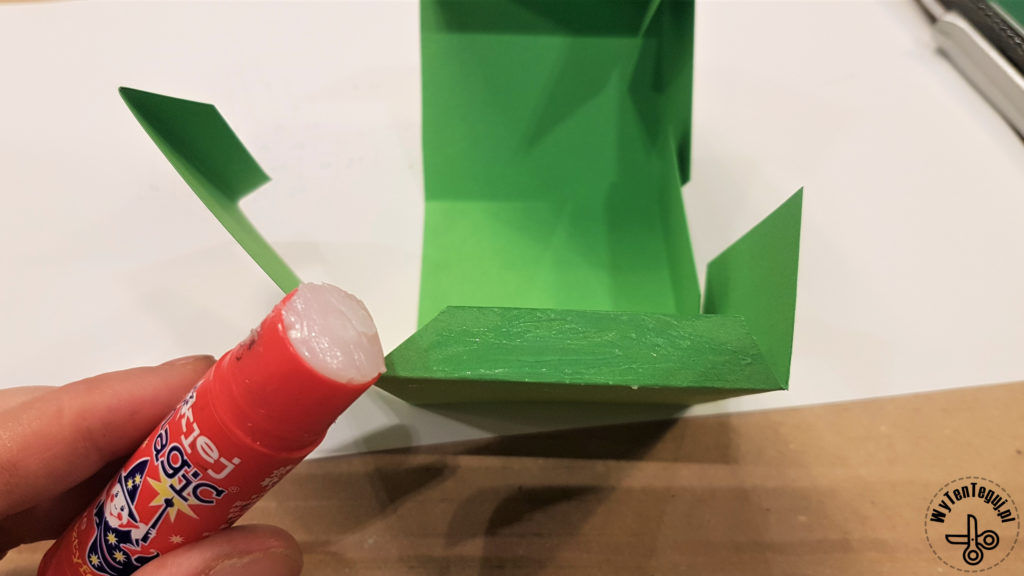
- Glue the box using the
- Put candies or cards with tasks inside.
- Glue the Christmas trees together starting from one side. The other two have to be glued together almost simultaneously, because there is no access later.
- The last step is attaching the numbers. You can use ready stickers or our templates 🙂
It takes about 2-3 hours to make 24 paper cube boxes, but in the end the effect is great 🙂
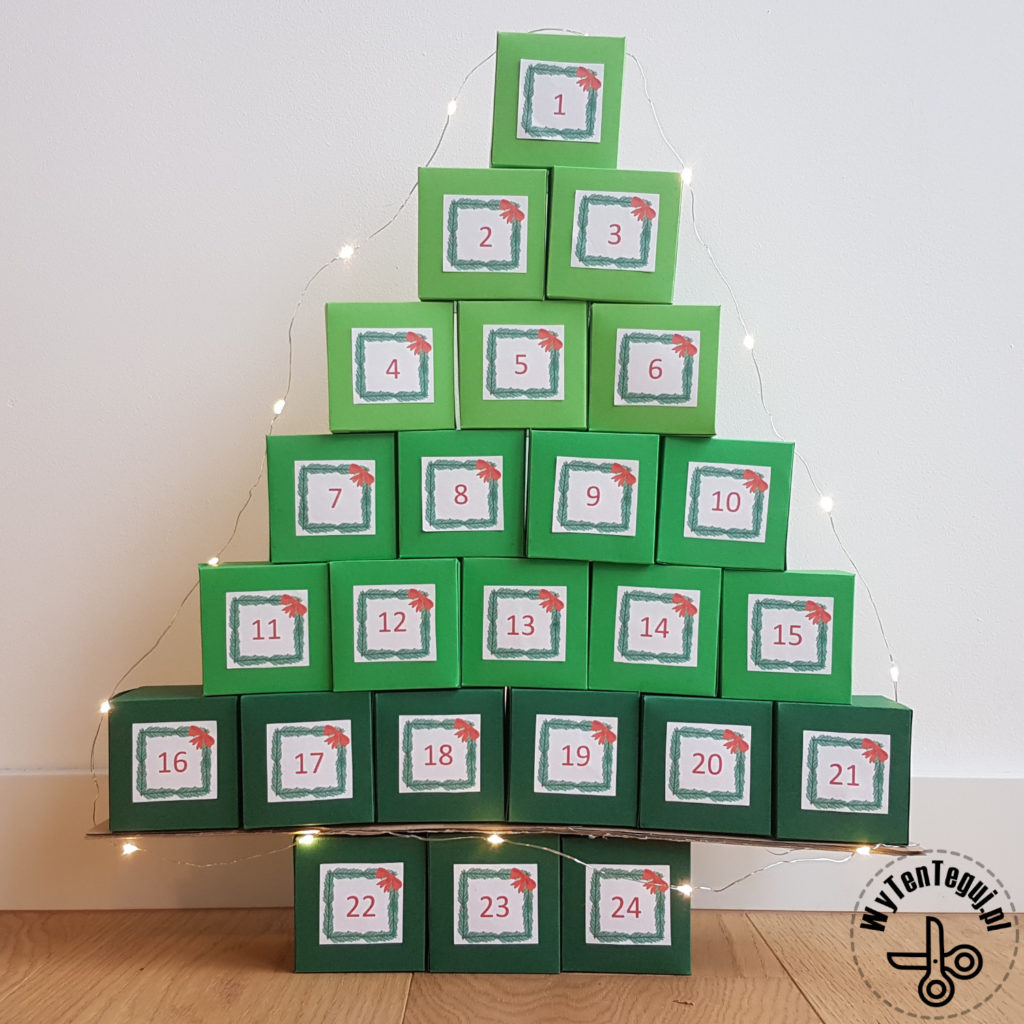
Christmas tree treasure box advent calendar
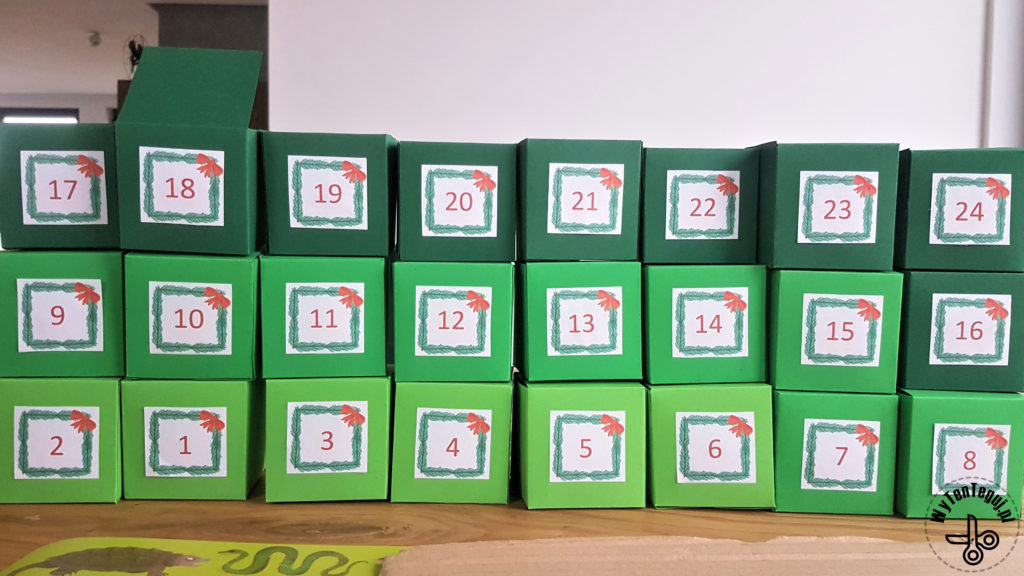
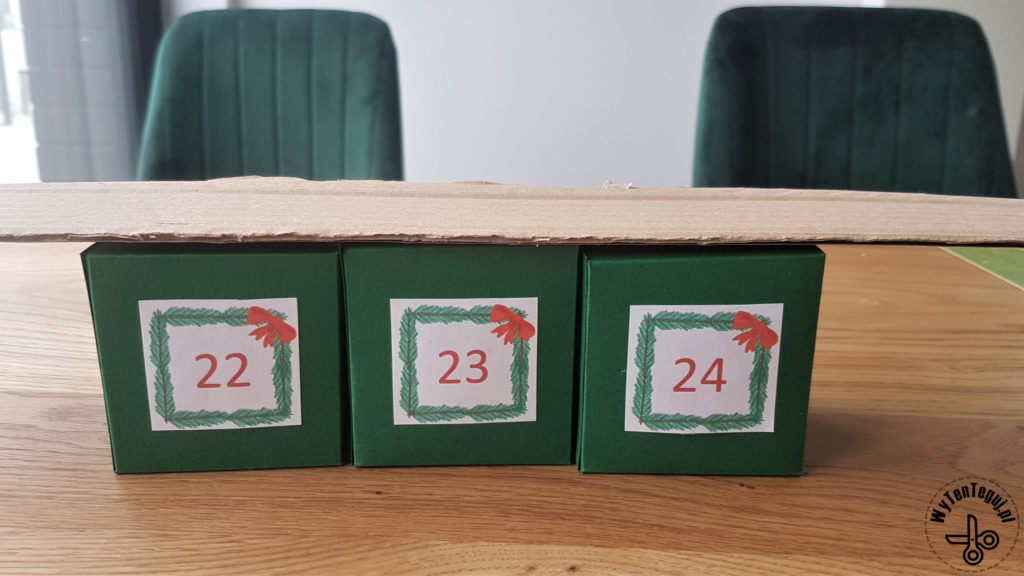
The last thing left is to to arrange 24 boxes into the shape of the Christmas tree. The stump, i.e. the base, is made of 3 boxes. Then you need to put a piece of thick cardboard cut to size of 6 boxes. Place a row of 6 boxes on the cardboard and then the next rows, reducing each by one box.
Advent calendar is ready, so now we are looking forward to December 1st 😉
Check out our ideas
Check our ideas for advent calendars DIY. For sure you will find one for yourself.
If you’re looking for more ideas for Christmas decorations, you’ll find them in the Christmas section.
Follow us in social media
If you want to be up-to-date with our newest posts, like our Facebook fanpage, follow us on Instagram and Pinterest.
Nothing gives more satisfaction than doing something yourself. I haven’t even thought about DIY as my hobby, I’ve just done different “projects” when it was needed. Sometimes it’s a disguise for the Masquerade Party in kindergarten. Another time, cutting out the pumpkin and baking the witch’s fingers for Haloween. Or simply organizing holiday souvenirs. Now I decided to share my realizations with you. Let’s go it together!
