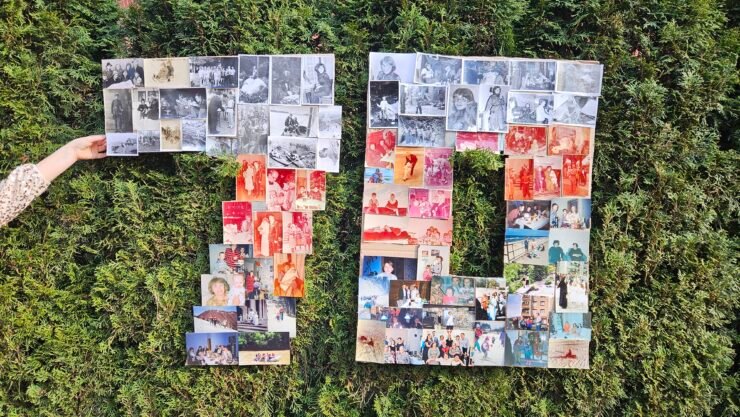
DIY photo numbers are a creative decoration idea and a sentimental keepsake for a birthday or family anniversary. That’s exactly how we made our giant number 70 for Mum’s 70th birthday. ❤️
The idea was simple: large cardboard numbers covered with family photos – from pictures taken many years ago, through family celebrations and holiday trips, to more recent moments. Every photo tells a different story, and together they capture a wonderful piece of family history!
It all started with going through old photo albums. “What about this one?”, “Do you remember where that was?”, “And who’s standing next to her?” Choosing the pictures took some time, but it also brought back lots of memories and laughter.
Once we had selected the photos, there was another challenge: finding a piece of cardboard big enough! Our numbers were going to be about one metre tall, so an ordinary piece of cardboard simply wouldn’t do. 😁
The final result? A decoration that quickly became one of the highlights of the party. Guests enjoyed looking through the pictures, trying to spot themselves and guessing who else had made it onto the numbers. There was plenty of laughter and lots of lovely memories to share!
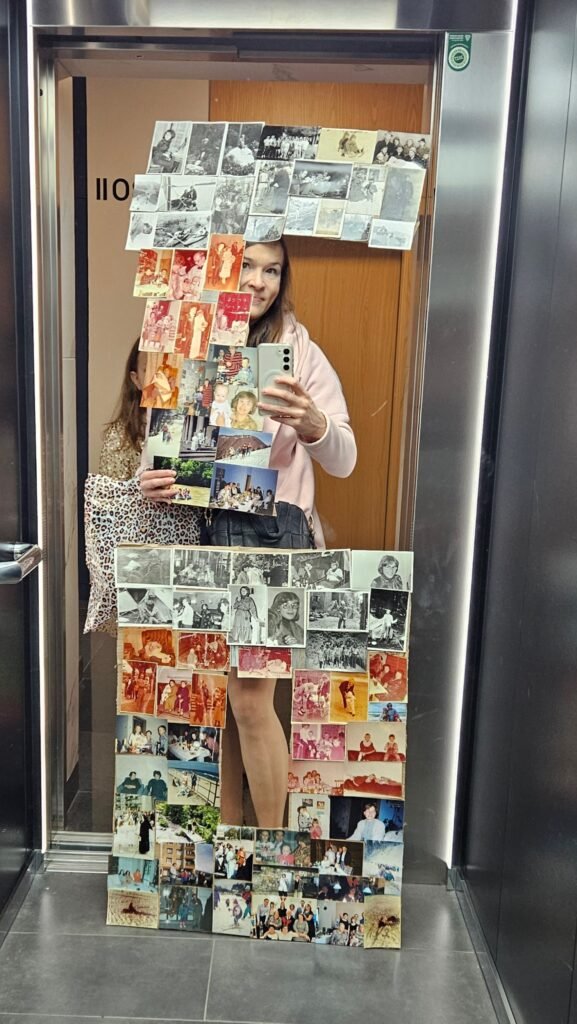
What You Need to Make Giant Photo Numbers
You only need a few simple materials to create this DIY birthday decoration:
- One large, sturdy piece of cardboard – preferably big enough to cut out the numbers without joining several smaller pieces
- Family photos in different sizes
- Scissors
- Paper glue
How to Make Giant Photo Numbers – Step by Step
Step 1. Choose Your Photos and Plan the Design
Start by going through your family photo albums and choosing pictures you’d like to include. Mix photos from different stages of life: family gatherings, holidays, celebrations, funny moments and everyday snapshots.
Don’t worry about making everything look perfect. A mixture of portraits, group photos and candid shots will make your numbers even more interesting. Different photo sizes and formats are welcome!
Step 2. Prepare the Cardboard and Cut Out the Numbers
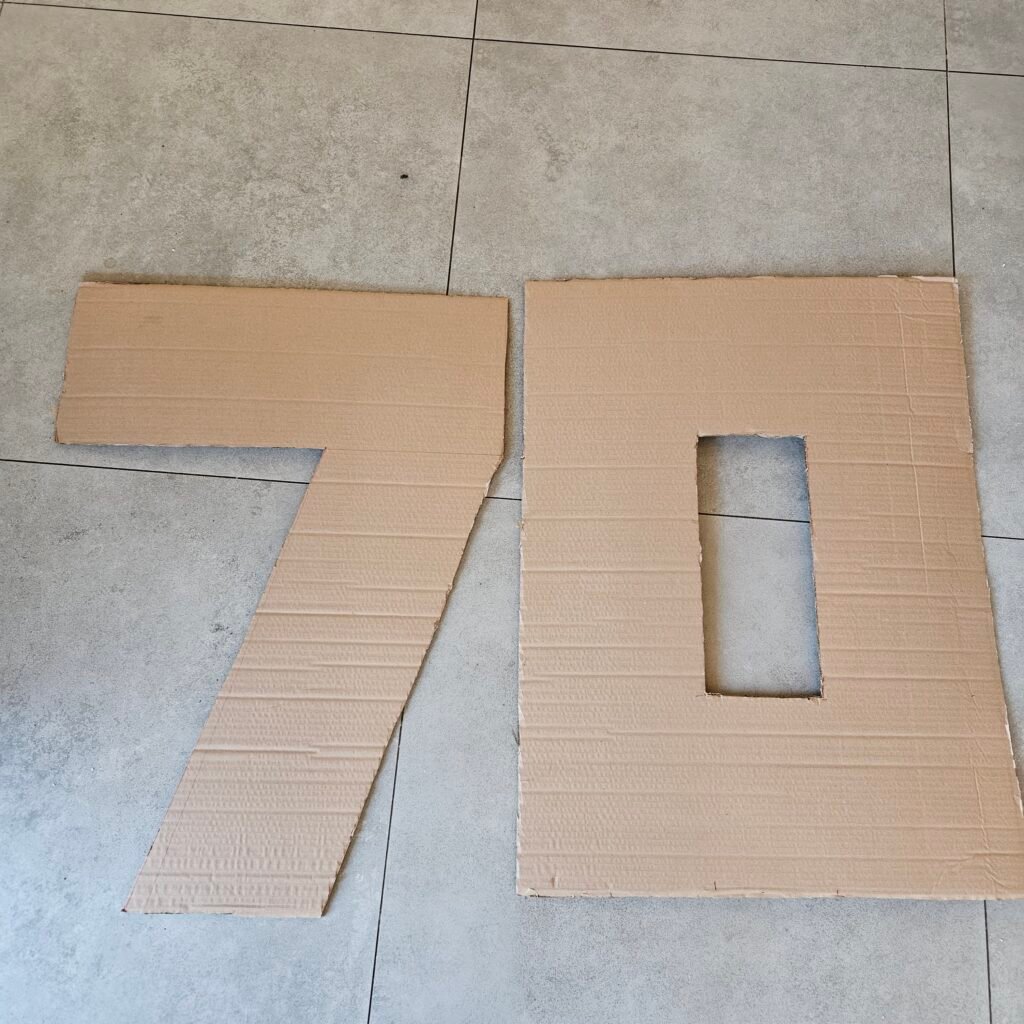
Choose a large, sturdy piece of cardboard. We made our numbers approximately 100 cm tall, so they would really stand out as party decorations.
Draw the numbers on the cardboard, making sure they are wide enough to fit your photos. Then carefully cut them out with scissors.
Step 3. Arrange the Photos
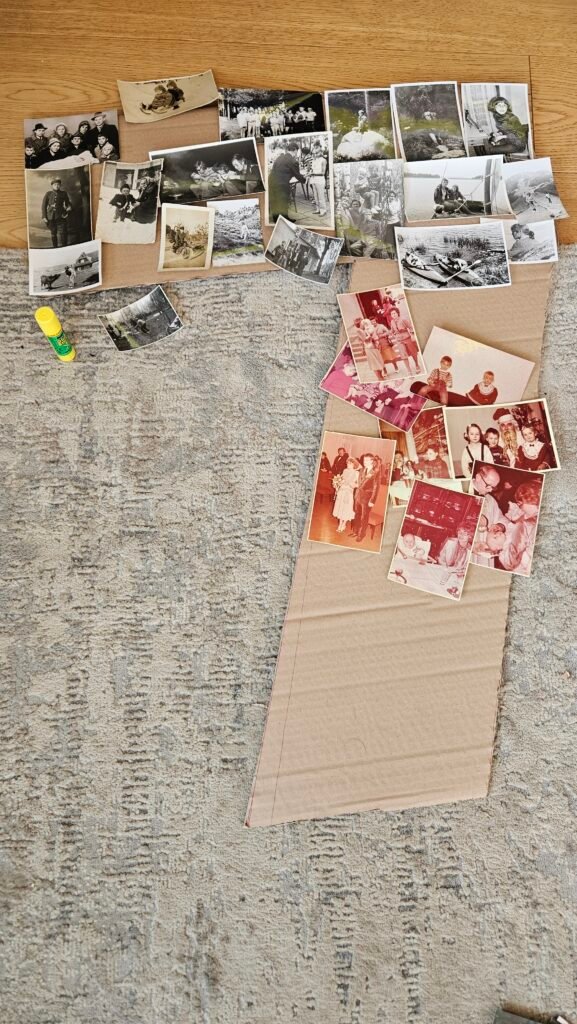
Before reaching for the glue, arrange all the photos on the cardboard numbers. Move them around, try different combinations and see what works best.
Pay attention to faces and important details – you don’t want anyone’s head accidentally hidden or cut off! 😁
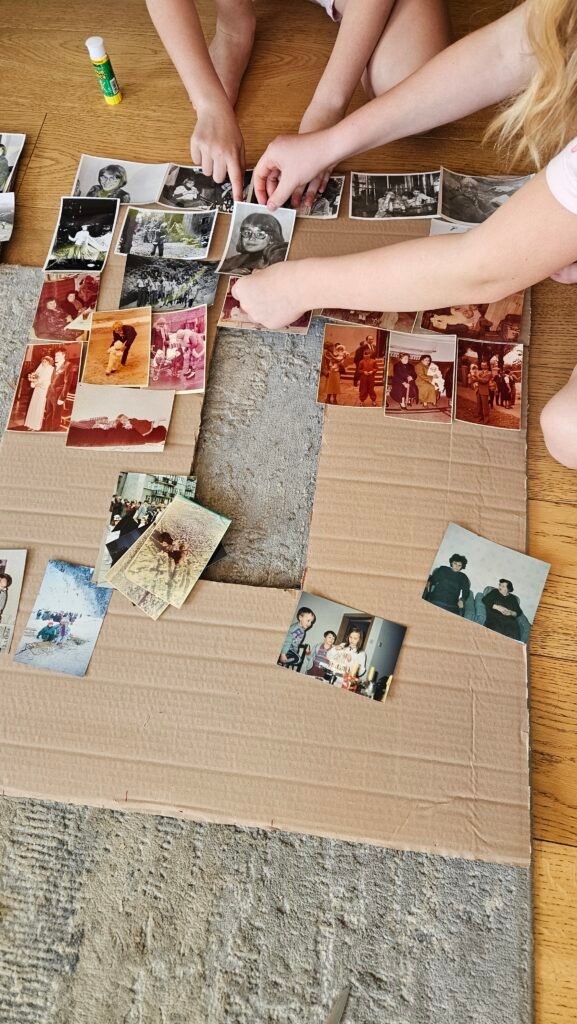
Step 4. Glue the Photos in Place
Once you’re happy with the layout, start gluing the photos onto the cardboard. It’s a good idea to begin with the larger pictures and use smaller ones to fill in the gaps.
Take your time and make sure the edges and corners are firmly glued down. A little patience at this stage makes all the difference!
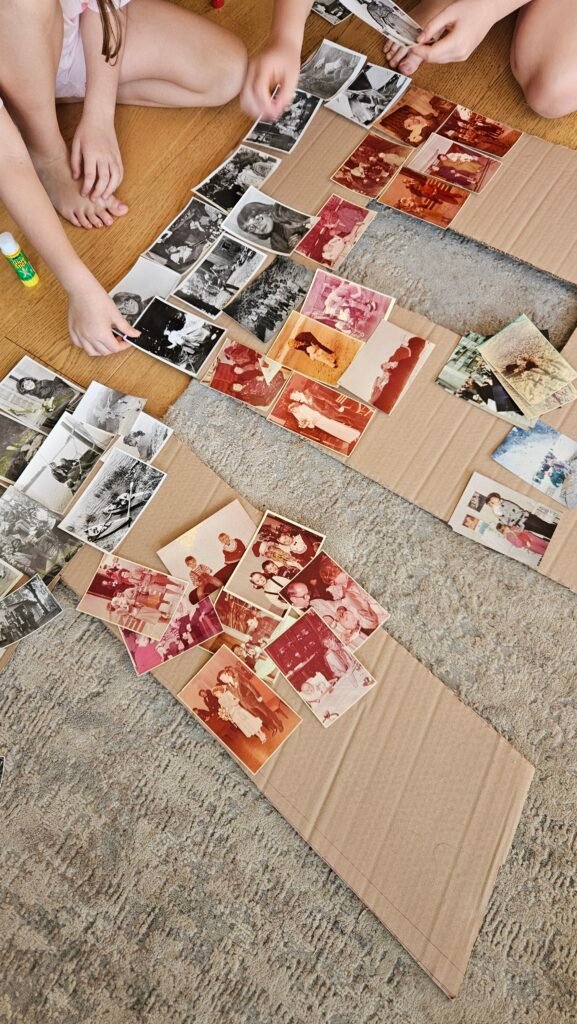
Step 5. Display Your Photo Numbers and Enjoy the Memories!
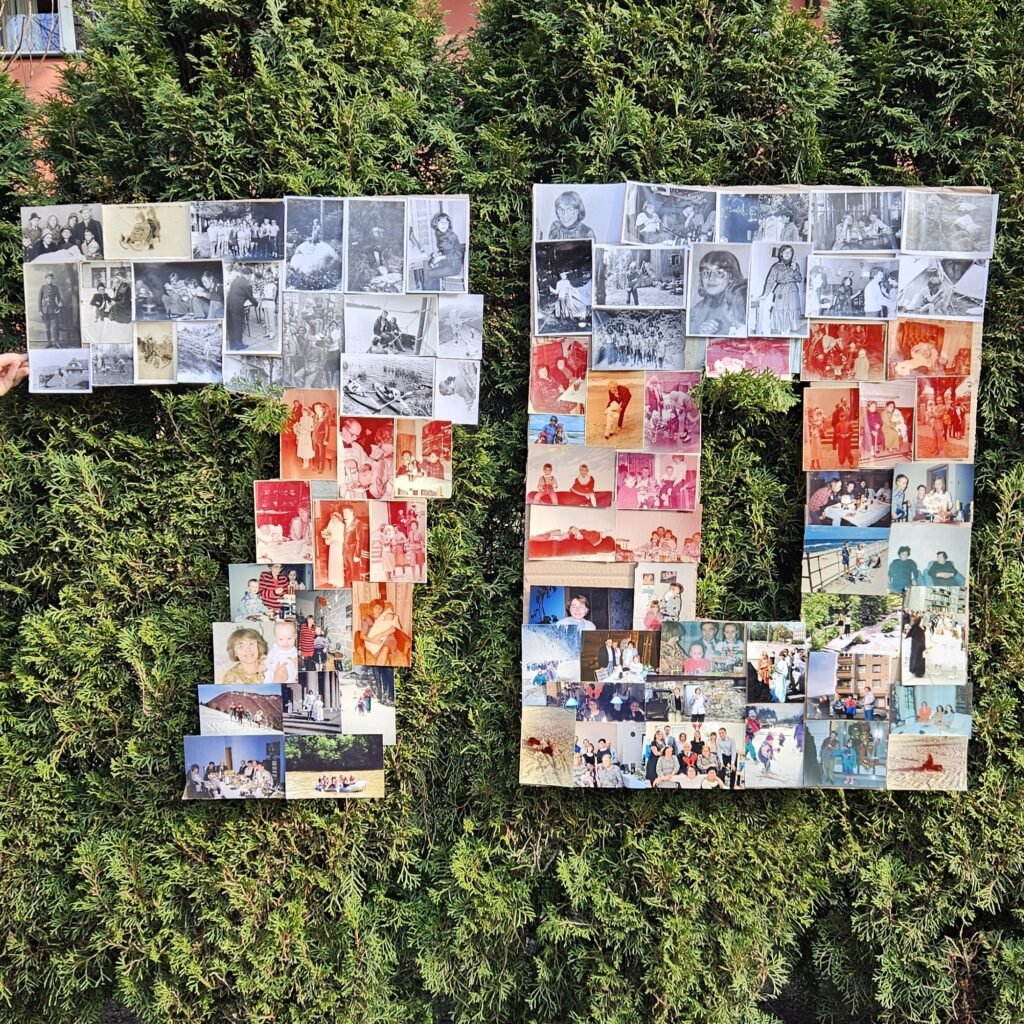
And there you have it – giant photo numbers ready to become a special part of your celebration!
We displayed our number 70 at Mum’s birthday party, and it turned out to be a real hit. Guests kept looking at the photos, trying to find themselves and guessing who appeared in each picture. It was a lovely way to bring everyone together and reminisce about old times. ❤️
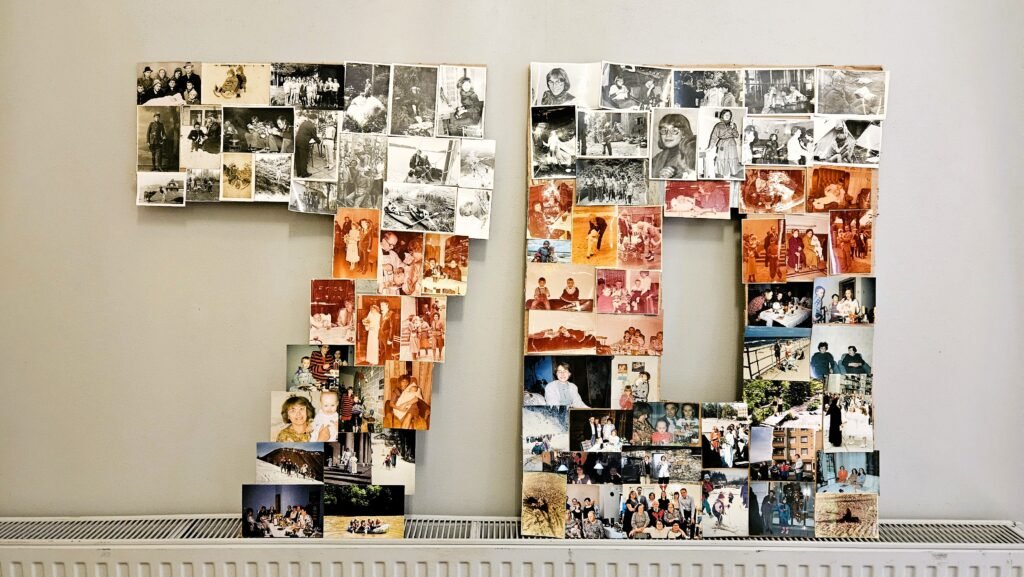
When Can You Make DIY Photo Numbers?
Photo numbers are a lovely decoration idea for many special occasions, not just a 70th birthday!
You can make them for:
- 18th, 30th, 40th, 50th or 60th birthdays
- 70th, 80th or 90th birthday celebrations
- Wedding anniversaries
- Family reunions and other milestone celebrations
You can use the same idea for any age or anniversary – simply choose the right numbers and fill them with photos that tell your story.
FAQ – DIY Photo Numbers
How do you make photo numbers for a birthday?
Cut large numbers out of sturdy cardboard, arrange family photos on their surface and glue them in place. Choose pictures from different years and occasions to create a personal decoration full of memories.
What type of cardboard should you use for large photo numbers?
Use a large, sturdy piece of cardboard that can support the photos and keep its shape. If possible, choose one piece large enough to cut out the numbers without joining several smaller pieces.
How big should photo numbers be?
It depends on where you plan to display them. Our numbers were approximately 100 cm tall, which made them eye-catching decorations for a birthday party.
What occasions are photo numbers suitable for?
They work especially well for milestone birthdays, such as 18th, 30th, 40th, 50th, 60th or 70th birthdays, as well as wedding anniversaries and other family celebrations.
Check out our ideas
🌼Other ideas for spring and summer crafts can be found in the Spring and Summer sections.
🎁 If you look for more DIY cards ideas check our Cards section.
✨ If you are looking for more creative activities for kids check our DIY with kids section.
Follow us in social media
f you want to be up-to-date with our newest posts, like our Facebook fanpage, follow us on Instagram, Pinterest and YouTube.

Nothing gives more satisfaction than doing something yourself. I haven’t even thought about DIY as my hobby, I’ve just done different “projects” when it was needed. Sometimes it’s a disguise for the Masquerade Party in kindergarten. Another time, cutting out the pumpkin and baking the witch’s fingers for Haloween. Or simply organizing holiday souvenirs. Now I decided to share my realizations with you. Let’s go it together!
