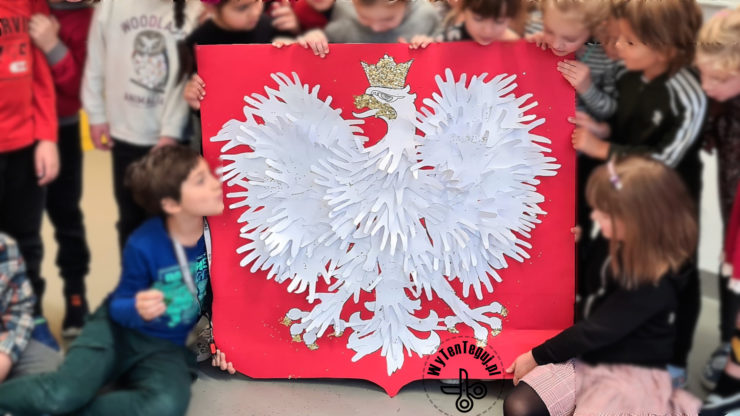
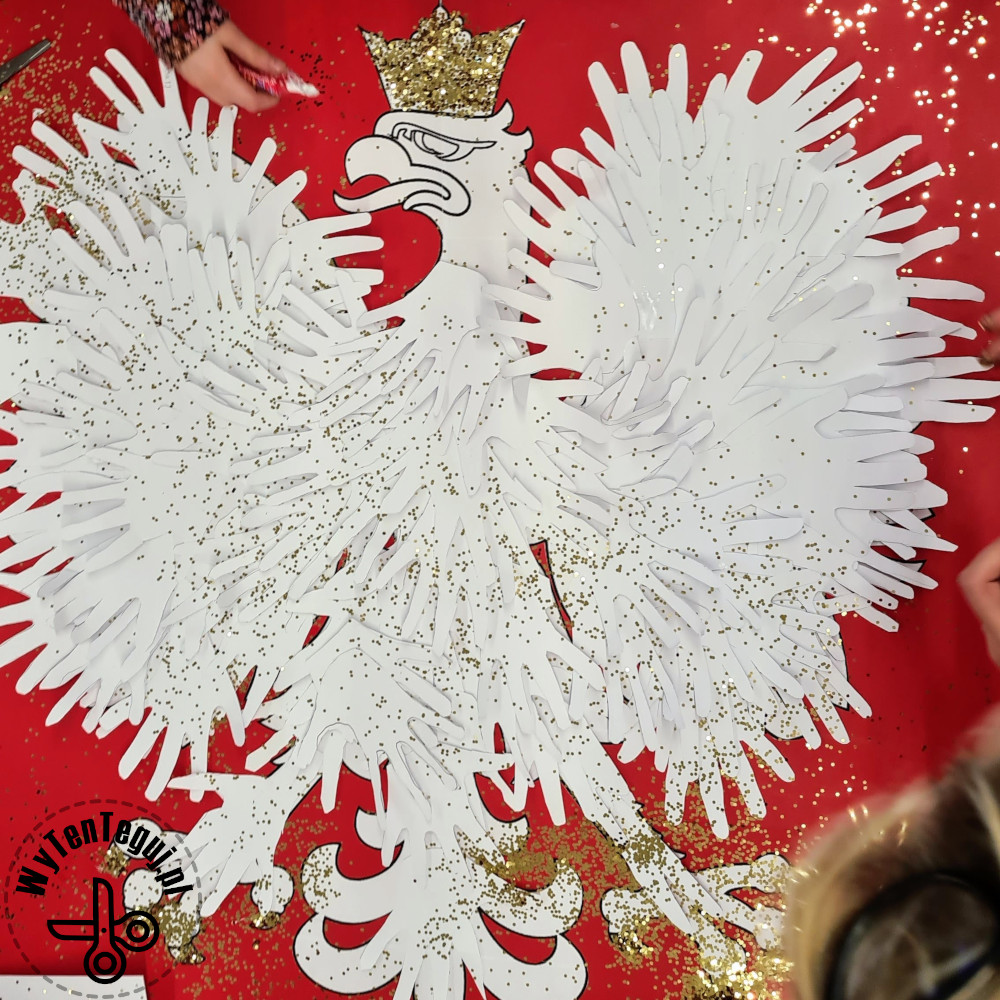
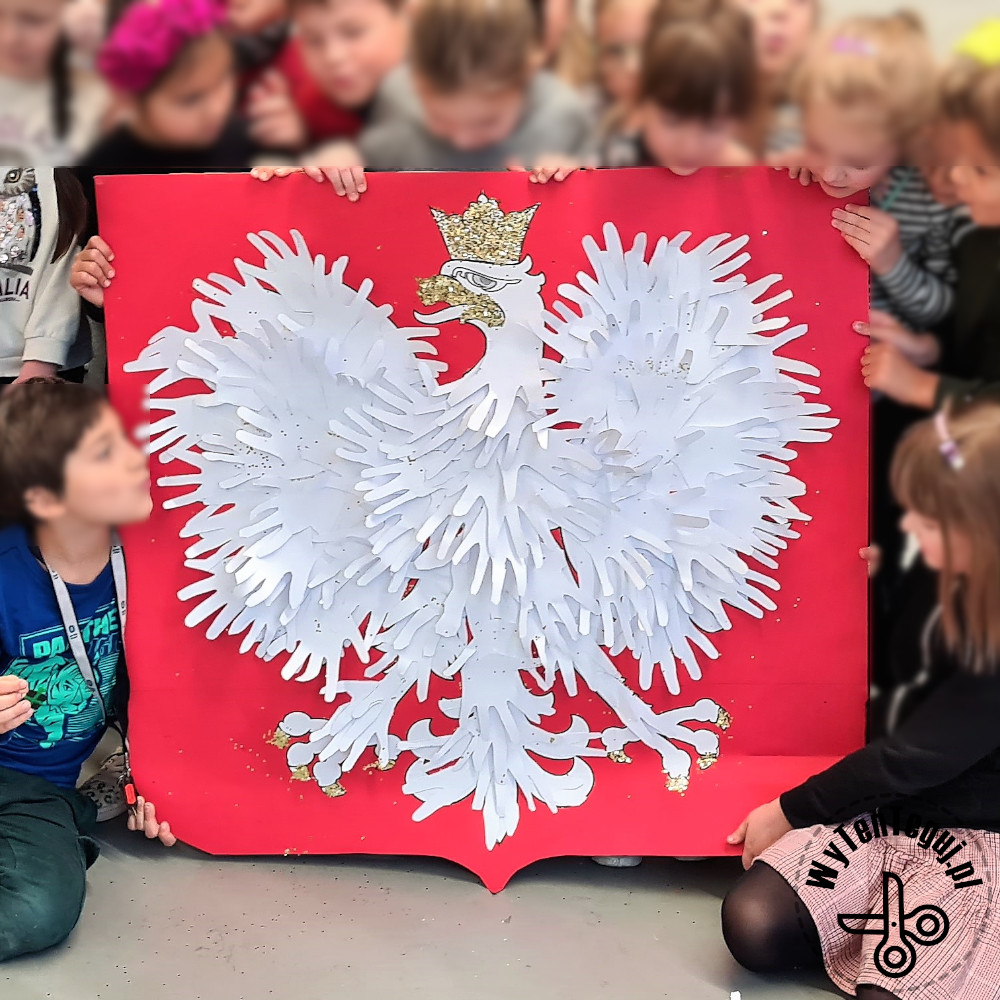
Competitions at school are booming, but this time it’s a class competition for a change. The idea was to create an eagle so that all children could participate in the work. We already had some experience with the handprint flower, so we went to well-known areas and this is how the handprint eagle was created.
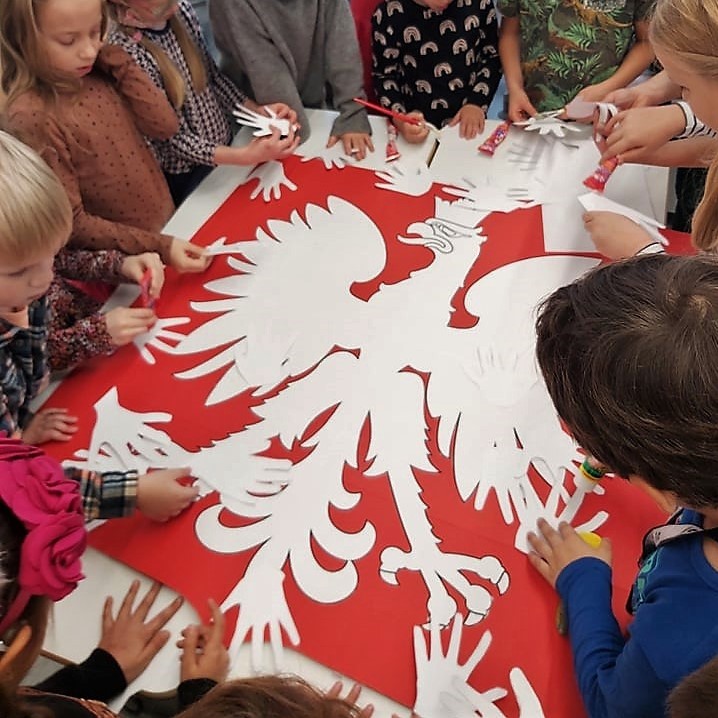
Initially, I thought that preparing a meter-high emblem was a challenge. But working together with a whole class of children is a completely different level. Hands are flying, glue is pouring, and glitter is everywhere 😁
On the other hand, the effect and the proud faces of the kids presenting the work are priceless and worthwhile 🥰
![]() Polska wersja: Orzeł z dłoni, czyli grupowa praca plastyczna
Polska wersja: Orzeł z dłoni, czyli grupowa praca plastyczna
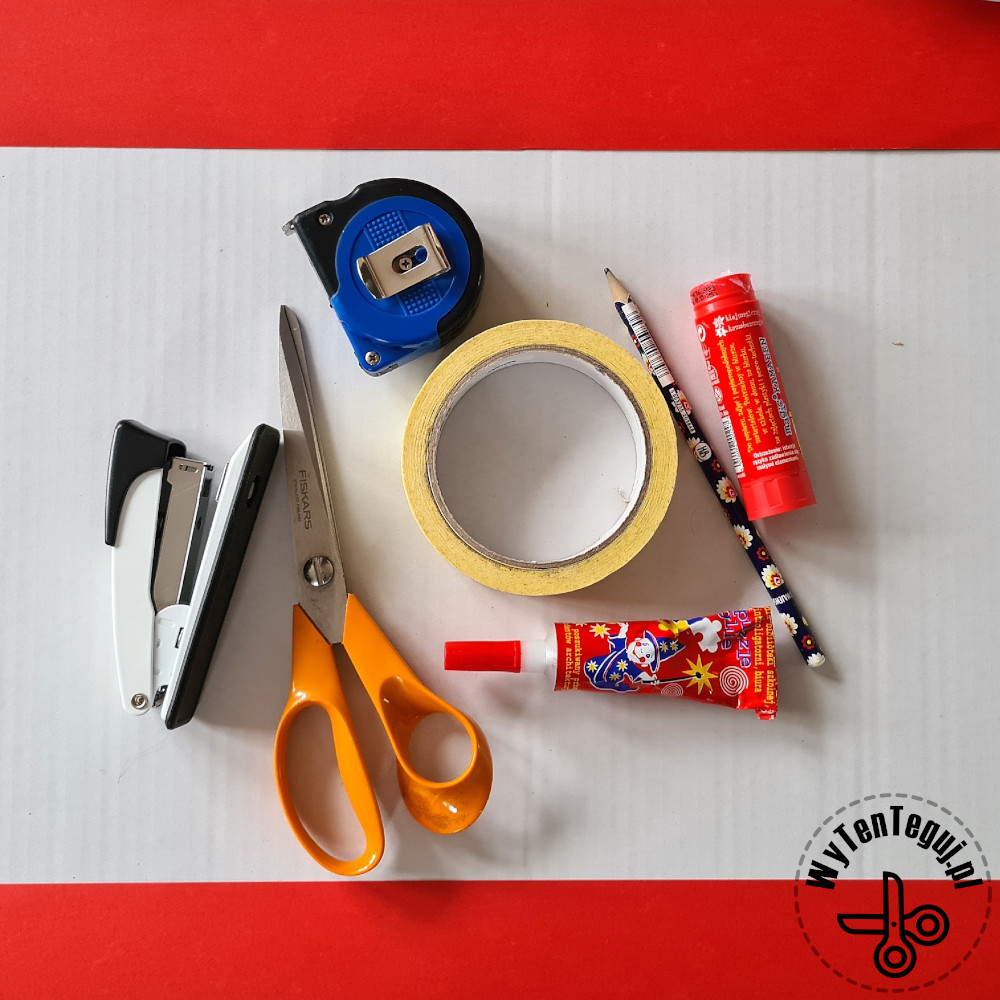
Materials needed to make a one-meter emblem with a hand eagle
Materials for a meter emblem
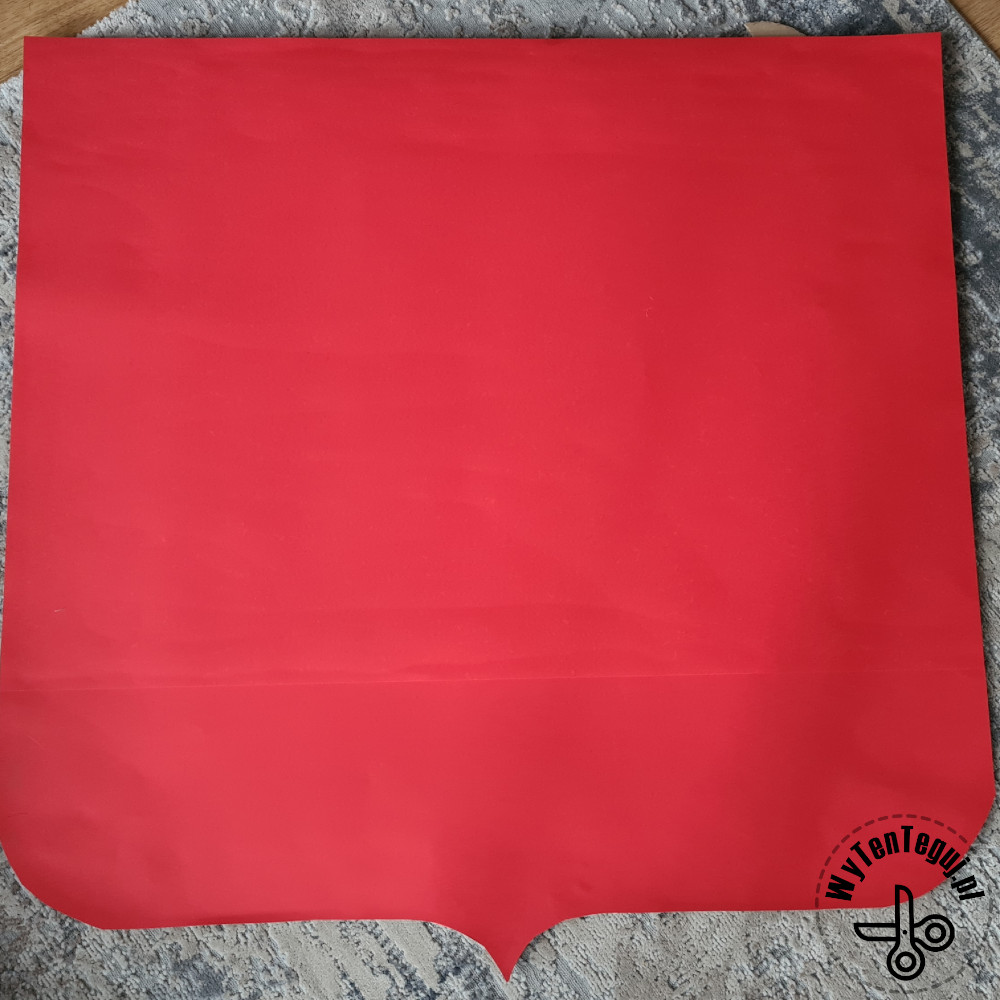
- Thick cardboard 1m x 1m – such a large box would make your work much easier. I was a bit tired of putting together the smaller pieces.
- Red cardboard – the largest I found was 70x100cm, so I used two for an area of 1m x 1m
- Scissors
- Glue
- Printed eagle template
- Measure
- Pencil
- Stapler – optional if you will combine cardboards
- A4 technical blocks – 2 sheets for each child, so they can cut 4 hands
- Pencils – for each child
- Scissors – for each child
- Paper glue and Magic, a few pieces, because the work is parallel and very dynamic 😉
- Gold glitter – I’m not a fan because it’s literally everywhere, but it looks great and the kids have a lot of fun. Instead of glitter, you can use gold paper, glittery self-adhesive paper, gold creased tissue paper or gold creative wires.
How to make big emblem?
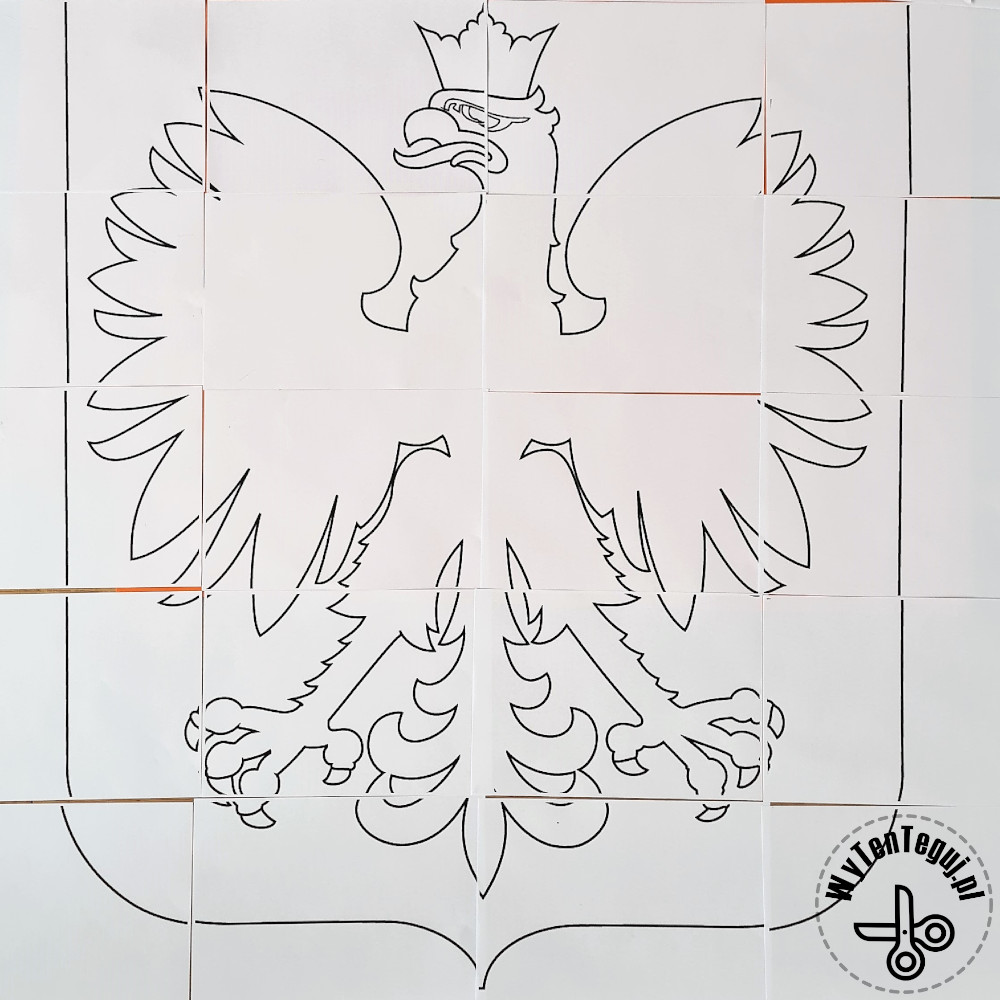
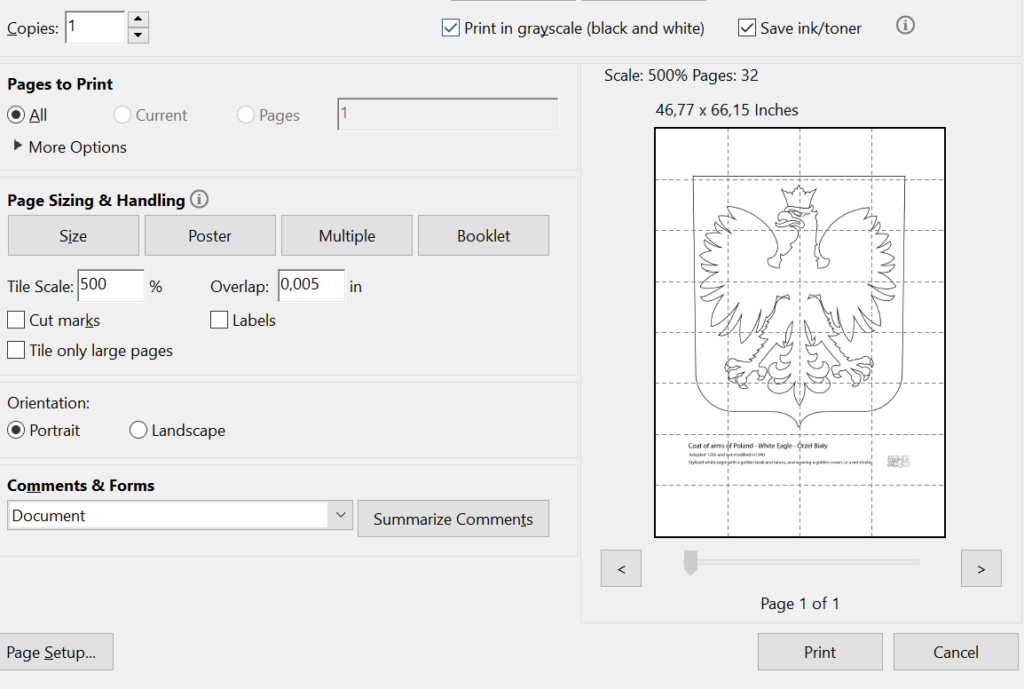
Preparing an emblem template is the first step. Ideally, if you have the option to print in large format. If you only have an office printer, nothing is lost. A printout from PDF allows you to print a poster consisting of several sheets. That’s what I did using this coloring page.
Tip! The first 8 sheets from the bottom and the last 4 from the top are not needed, so you can save paper and reinsert them into the printer several times.
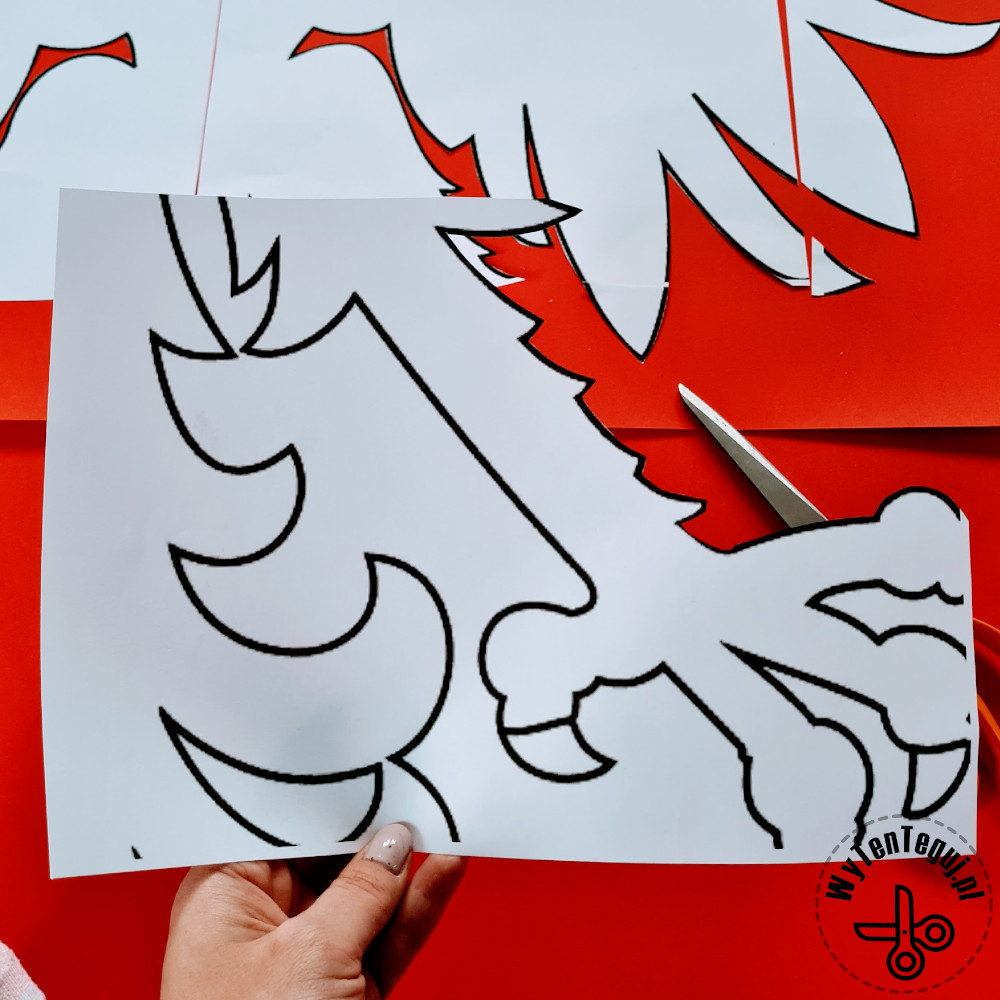
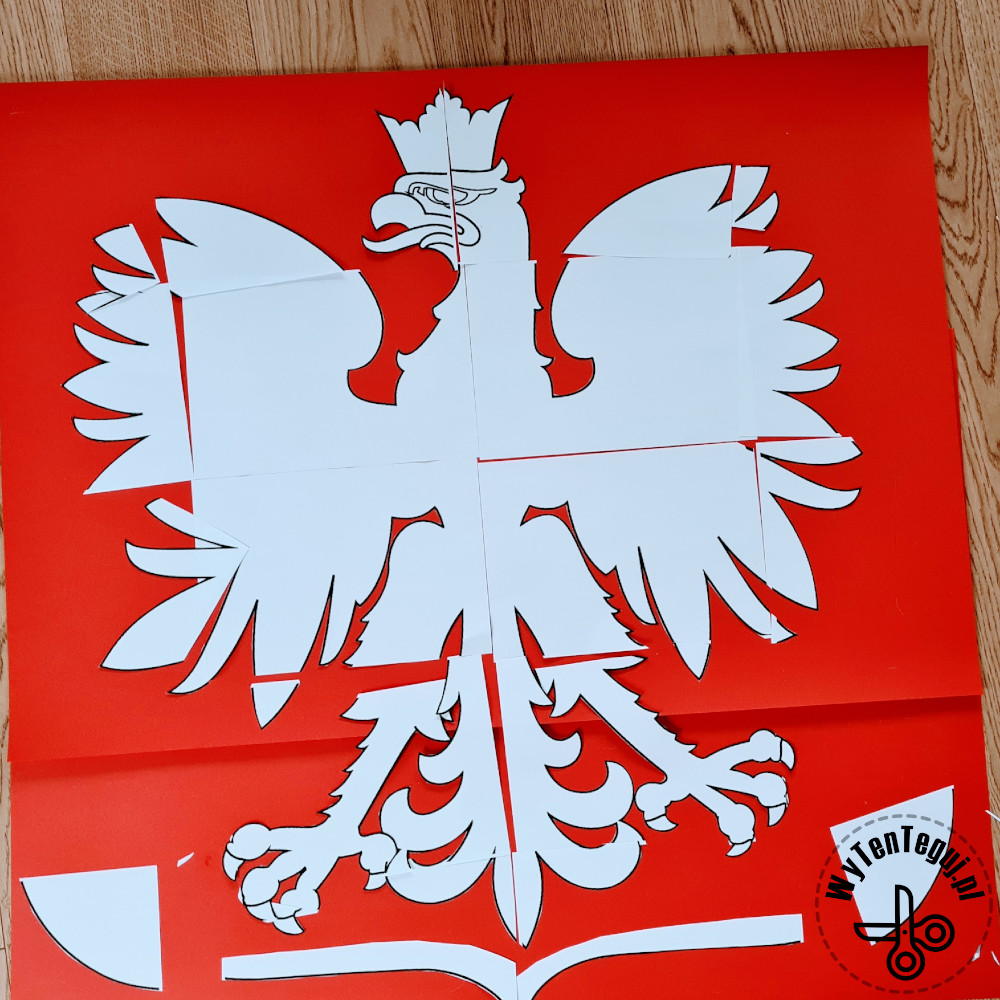
The next step is to cut the eagle shapes and glue them together. Then prepare the shape of the emblem from the cardboard box and the colored cardboard. Finally, stick the eagle on the emblem.
Making of handprint eagle together with children
Some of the hands were prepared by the children at home, and the rest were cut out in the classroom.
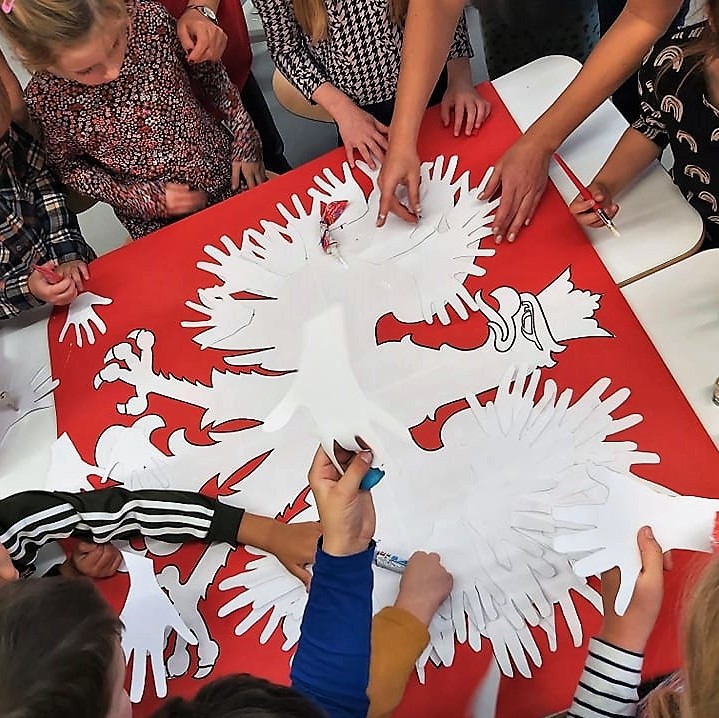
We started sticking our hands from the wings, going towards the body. Then from the legs to the neck. Children stick very quickly, so you have to be vigilant and level things up sometimes 🙂
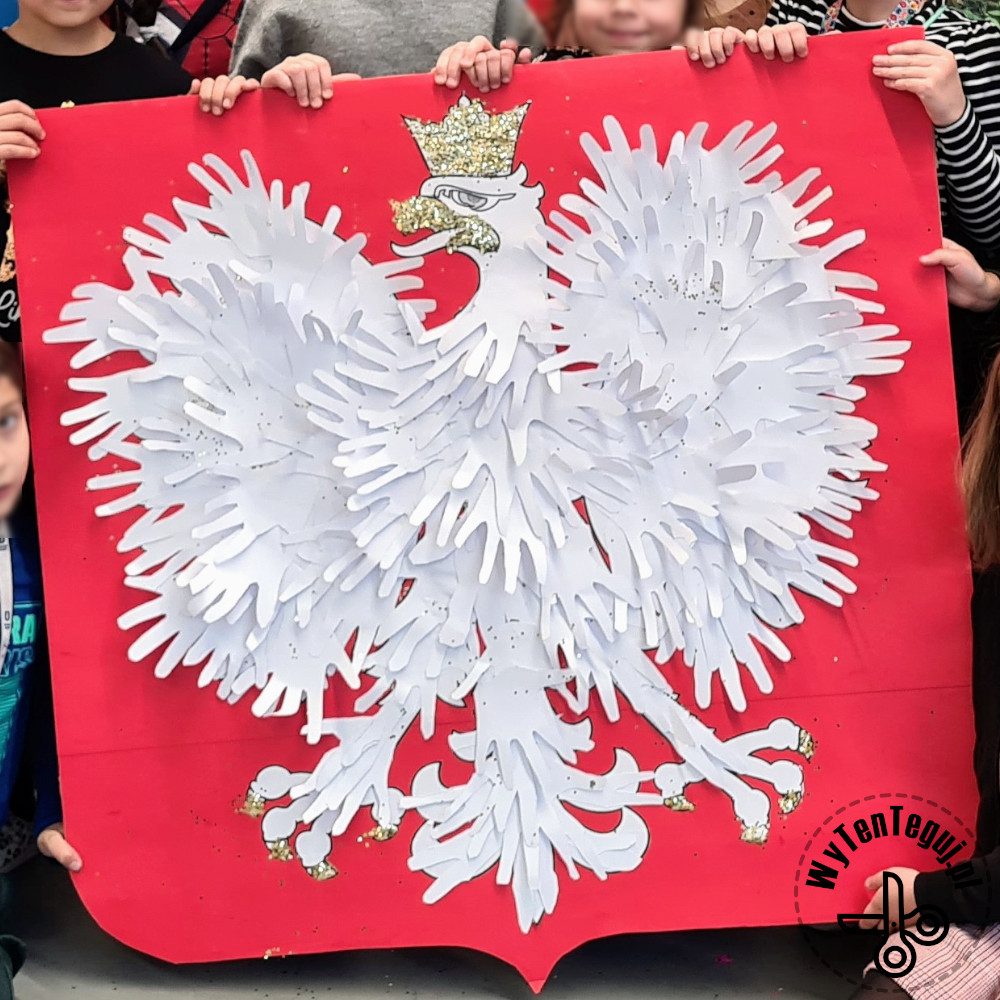
Apply glue only to the edge of your hand so that the fingers that look like feathers can easily stand out. Thanks to this, we will obtain a 3D effect.
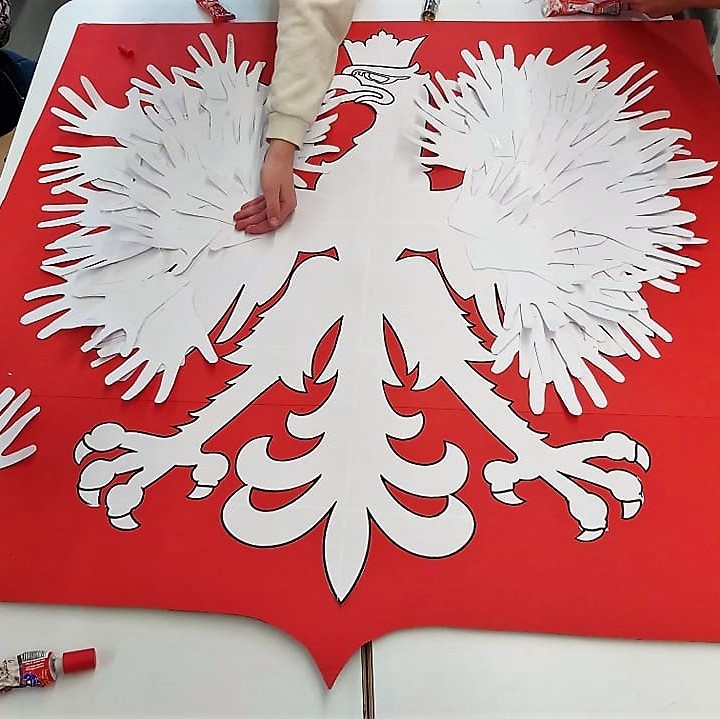
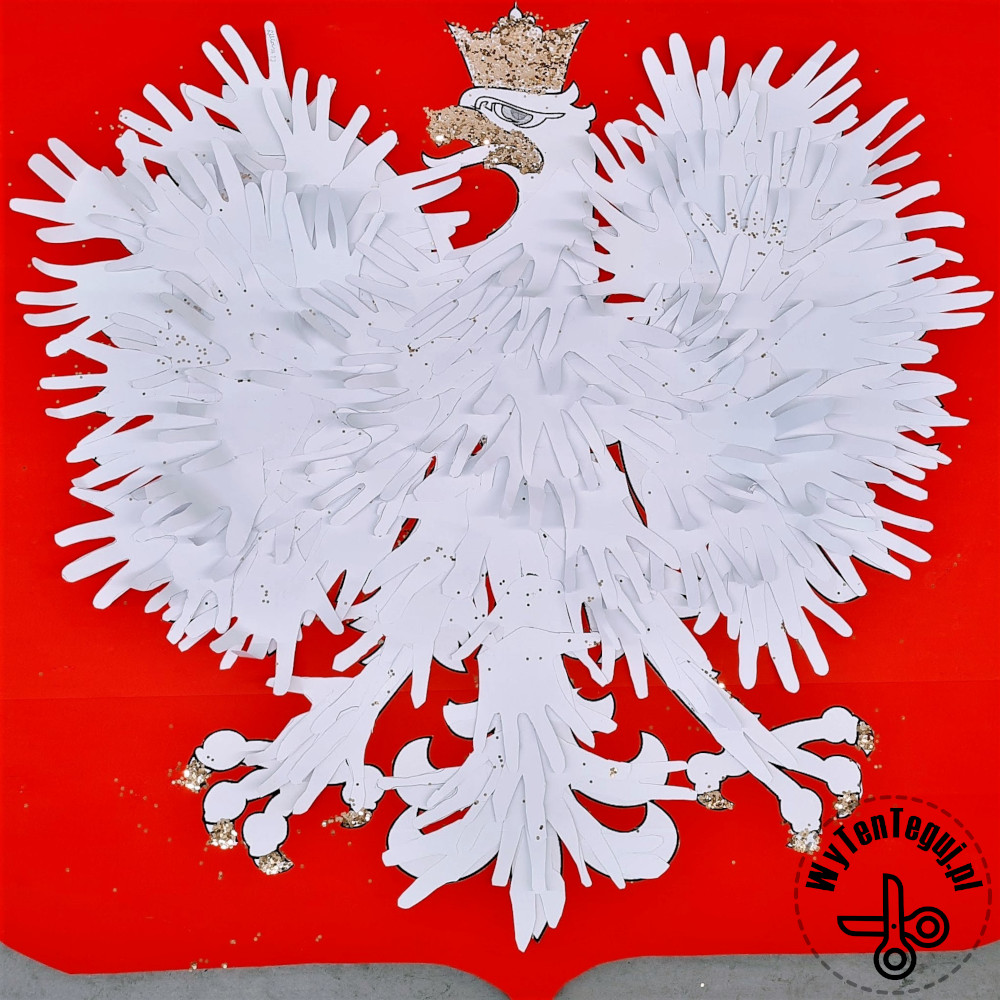
We treated the crown, beak and claws with glitter. I have mixed feelings about glitter. On the one hand, it looks beautiful, but on the other hand, it made a huge mess. Instead of glitter, you can use gold paper, glitter adhesive paper, gold tissue paper or gold creative wires.
Handprint eagle made jointly by the whole class 🙂
Check out our ideas
You can find more ideas for creative time with children in the DIY with children section.
Follow us in social media
If you want to be up-to-date with our newest posts, like our Facebook fanpage, follow us on Instagram and Pinterest.
Nothing gives more satisfaction than doing something yourself. I haven’t even thought about DIY as my hobby, I’ve just done different “projects” when it was needed. Sometimes it’s a disguise for the Masquerade Party in kindergarten. Another time, cutting out the pumpkin and baking the witch’s fingers for Haloween. Or simply organizing holiday souvenirs. Now I decided to share my realizations with you. Let’s go it together!
