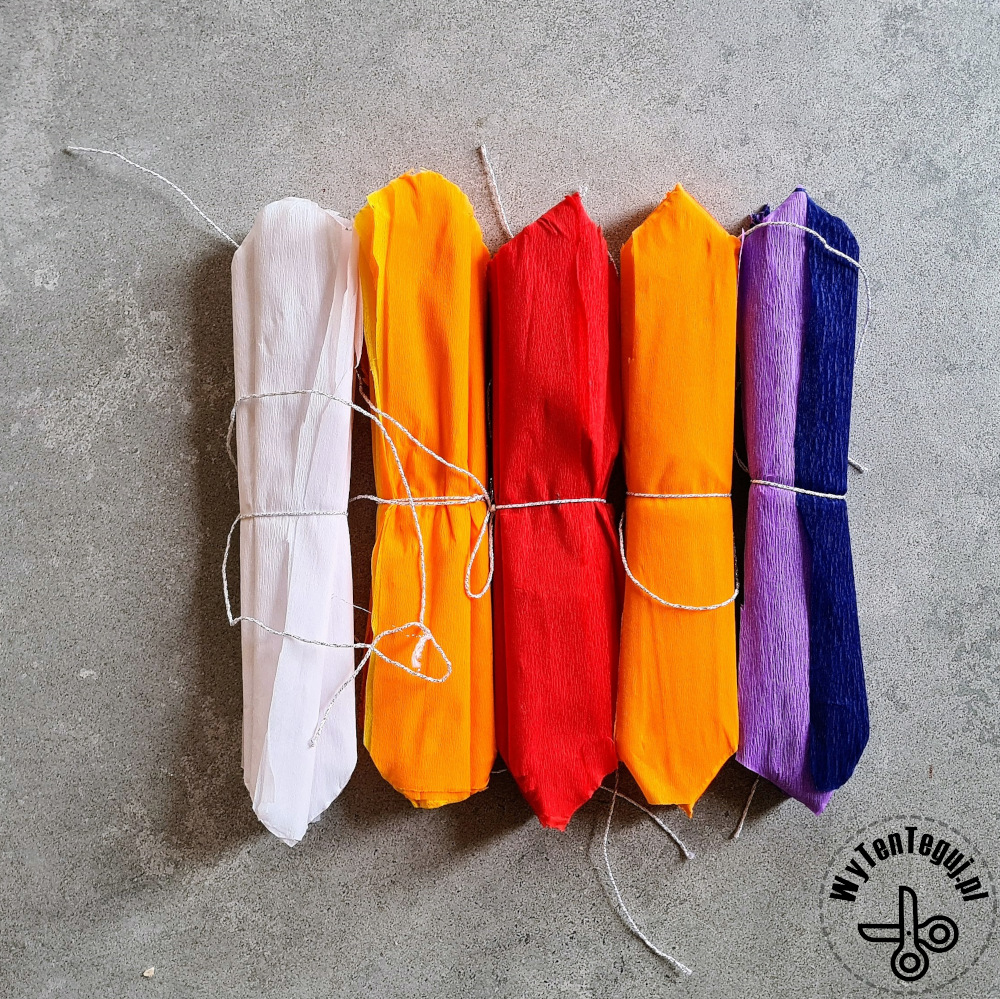
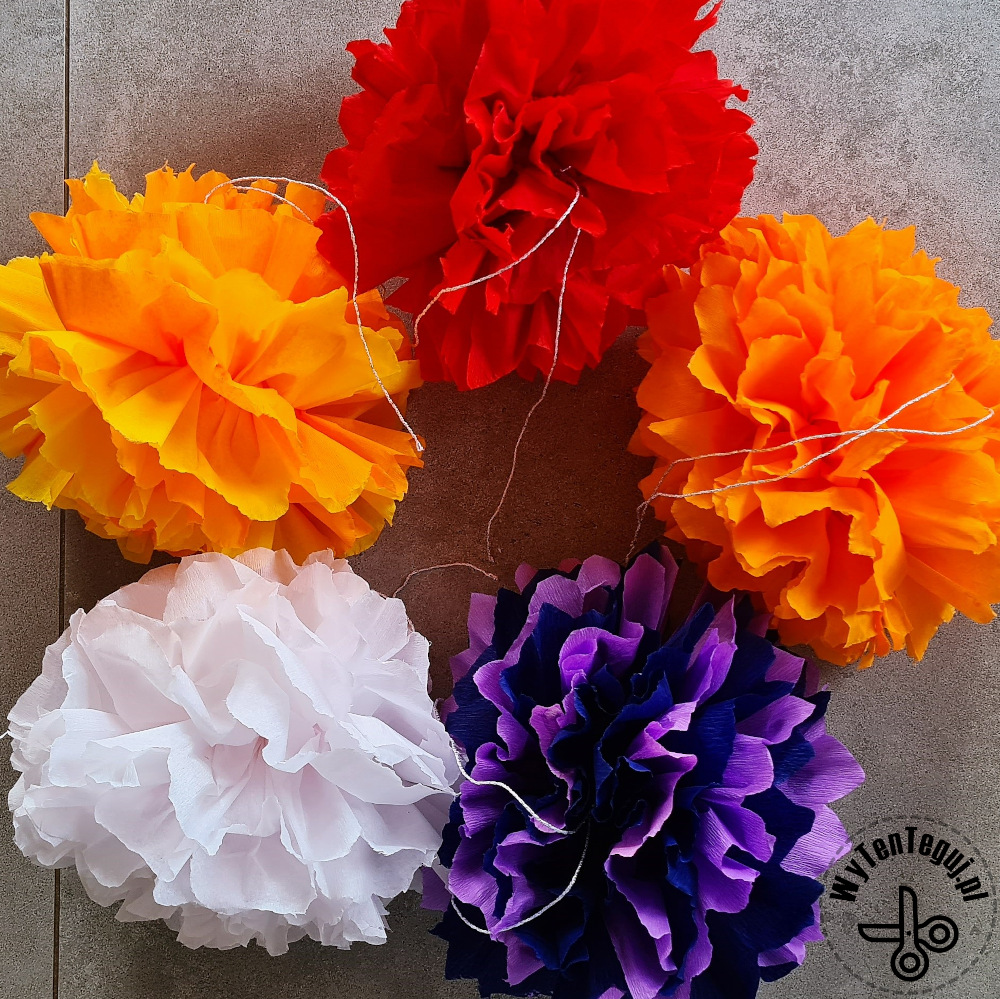
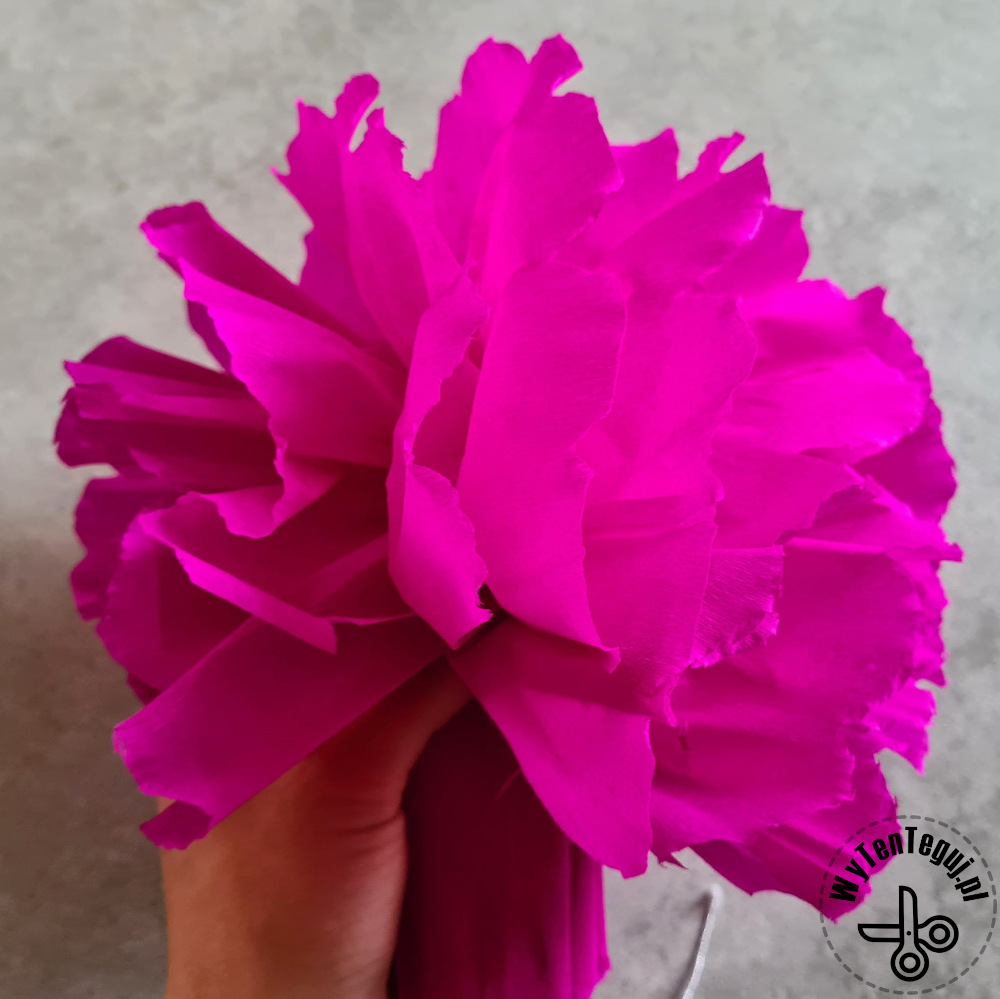
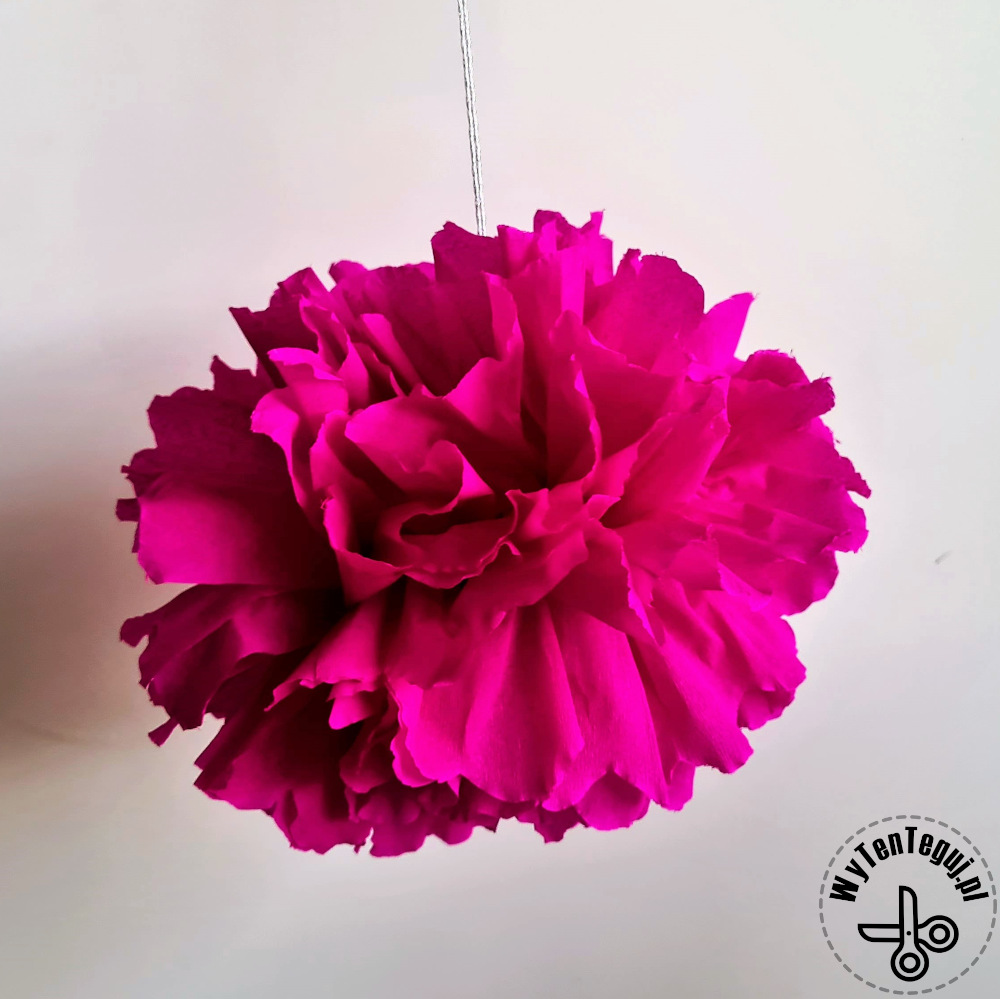
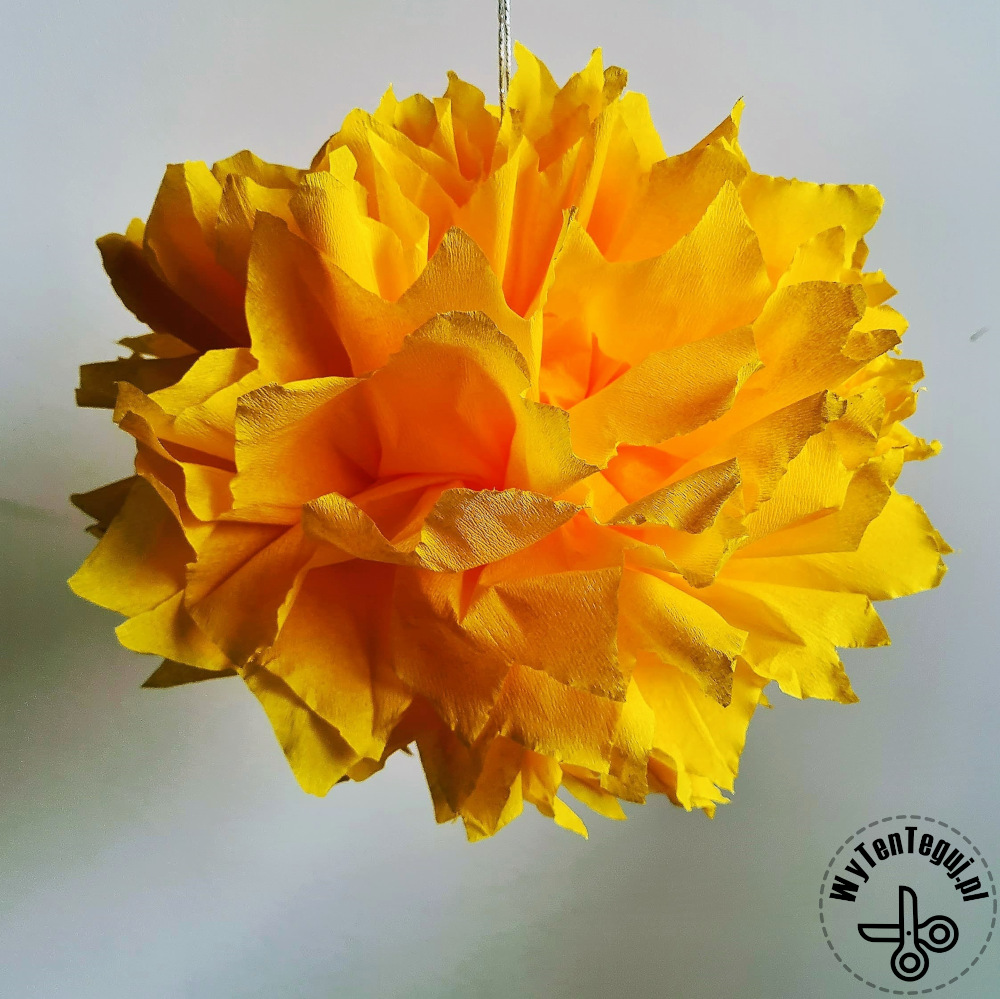
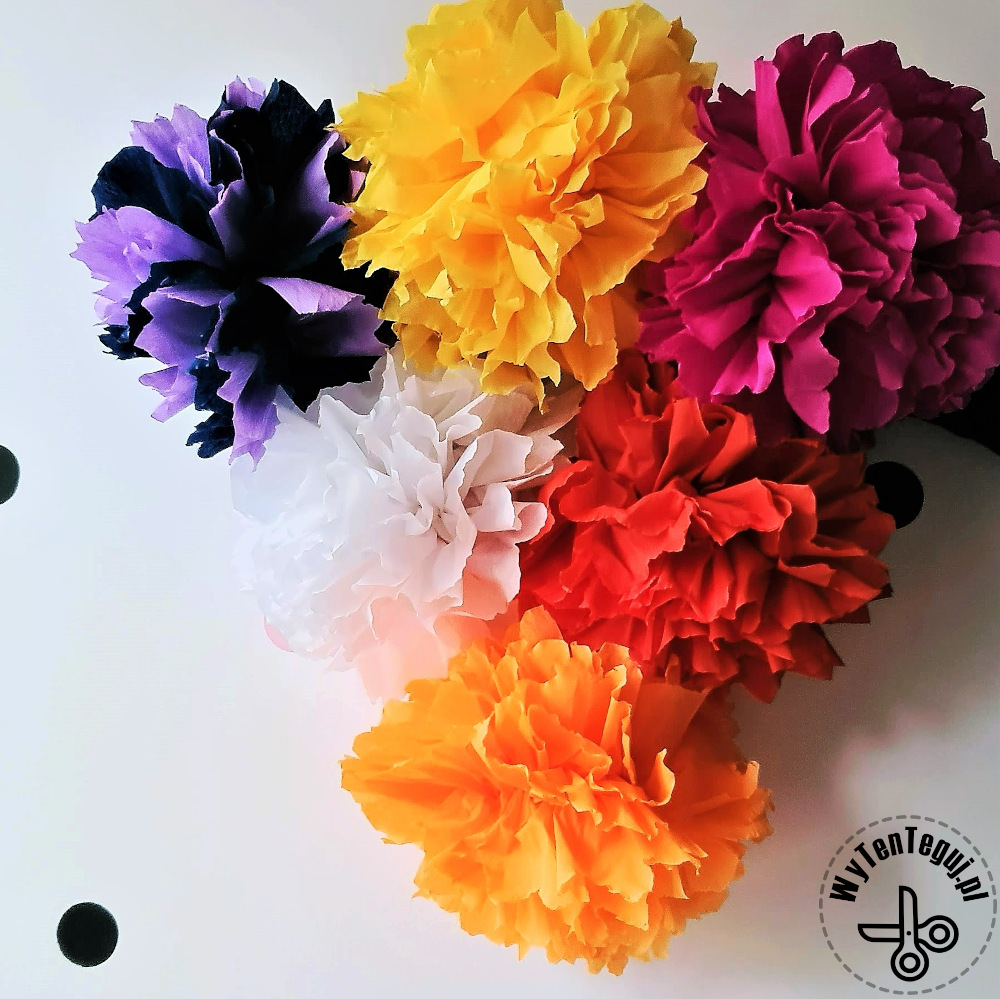
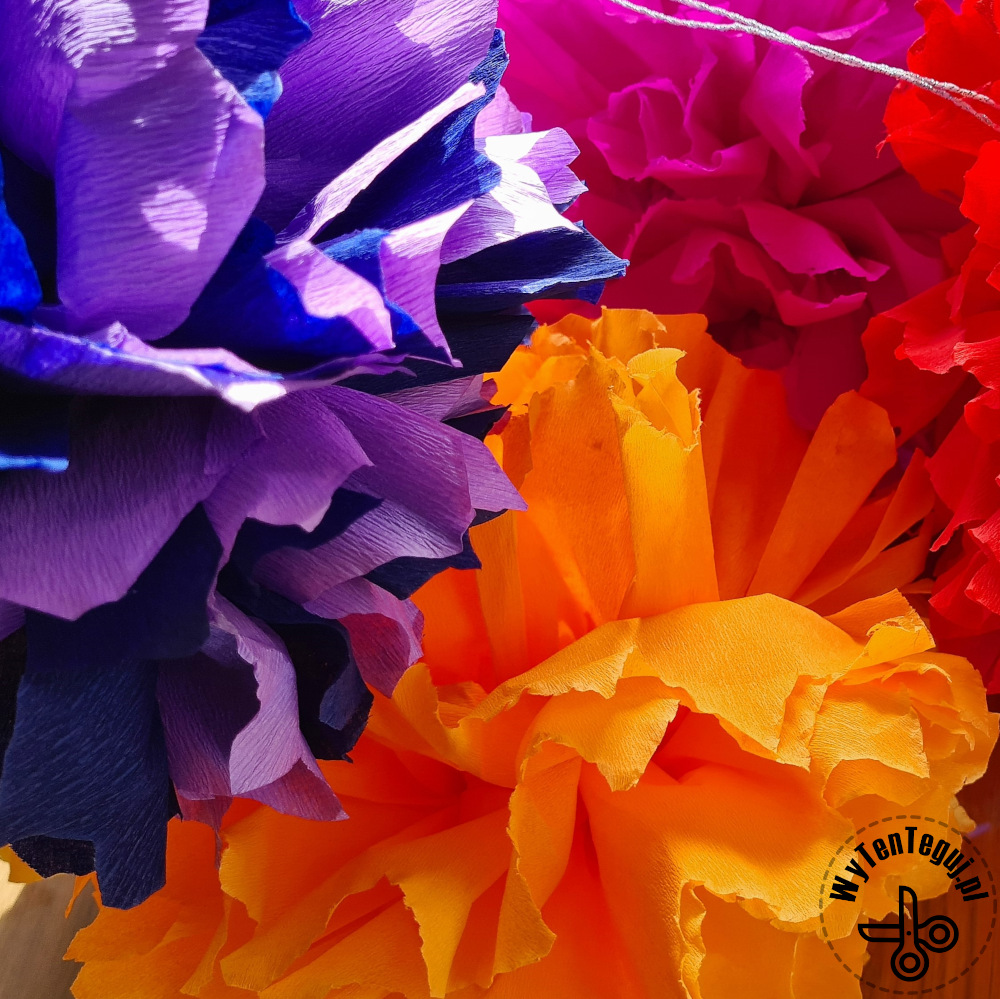
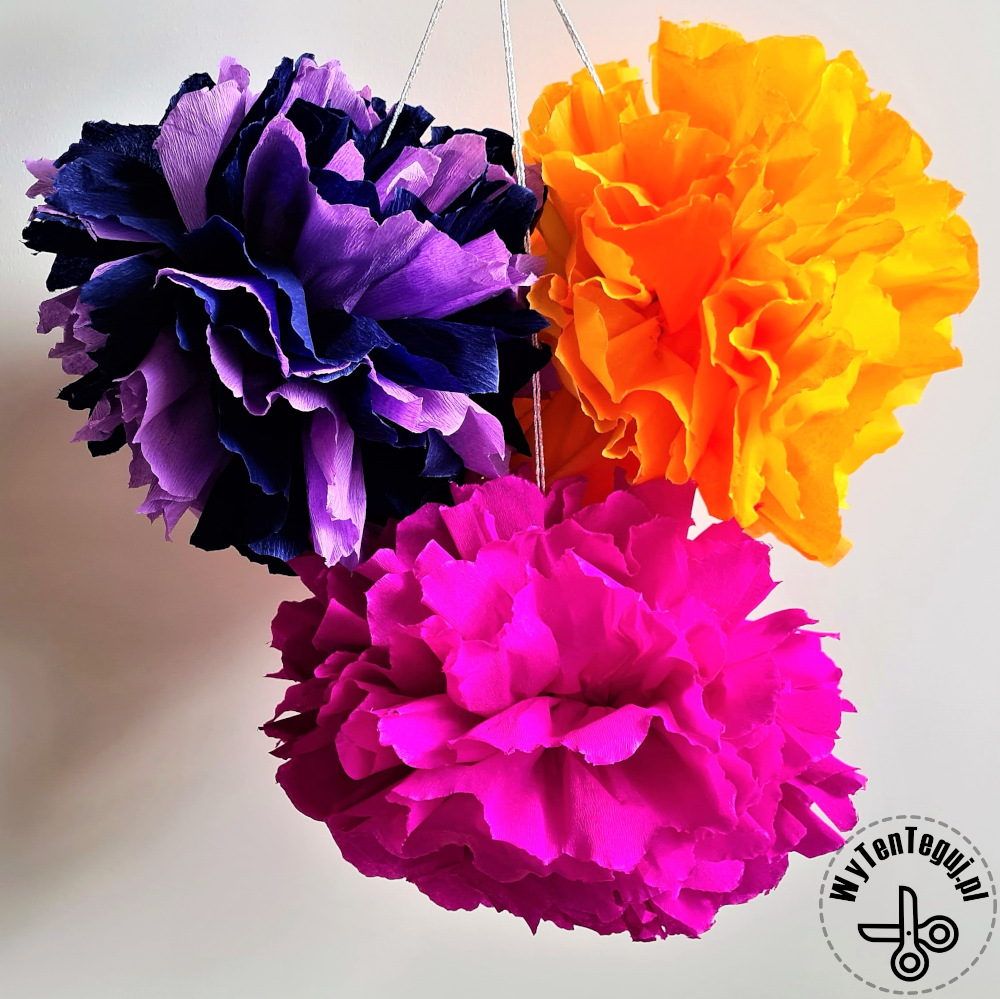
Tissue paper pom pom is easy to make and they looks very effective. Thanks to the multitude of colors of tissue paper, pom poms are perfect as a decoration for almost every party. My pom poms went to my daughter’s carnival ball at school.
Supplies for a tissue pom pom
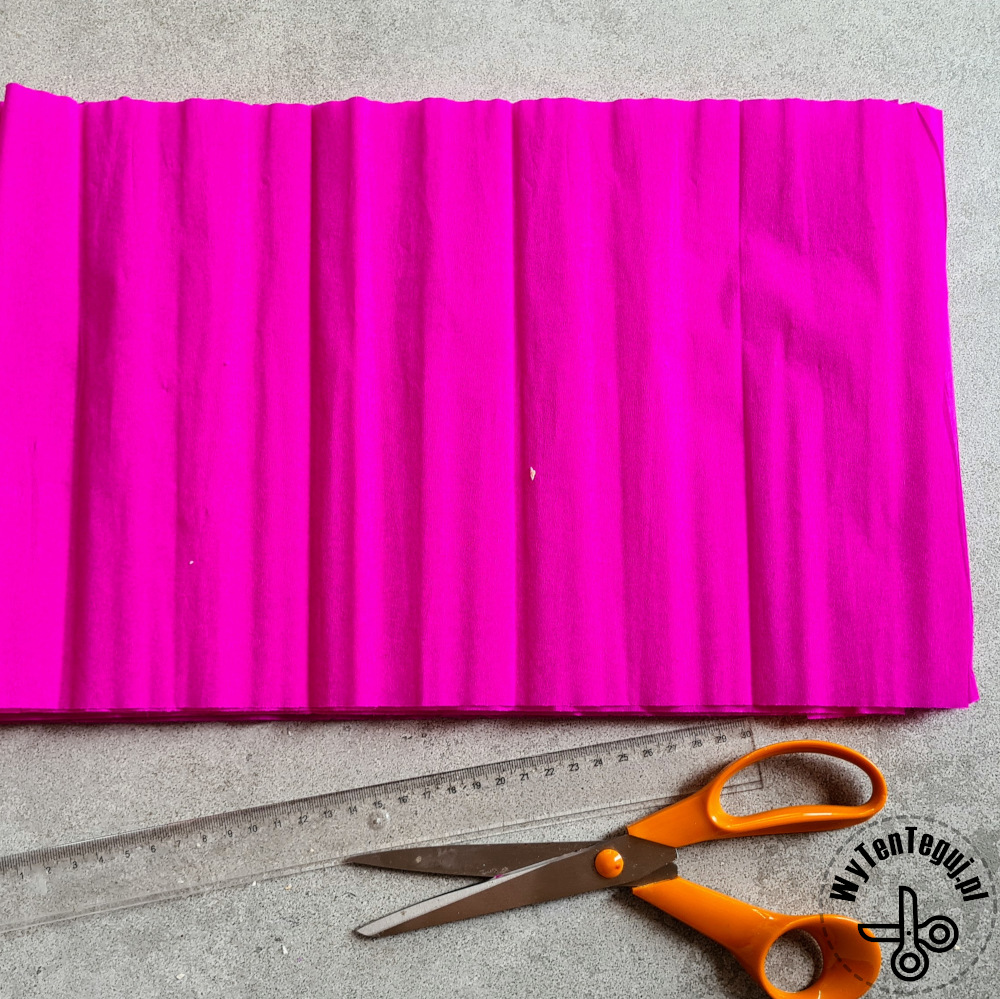
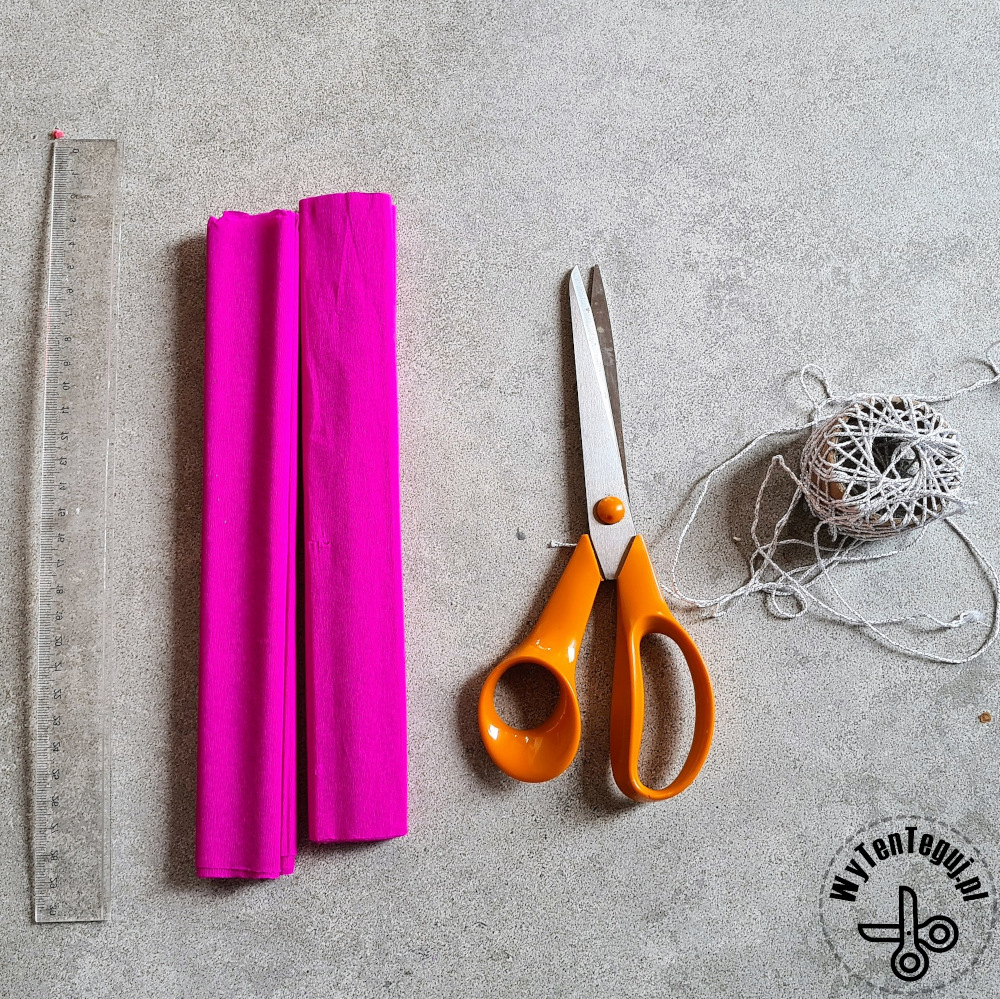
- Tissue paper – for one pom pom you need 10 sheets of 25 x 40 cm, this means one roll of long creased tissue paper (50 x 200 cm) or 2 rolls of short tissue paper (25 x 200 cm).
- String
- Scissors
- Ruler
How to make a tissue paper pompom?
Step 1
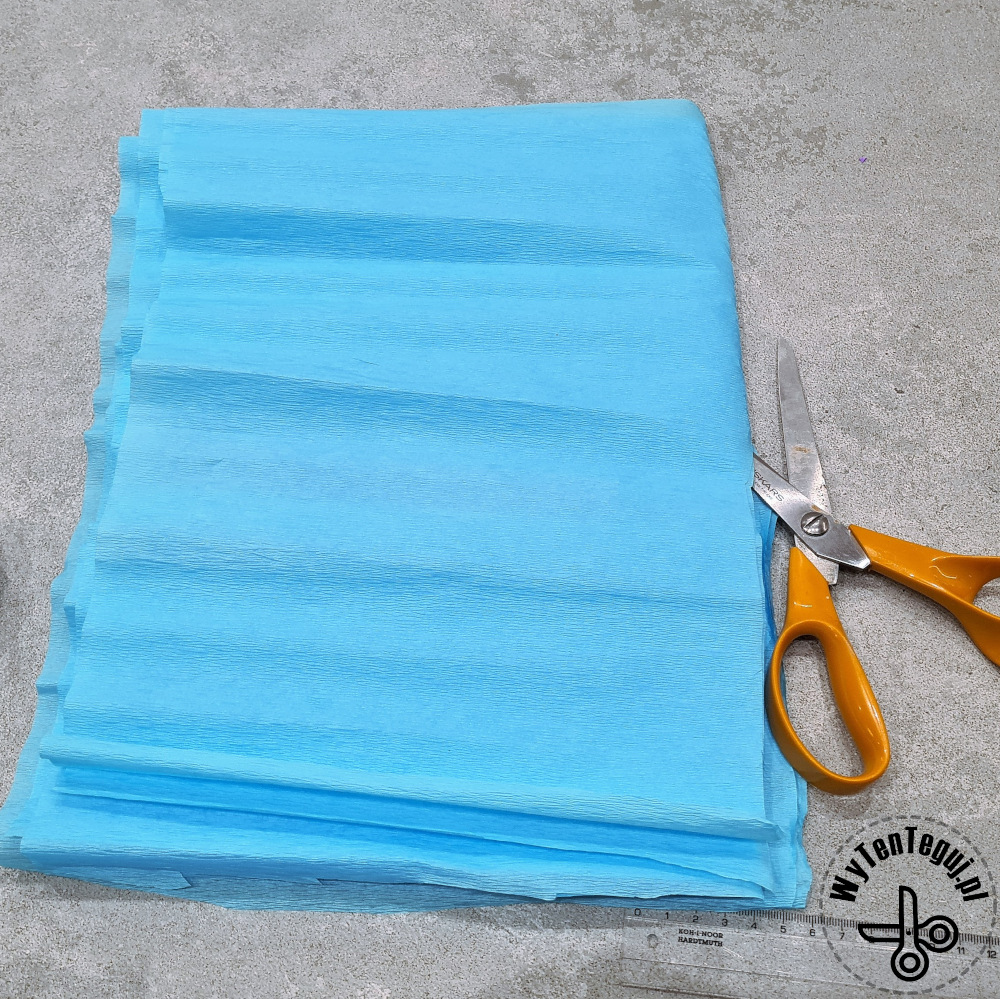
The first step is cutting the tissue paper into sheets. Regardless of the width of the roll, cut the tissue paper into 40 cm long sheets. There are 200 cm of tissue paper per roll so you will have 5 sheets after cutting.
Step 2
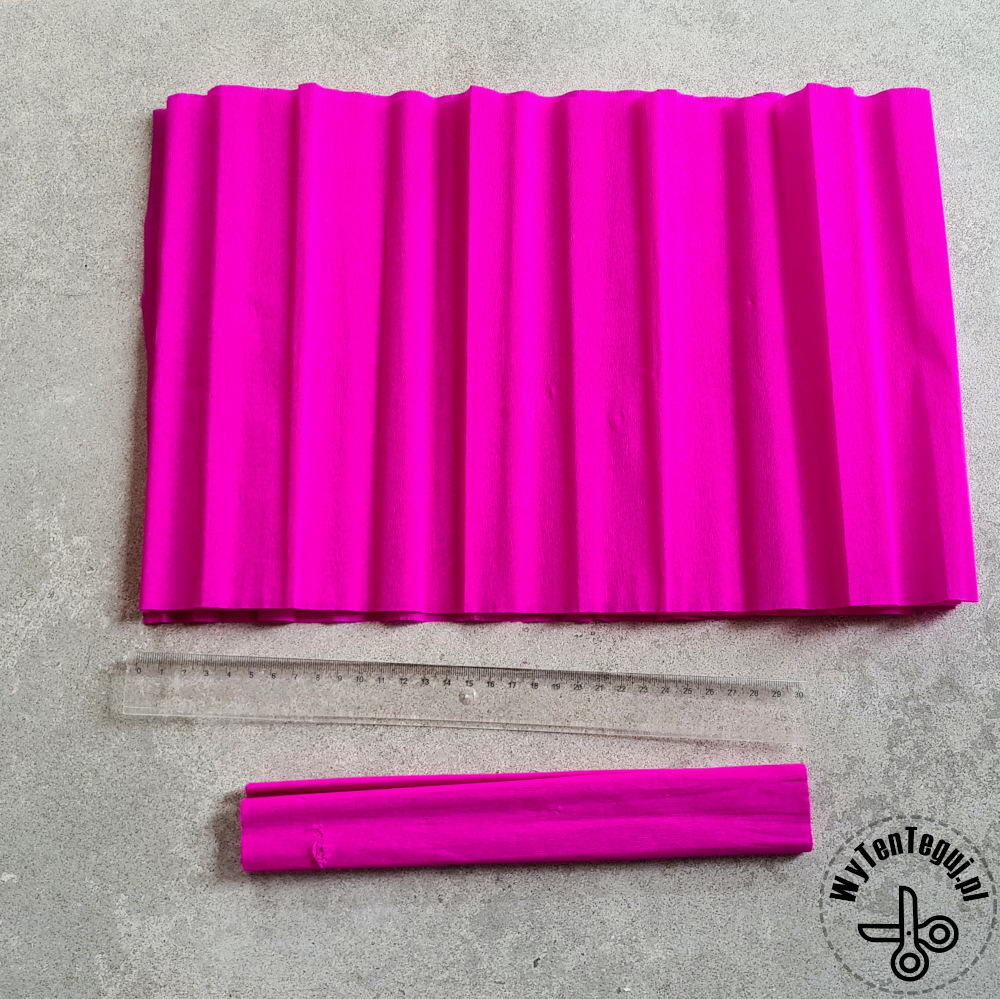
If you have a long roll of tissue paper, now you need to fold 5 sheets in half on the long side and cut.
If you have short rolls of tissue paper, now you need to cut the second roll in the same way as the first, which is into 40cm sheets.
You finish this step with 10 sheets of 25x40cm.
Step 3
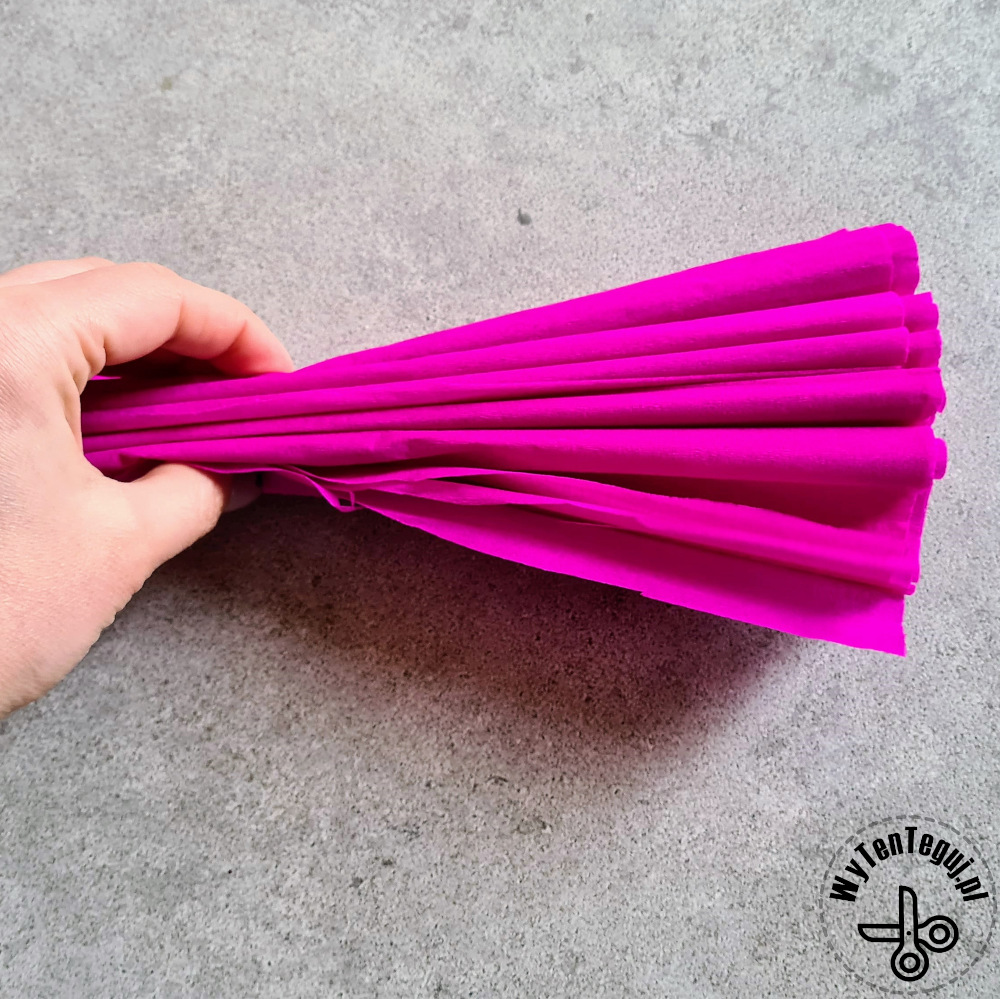
Now fold the accordion on the short side.
Step 4
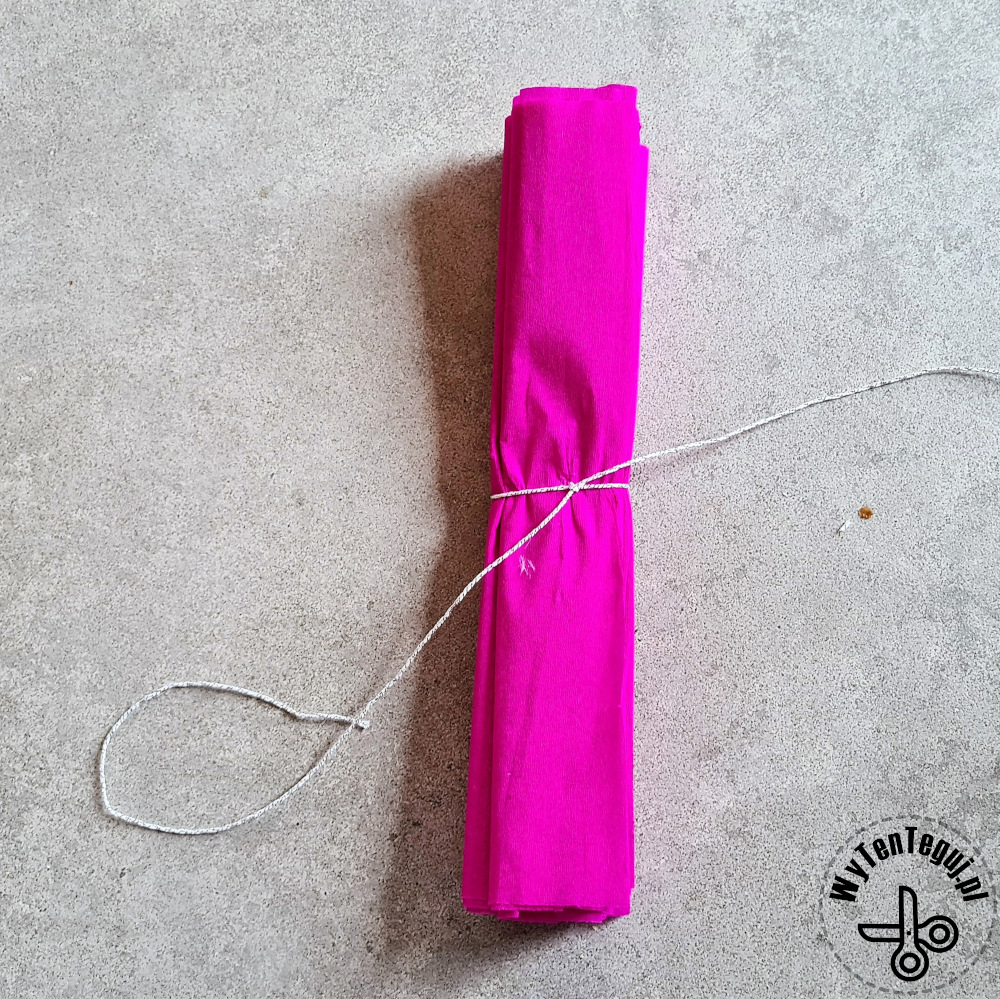
Tie in the middle.
Step 5
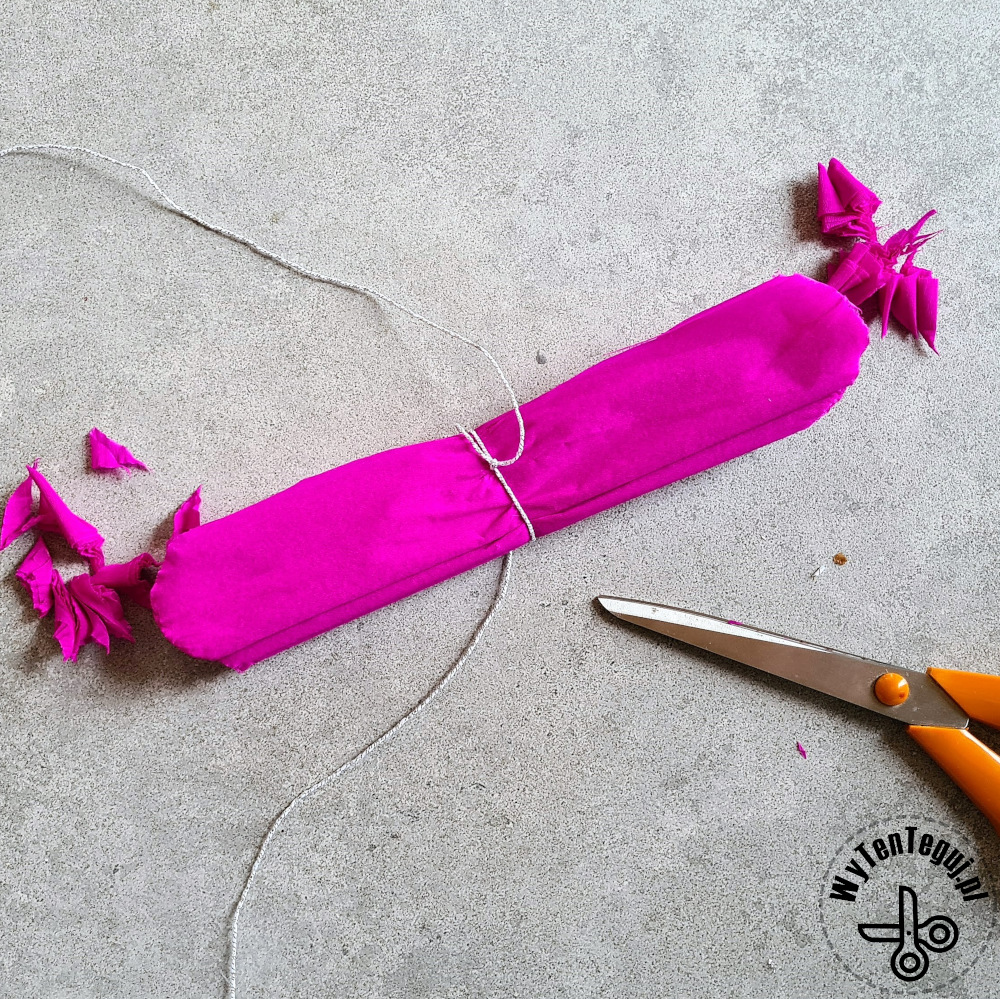
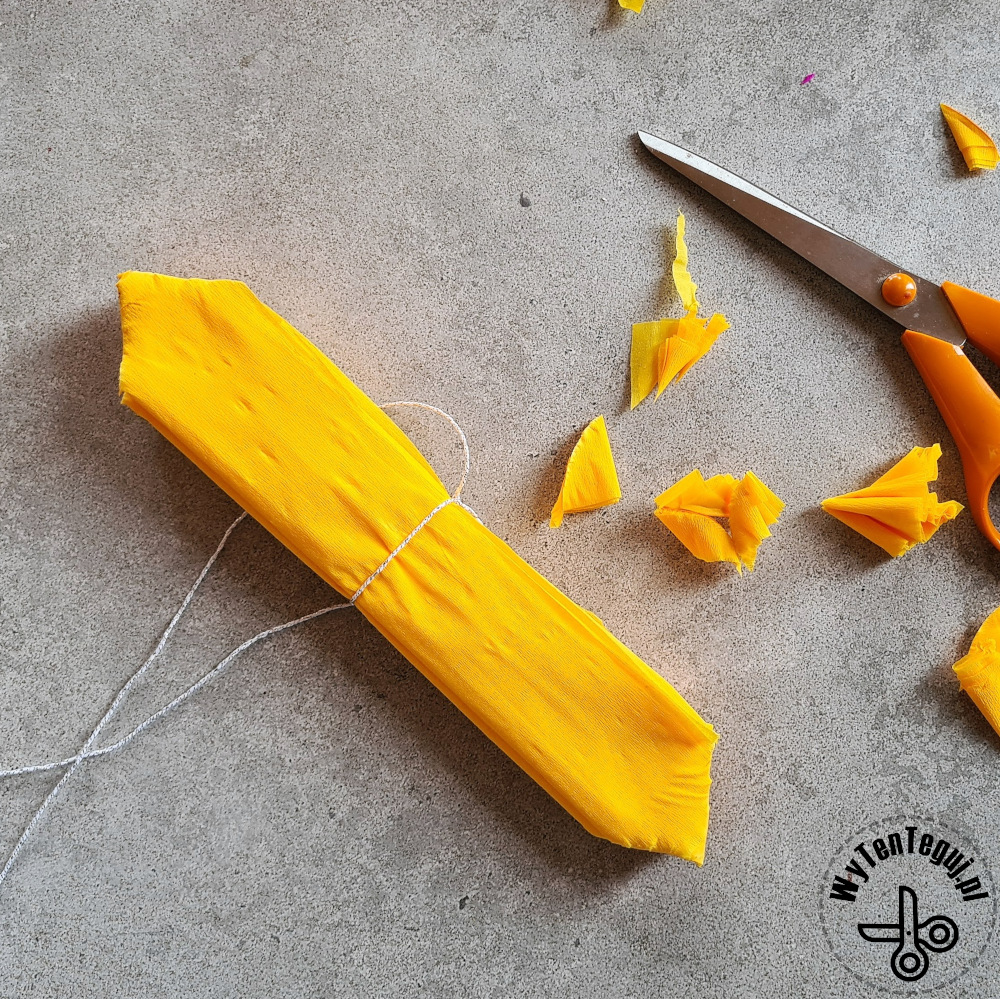
Cut the sides. You can make a triangle, then the pom pom will be a bit more jagged, or in a semicircle, then it will be softer.
Step 6
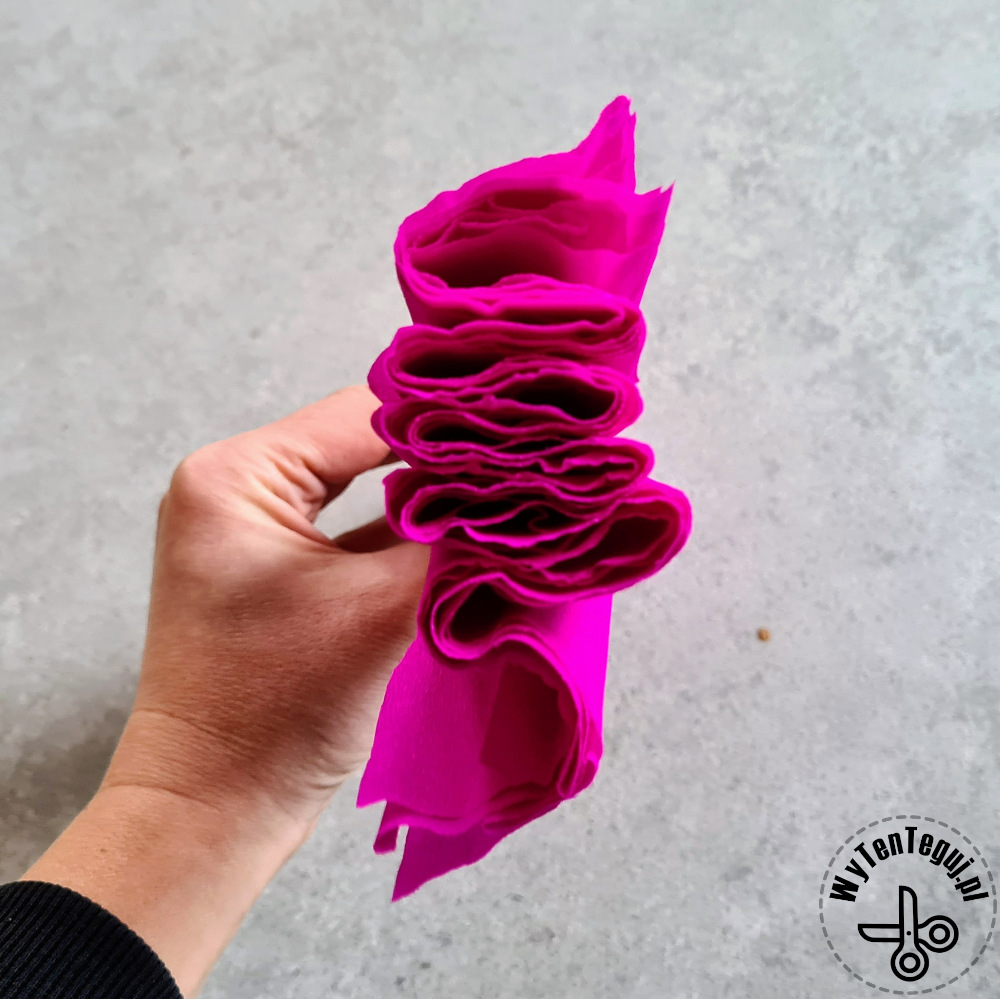
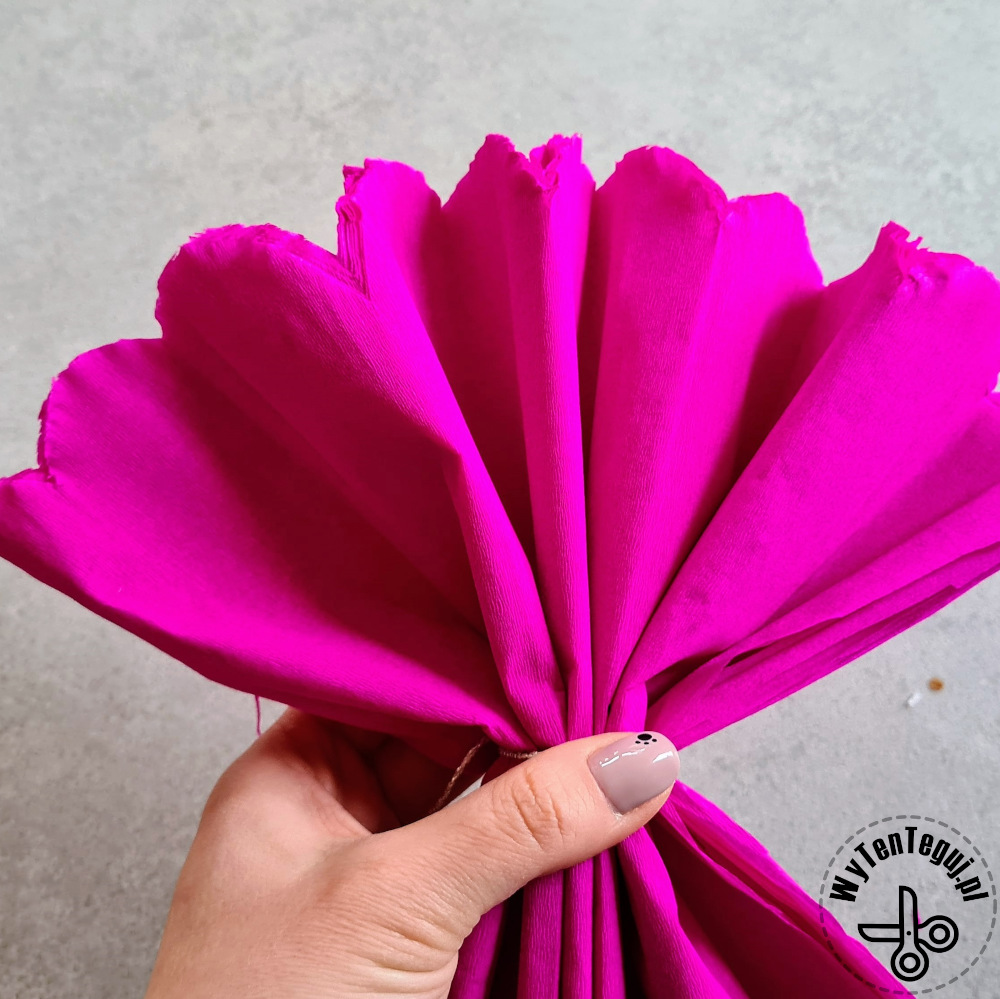
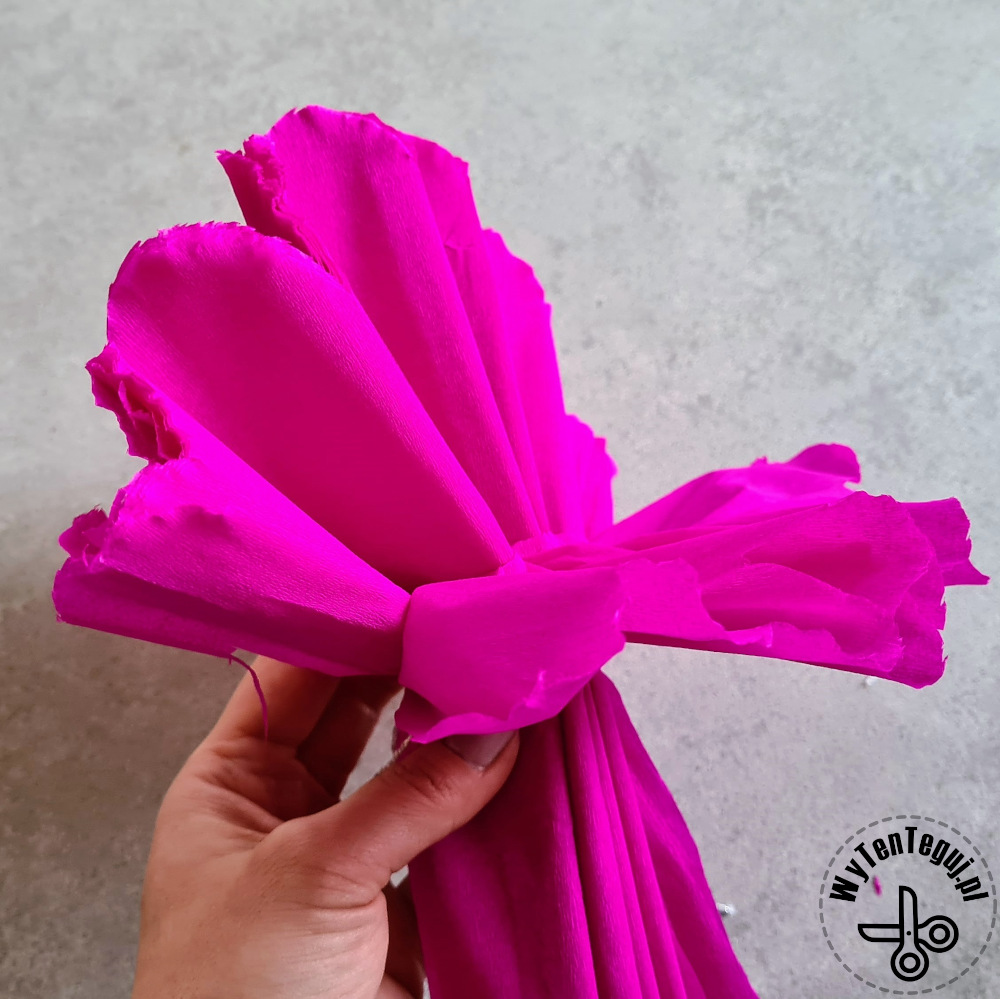
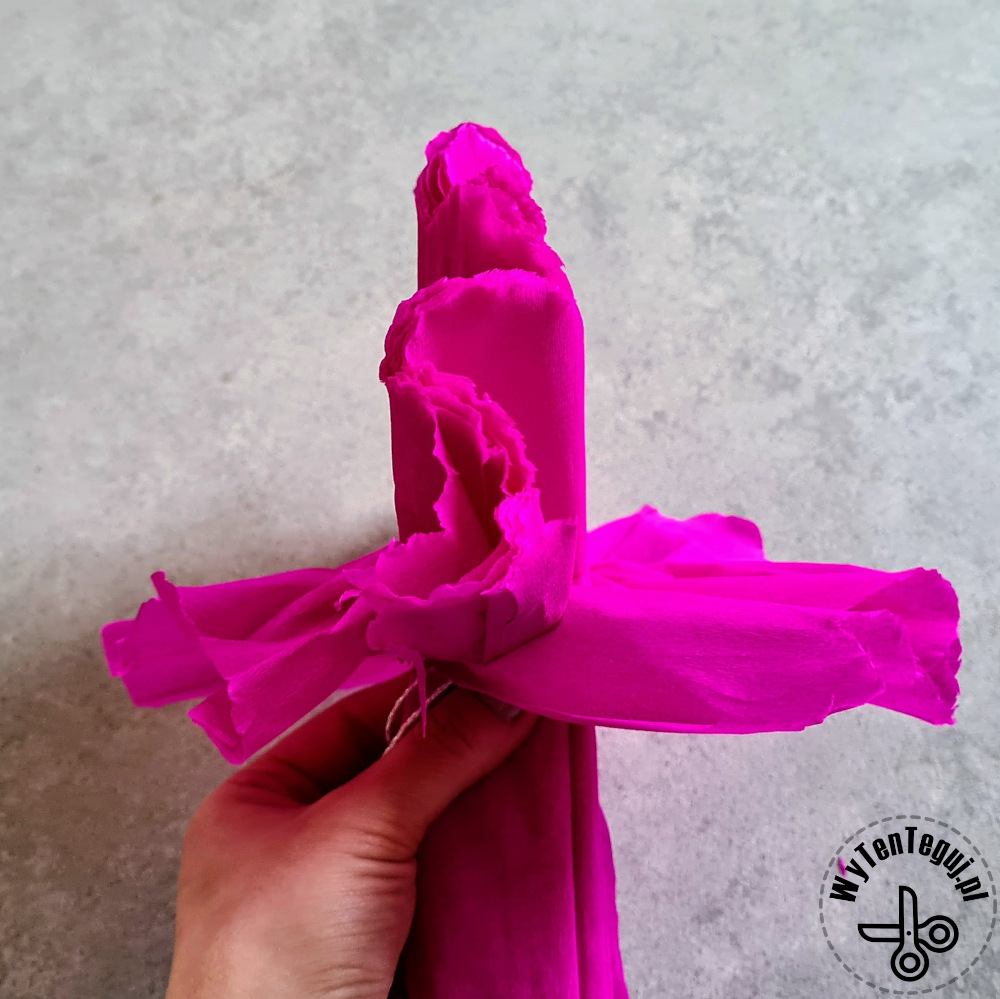
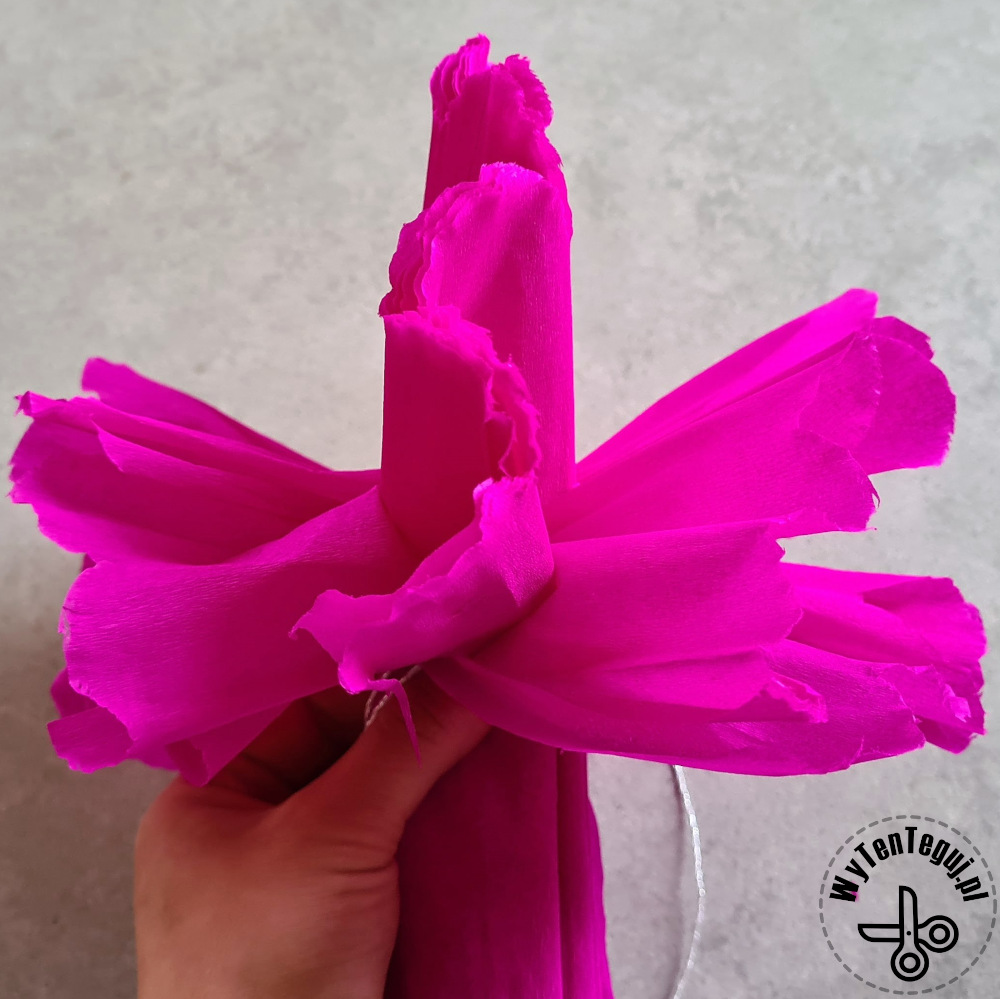
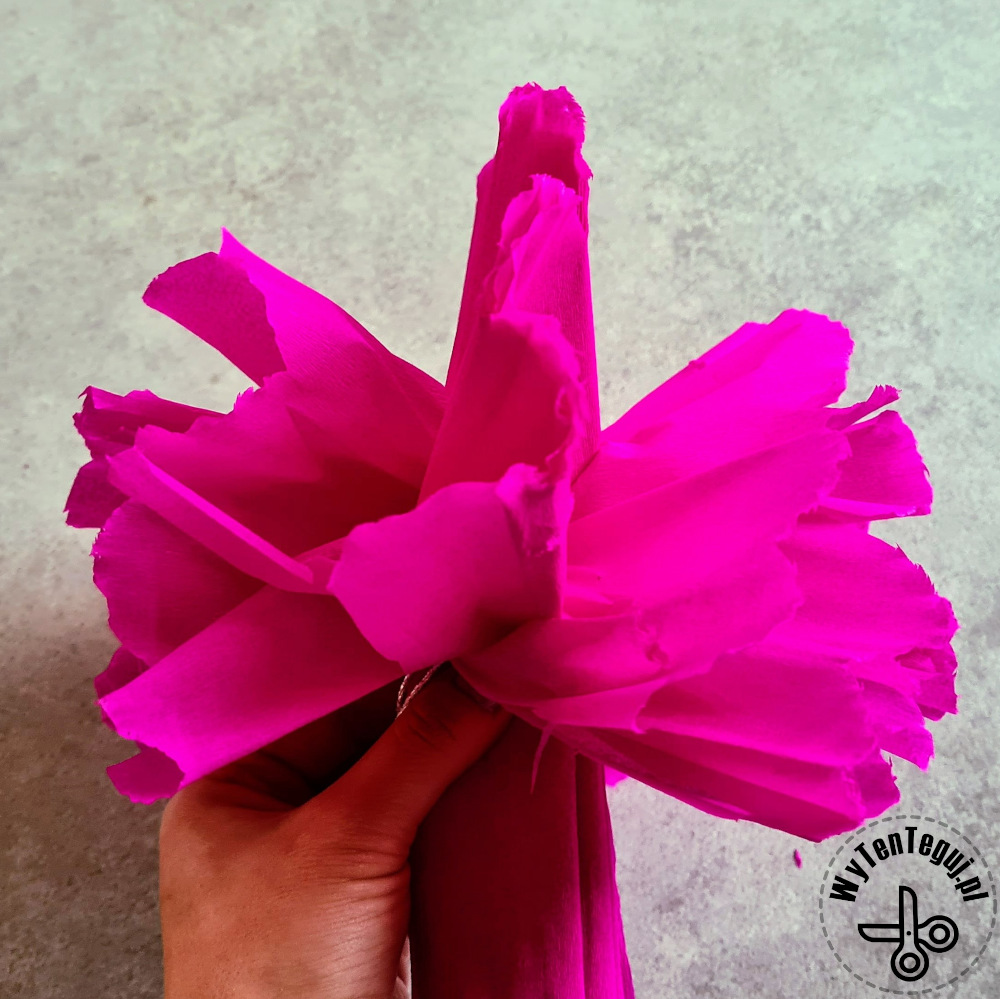
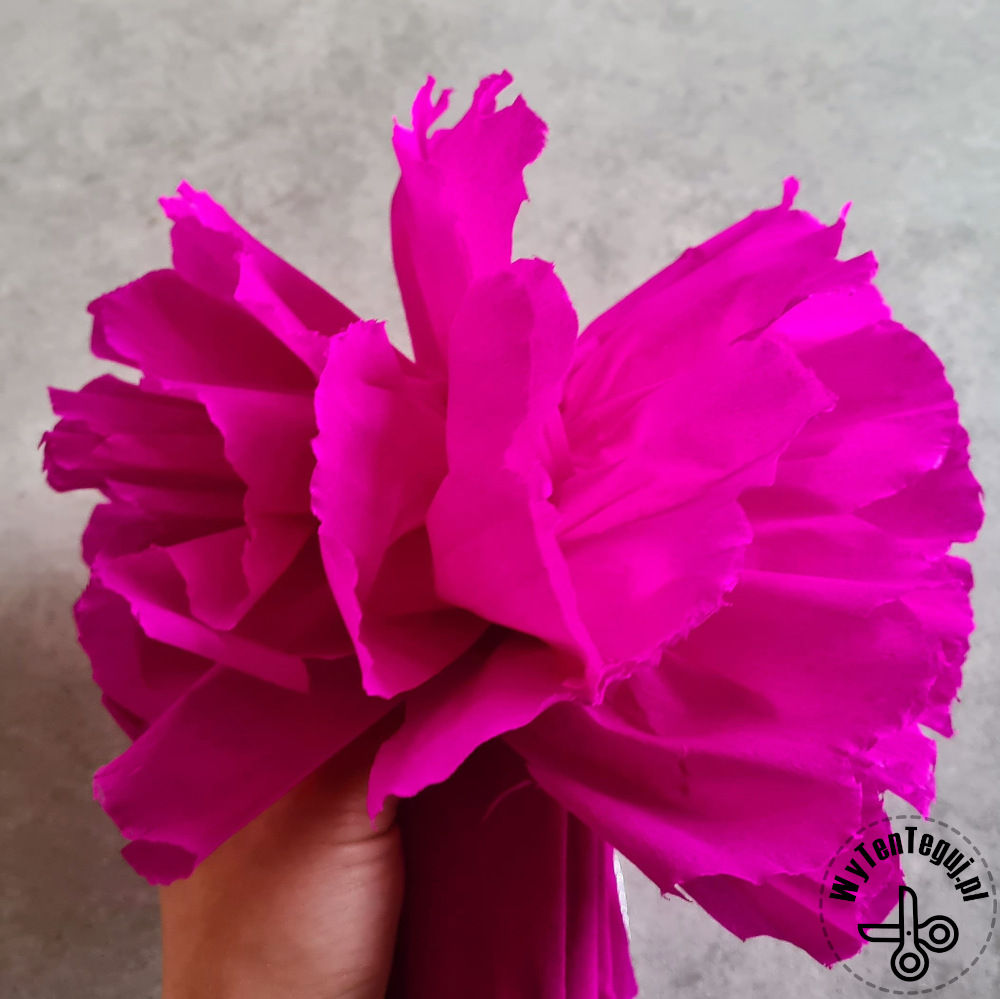
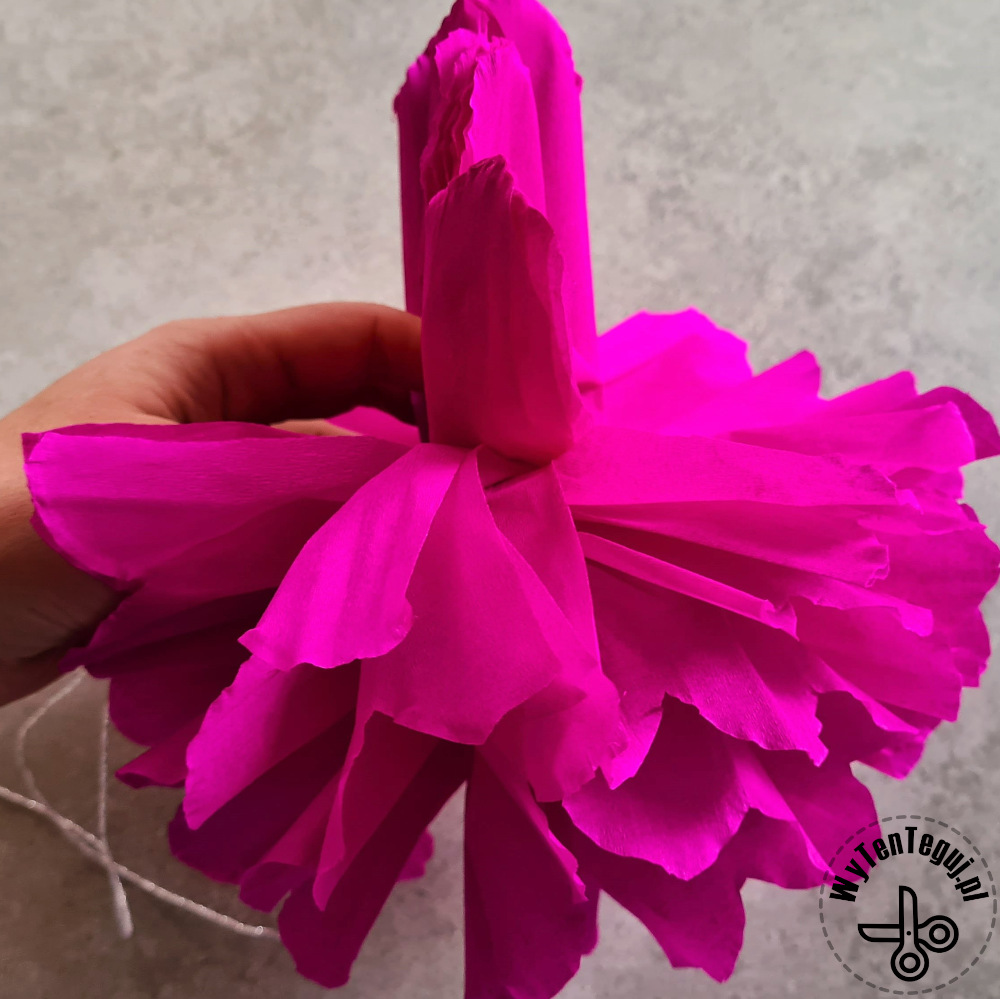
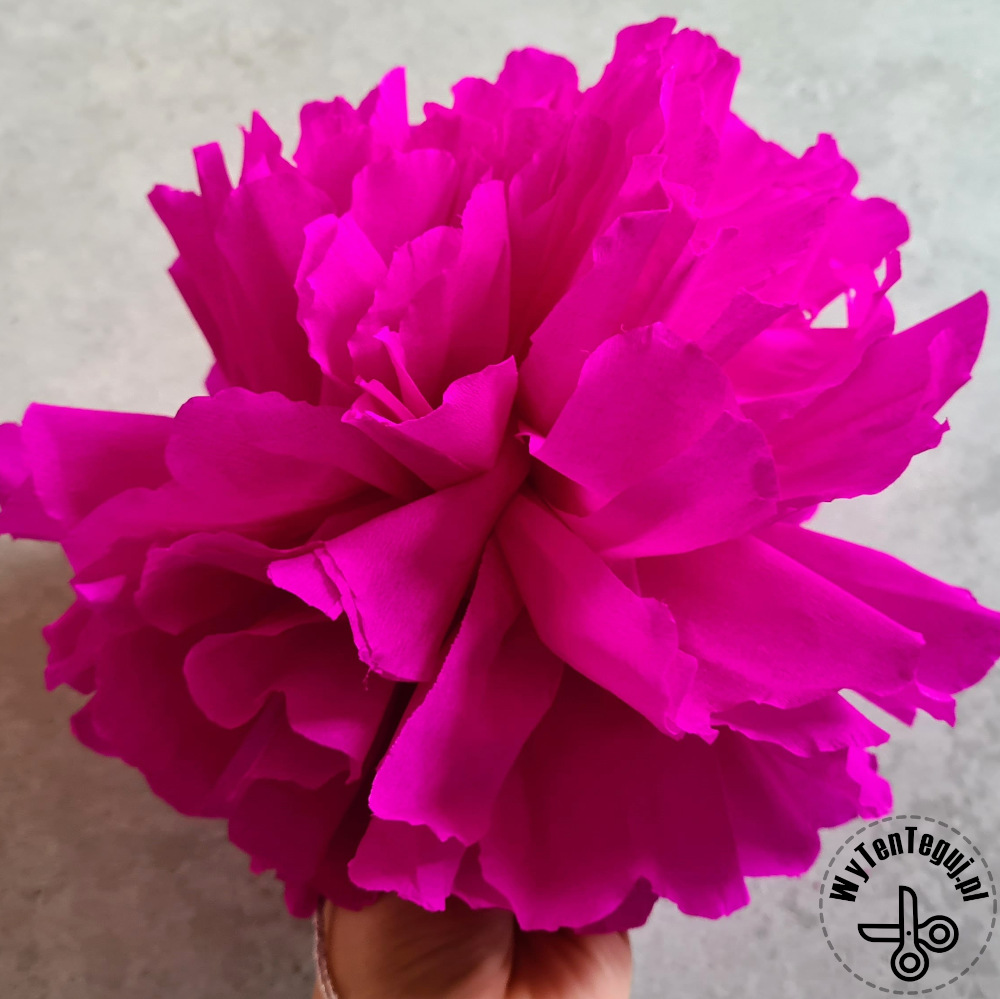
In this step, separate all the sheets of tissue to form a pom pom. Start by fanning half of the pom pom. Then, starting from the outside, pull sheet by sheet. The force with which you pull must be appropriate to the thickness and strength of the tissue paper. So you pull hard enough to put the sheet aside as much as possible, but not tear the tissue paper. If it tears slightly, it’s okay, but watch out for the next one.
When you have finished with one side, do the same with the other side of the pom pom.
Tissue paper pompoms are ready! Party time!
Check out our ideas
![]() You can find more DIY decoration ideas in our decorations section.
You can find more DIY decoration ideas in our decorations section.
![]() If you are looking for more creative activities for kids check our DIY with kids section.
If you are looking for more creative activities for kids check our DIY with kids section.
![]() If you are looking for more wedding DIY check our Wedding section.
If you are looking for more wedding DIY check our Wedding section.
![]() You can find Valentine’s Day DIY can in Valentine’s Day section.
You can find Valentine’s Day DIY can in Valentine’s Day section.
Follow us in social media
If you want to be up-to-date with our newest posts, like our Facebook fanpage, follow us on Instagram, Pinterest and YouTube.
Nothing gives more satisfaction than doing something yourself. I haven’t even thought about DIY as my hobby, I’ve just done different “projects” when it was needed. Sometimes it’s a disguise for the Masquerade Party in kindergarten. Another time, cutting out the pumpkin and baking the witch’s fingers for Haloween. Or simply organizing holiday souvenirs. Now I decided to share my realizations with you. Let’s go it together!
