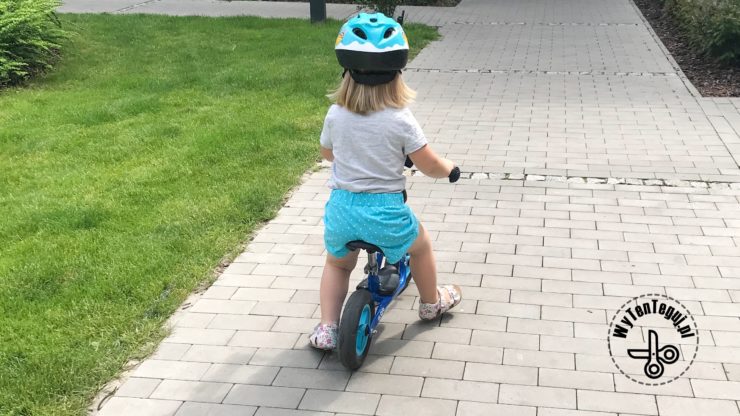
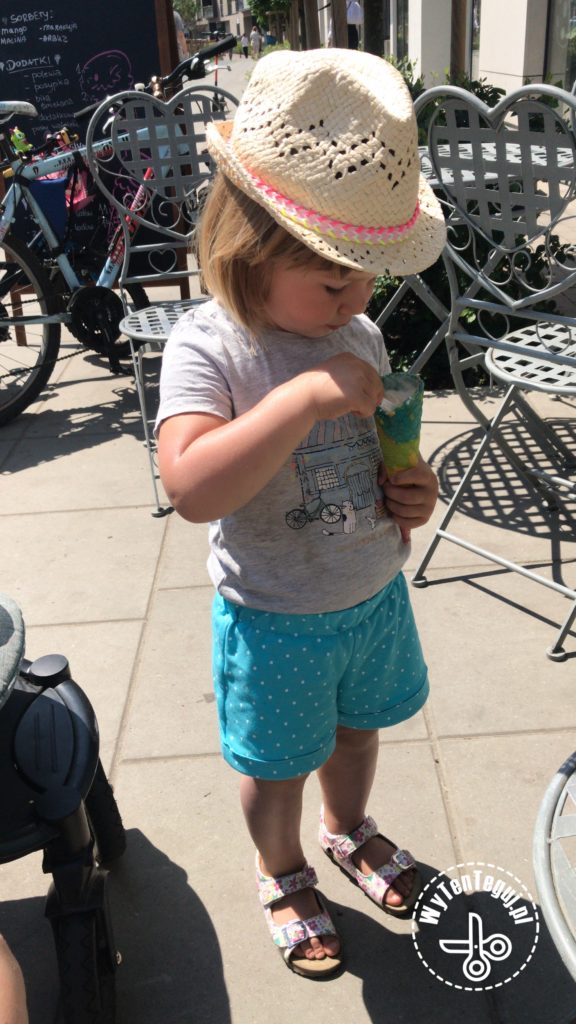
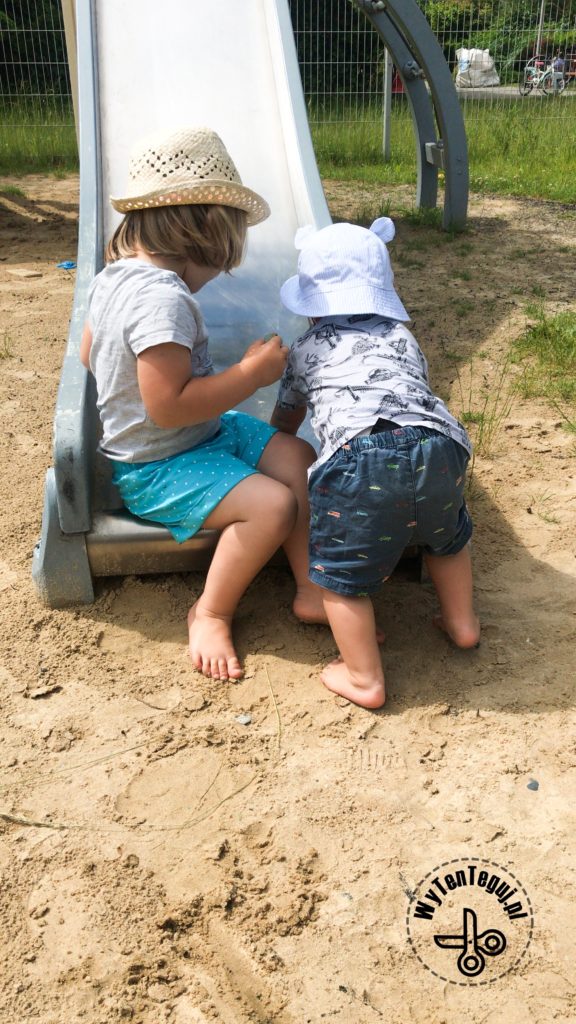
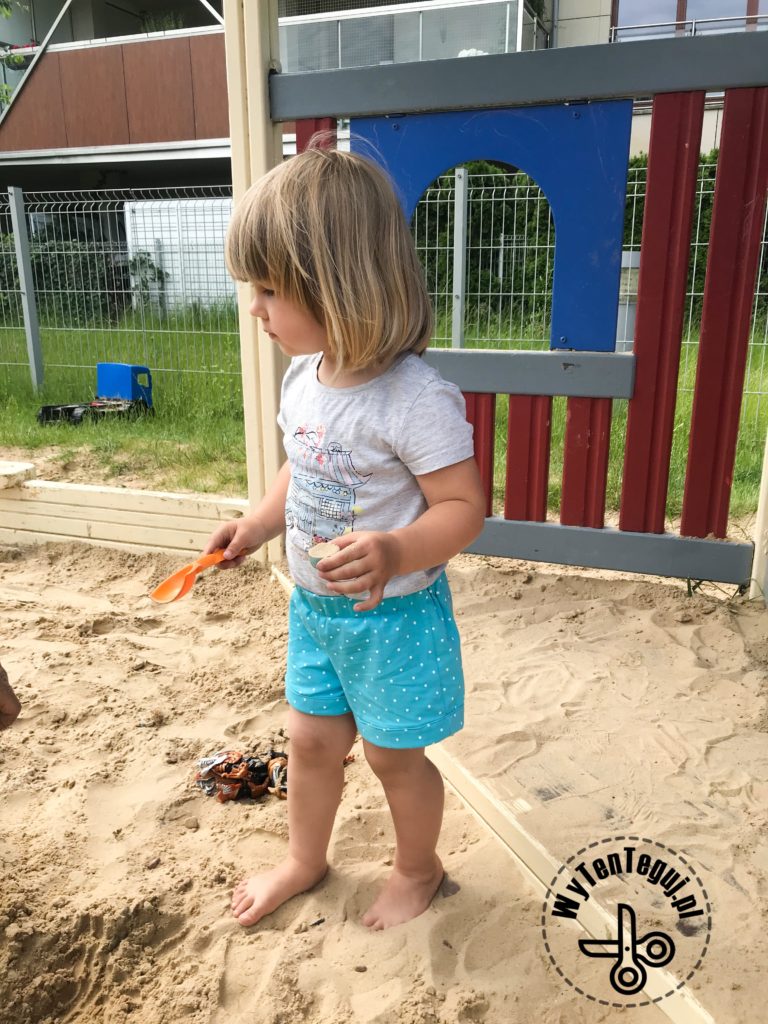
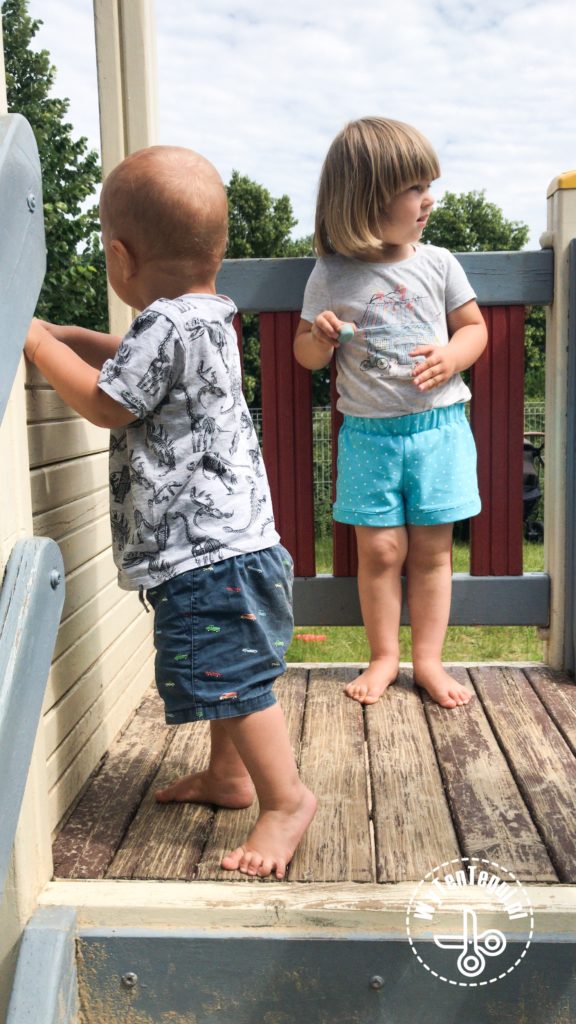
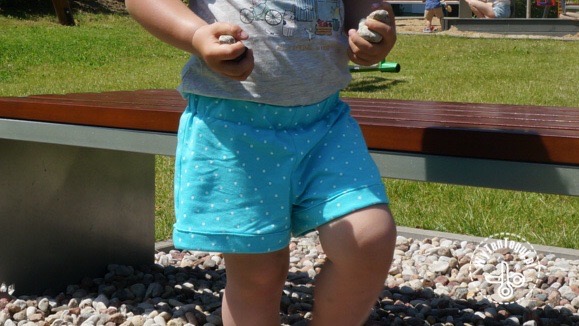
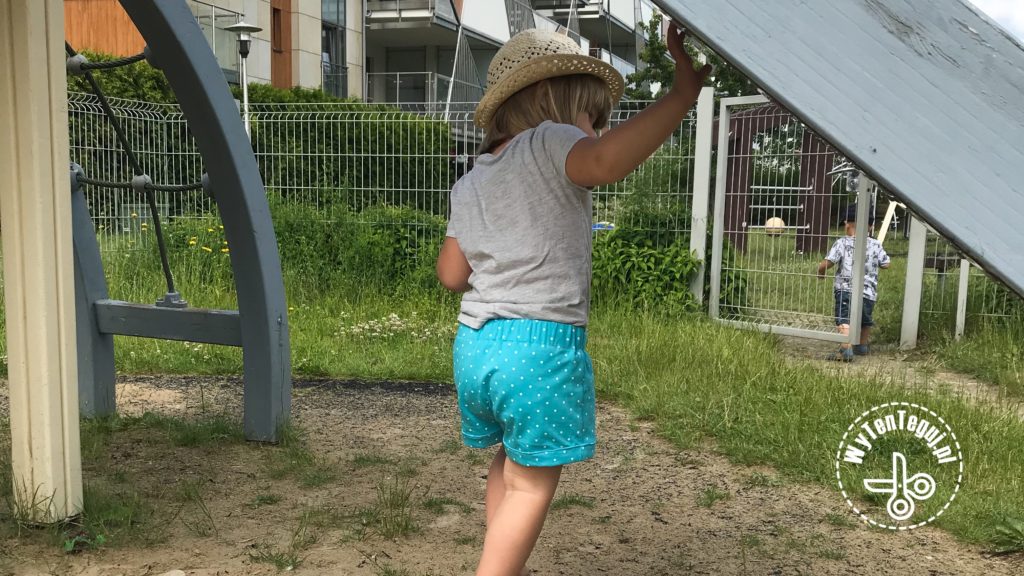
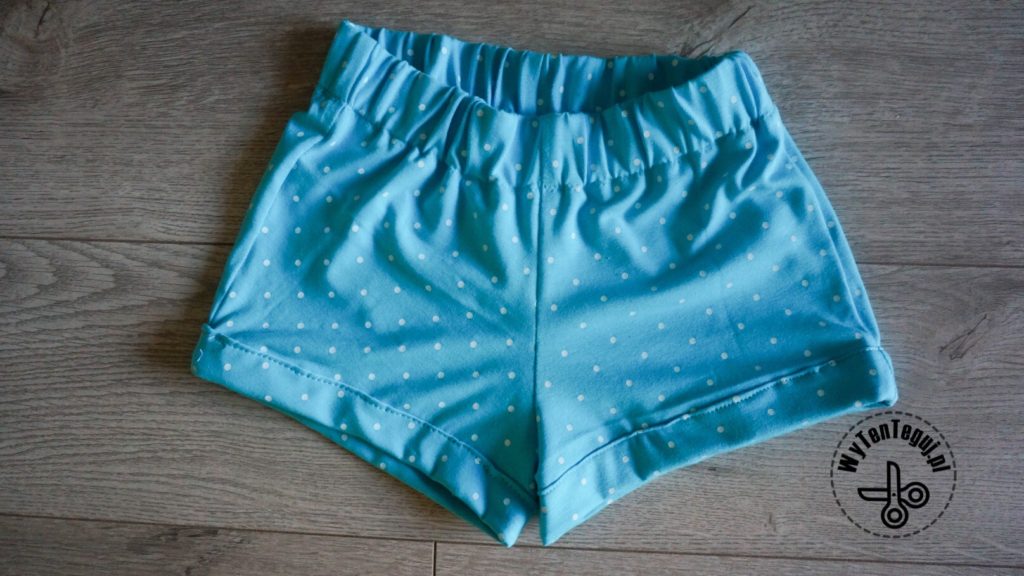
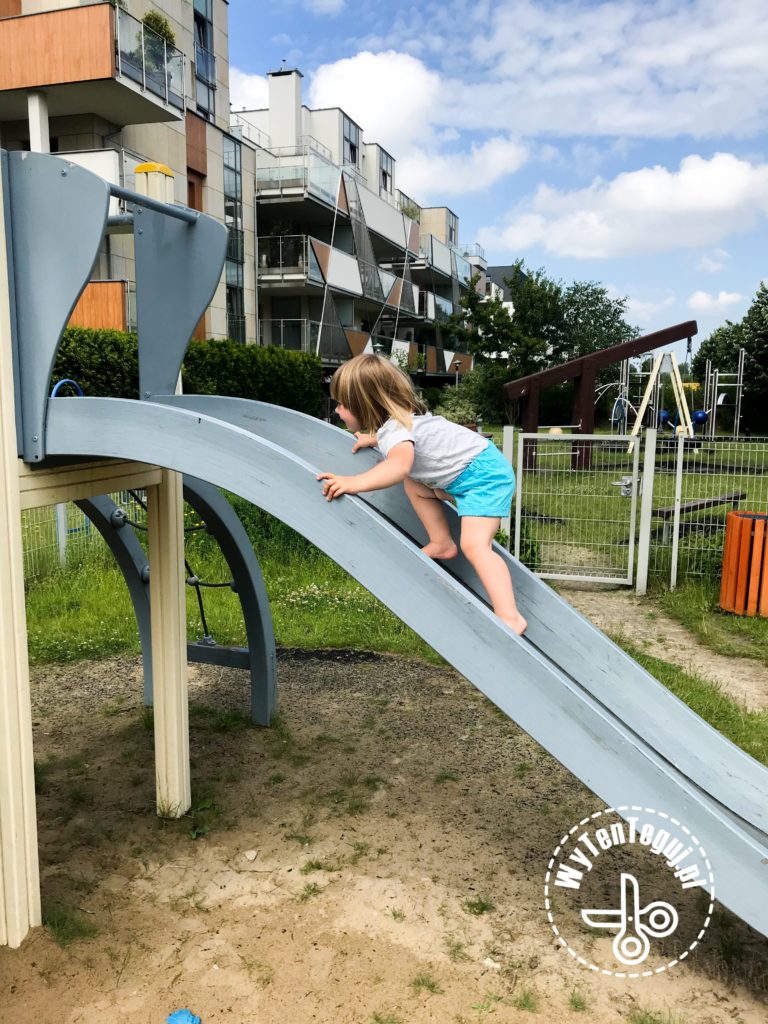
With two lively kids, I don’t have much time to sew. However, I do not give up and try to sew from time to time. This time the situation forced me to do it :). I thought that my kids’ wardrobe was well prepared for the summer. I bought a lot of cute shorts for my daughter. She looked at them and said that she would not be wearing it. A three-year old dandy is a big challenge 😉 Well, I found good-looking pattern on the Internet. Then the little girl point the finger at the fabrics that she liked the most and I started to sew 🙂 When I finished, my heart began to beat faster. Ahead of me was the most important – fitting! Fortunately, the little dandy willingly jumped into new shorts. Ladies and gentlemen, task successfully completed 🙂
More information about the types of fabrics used by me and online shops I recommend the most you can find here.
I encourage you to visit one of the best sewing Facebook group SZYCIE-WYKROJE-DIY (unfortunately for polish speaking readers). This is a mine of knowledge about sewing and you can ask questions and get help from more advanced in sewing.
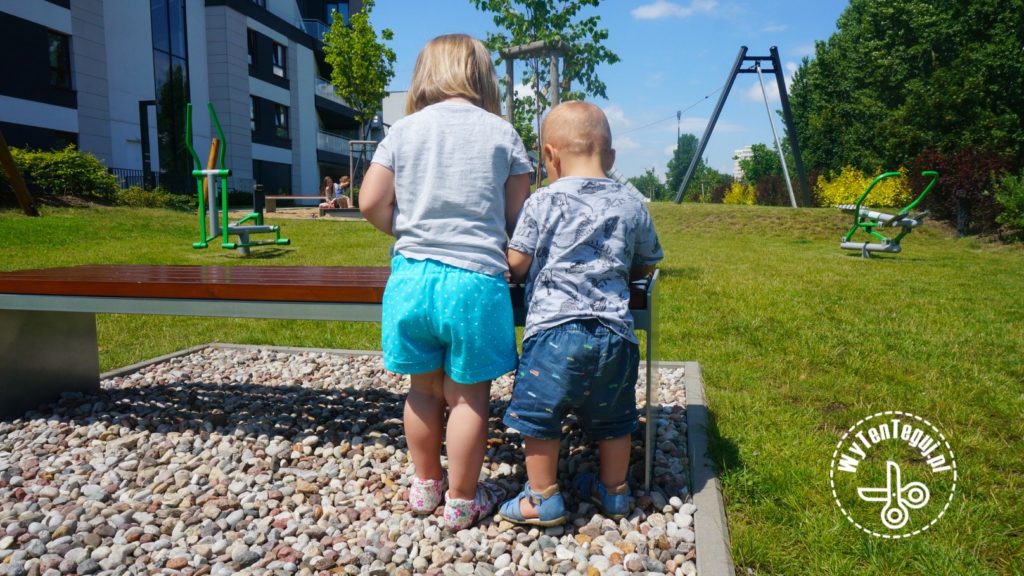
What do you need to sew a shorts for a child?
- free sewing pattern from this site in a sizes of 86-164. Direct link to pattern is here. The author of this pattern forbid commercial usage
- I used single jersey, but cotton fabric, or other airy and thin fabric seems to be a good choice
- elastic with width of 4 cm
- threads
Step-by-step tutorial
First of all, cut the pattern from fabric folded in half. The author wrote that 1 cm seam allowance should be added. I forgot about it and didn’t do it, but the size still fits perfectly (I sewed 110/116). If you use figured fabric, be sure to cut it in such a way that the curve is at the top and the pattern is not upside down.
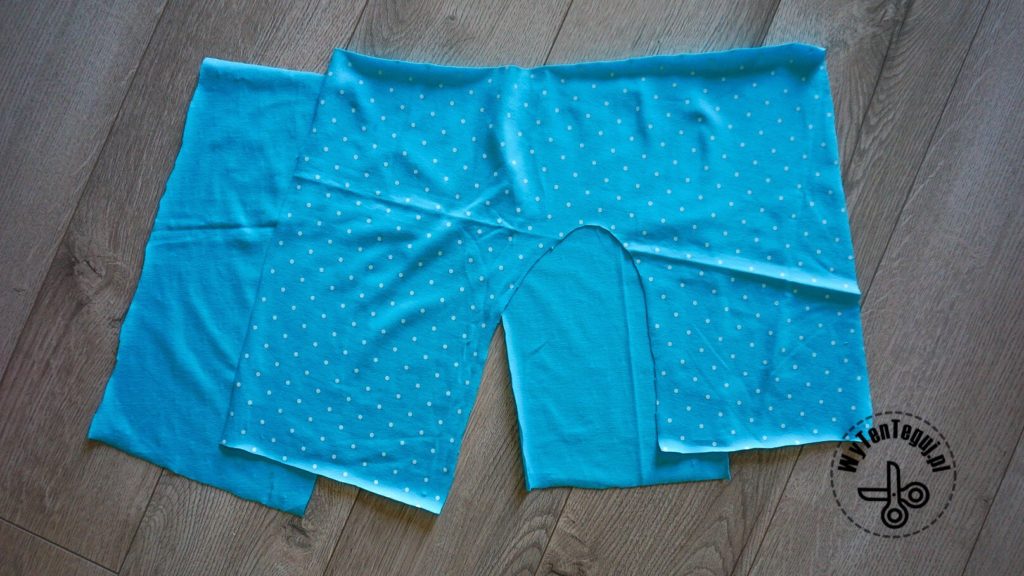
In the next step, fold the fabric right sides together and stitch the curve. According to the guidelines, I used an overlock and after that a straight stitch.
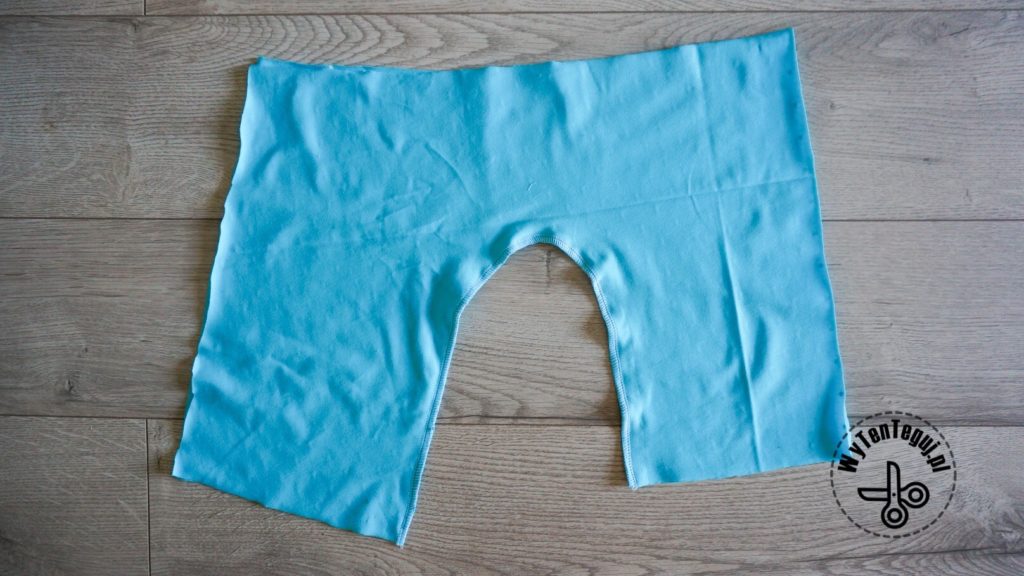
Turn the fabric right side out.
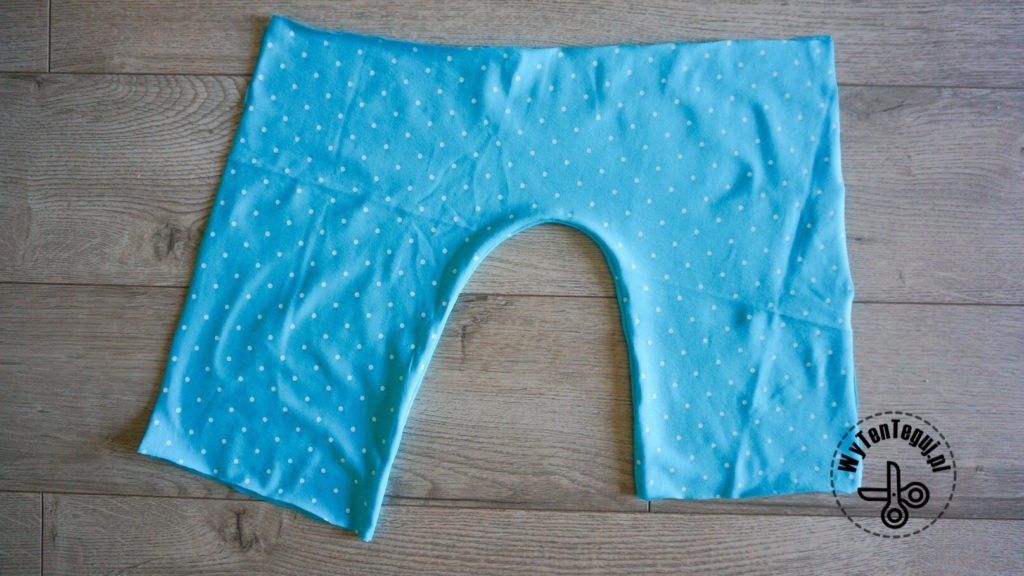
Fold the fabric right sides together to connect the unstitched edges. Sew using overlock and straight stitch. Do the same for the other non-stitched edge.
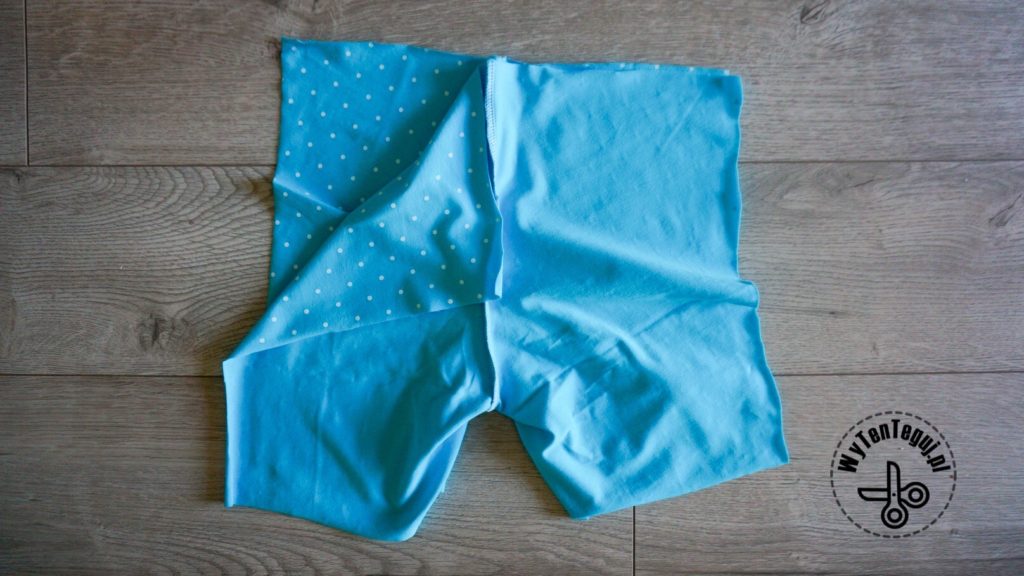
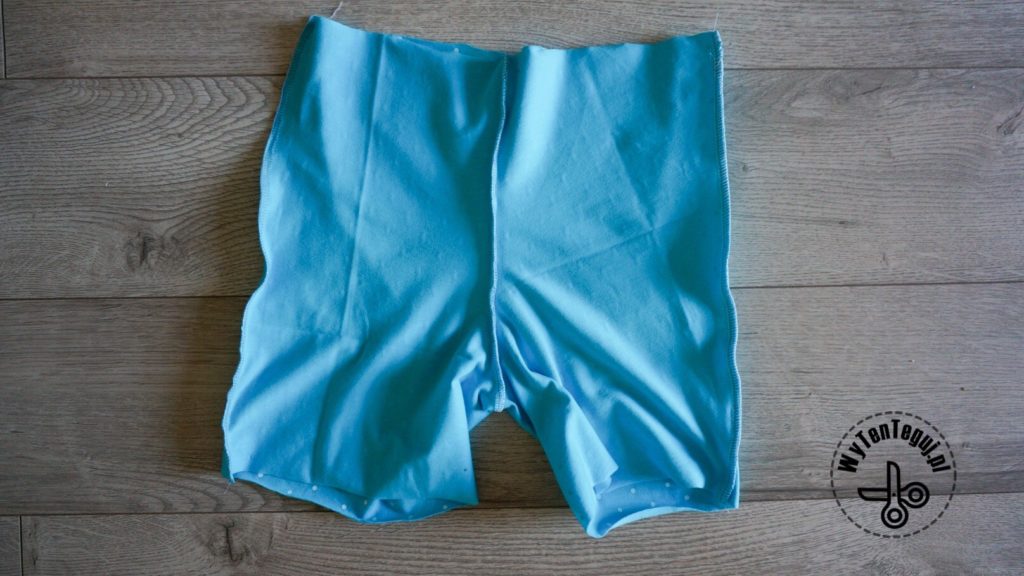
Stitch the bottom and the top edges of the shorts using overlock. Roll up the fabric to inside and iron it. I rolled up 6 cm of fabric for 110/116 size. For the remaining sizes, the length of the hem is given in the table on author’s page.
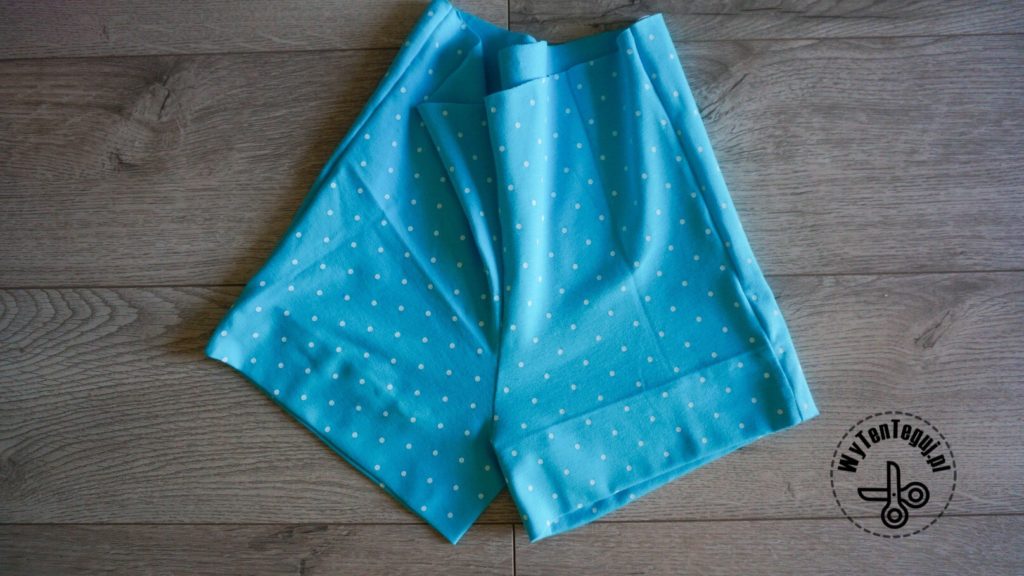
In the next step, roll up the bottom of the shorts again (this time to outside) halfway to the previous one and sew it using straight stitch.
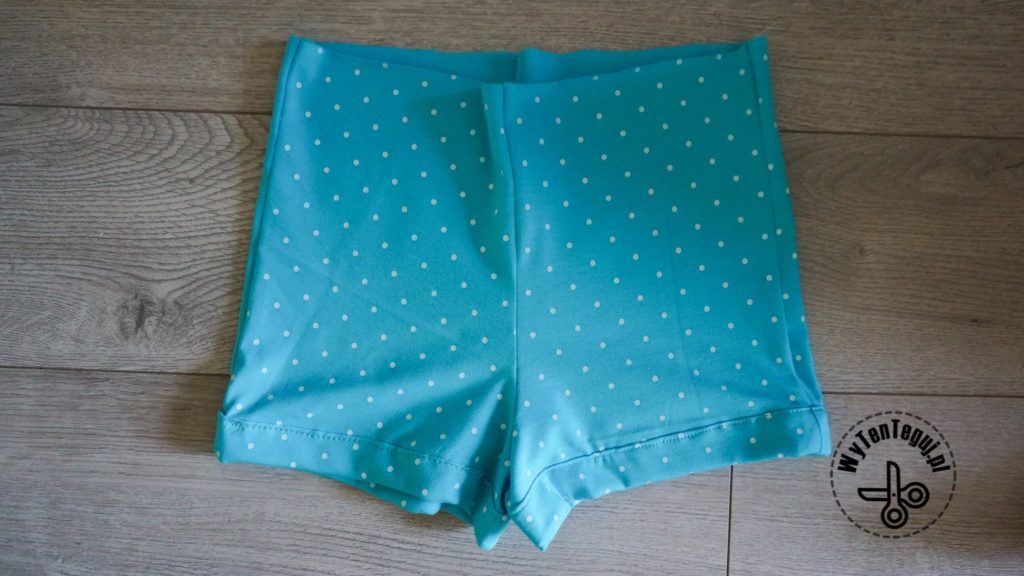
Finally, sew in an elastic band. I used one 4 cm wide. I got needed length by measuring my daughter’s waist and subtracting 10 cm.
Roll up 5 cm of the upper edge of the shorts to inside and sew it with an elastic stitch (I used a zigzag stitch), leaving a small hole. Drag the elastic band and stitch it to connect the two edges. Sew the left hole.
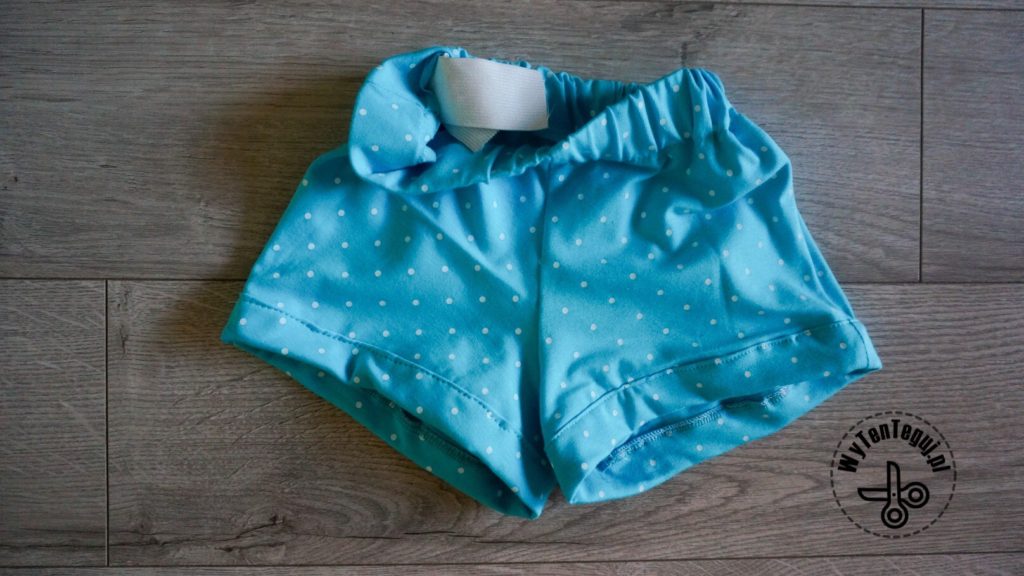
And the shorts are ready! 🙂
Check out our ideas
Are you sewing for kids? Check our ideas, free sewing patterns and tutorials in DIY with sewing machine section.
Follow us in social media
If you want to be up-to-date with our newest posts, like our Facebook fanpage, follow us on Instagram and Pinterest.
I have been passionate about DIY since my childhood, and my innate patience and accuracy make the whole process of creation a lot easier for me and that gives me a lot of satisfaction and pleasure. During my first pregnancy I learnt how to sew, what resulted with few tutorials about sewing clothes for kids on the blog. In the beginning of my second maternity leave, I have learned how to crochet amigurumi from yt. I found out, that I really love it, that’s why so many blog posts describe my crochet creatures.
