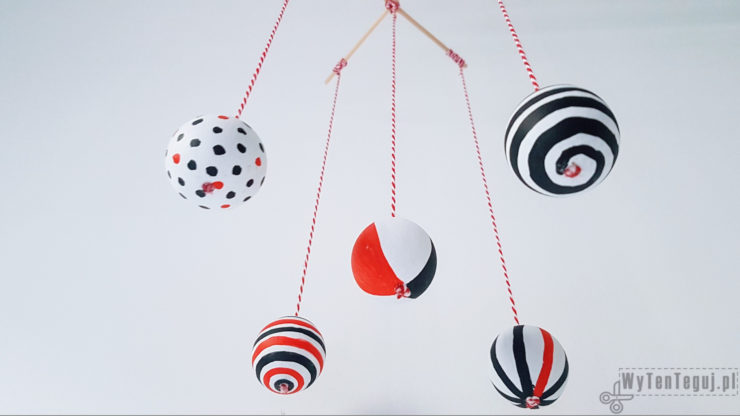
The combination that tigers like best, i.e. painted wooden balls and Montessori methodology. Montessori Mobile is the proposition for our Little ones.
At the beginning of their lives, babies can only see contrasting black and white images. After about 1-2 months, they begin to notice the red color, after next months – green and yellow. That is why moving contrasting images catch babies attention.
Hereby I invite you to Montessori Mobile tutorial.
If you want to be up-to-date with our newest posts about DIY, like our Facebook fanpage.
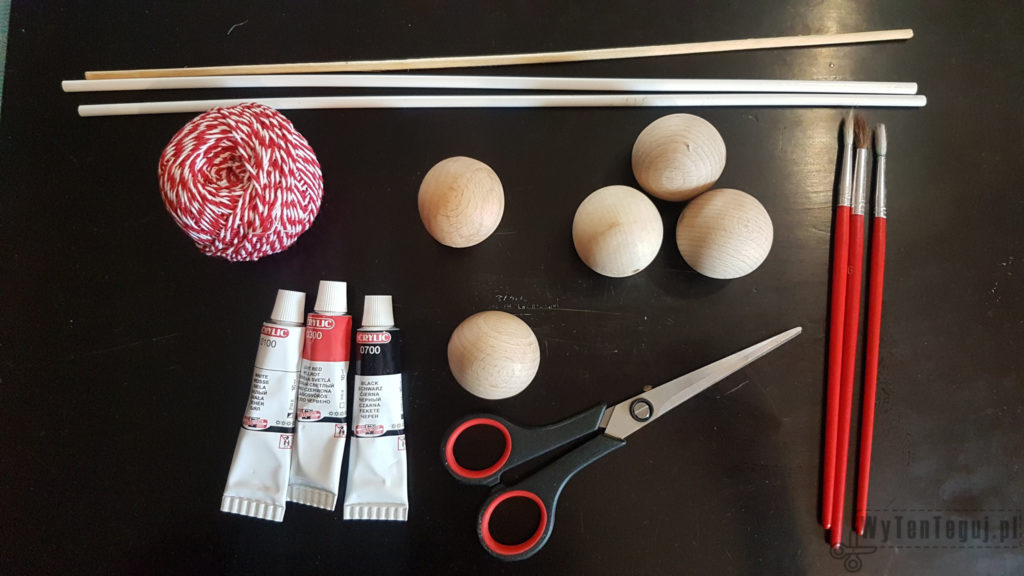
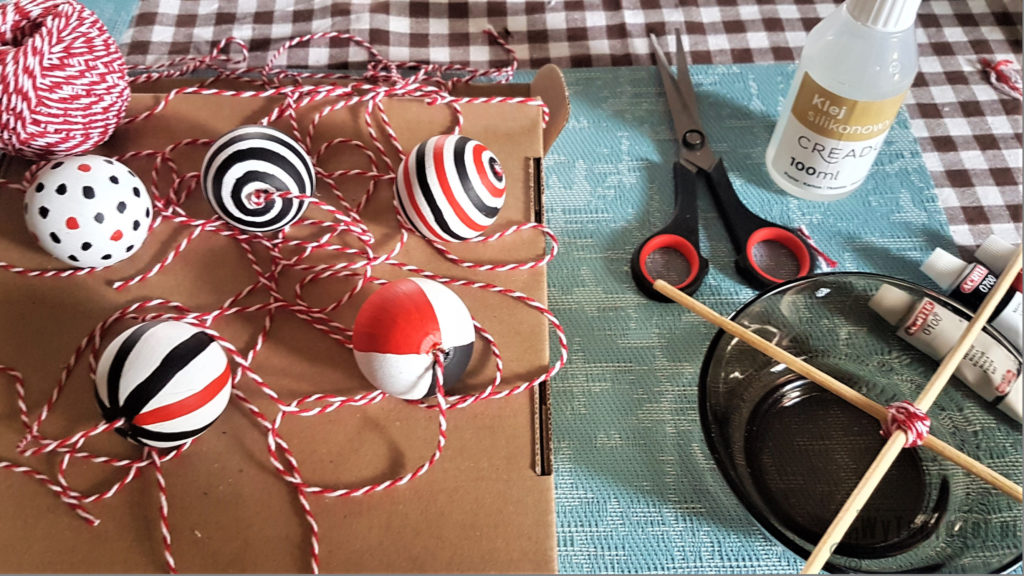
Supplies
- Wooden balls
- Acrylic paints
- Brush
- Sticks
- Glue
- Twine
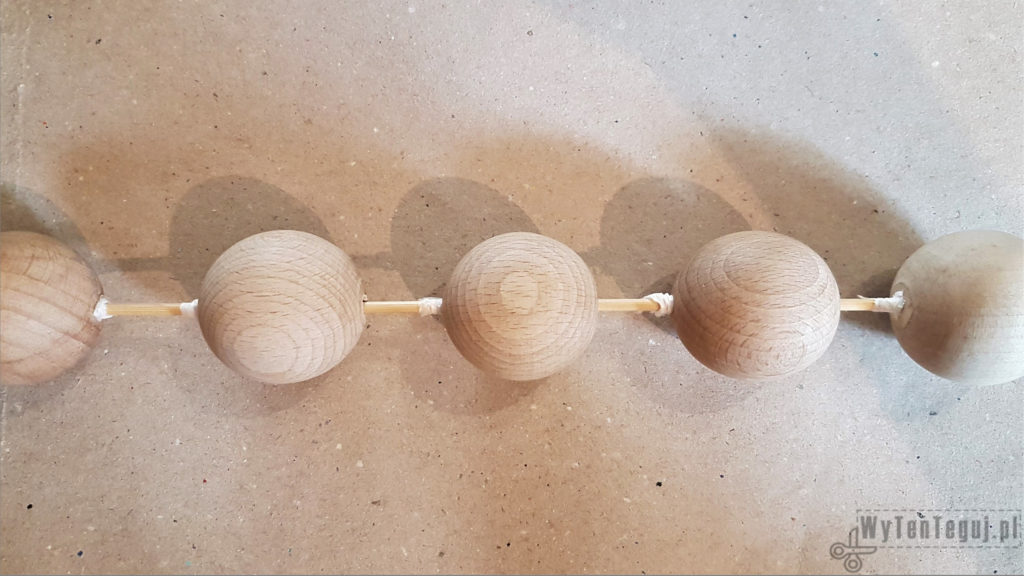
Painting the wooden balls
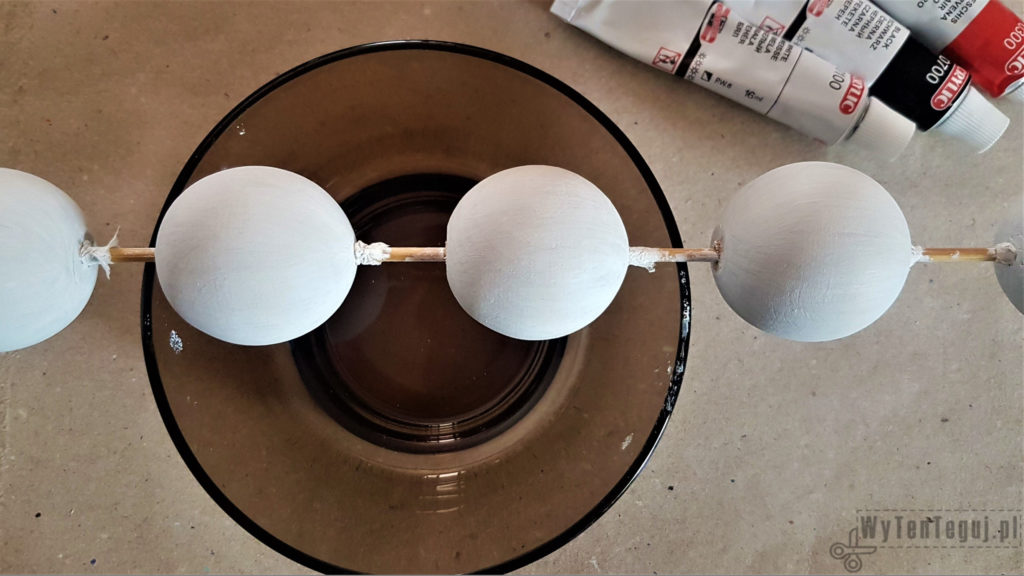
Start by stuffing the balls onto a stick so that they are stationary. This trick makes painting much easier.
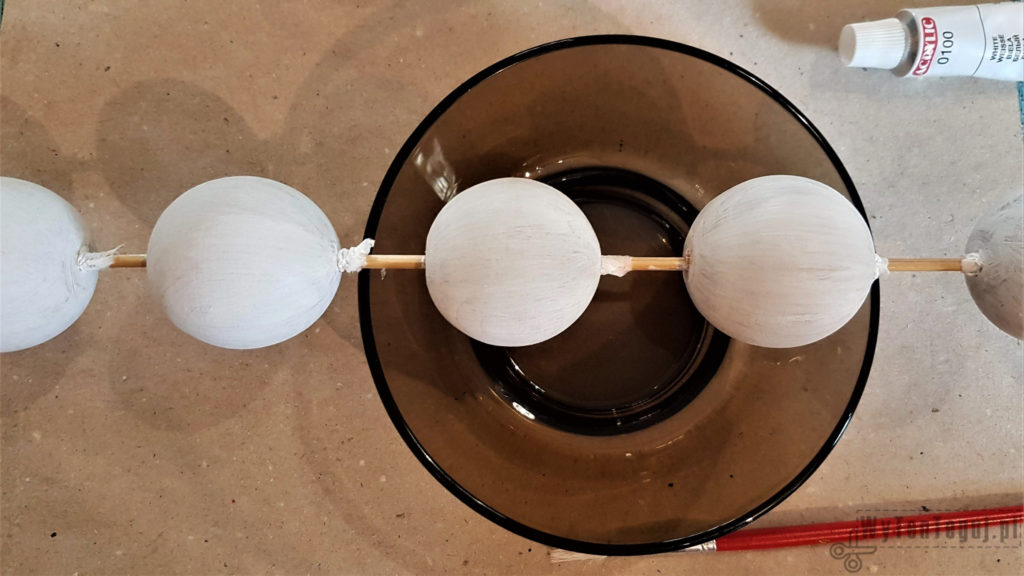
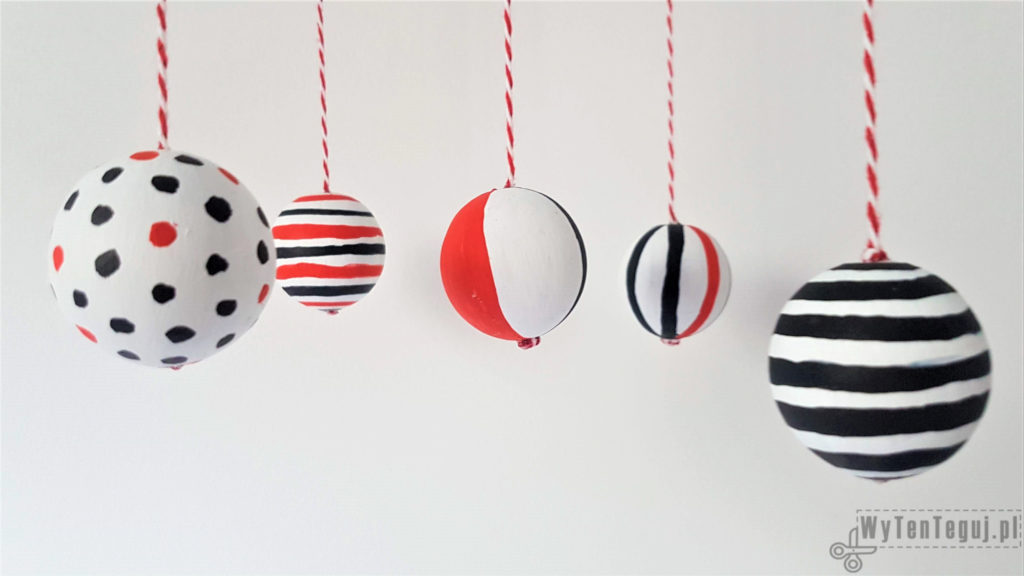
Then paint the balls with white paint, apply 2 layers.
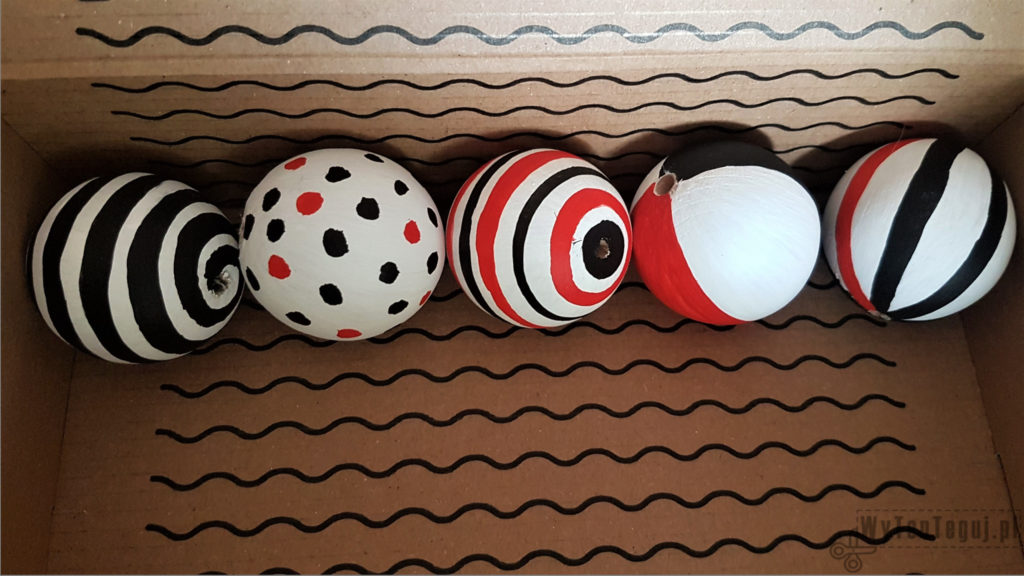
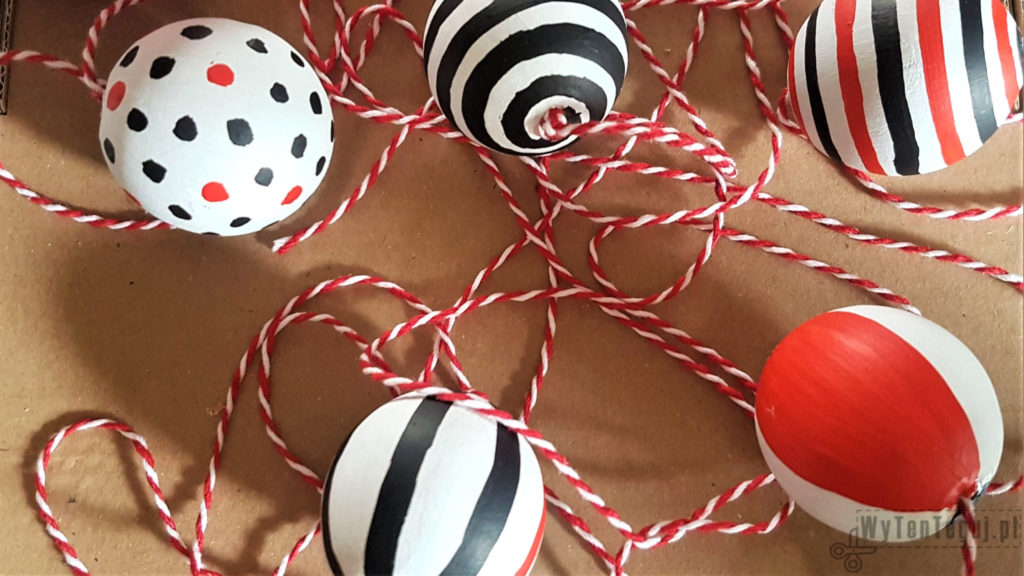
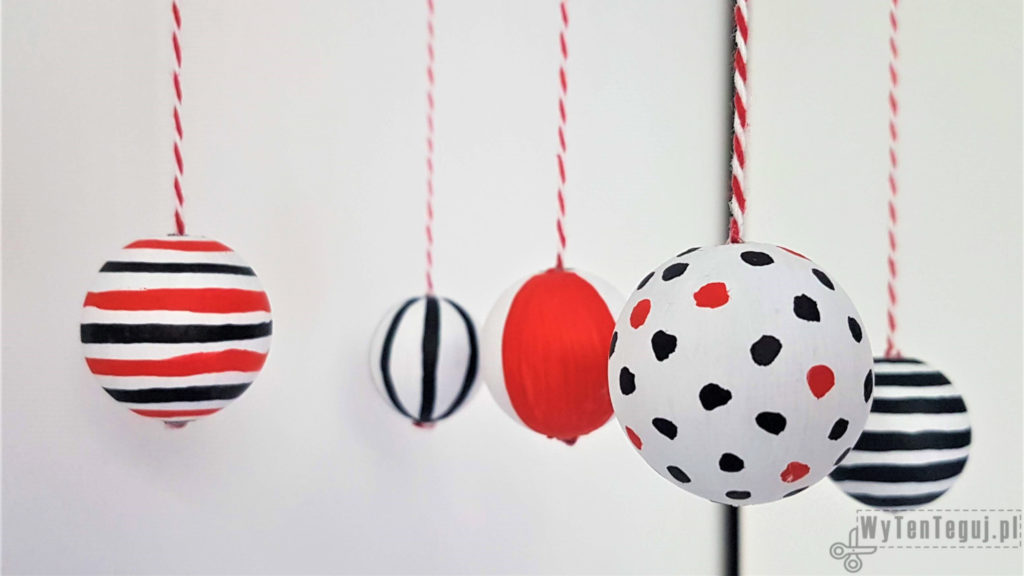
Now it’s creative time. Think about patterns that you are going to paint. It is important that the contrasts are clear. Combine white with black or white with red. Instead, avoid combining red with black.
I decided on dots, vertical stripes, horizontal circles, spiral and colorful quadrants.
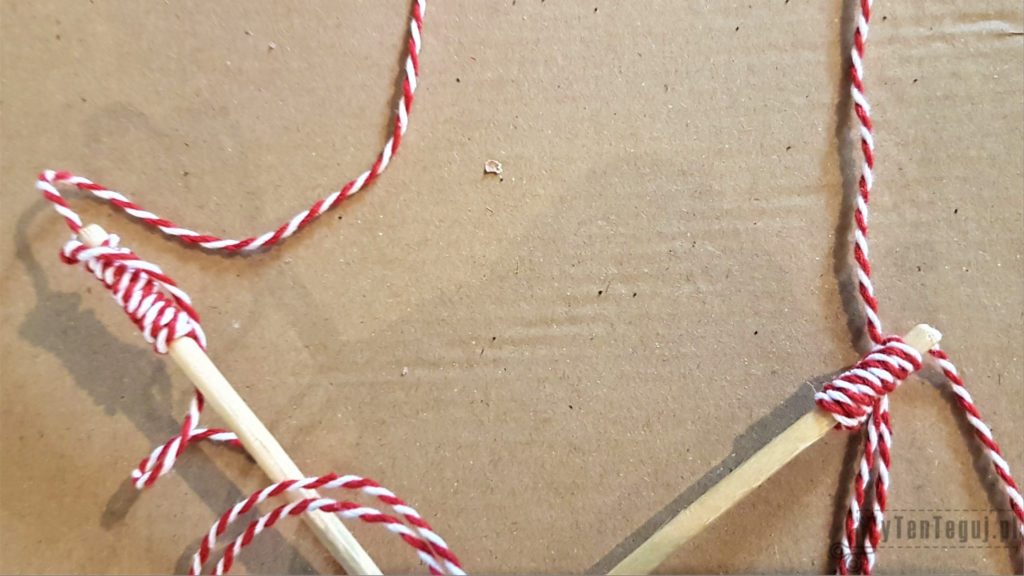
Making of the hanger base
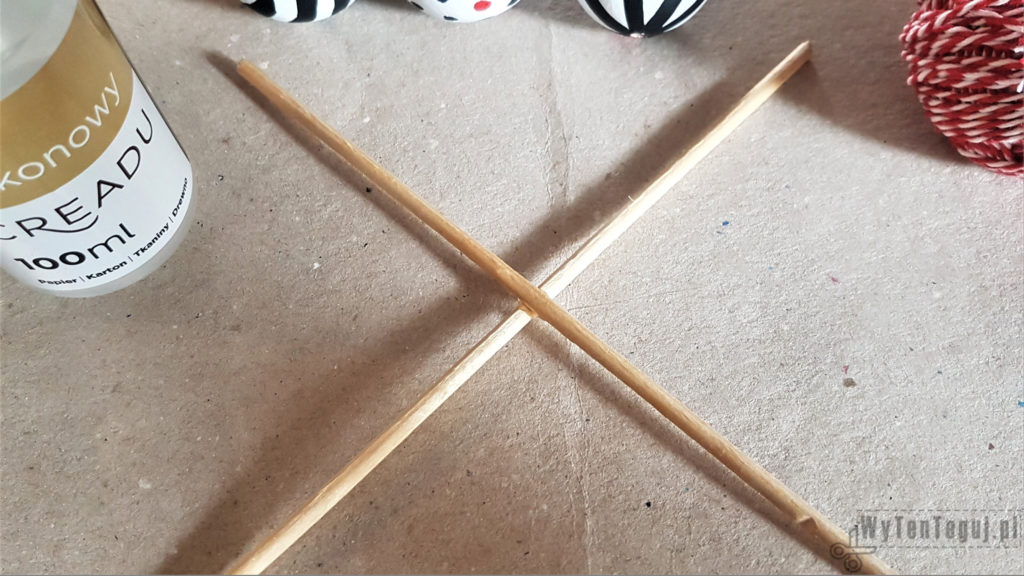
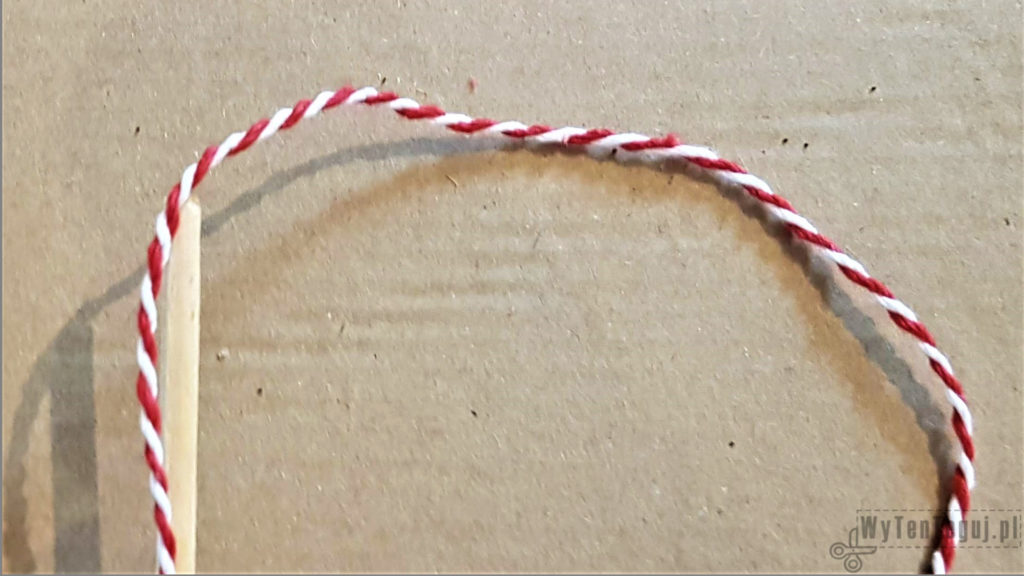
In this step, prepare the base on which the balls will hang. I made my task a bit difficult because I decided to use a wooden cross. An easier option is one stick or a wooden circle (e.g. embroidery hoop).
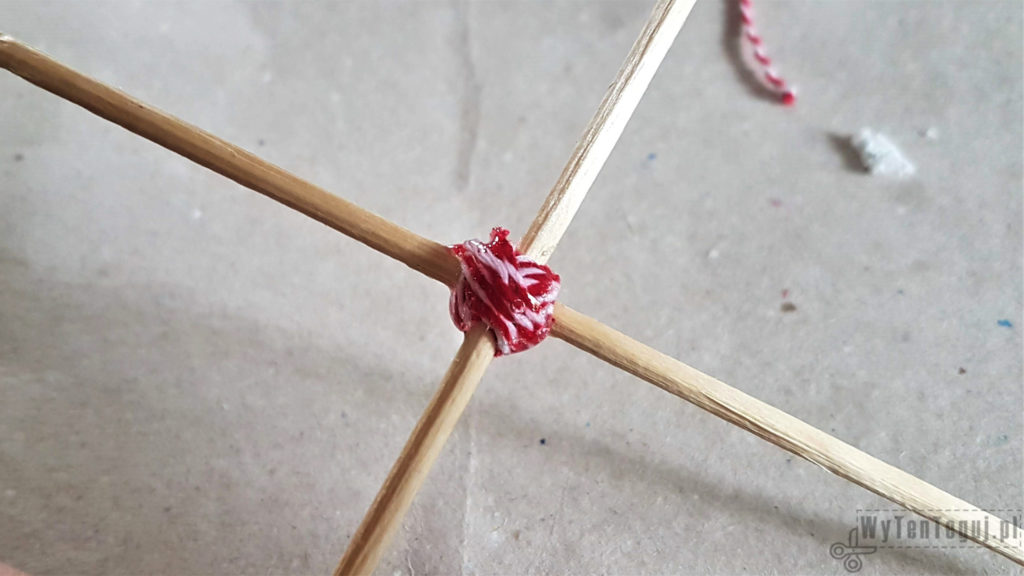
I started by crushing the sticks a littke at the joint so that they stick more closely to each other.
Then I glued the sticks.
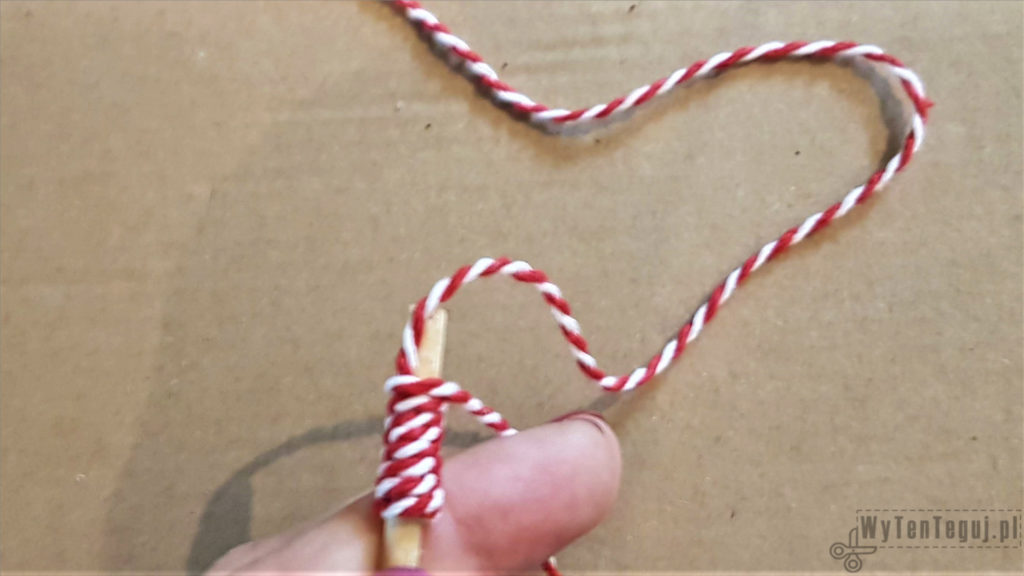
In the next step, I wrapped the string around the joint and sinked the knot with glue.
This is double caution, but I wanted to be sure that the balls will not fall on the little one’s head.
Attaching balls on a string
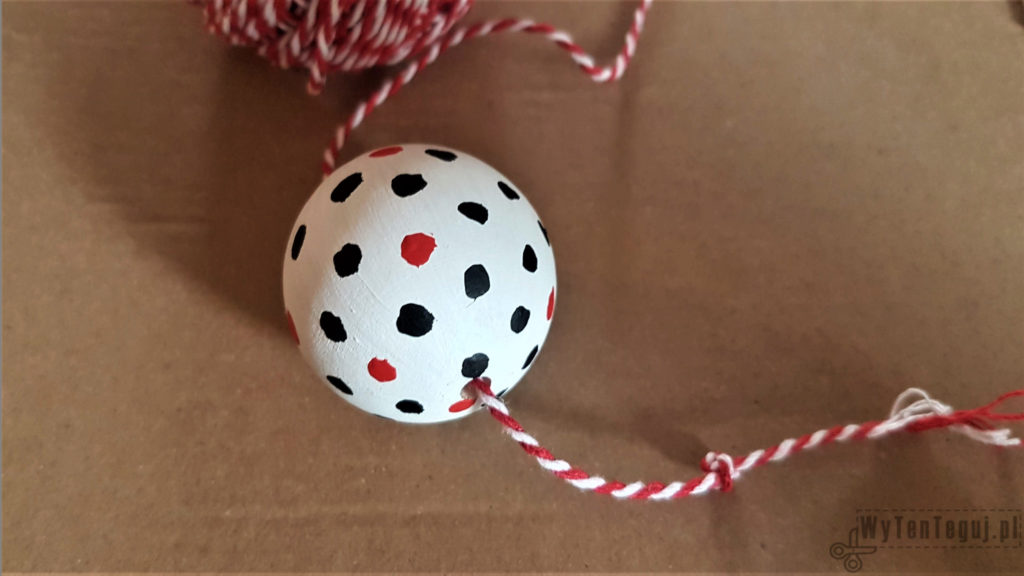
I started threading the balls on a string. At the end of the string I made a large knot so that the ball could not pass through it. Again, for absolute certainty of fixing, I filled the hole with glue.

Combining of all elements of Montessori Mobile
The final step in making Montessori Mobile is attaching the balls to the base. To do this, wrap a stick with string and tie a strong knot at the end. Wrapping is not necessary, but it looks cool and allows you to control the length of the toy.
Finally, mount the pendant and adjust the length of the strings so that the balls hang evenly.
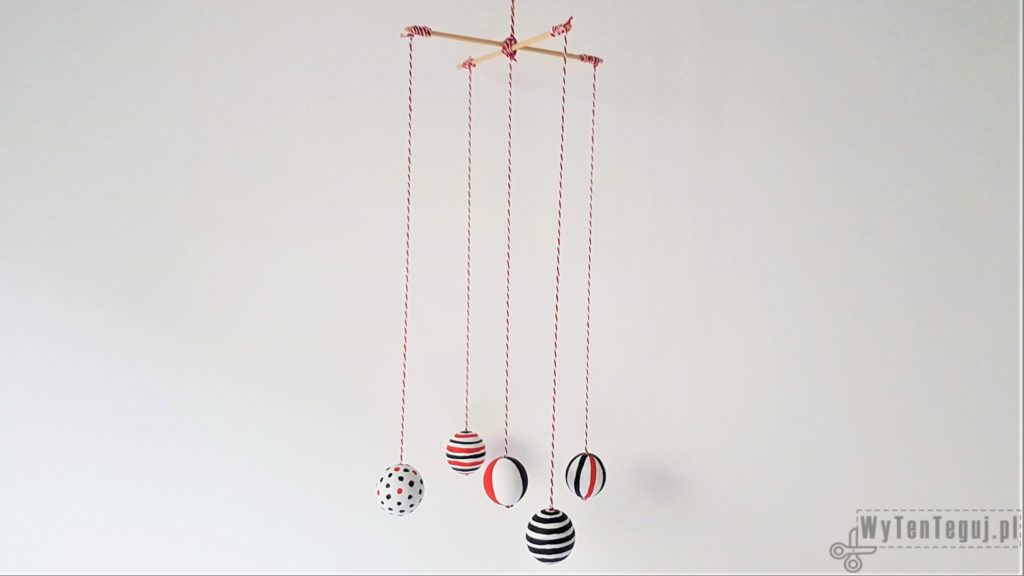
The toy is ready. Now hang it over the Little one and let him or her enjoy it 🙂
If you are looking for more inspiration for DIY with children you can find it in our Kids section in others or Montessori.
Inspiration found on Pinterest.
Nothing gives more satisfaction than doing something yourself. I haven’t even thought about DIY as my hobby, I’ve just done different “projects” when it was needed. Sometimes it’s a disguise for the Masquerade Party in kindergarten. Another time, cutting out the pumpkin and baking the witch’s fingers for Haloween. Or simply organizing holiday souvenirs. Now I decided to share my realizations with you. Let’s go it together!
