Pom pom Montessori Mobile is another toy for Little ones. It can be used from the first month. The first version of mobile was based on painted wooden balls. The pom pom version is easier to make, although it is a bit less spectacular. There are contrasts and pom poms move, hence the mission is completed. Additionally it takes about 2 hours to complete.
At the beginning of their lives, babies can only see contrasting black and white images. After about 1-2 months, they begin to notice the red color, after next months – green and yellow. That is why moving contrasting images catch babies attention.
Hereby I invite you to Montessori Mobile tutorial.
If you want to be up-to-date with our newest posts about DIY, like our Facebook fanpage.
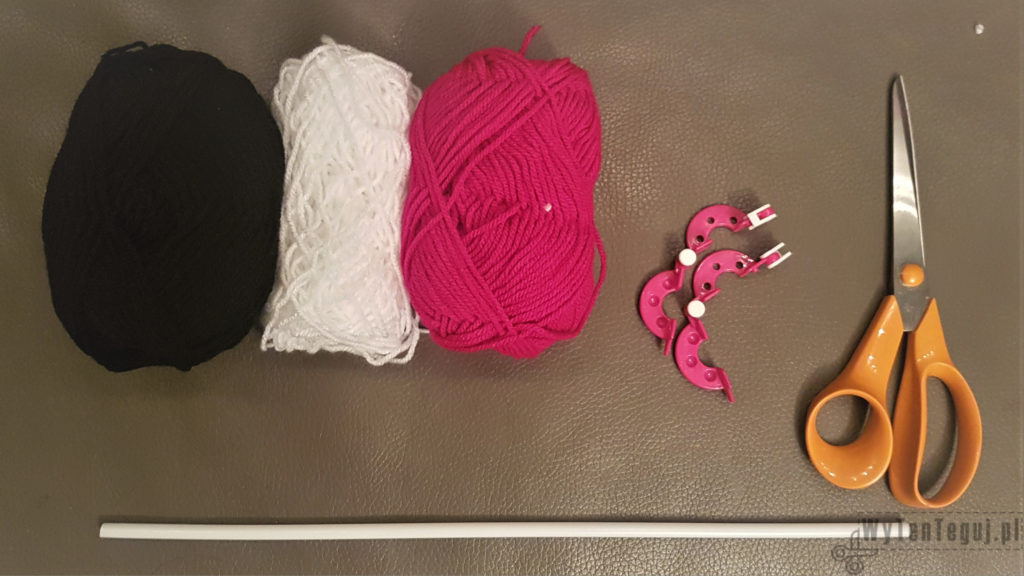
Supplies
- Yarn: white, black and red (although I used magenta)
- Pom pom maker or other tool about which you can read here
- Scissors
- Some kind of stick
Making of pom poms
Here you can find instructions on how to make basic pompoms. I used the smallest pom pom maker. This time I needed multi-colored pom poms. I made them for the first time, so I decided on simple variants.
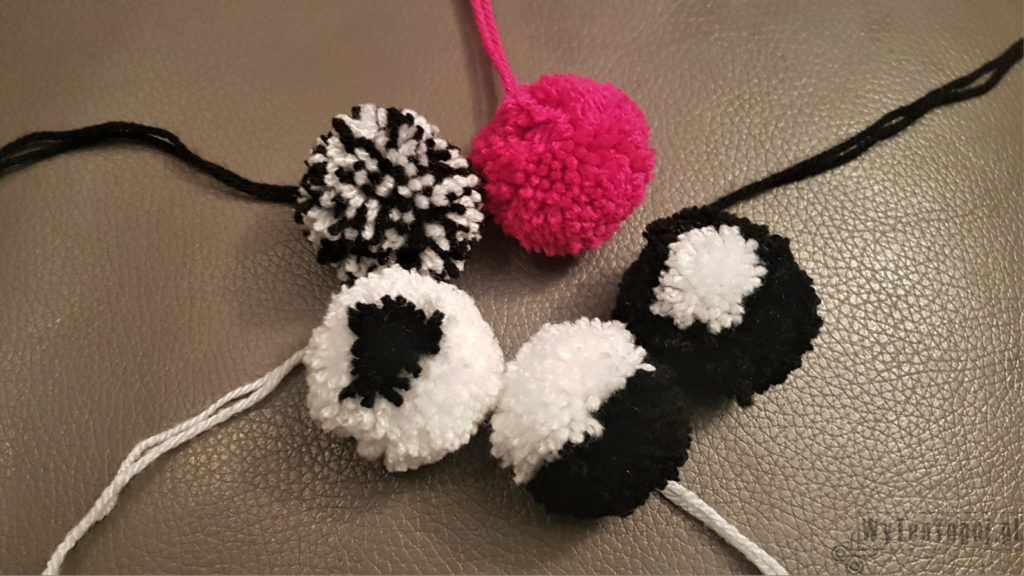
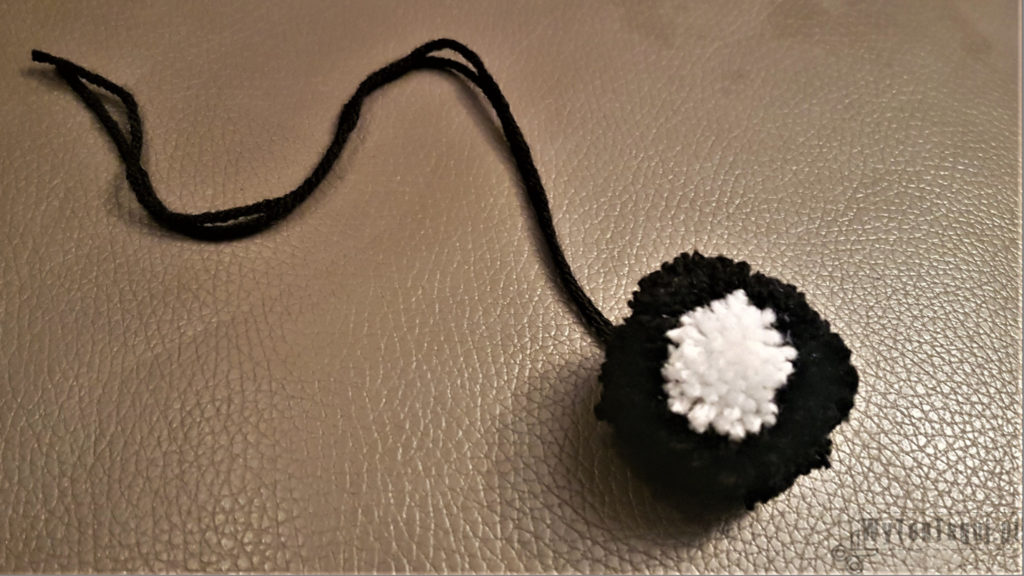
Black pom pom with white dot
This pom pom looks like a black billiard ball 🙂 On one side of the device, wind the white yarn. Complete the rest and cover with black yarn. Wrap the other side with black yarn only.
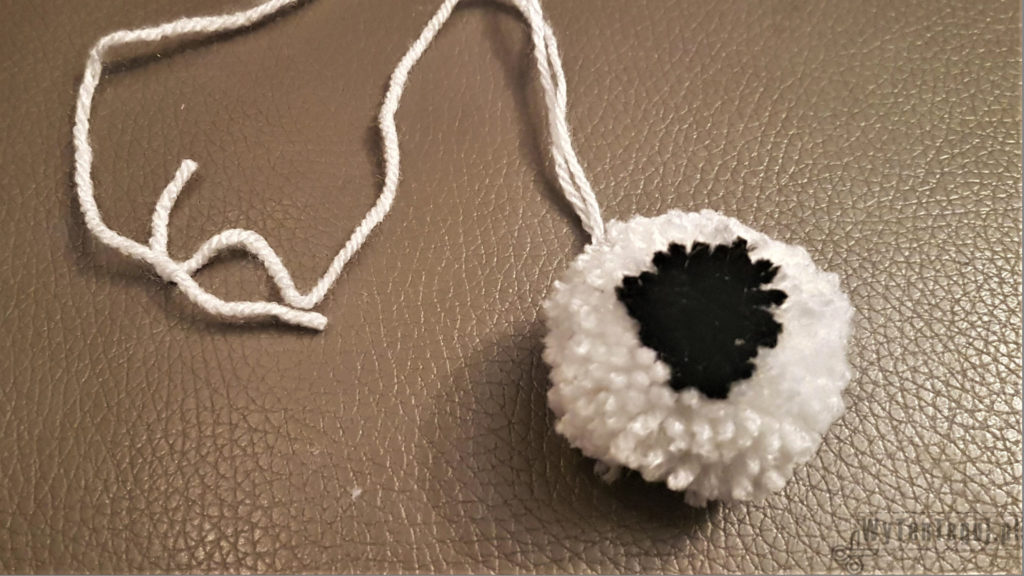
Make another pom pom in the same way, but swap the colors. Thanks to which you will get the negative of the previous pom pom.
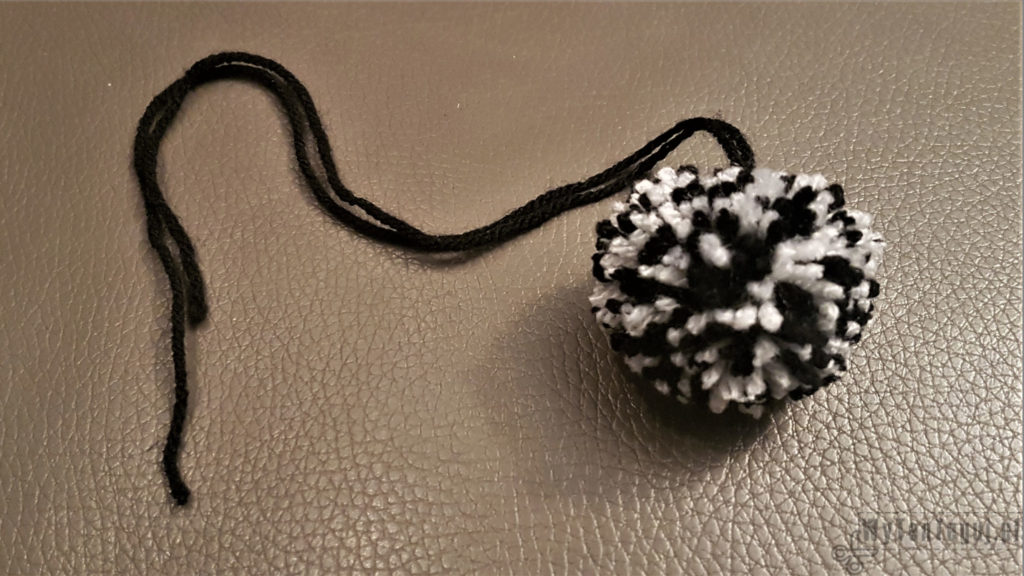
Melange pom pom
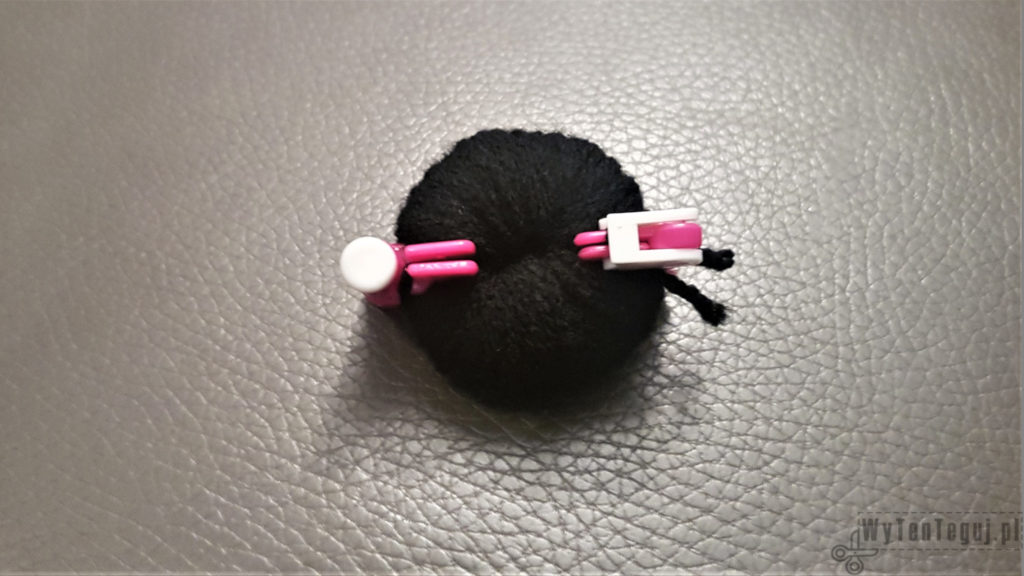
This is a simple pom pom. Wind the white and black yarn at the same time on both sides of the pom pom maker.
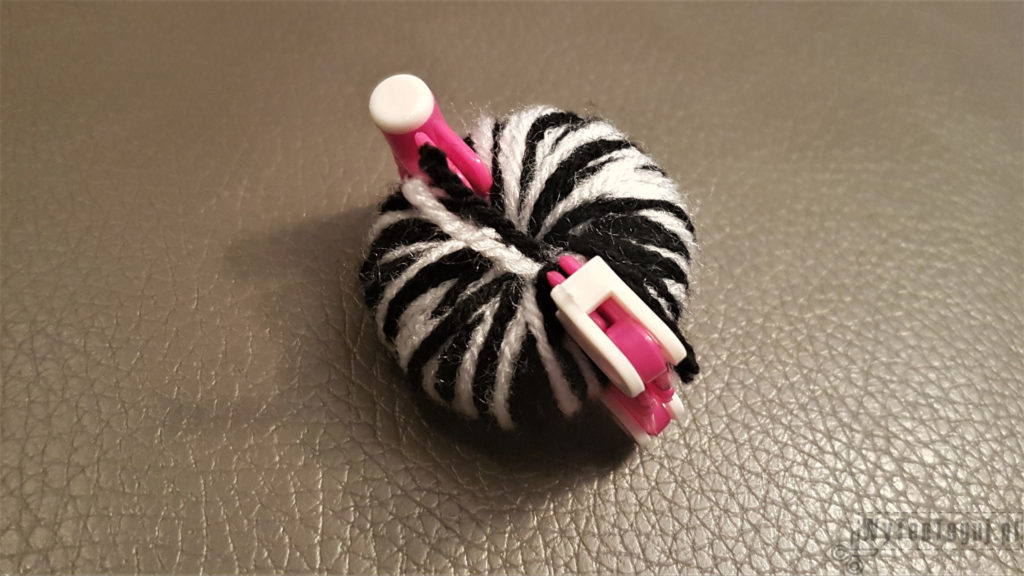
Two color pom pom
You will get the perfect contrast by winding white yarn on one side and black on the second side.
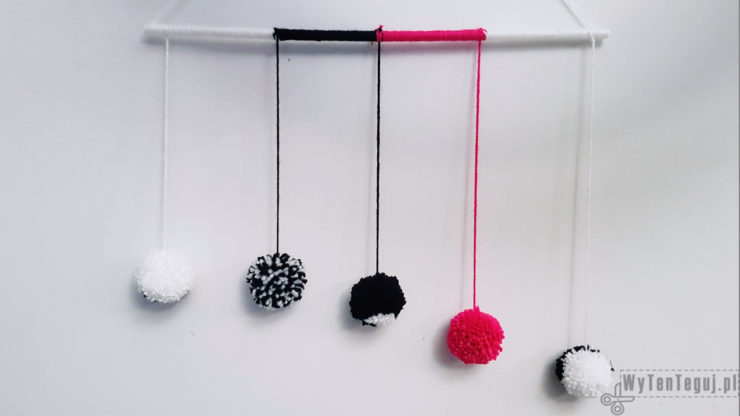
Pom pom Montessori Mobile
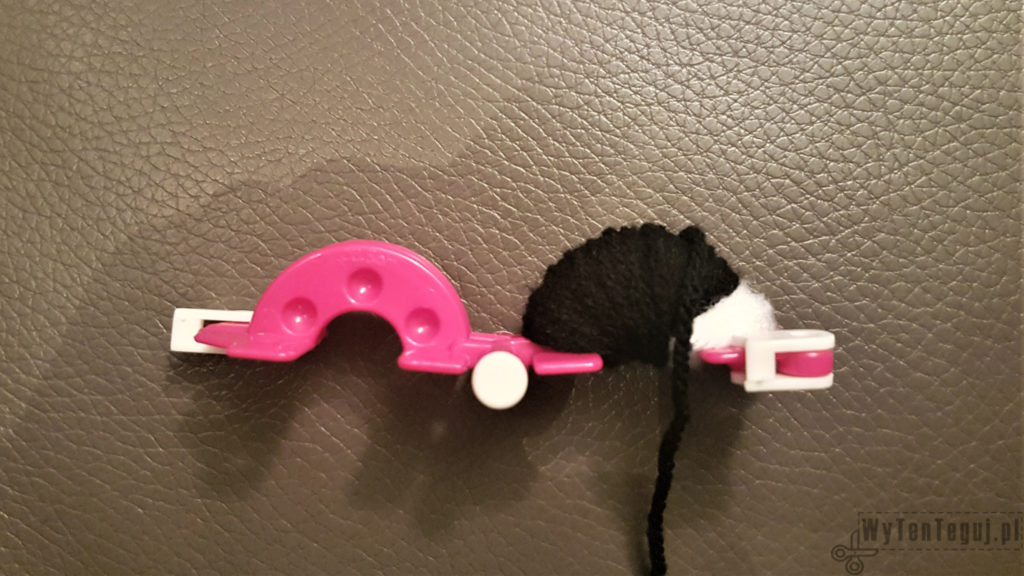
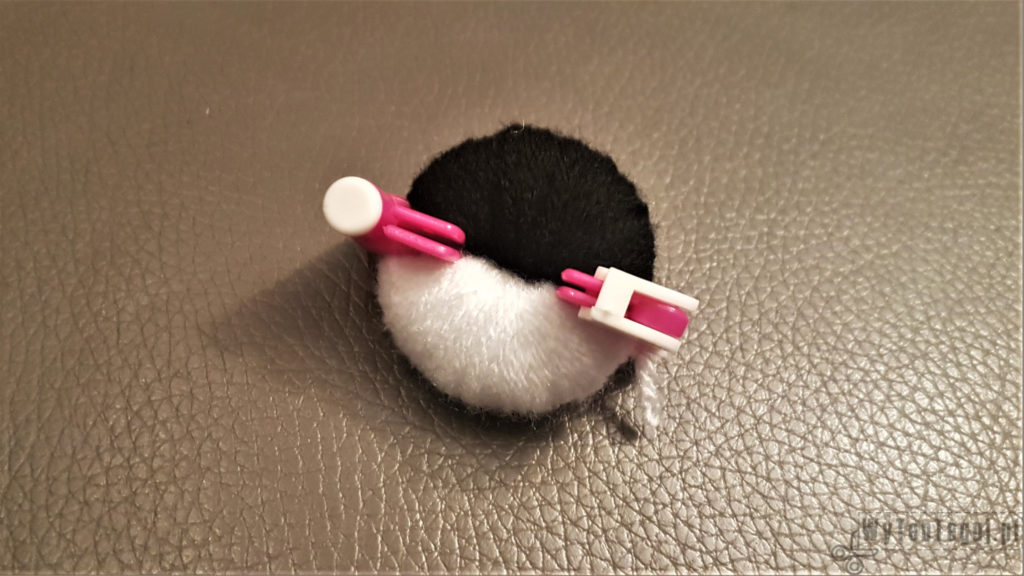
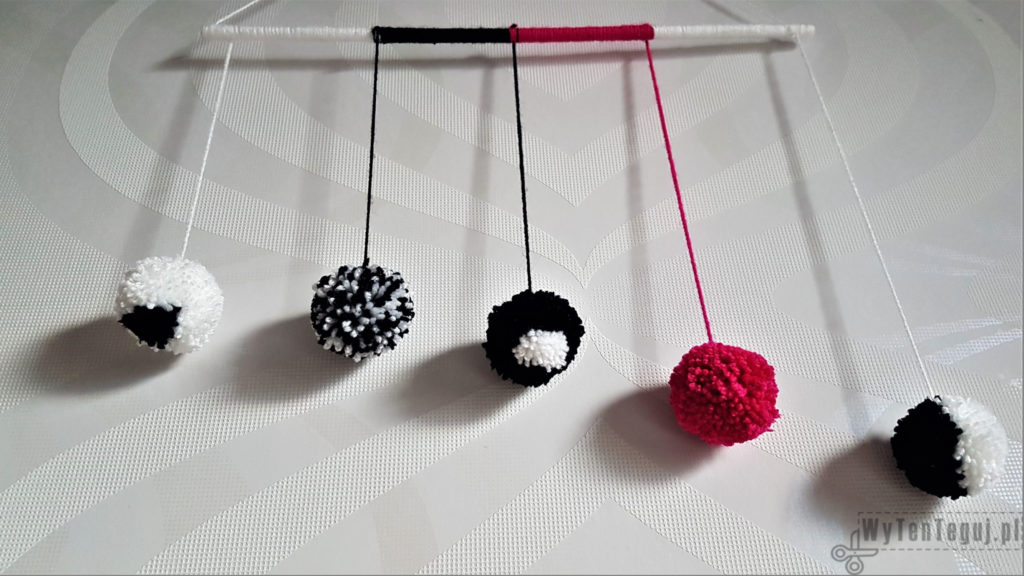
The final stage is the attachment of pom poms on the stick. There are several options for pom poms configuration. They can be all on one level, diagonally or arbitrarily on different lengths. I decided to place them diagonally.
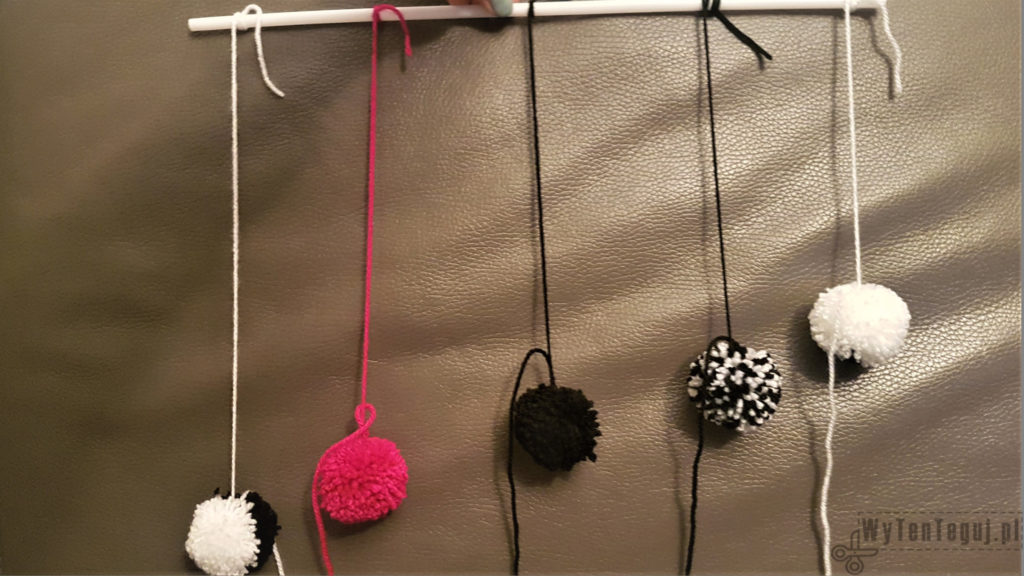
The whole thing doesn’t look very good yet. Above all, cut off unnecessary yarns as well as protruding fluff on pom poms.
I decided to additionally wrap the stick with yarn to make it look professionally finished. This is how it looks from the bottom, i.e. from little one’s point of view.
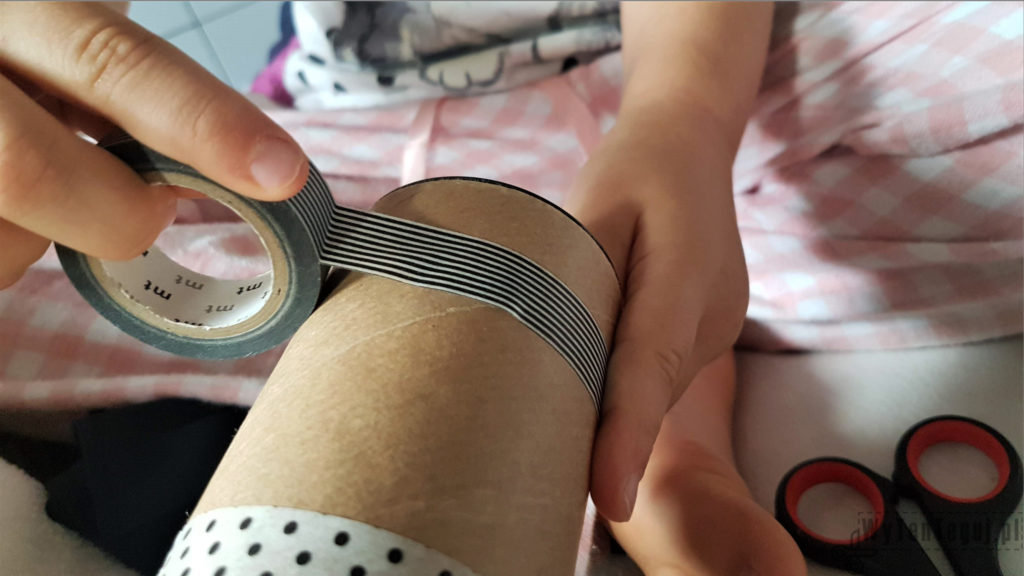
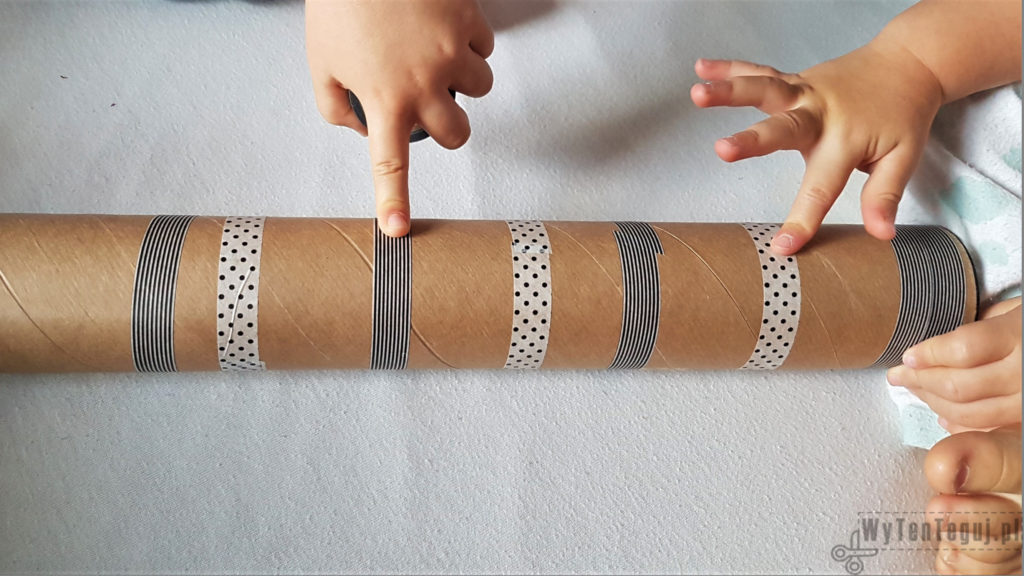
Our mobile was a gift, so together with the girls we packed it into a paper tube decorated with black and white washi tape. It looked abstract (read: uneven), but it was a lot of fun 🙂
If you are looking for more inspiration for DIY with children you can find it in our Kids section in others or Montessori.
Nothing gives more satisfaction than doing something yourself. I haven’t even thought about DIY as my hobby, I’ve just done different “projects” when it was needed. Sometimes it’s a disguise for the Masquerade Party in kindergarten. Another time, cutting out the pumpkin and baking the witch’s fingers for Haloween. Or simply organizing holiday souvenirs. Now I decided to share my realizations with you. Let’s go it together!
