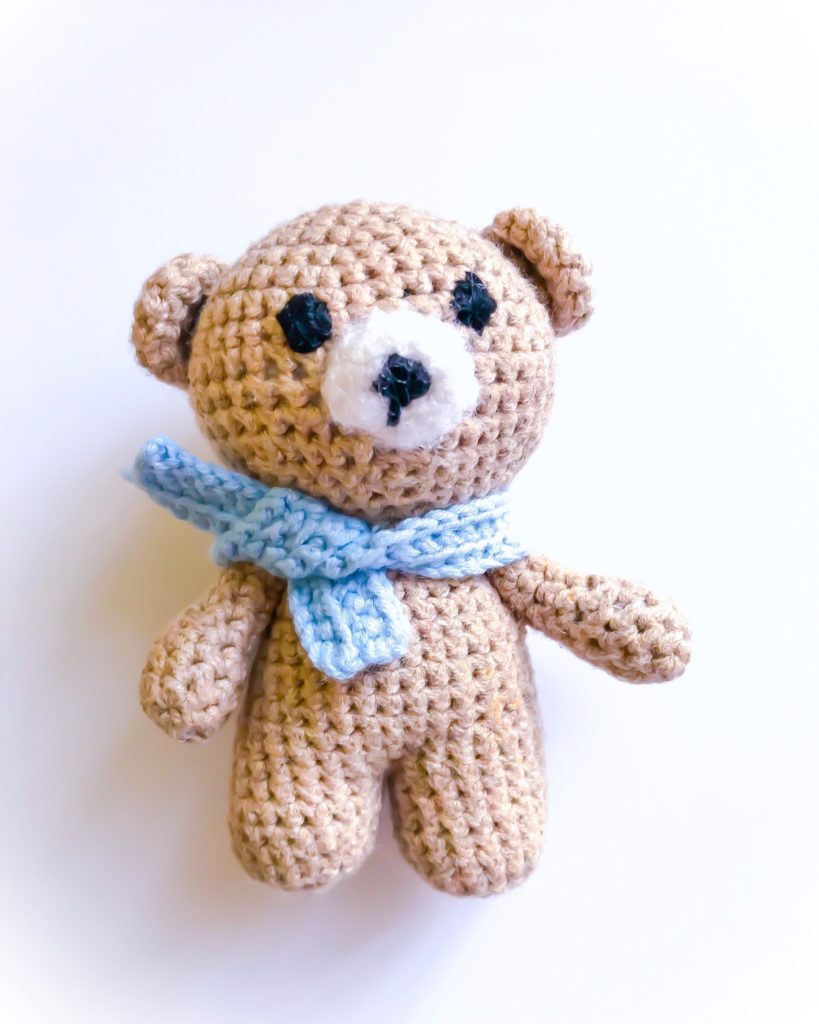
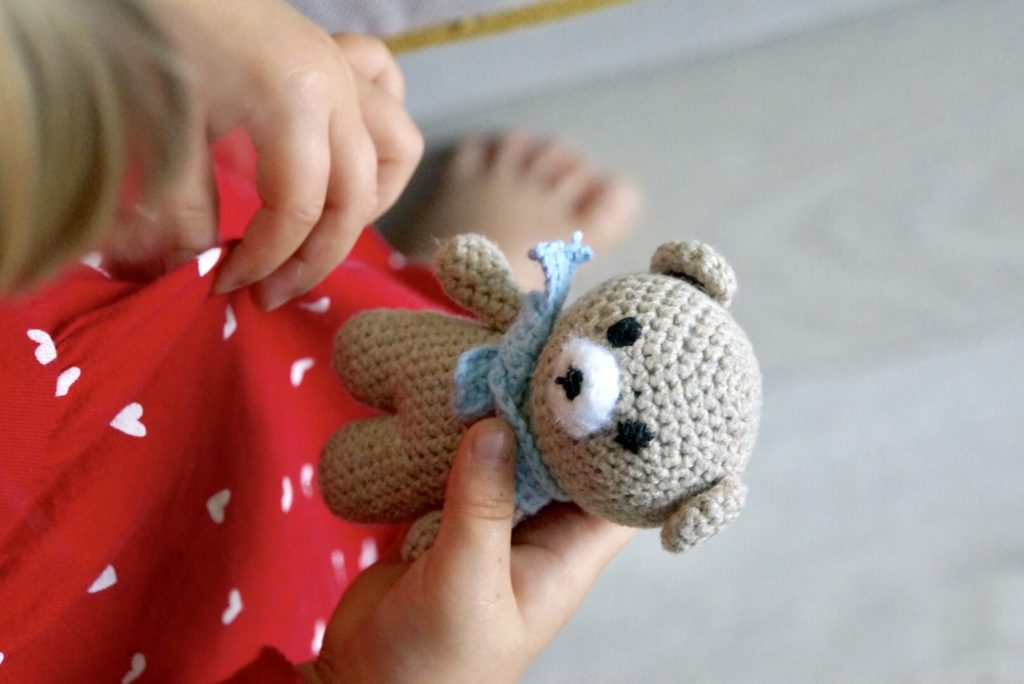
Recently, I have had very few opportunities to use sewing machine. My children wake up from a nap as soon as I blink eyelashes, and what would it be if I run overlock. So I dug up my dusty crochet hook and ta-da! – cute amigurumi teddy bear is ready 🙂
If this name says nothing to you, I will hurry up with an explanation. This concept means the Japanese art of creating crochet mascots stuffed with soft material. The name itself is a compound of two words: ami meaning crocheted or knitted object and nuigurumi meaning mascot.
In today’s post, I would like to summarize the most important information on how to start creating such a crochet works. Enjoy! 🙂
If you want to be up-to-date with our newest posts, like our Facebook fanpage, follow us on Instagram and Pinterest .
What do you need?
- Yarn in three colors: for teddy bear’s body, muzzle and scarf. For the first time I chose Alize Cotton Gold
- Crochet hook of the right size (you can find this information on each yarn)
- Embroidery floss for the nose and eyes (or safe eyes)
- Silicone balls for stuffing
How to do it?
Free crochet pattern is from this page. Very detailed explanation of particular steps is described here (for polish speaking readers only). If descriptions and pictures do not appeal to you, try to watch video tutorials on YouTube.
- First of all the teddy bear head is formed. Remember to place safe eyes between round 10 and 11. After finishing the 17th row fill the head with a silicone balls.
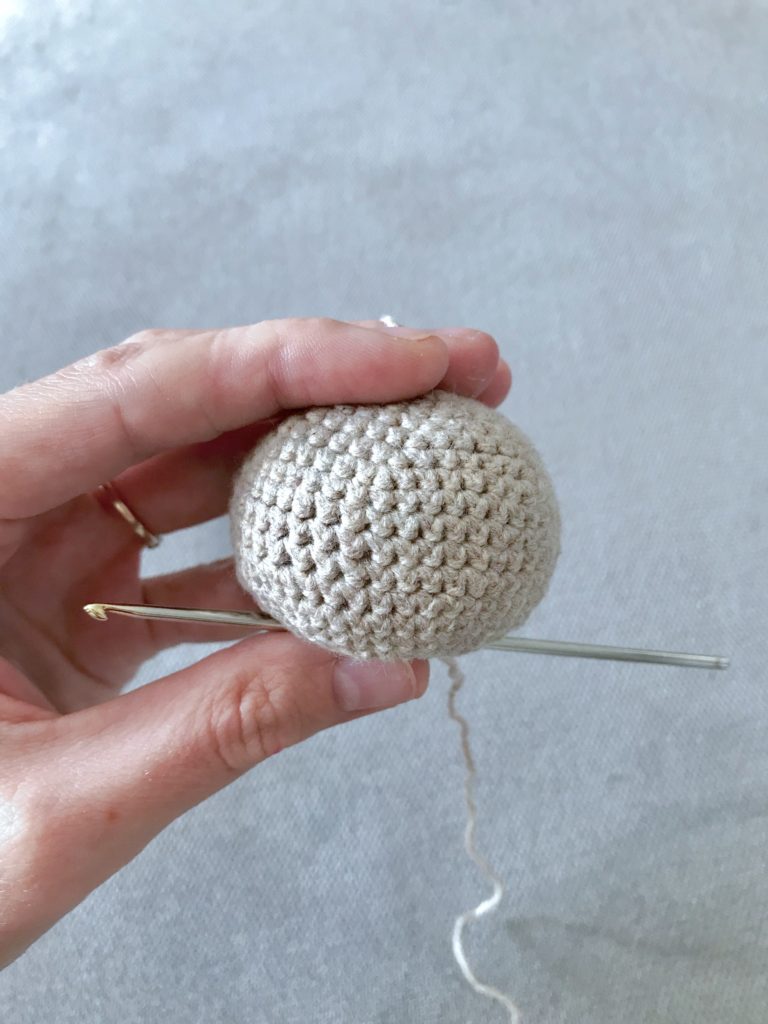
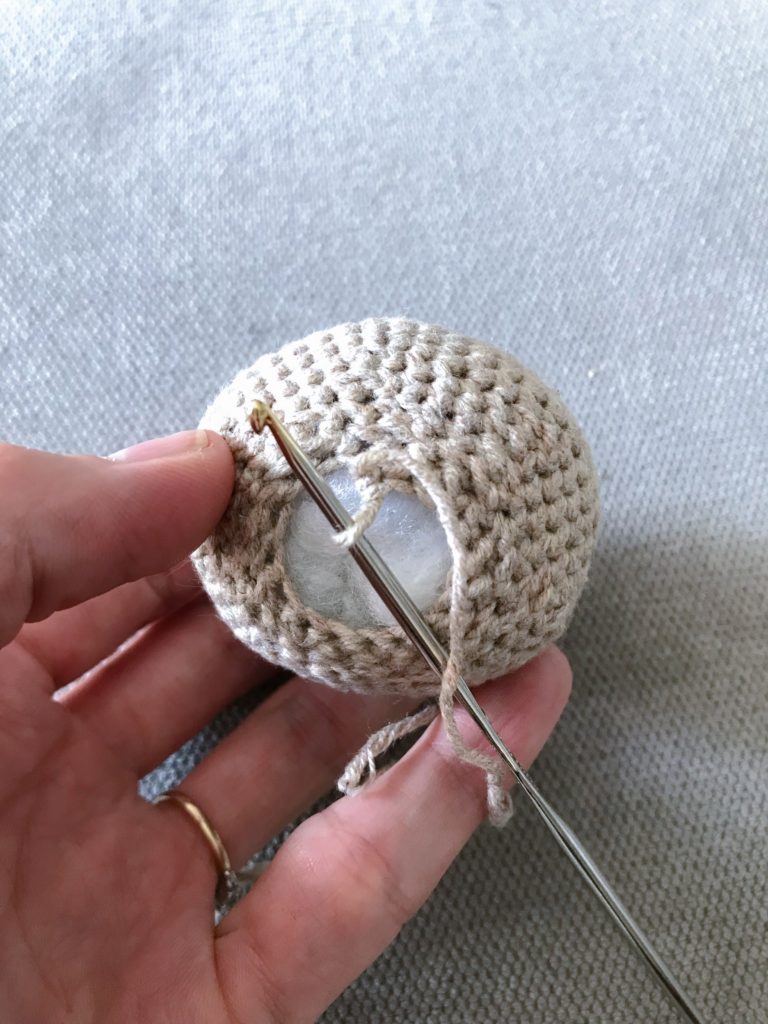
- After finishing the head, do not cut the yarn. The next rounds are creating the teddy bear’s body.
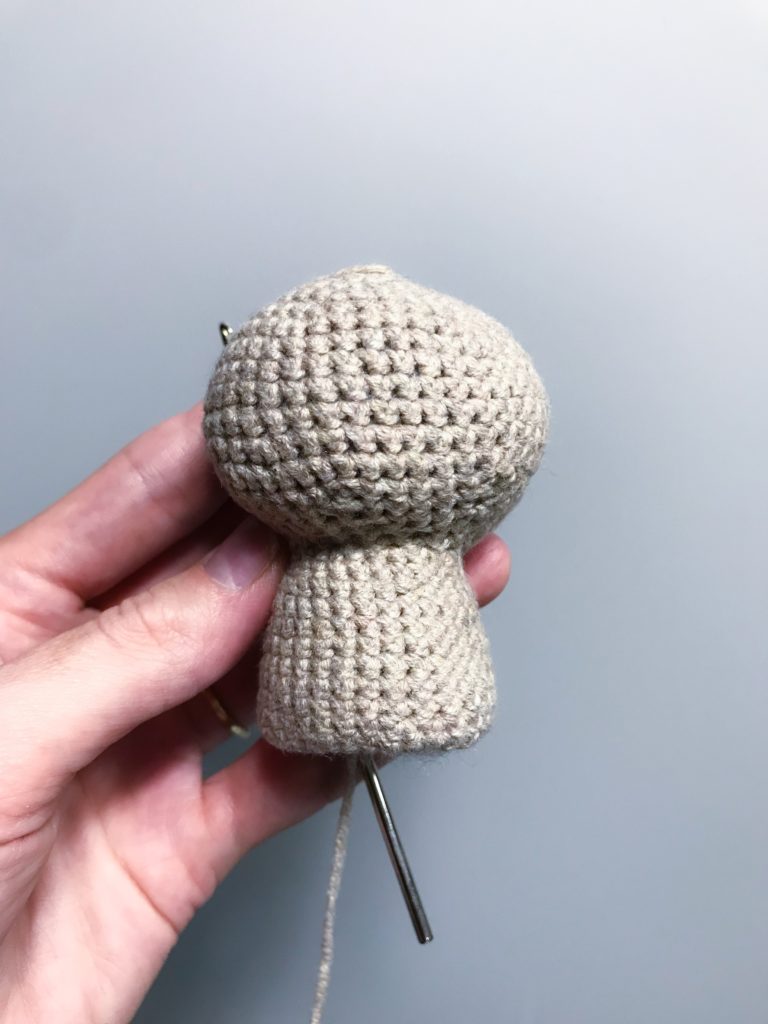
- In the meantime, fill it with silicone balls.
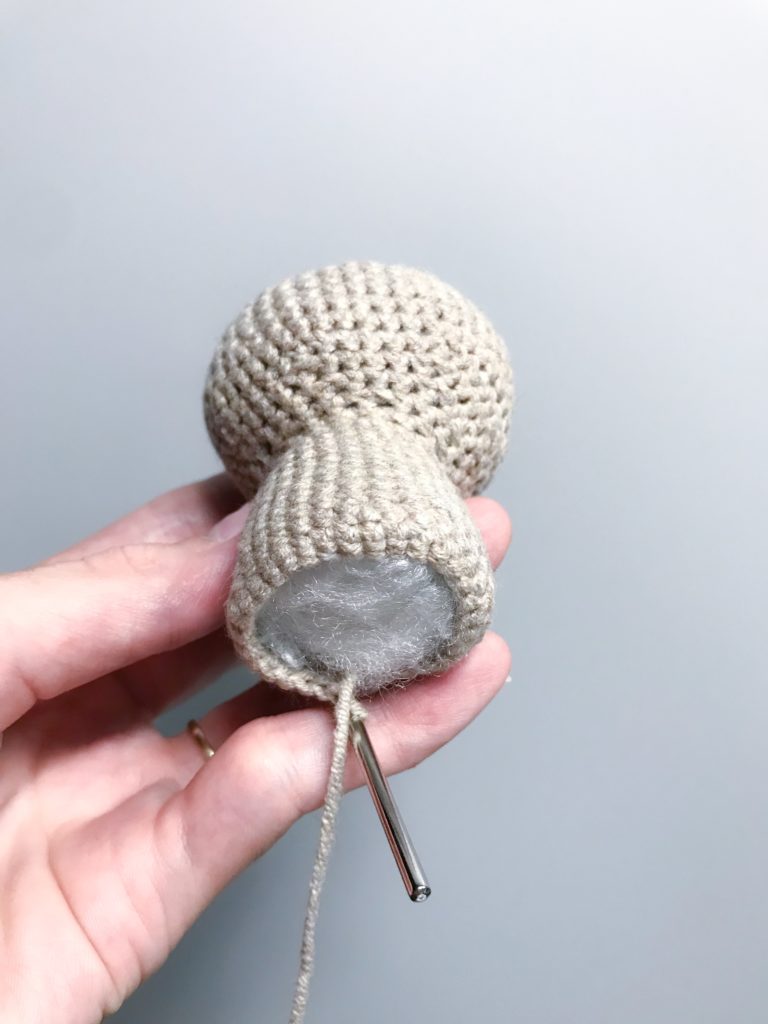
- Then divide the body in two equal parts and begin crocheting the teddy bear’s legs.
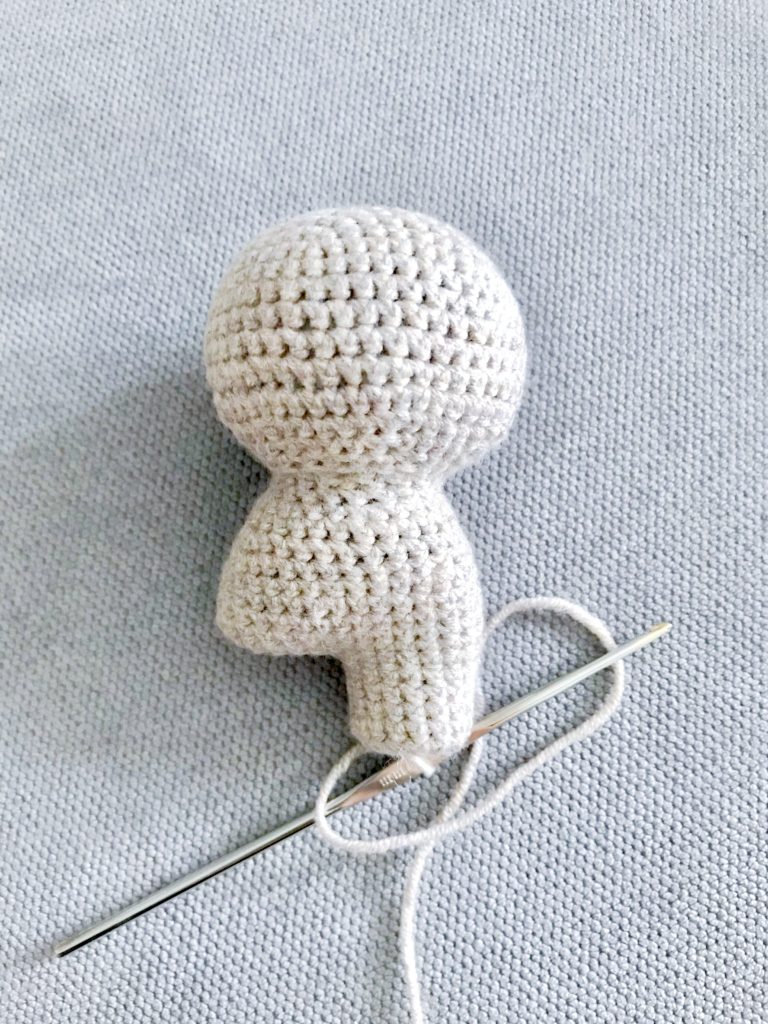
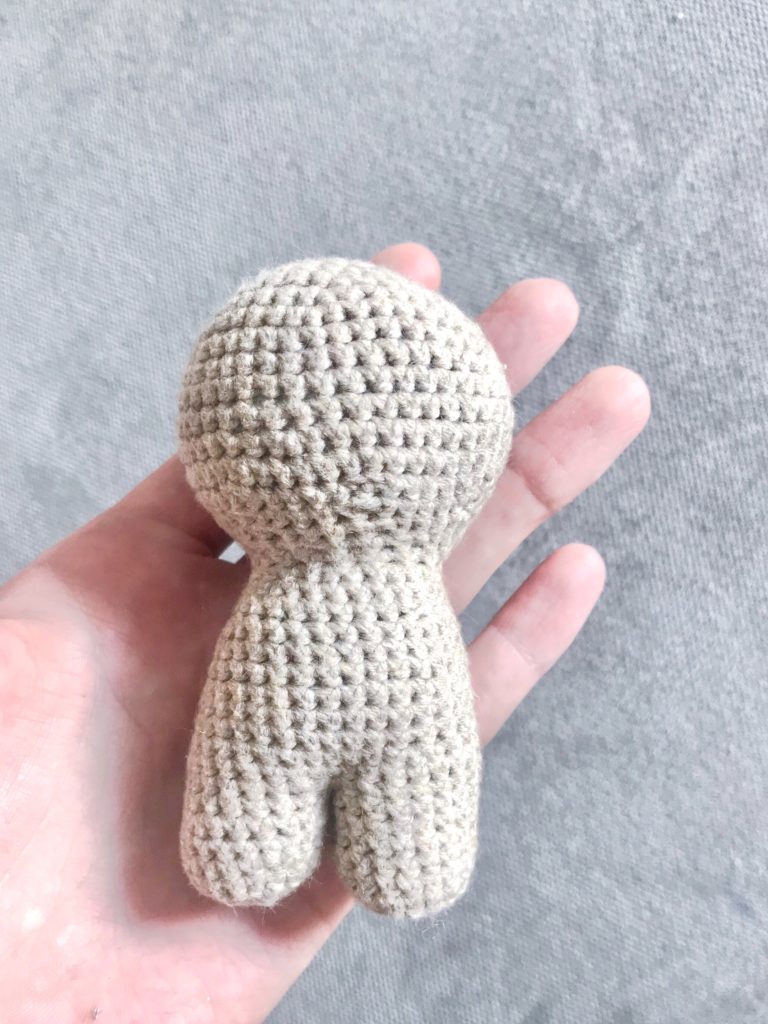
- In the next step (if you do not have safe eyes for toys) sew the teddy bear’s eyes with an em roi ery floss.
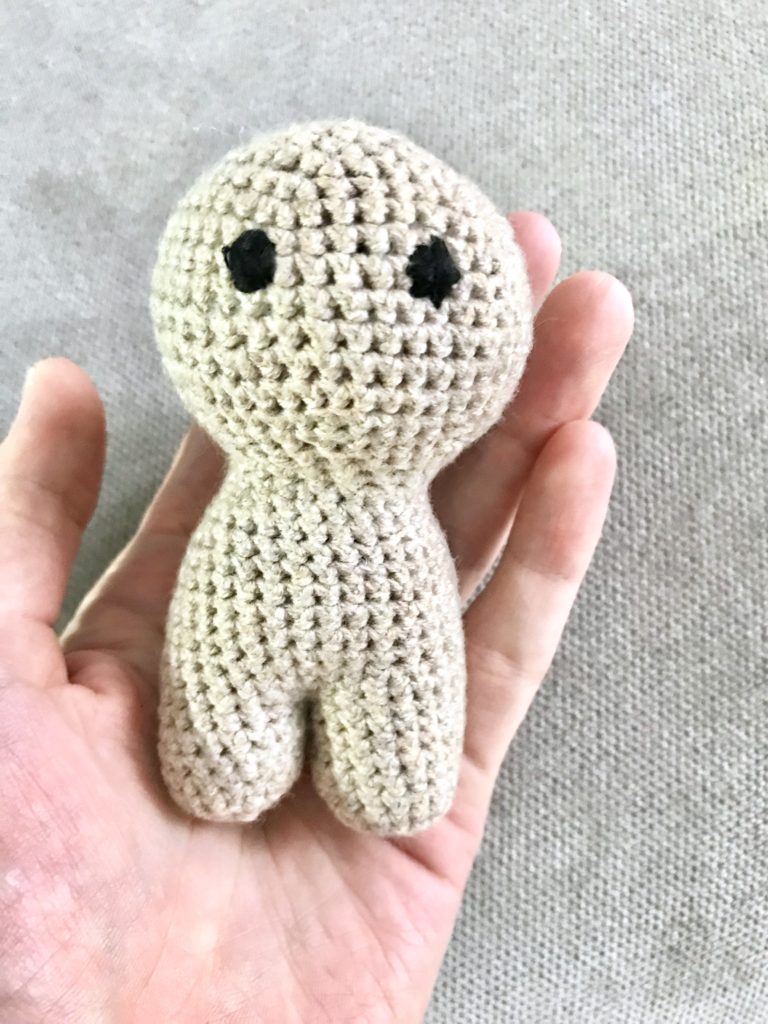
- Then crochet the elements that will be sewn to the teddy bear’s body – hands, ears, muzzle with emroidered nose and scarf.
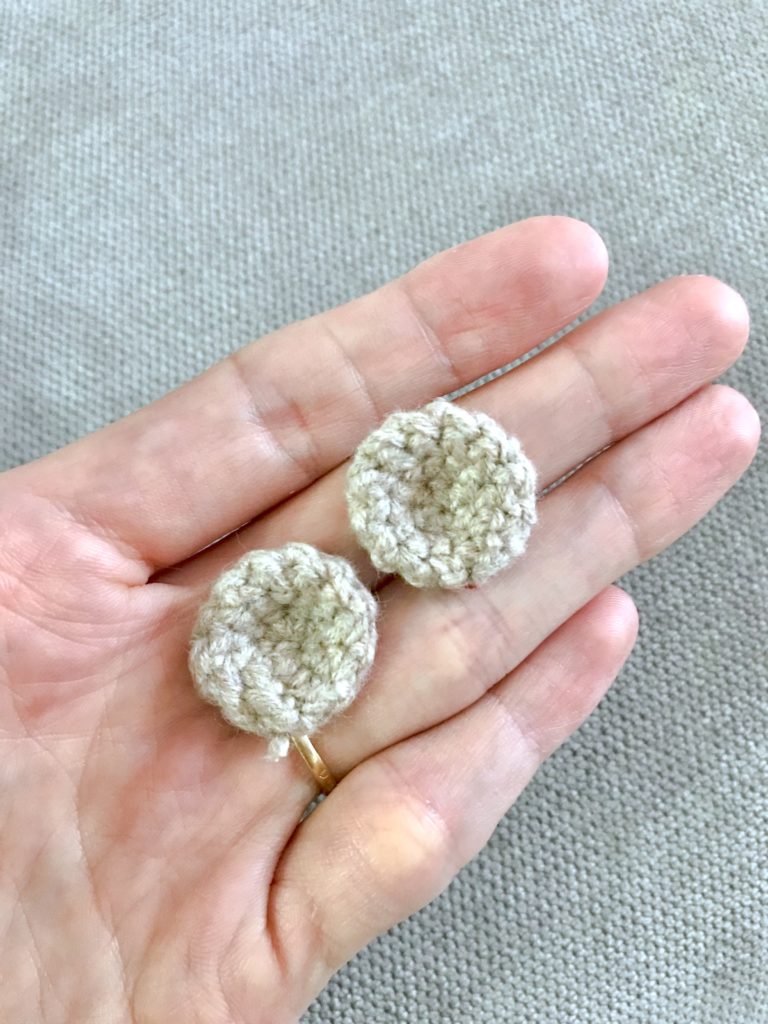
- Firstly I stitched ears using left yarn and crochet hook.
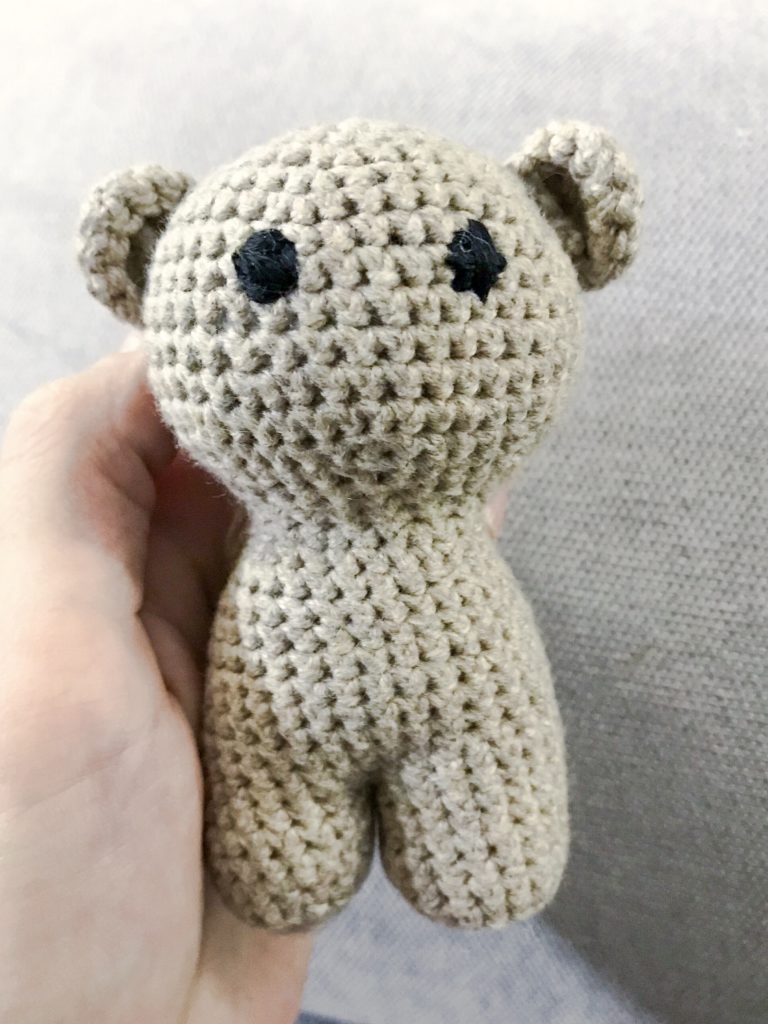
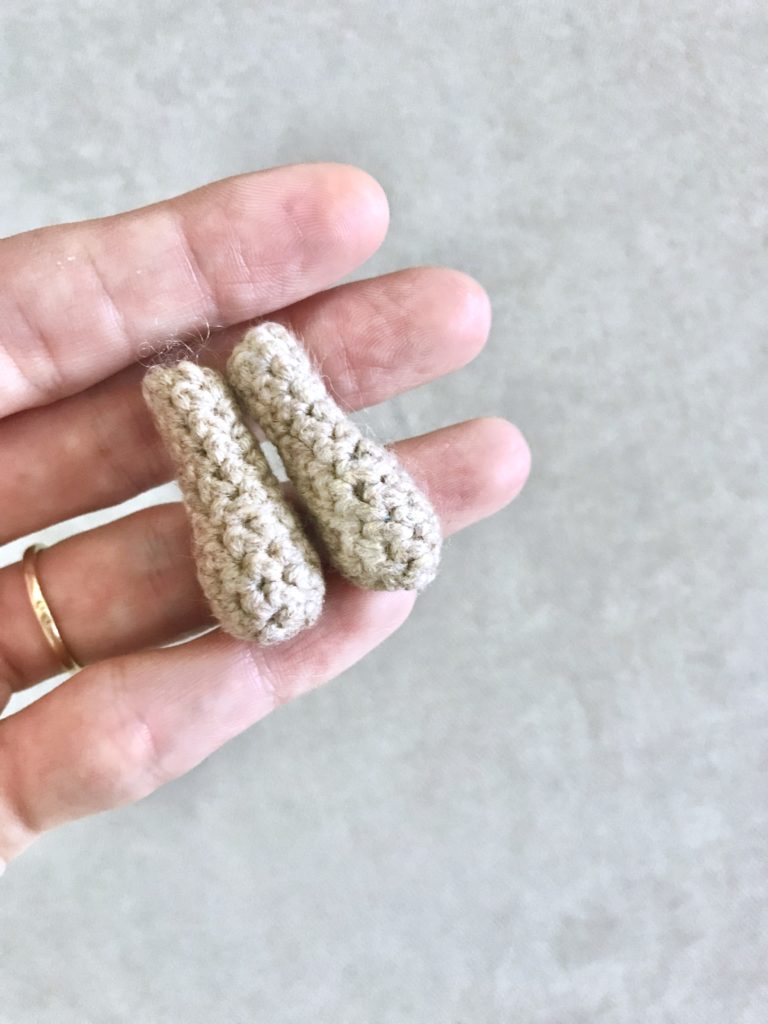
- Secondly I stitched the teddy bear’s hands.

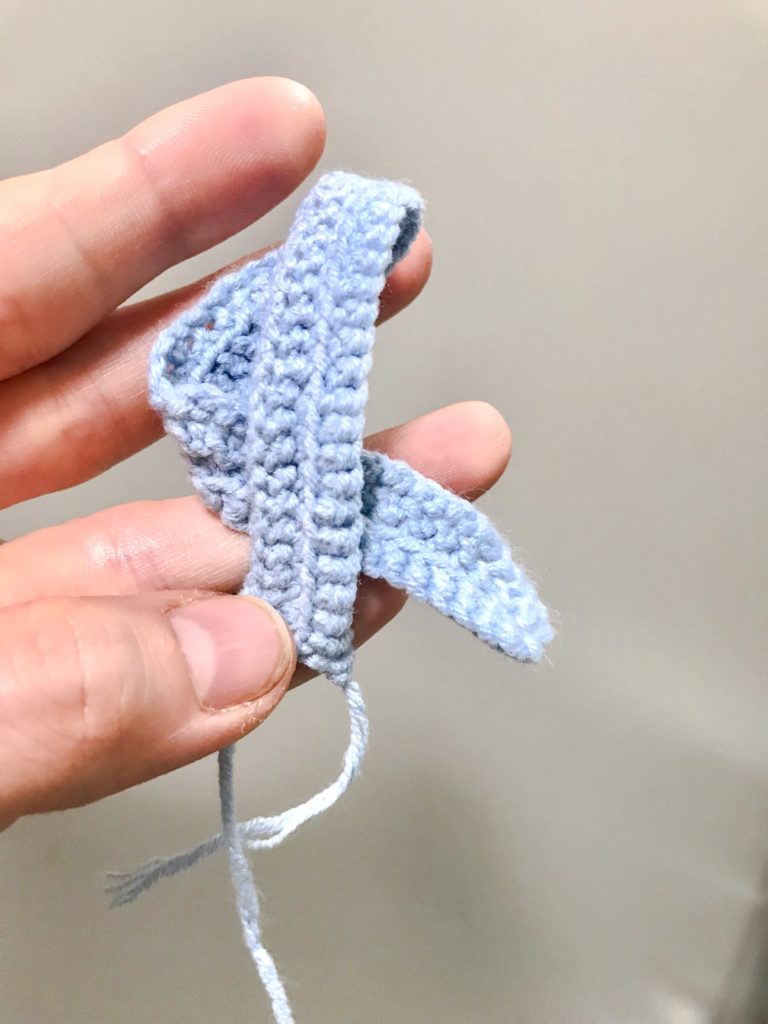
- Finally, I sewed a muzzle and wrapped a scarf around the teddy bear’s neck. To make it lasting, I made a knot and stitched it with blue yarn.
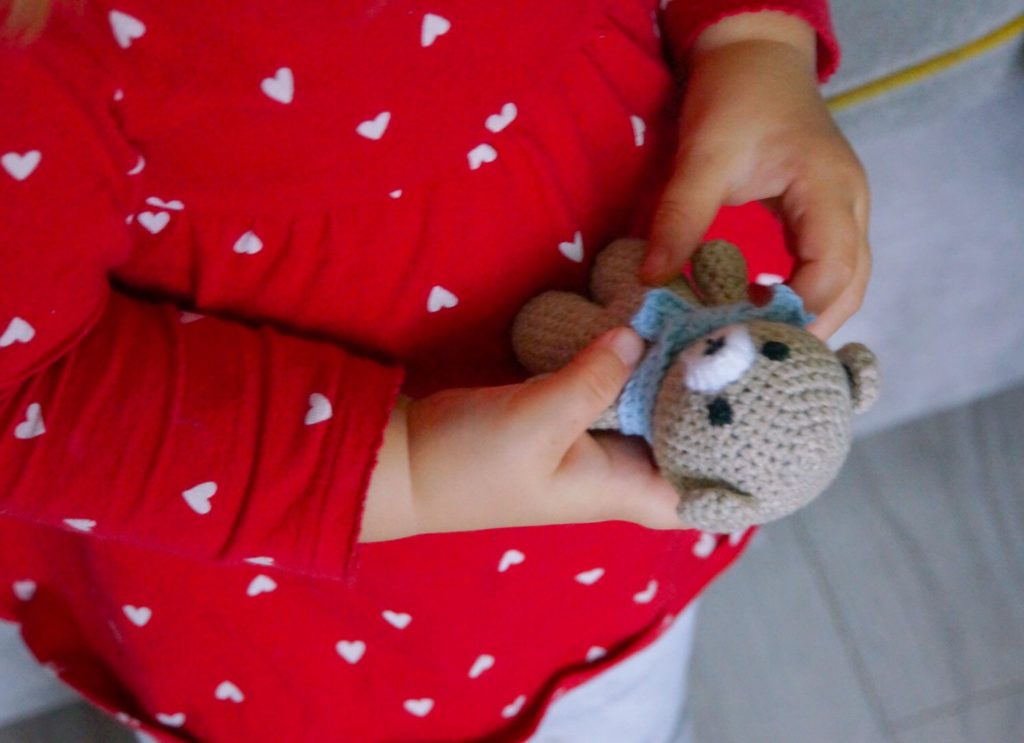
- Ta-da! The tiny amigurumi teddy bear is ready to cuddle 😊
I have been passionate about DIY since my childhood, and my innate patience and accuracy make the whole process of creation a lot easier for me and that gives me a lot of satisfaction and pleasure. During my first pregnancy I learnt how to sew, what resulted with few tutorials about sewing clothes for kids on the blog. In the beginning of my second maternity leave, I have learned how to crochet amigurumi from yt. I found out, that I really love it, that’s why so many blog posts describe my crochet creatures.



One thought on “Amigurumi teddy bear”