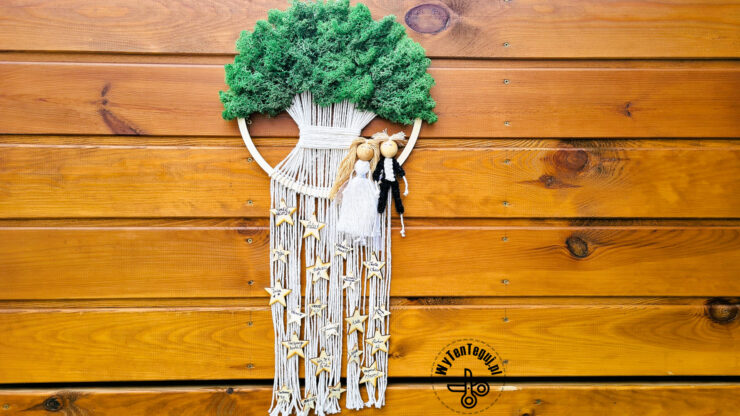
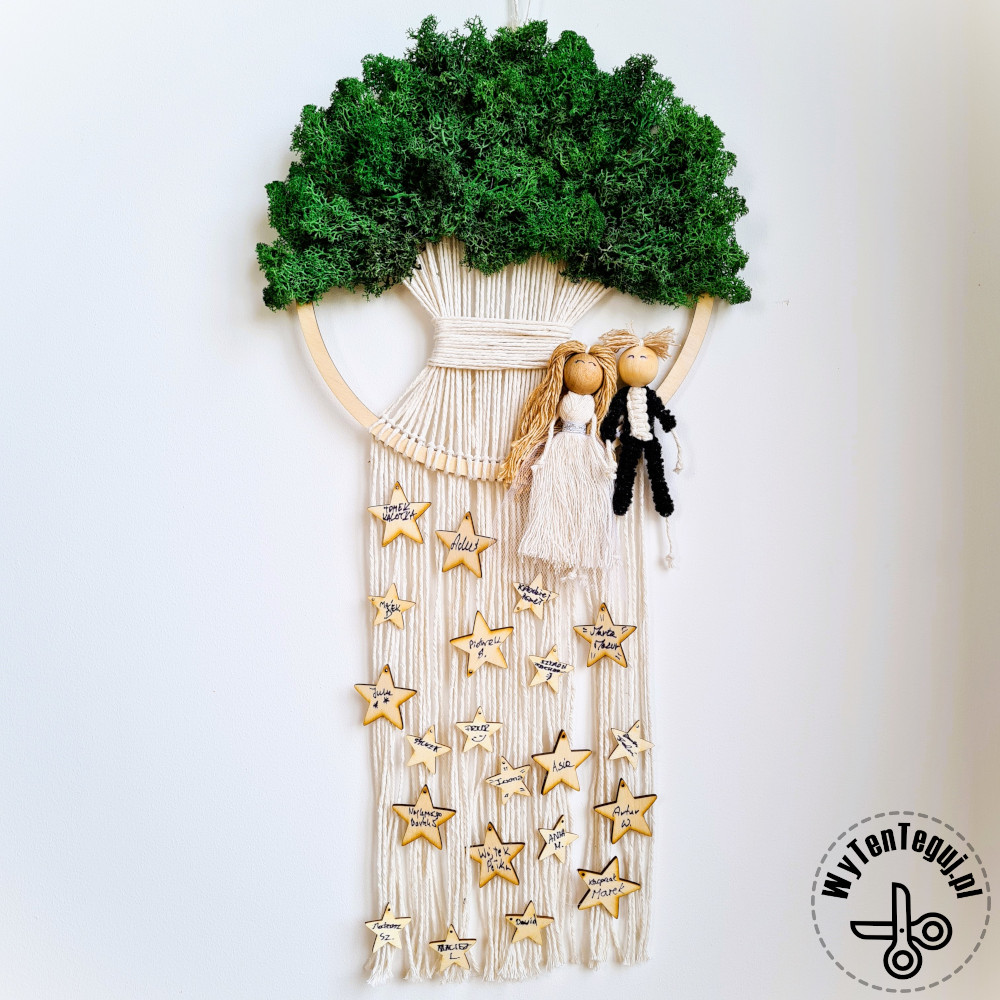
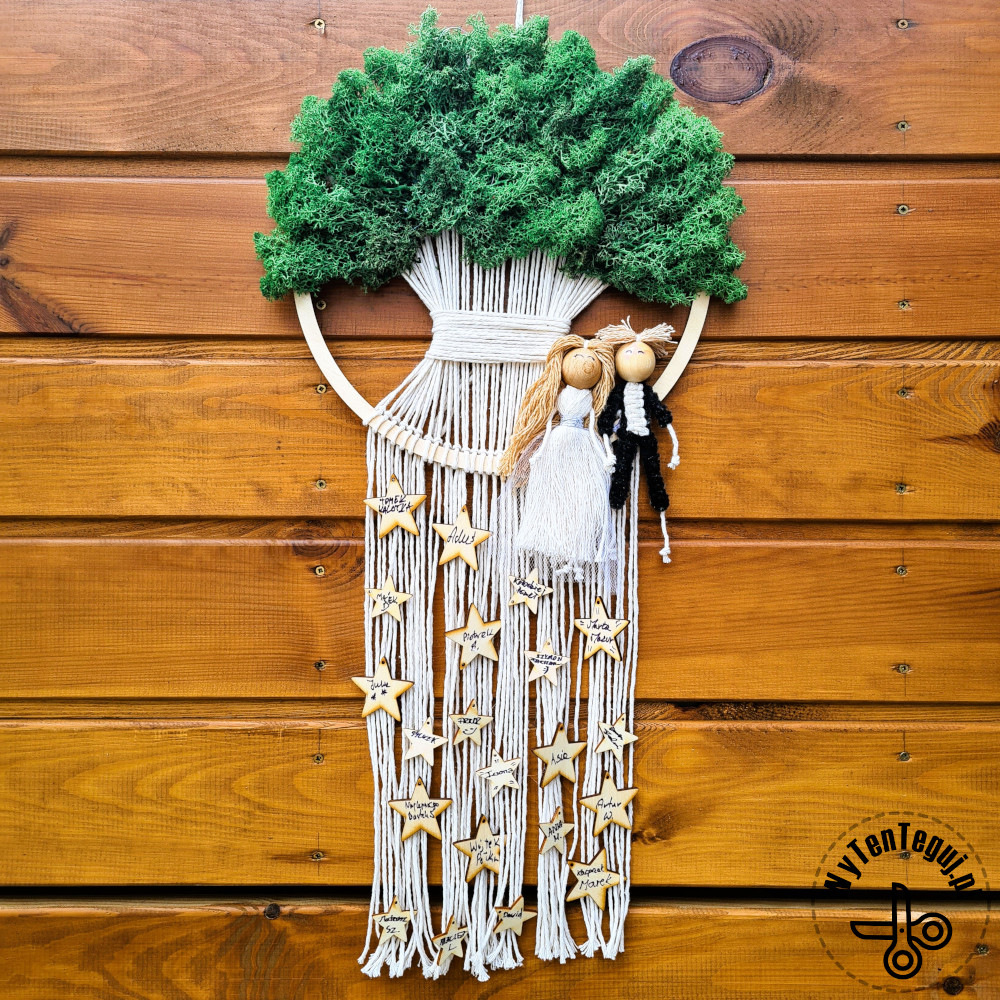
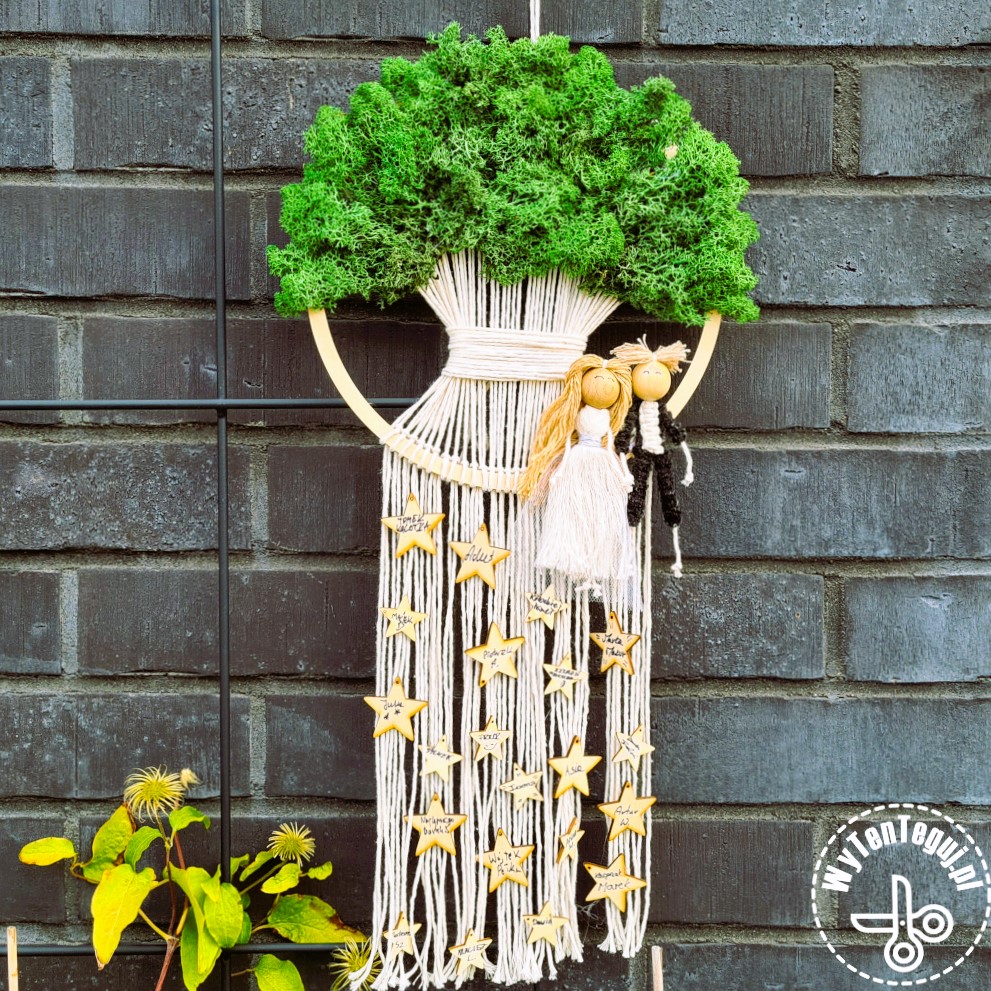
This is my first approach to macrame, but I have been lurking on this macrame tree with moss for a long time, and now this is a great opportunity. A macrame tree with the bride and groom is a wedding gift for a colleague from the entire team, everyone signed their star.
![]() Polska wersja: Drzewo z makramy z Parą Młodą – pomysł na prezent ślubny
Polska wersja: Drzewo z makramy z Parą Młodą – pomysł na prezent ślubny
See how to make a macrame tree step by step:
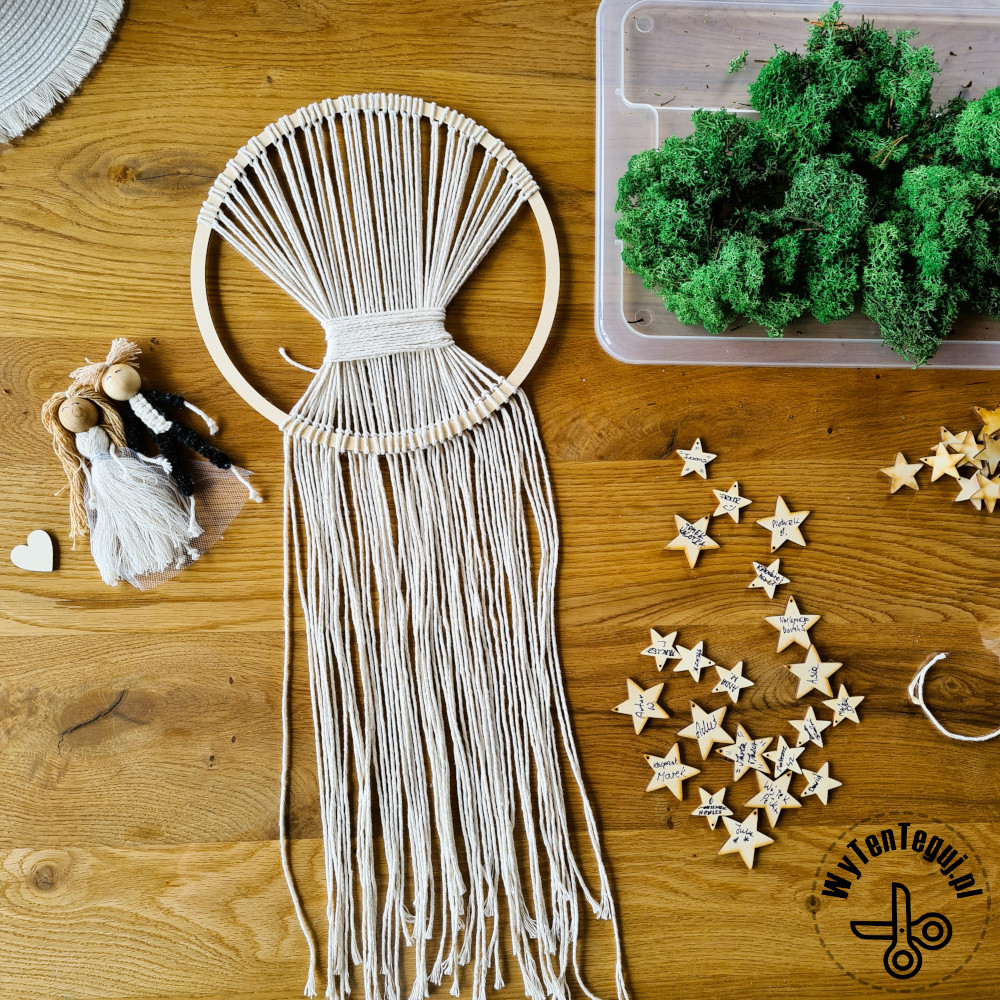
How to make a macrame bride?
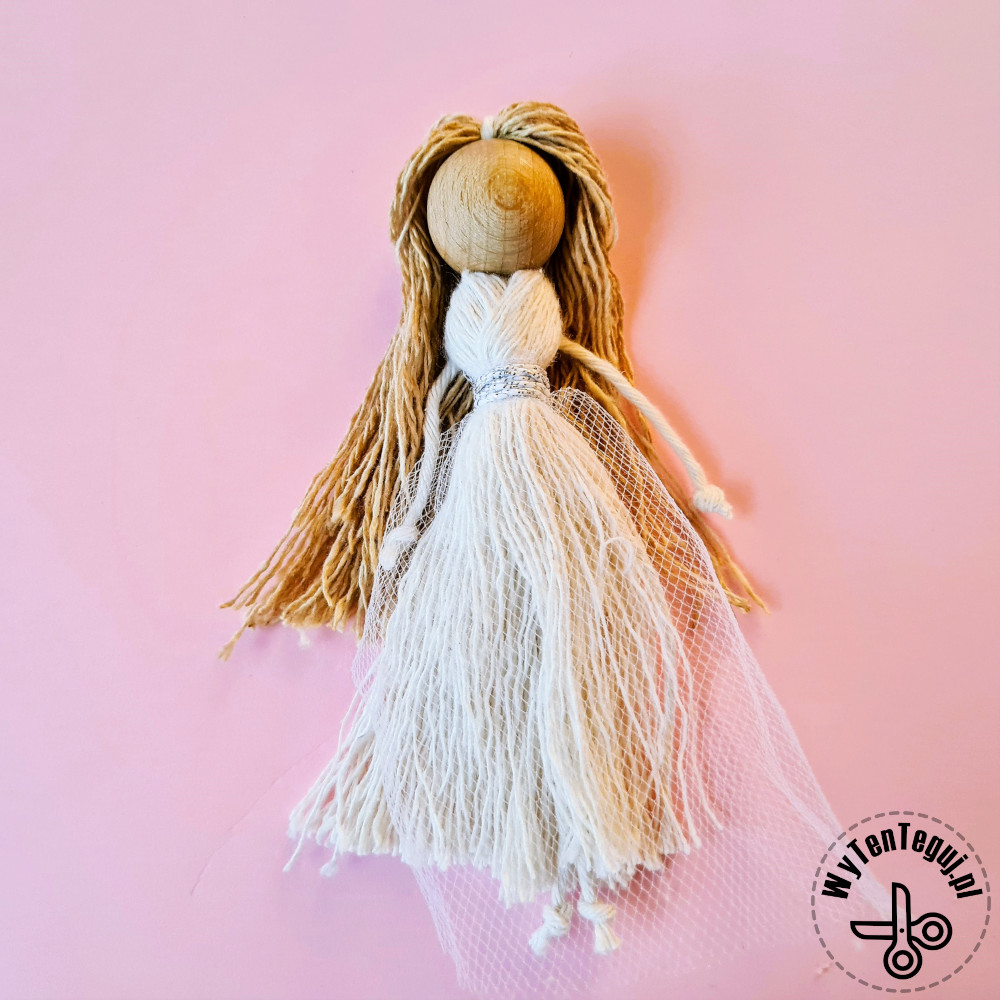
I am not a macrame expert, but I can show you how I made the bride and what materials I used.
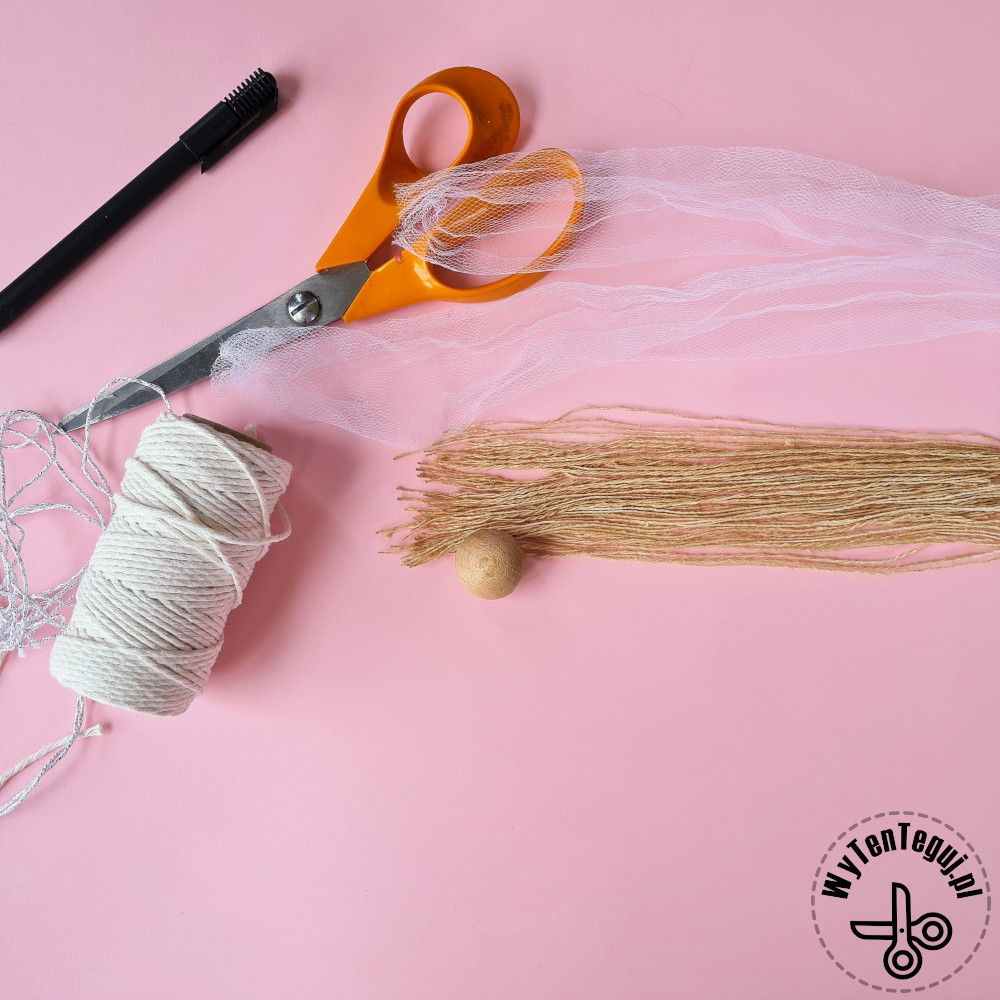
Materials for the macrame bride
- Natural macrame cord 2cmm. Since I had only one color, I dyed the bride’s hair in coffee 🙂
- Wooden ball 25 mm
- String with silver thread
- White tulle
- Fineliner
- Scissors
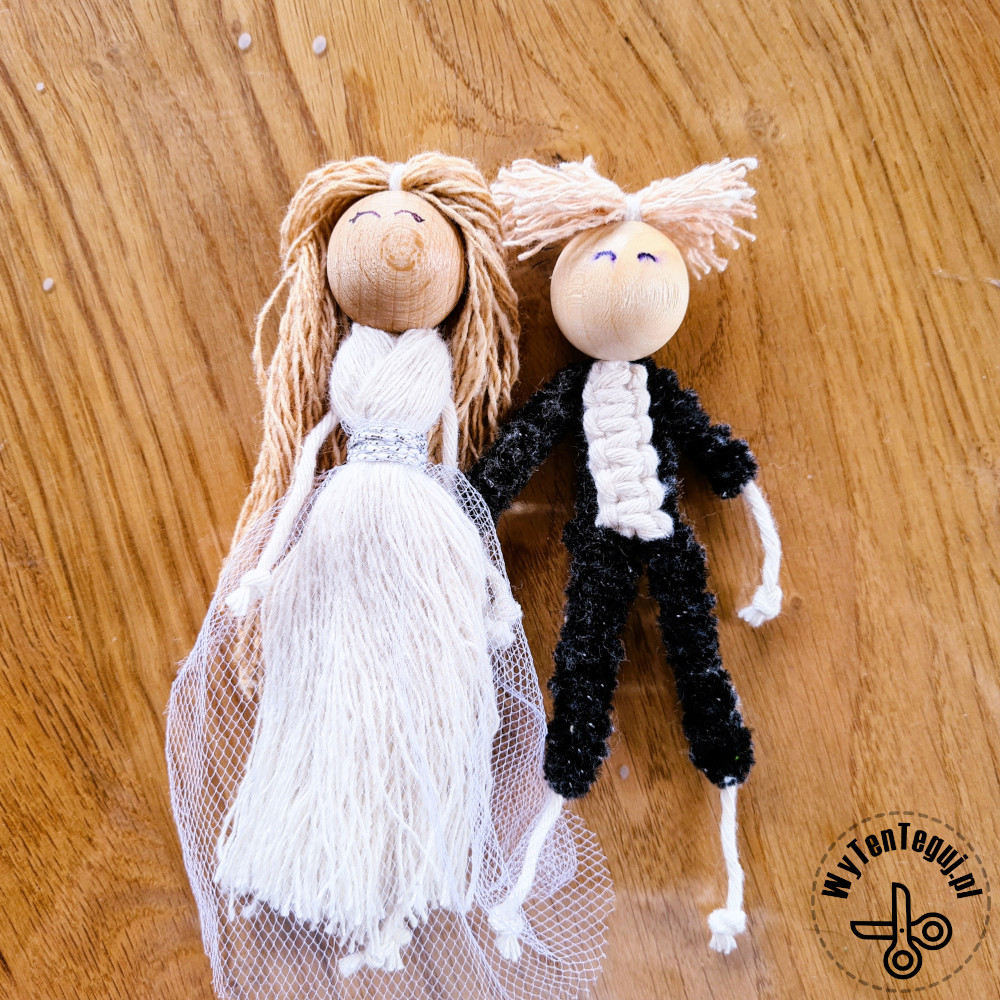
Macrame Bride
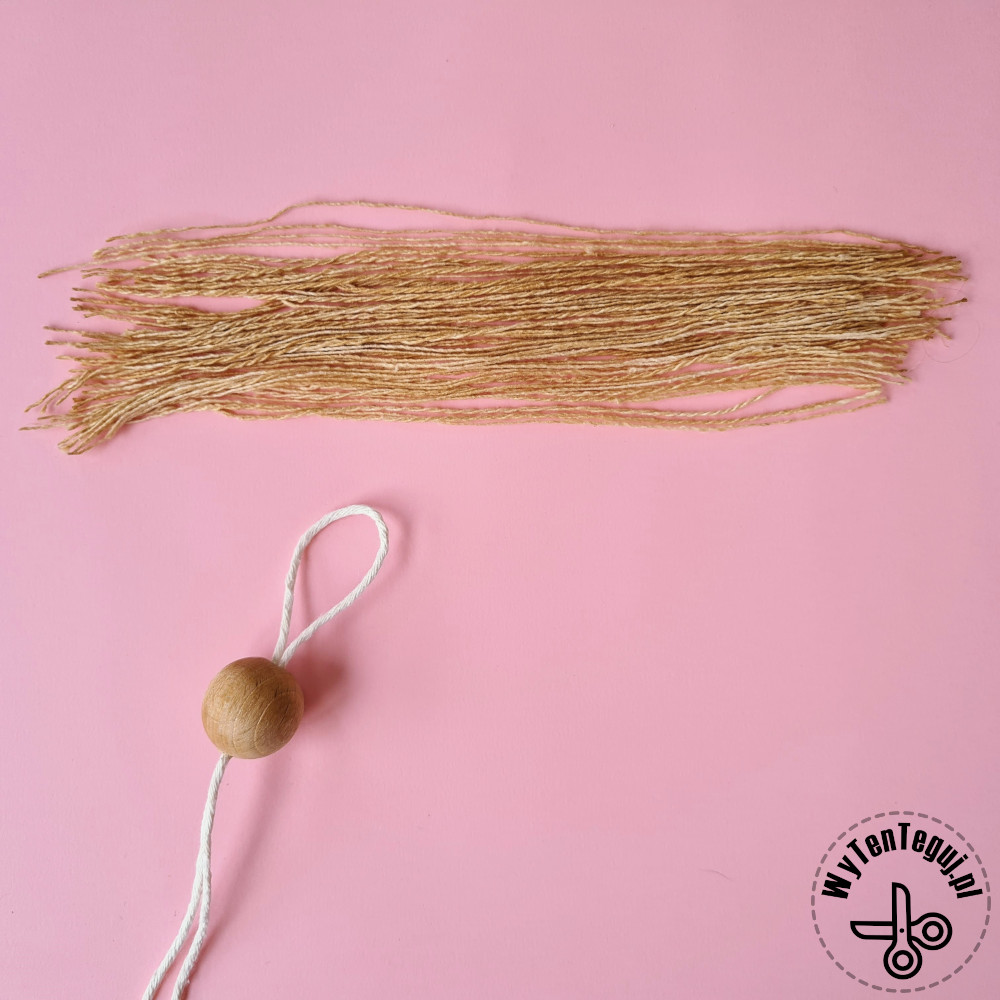
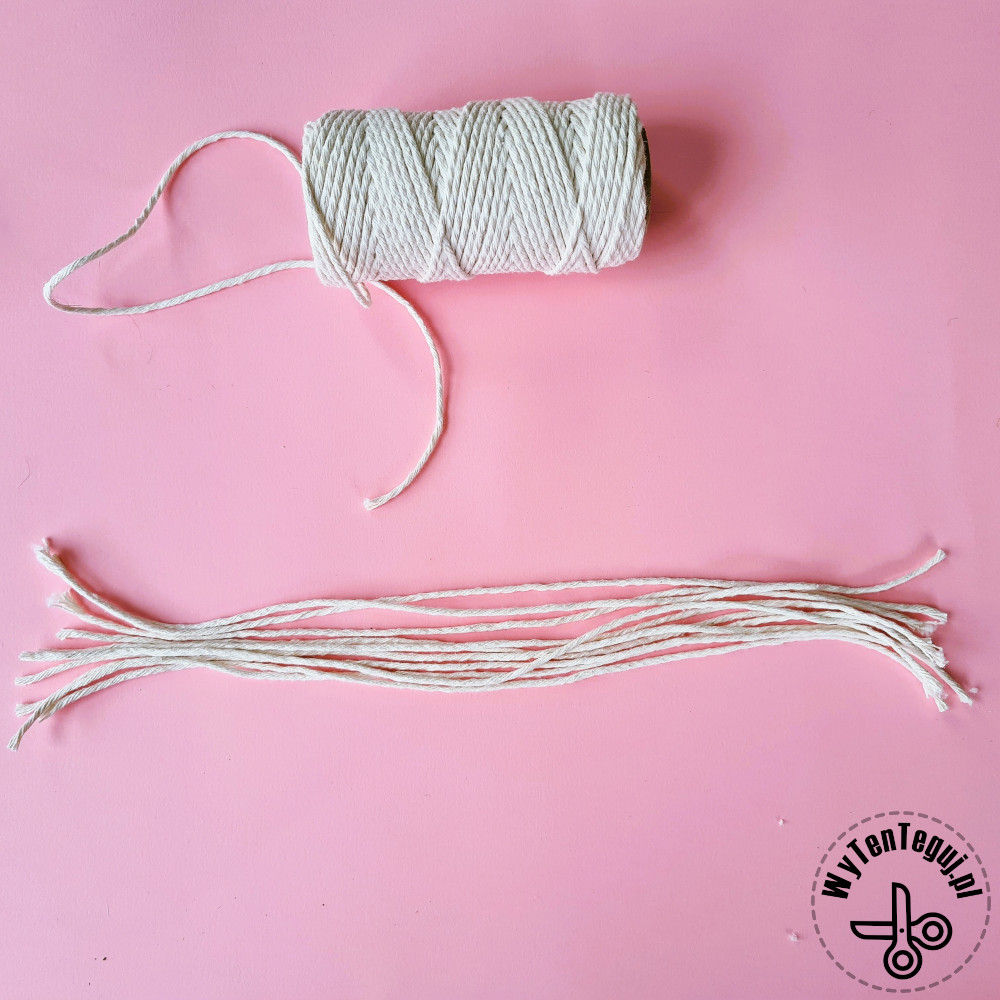
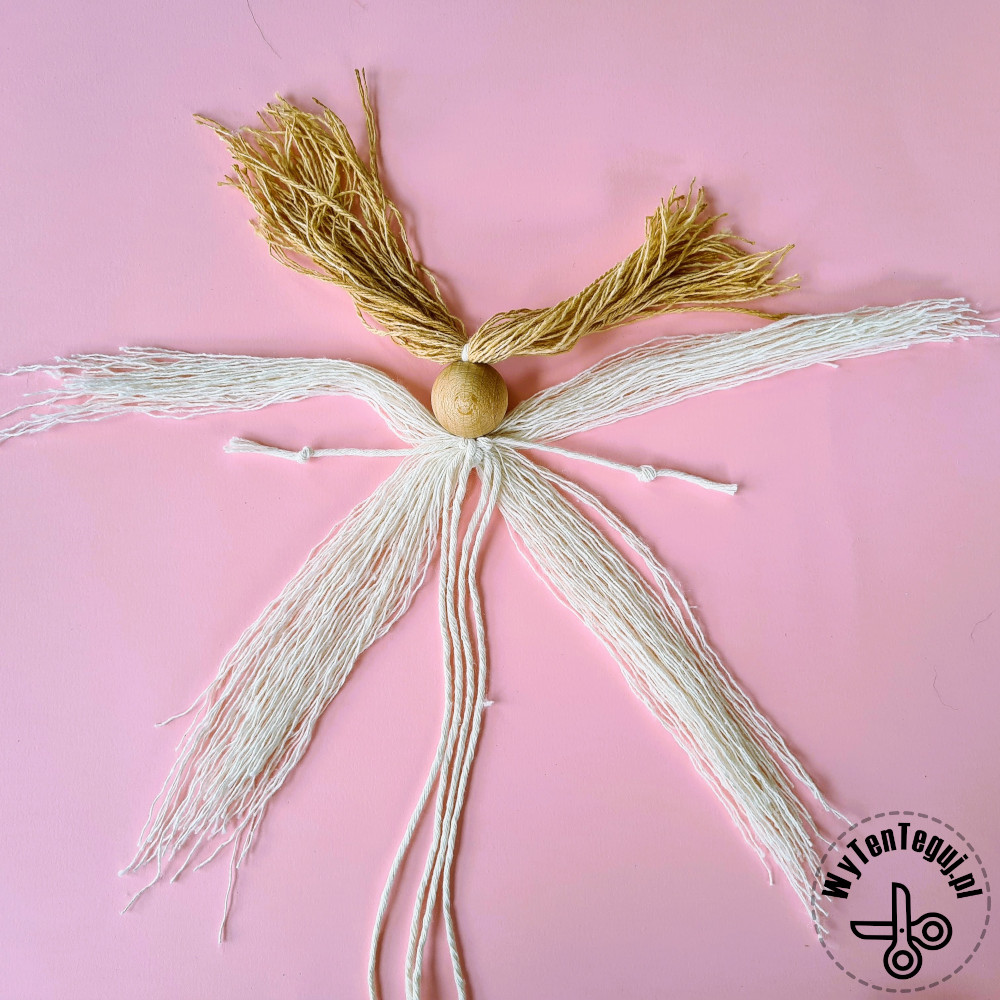
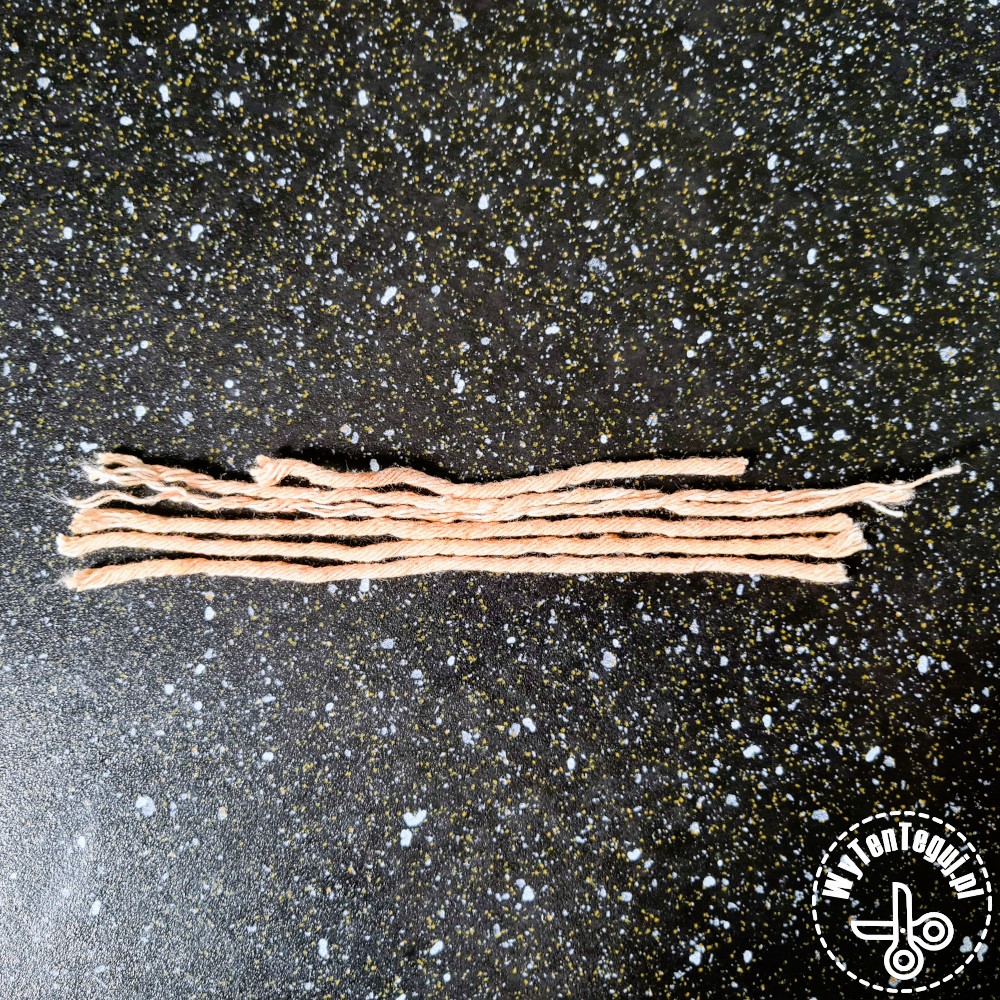
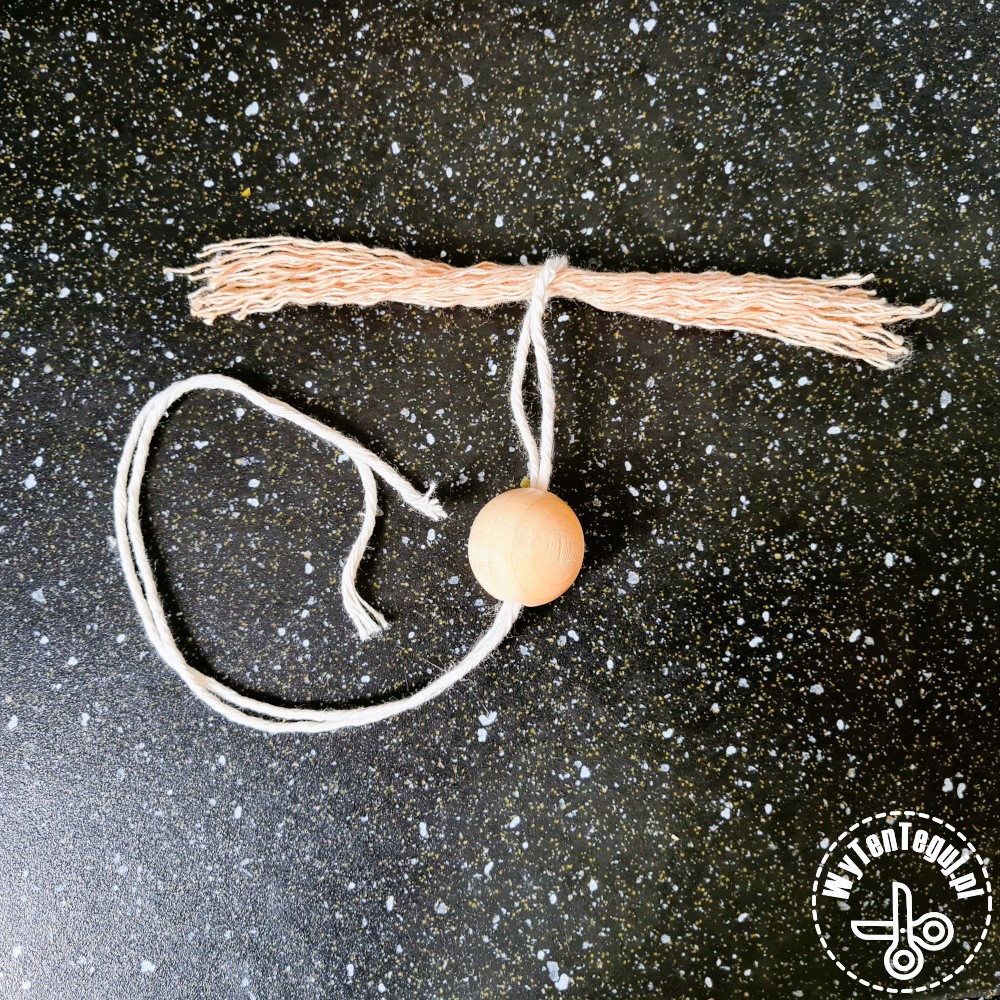
- Prepare about 10 lengths of string for the doll’s hair. Separate and comb the fibers. If you plan to dye the hair, you should do it on the separated fibers, so that they will dye evenly.
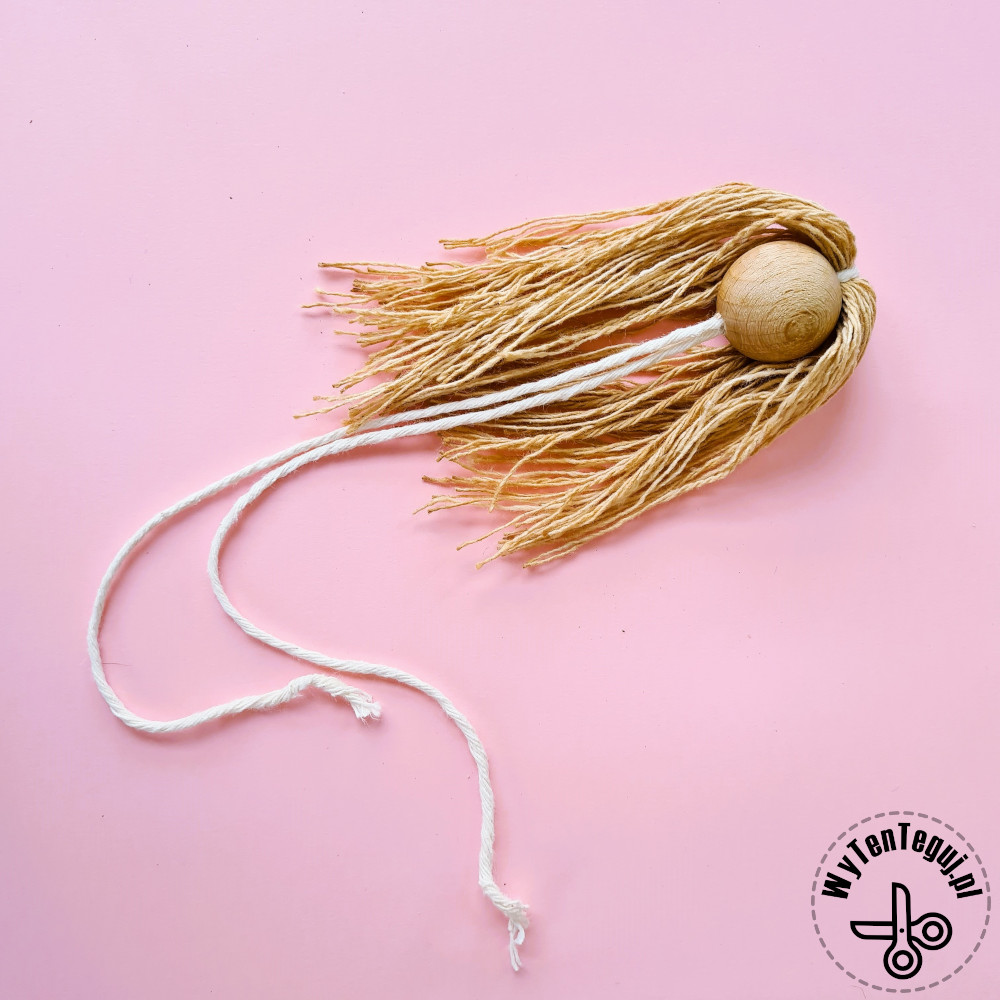
- Thread a natural string through the wooden bead and finally thread the prepared hair.
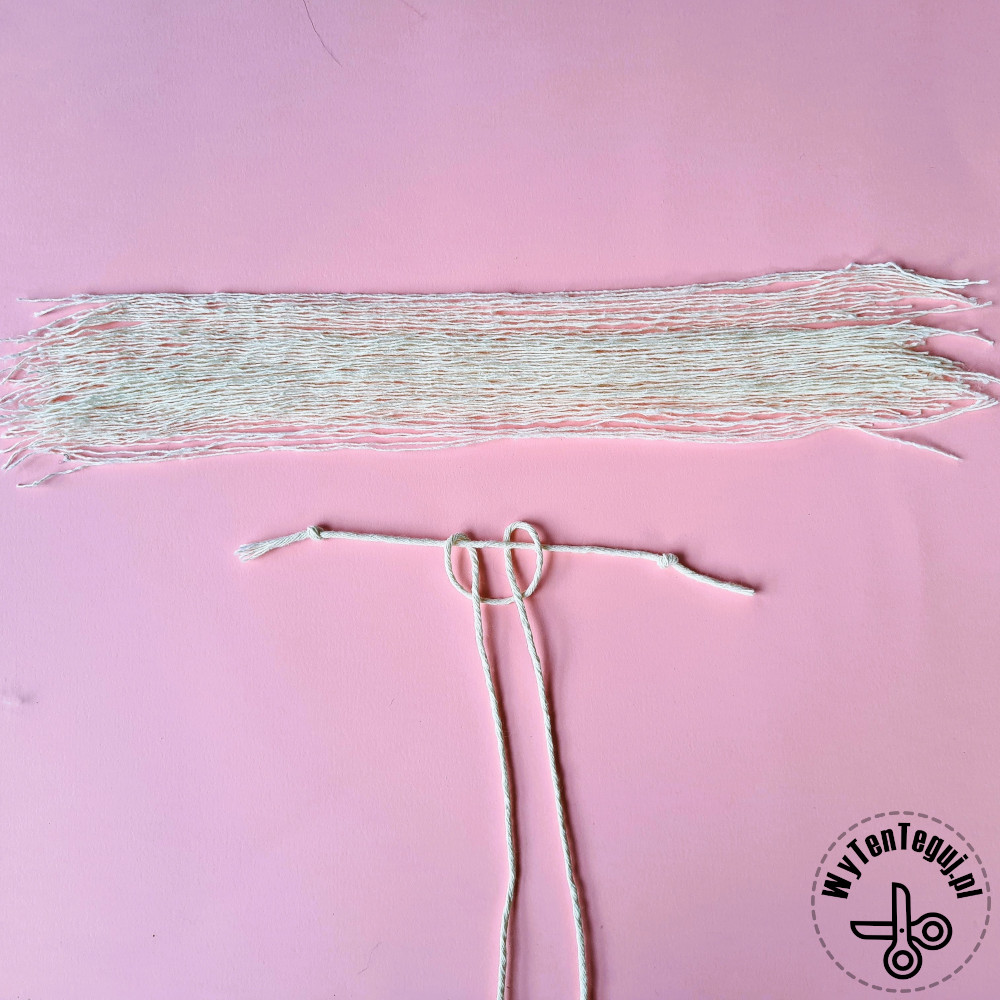
- Then prepare the string for the dress, separate and comb the fibers.
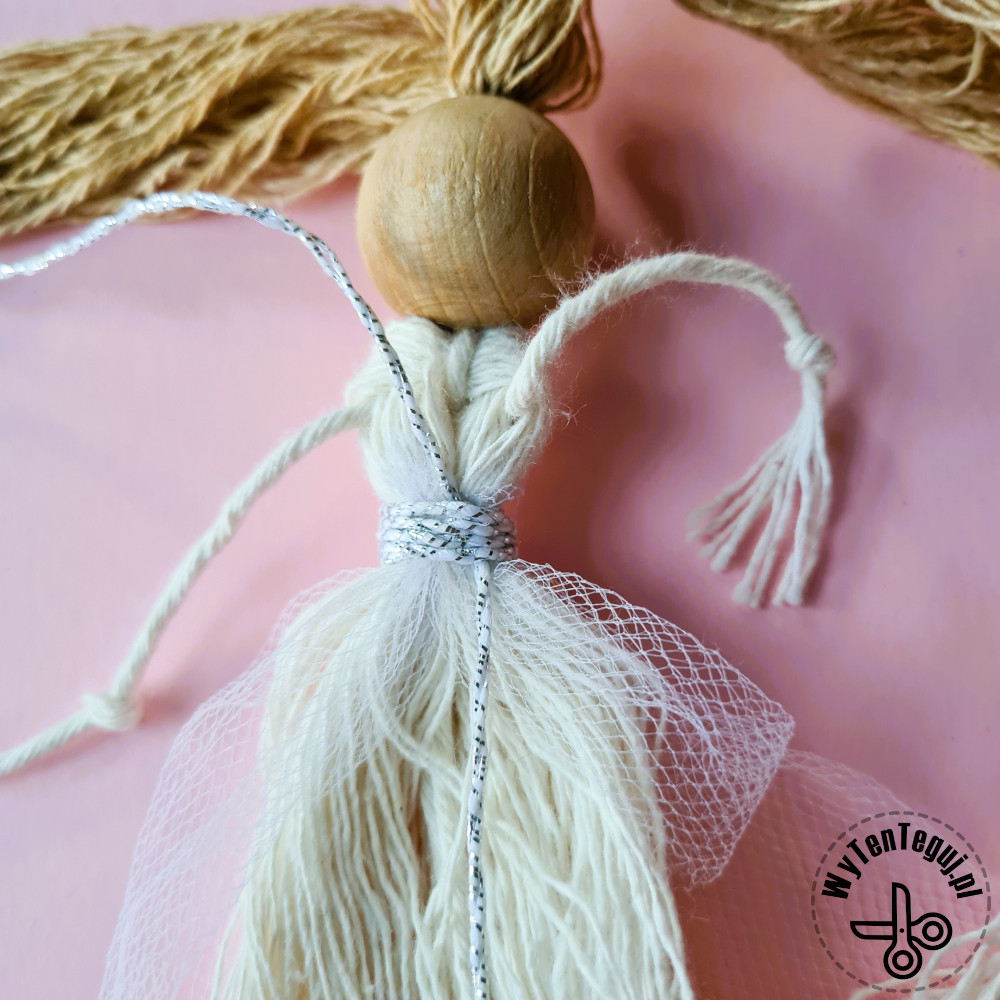
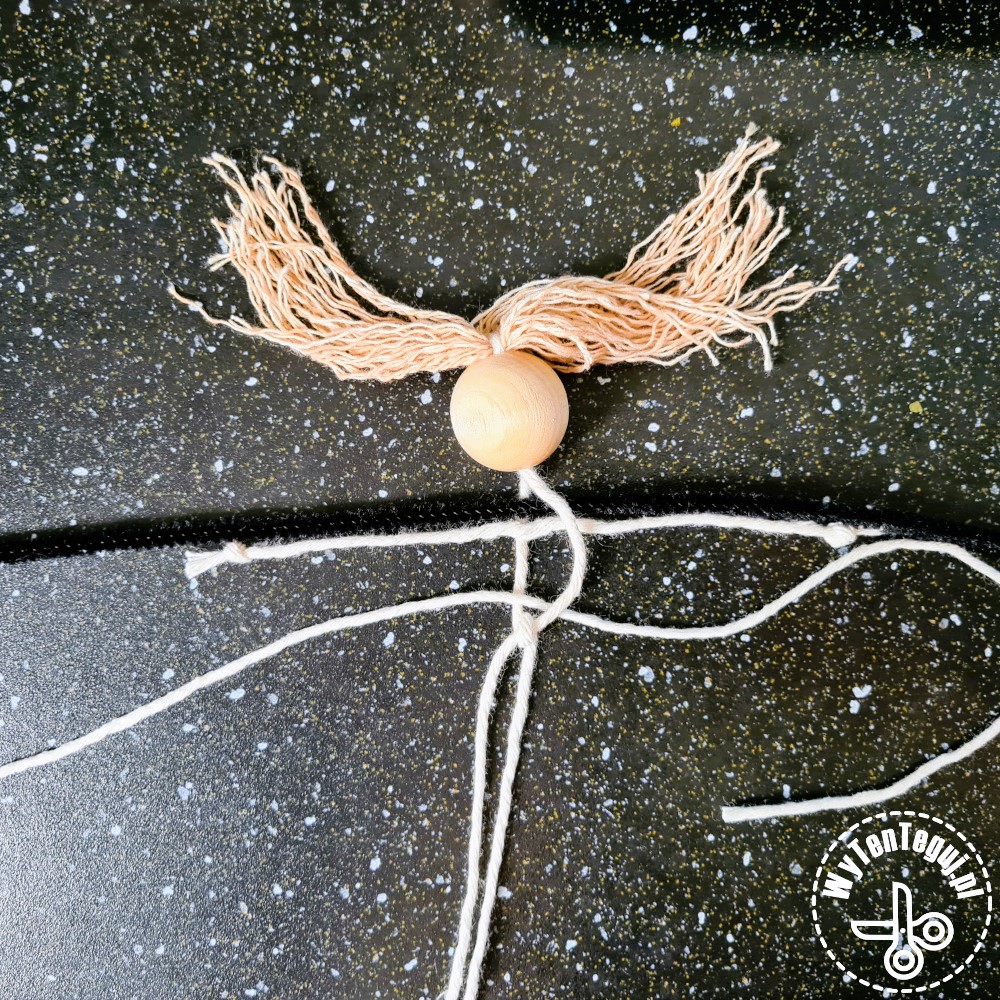
- Prepare a string for the arms, tie knots at the ends and attach it on a longer string.
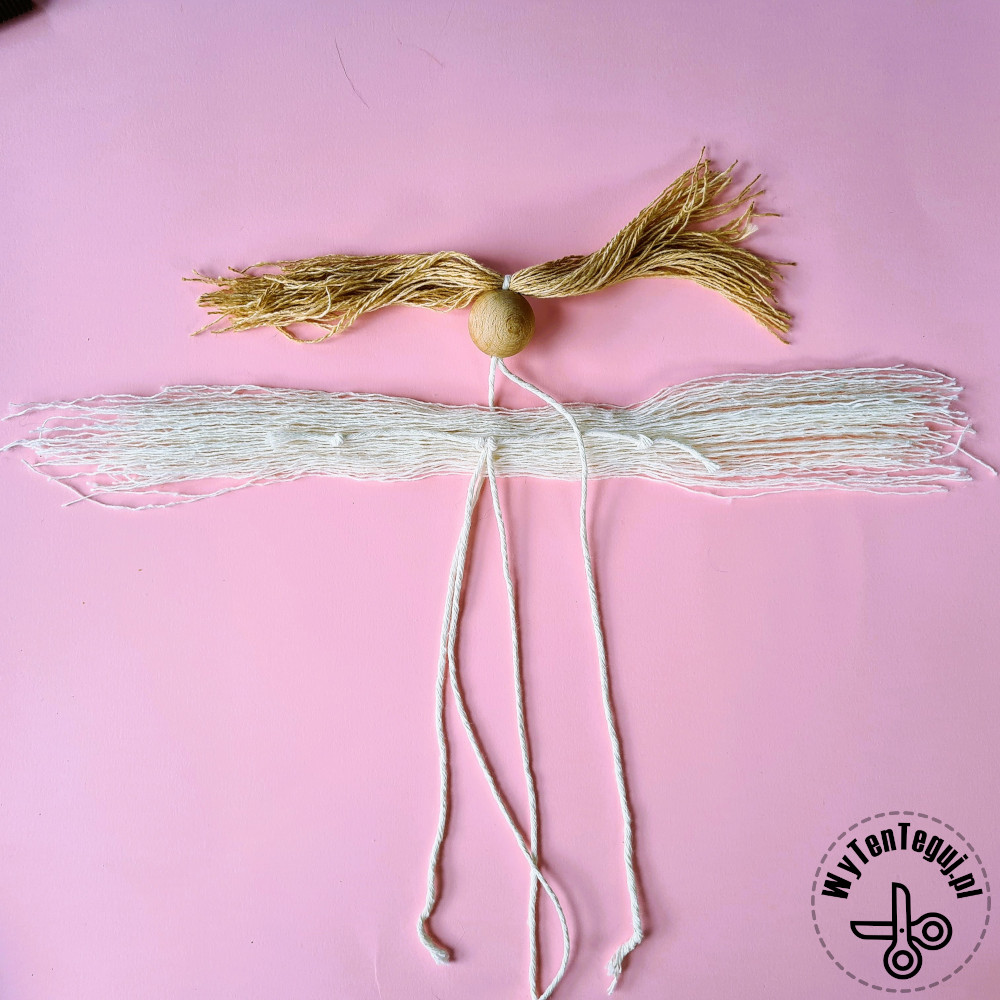
- Tie it with a string that holds the hair and passes through the bead.
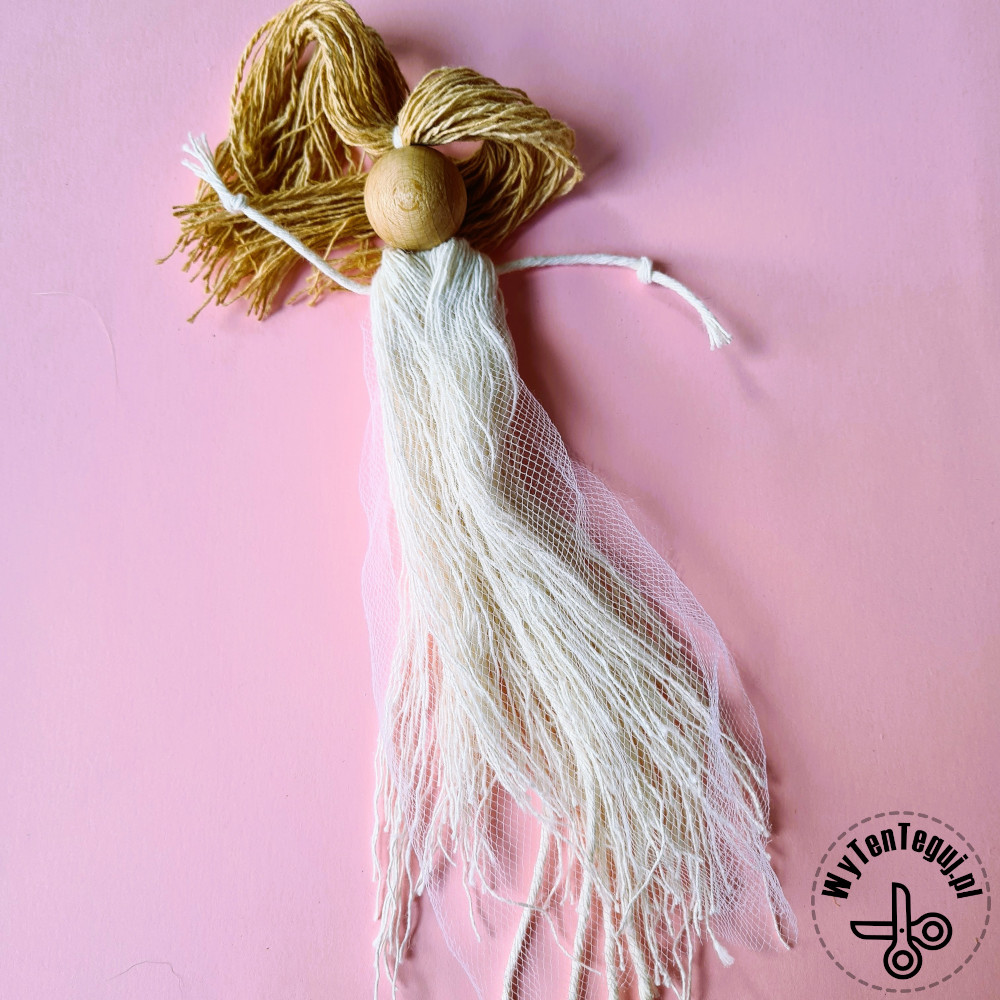
- Separate the dress hair so that 1/3 passes over your hands and the rest hangs loosely.
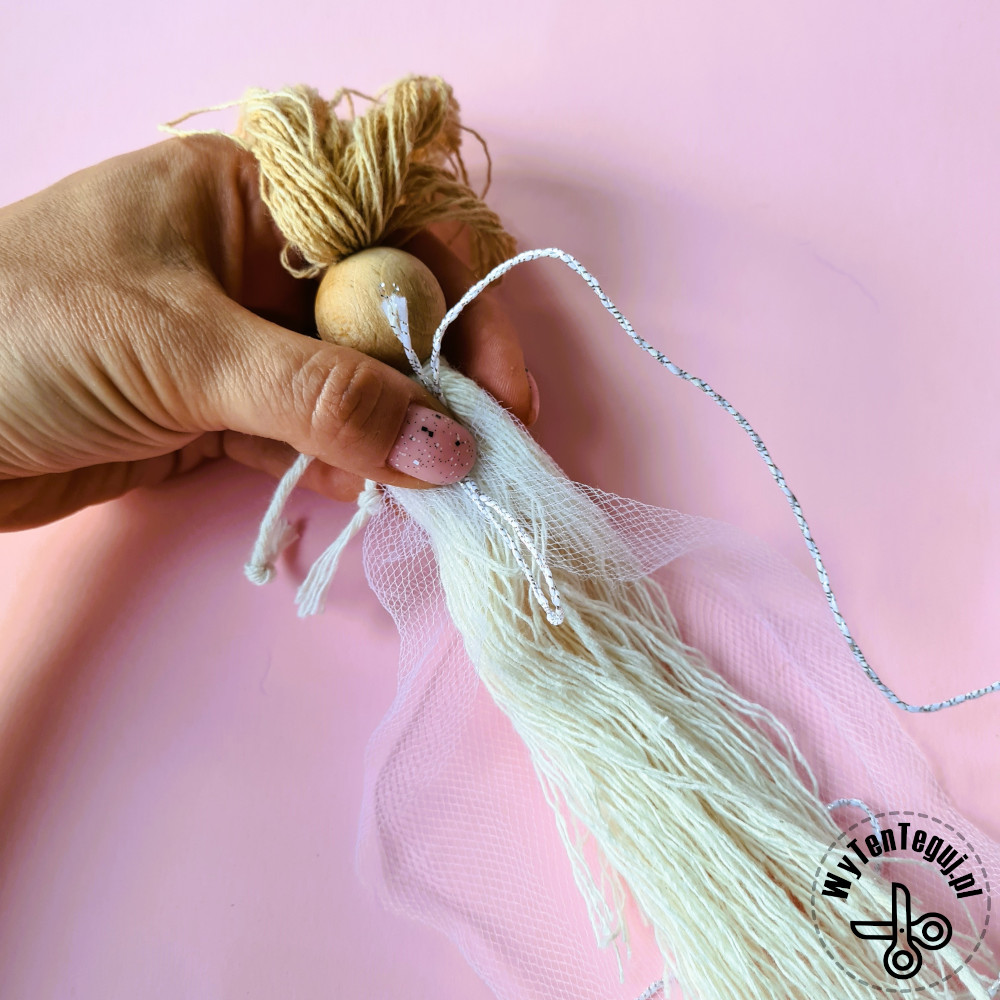
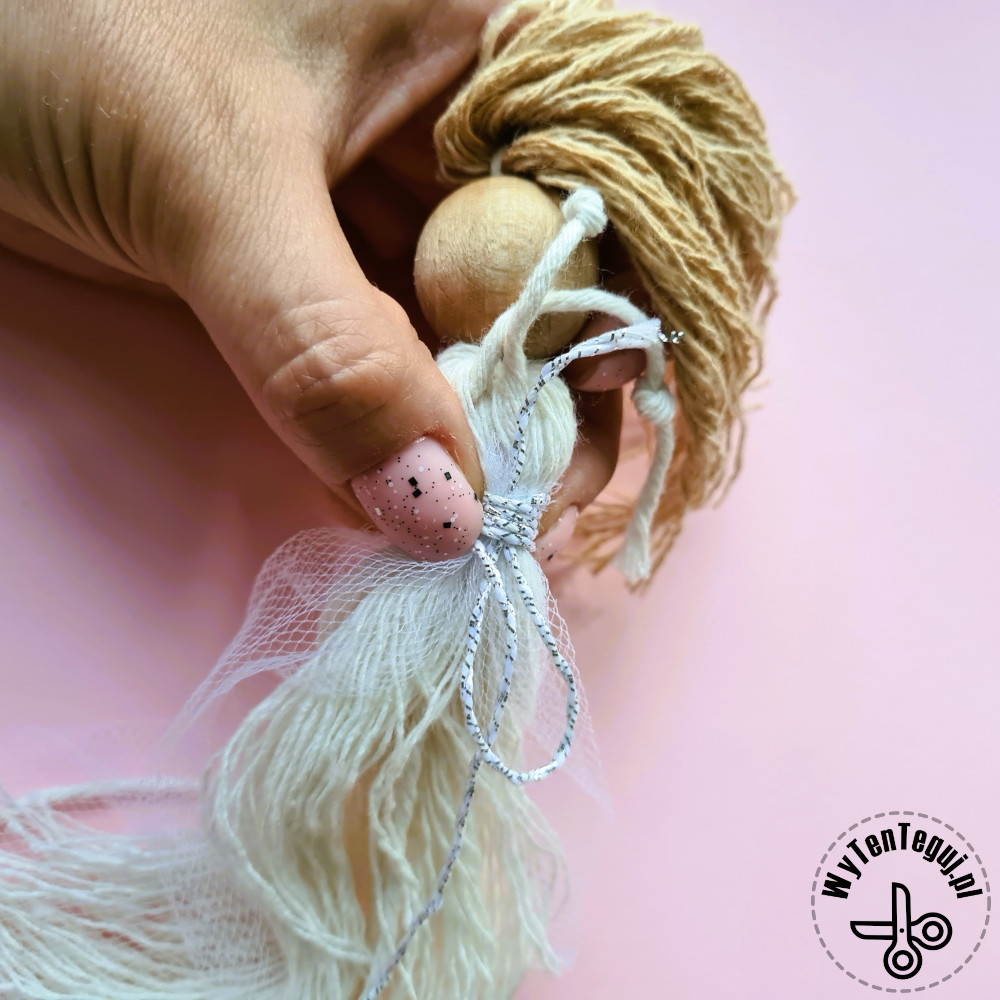
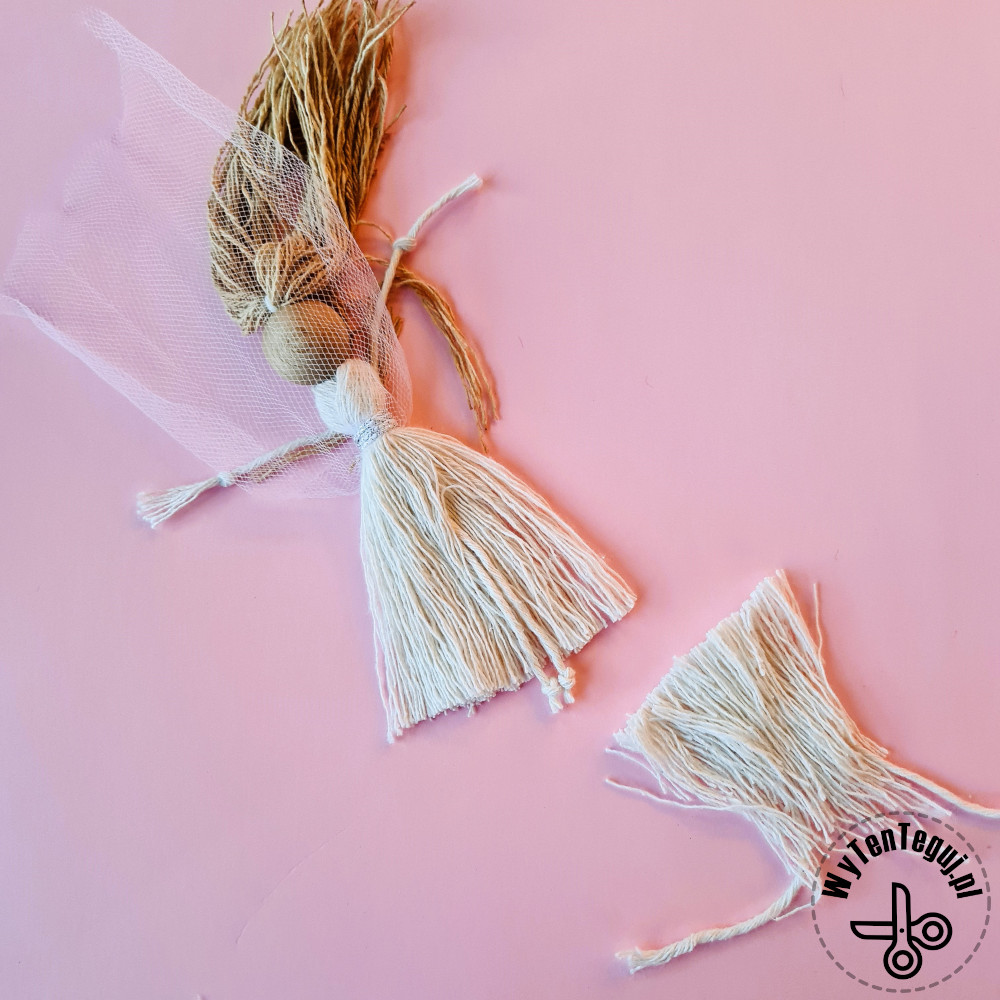
- Turn the doll, add the tulle and tie the waist with decorative string. First make a vertical loop and start tying on it. Finally, put the string through the loop and tighten both ends.
- Tie the knots on the leg as well and cut the dress so that the legs stick out a little.
How to make a macrame groom?
The groom was a bit of an improvisation because I didn’t have a black string. I had black pipe cleaners, so I made the suit out of them.
Materials for the groom
- Natural macrame cord 2 mm. This time I dyed the hair in tea.
- Wooden ball 25 mm
- Black pipe cleaners
- Fineliner
- Scissors
Macrame groom
- Prepare about 10 lengths of string for the doll’s hair. Separate and comb the fibers.
- Thread a natural string through the wooden bead and finally thread the prepared hair.
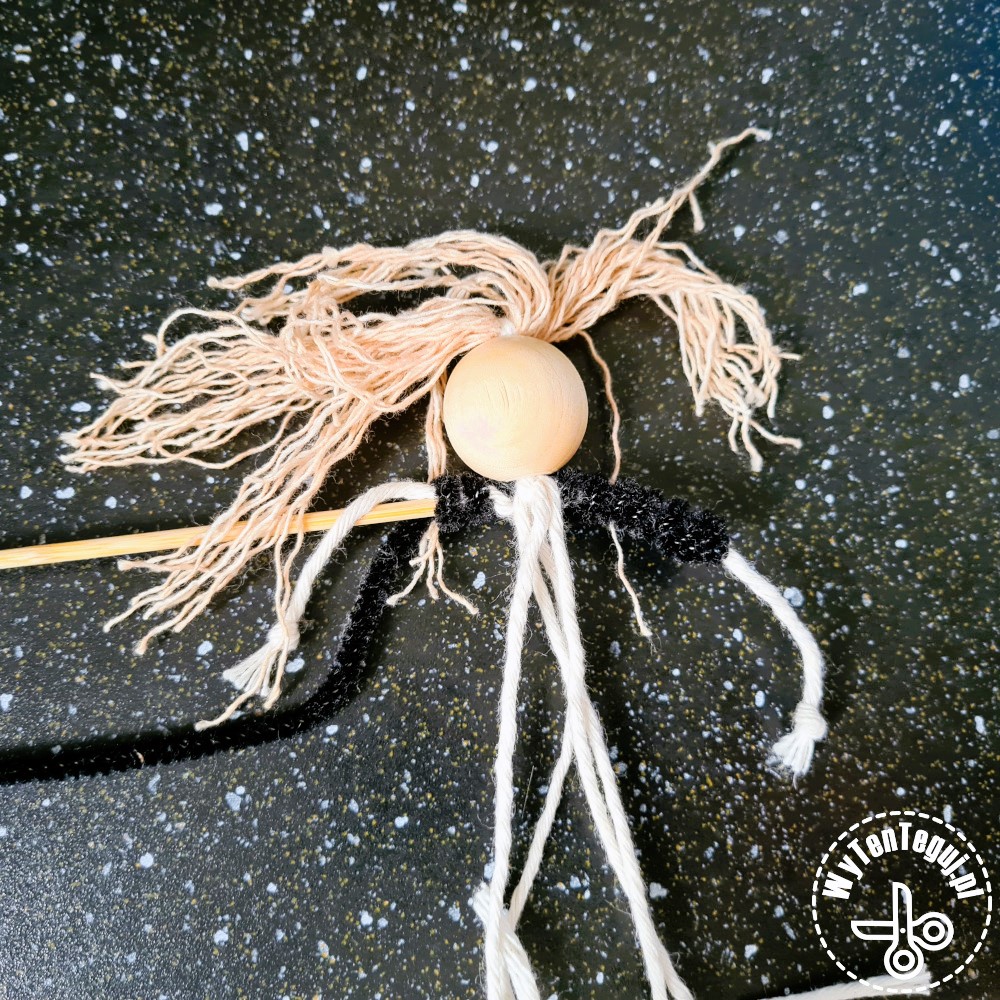
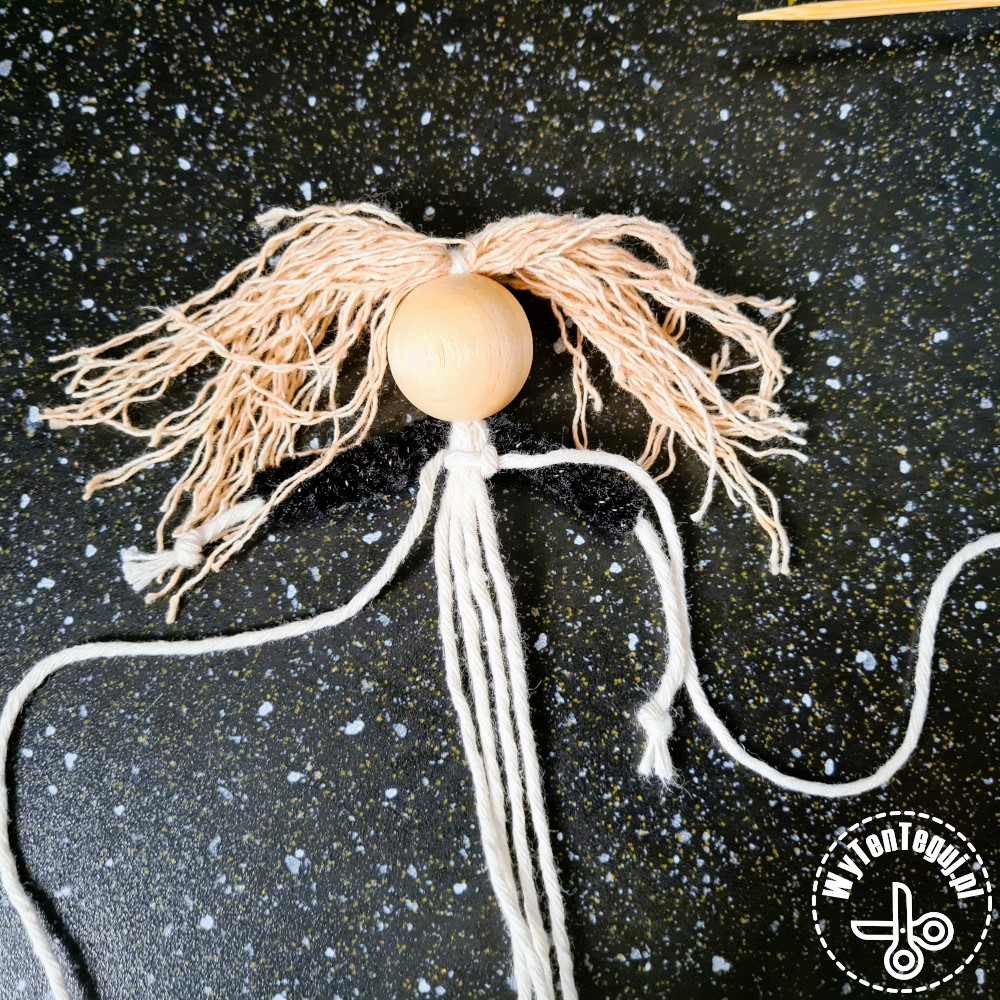
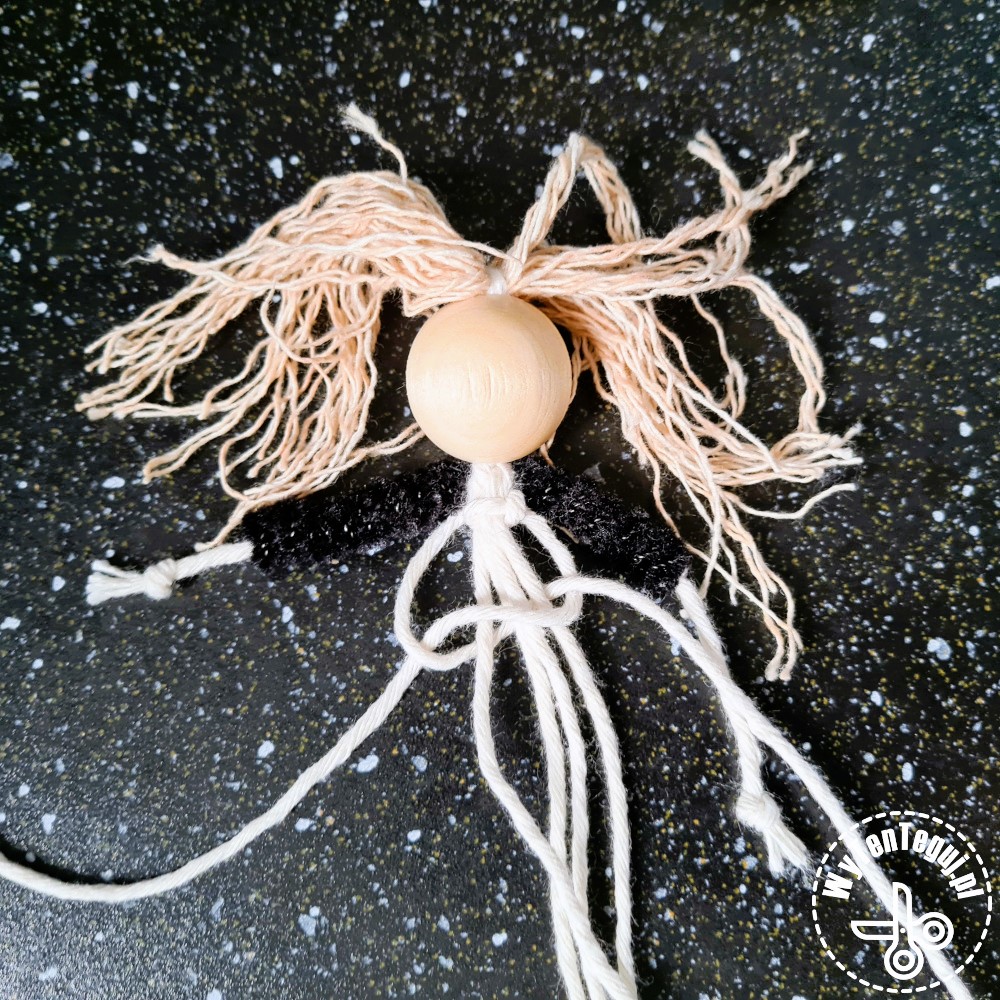
- Prepare a string for the hands, tie knots at the ends. Add another string and a black pipe cleaner and tie it with a string that holds the hair and passes through the bead.
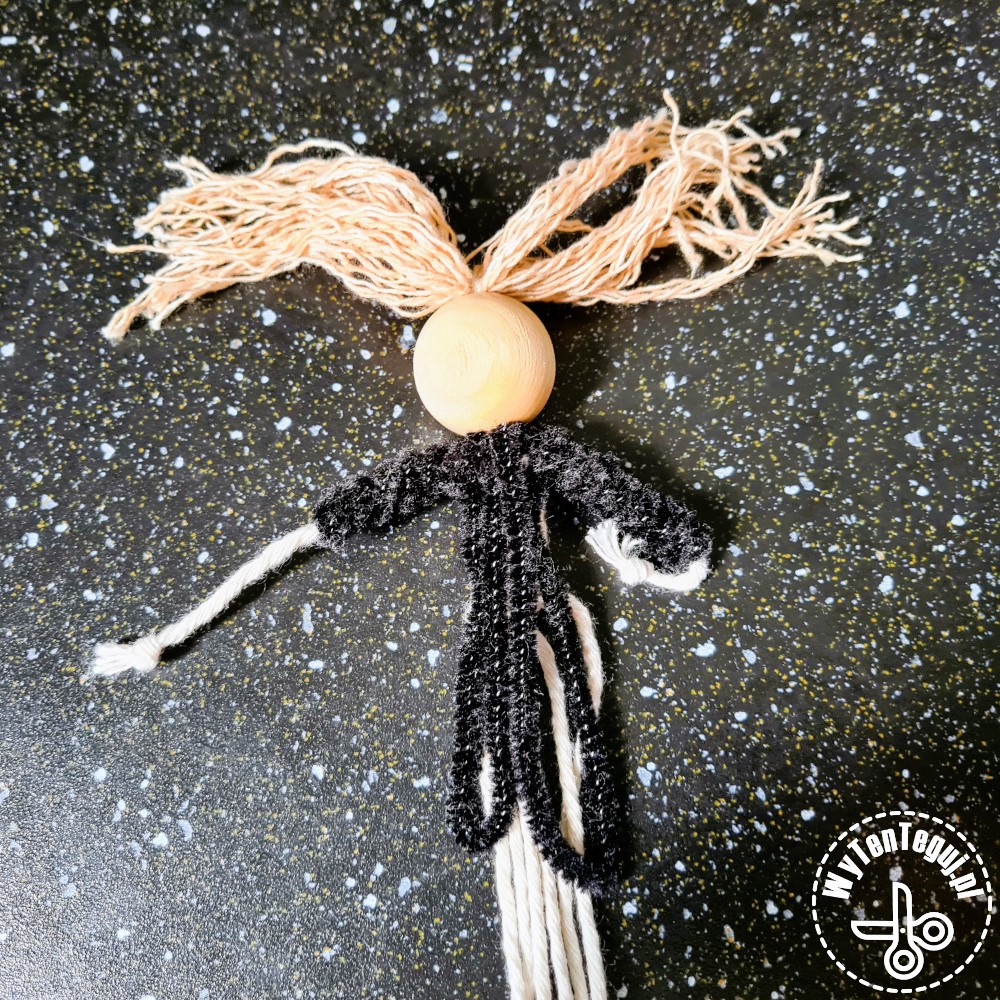
- Wind the black pipe cleaner wire on the hands. It is much easier when you use stick to wind on it.
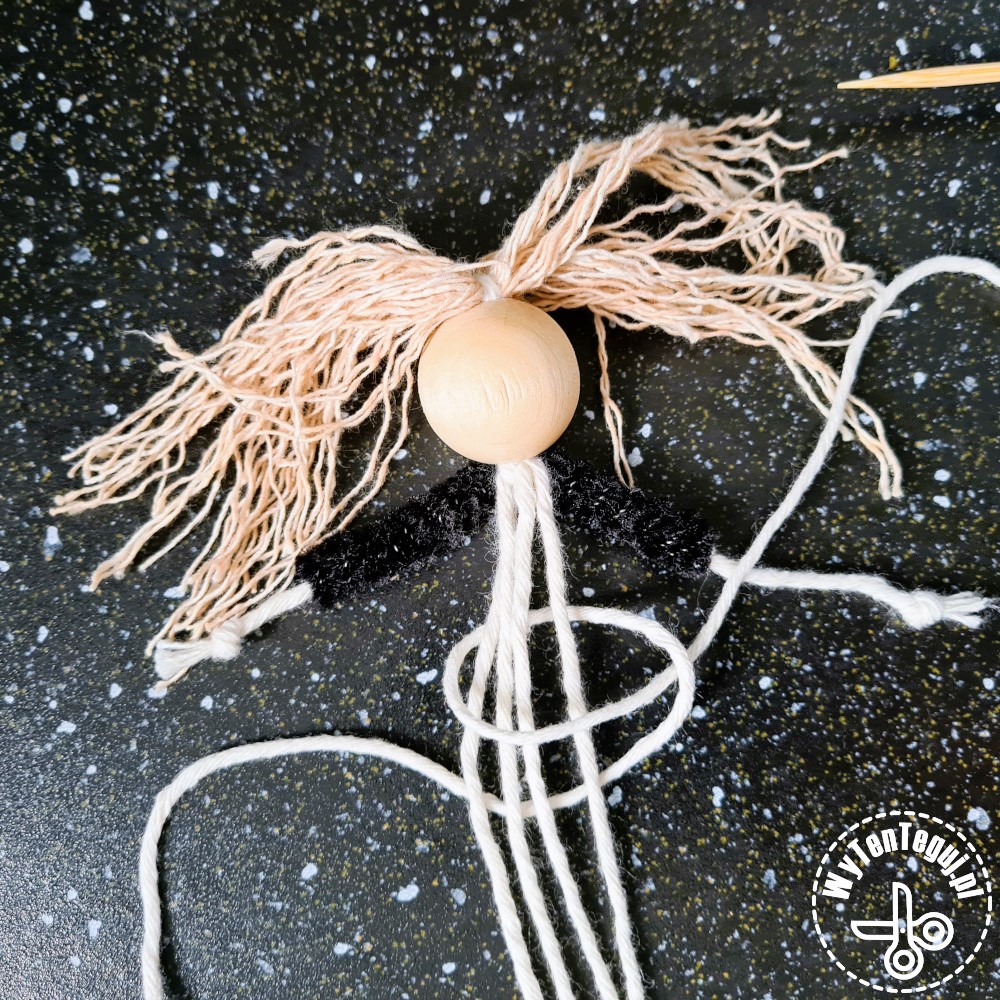
- Dolls torso is a chain made of a flat knot.
- Add one more black pipe cleaner in the same place as the one for the arms. It will form the back and the core of the legs.
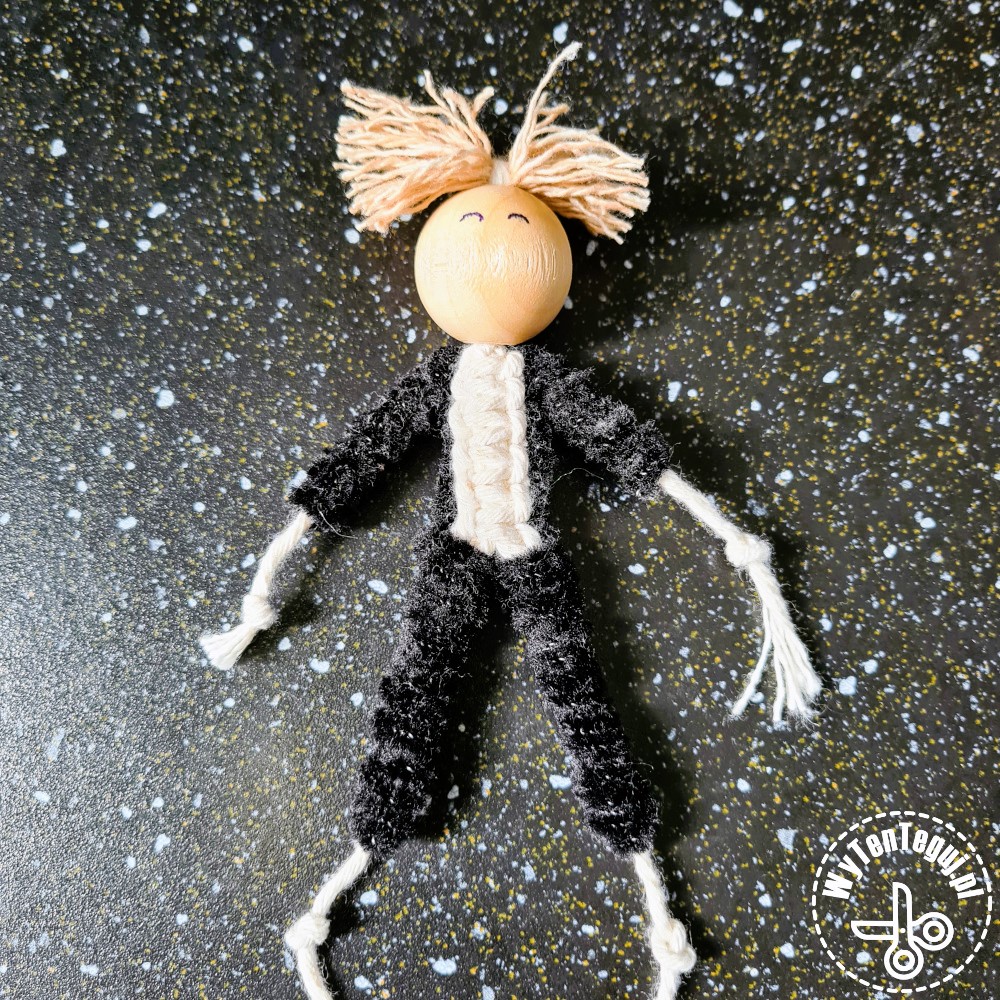
- Wrap an extra black wire on each leg.
- End the groom’s legs with a knot and cut the ends.

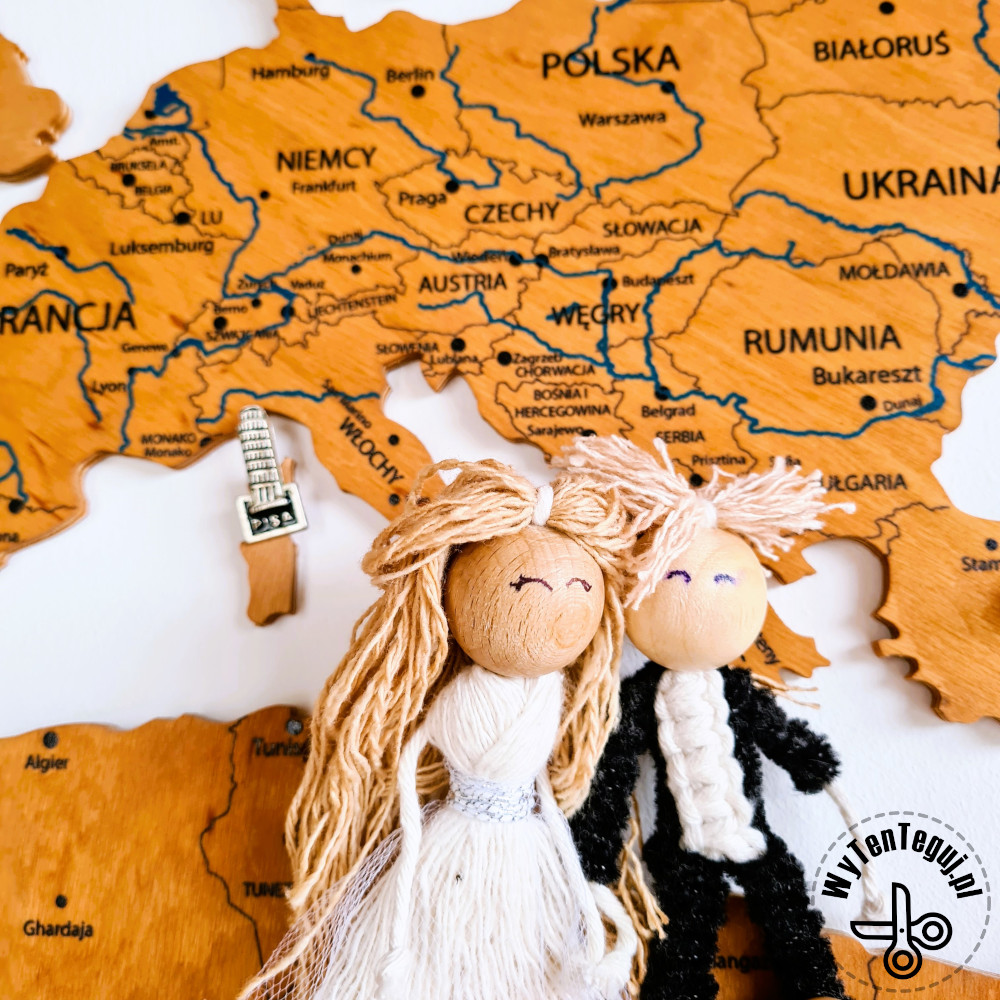
Macrame bride and groom
How to make a macrame tree with moss
Although the tree seemed easy to make, it did cause me some problems. I didn’t know how to cope with attaching the strings to the bottom of the rim and making them perfectly taut while tying them in the middle.
You will need
- Macrame cotton cord natural 2 mm
- Wooden rim 28 cm
- Moss
- Scissors
- Hot glue
Macrame tree with moss
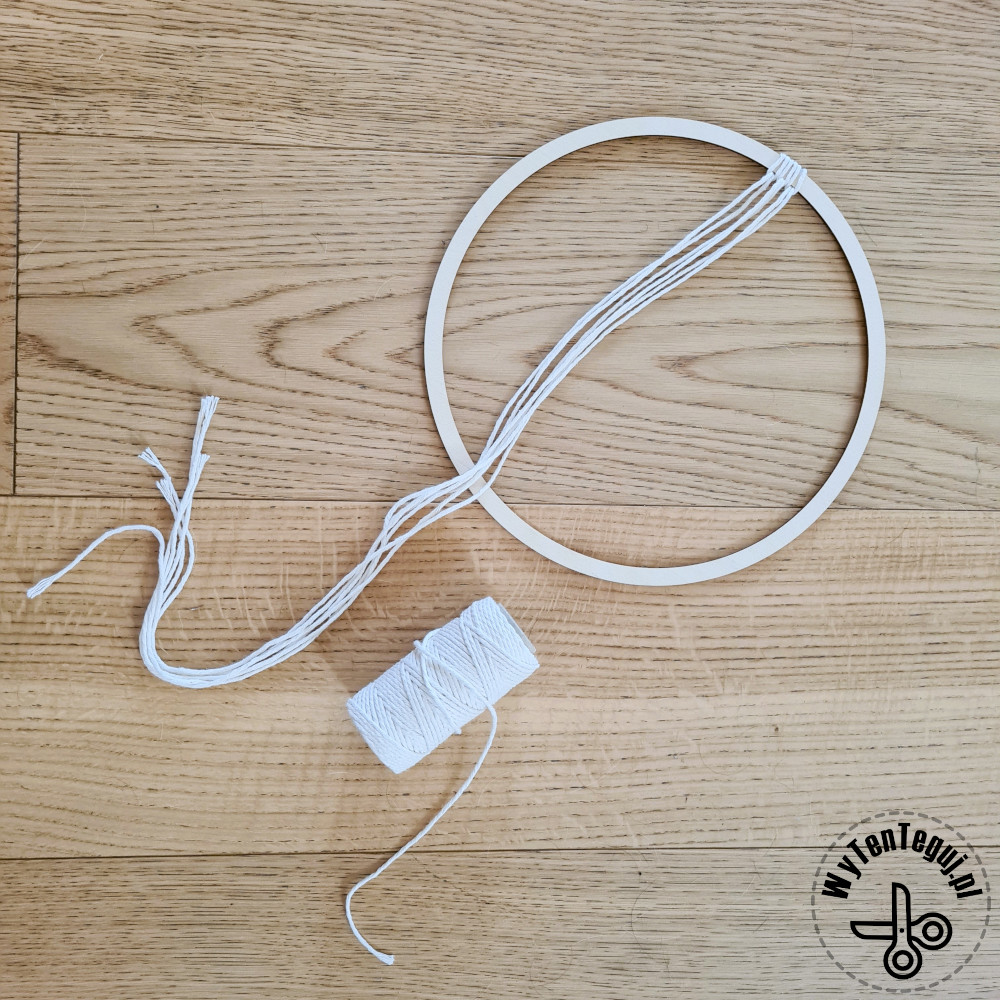
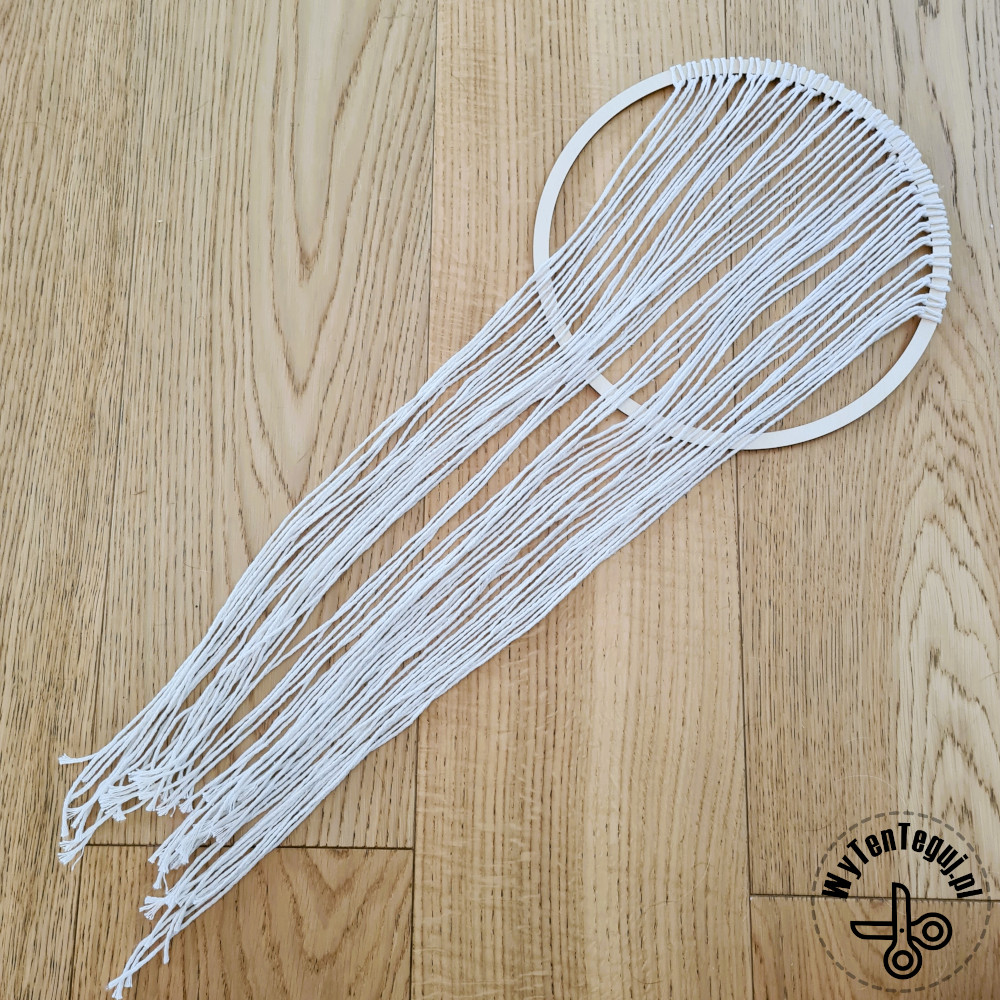
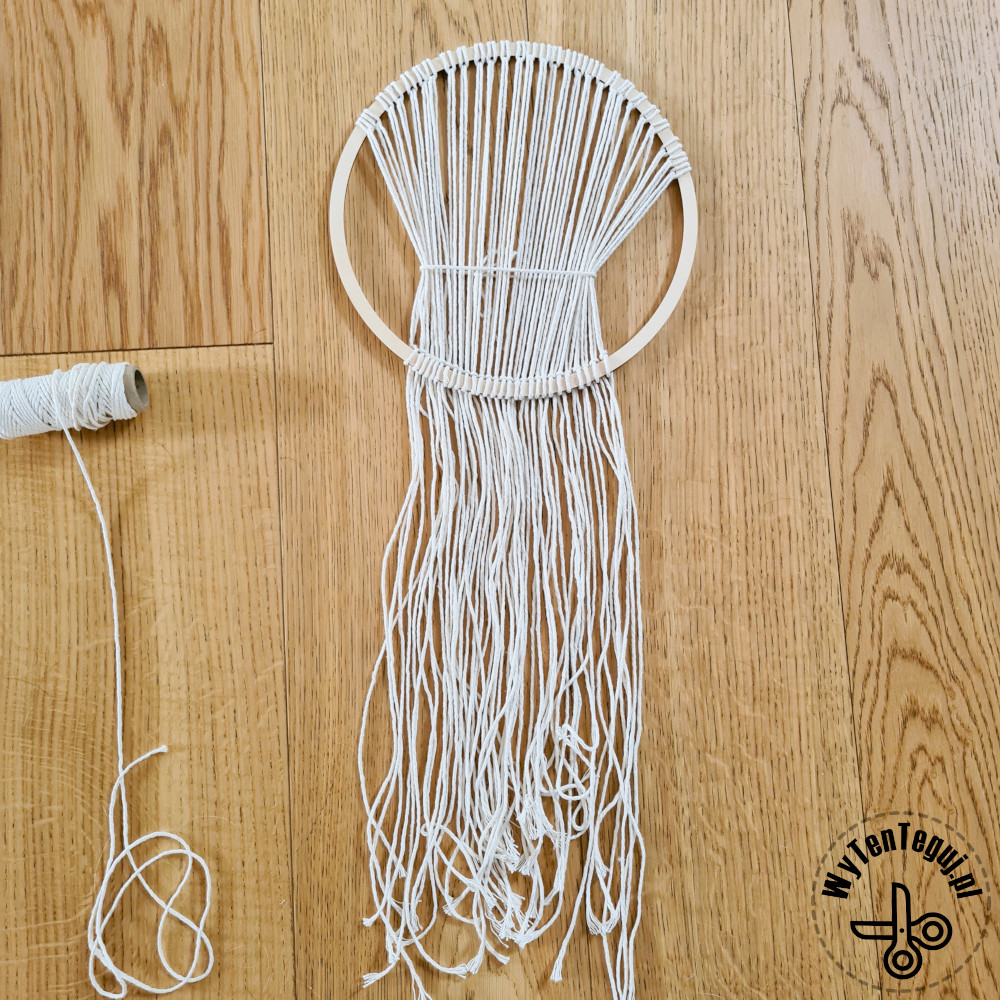
- Start by preparing the strings. Each segment must be twice as long as the target macrame length.
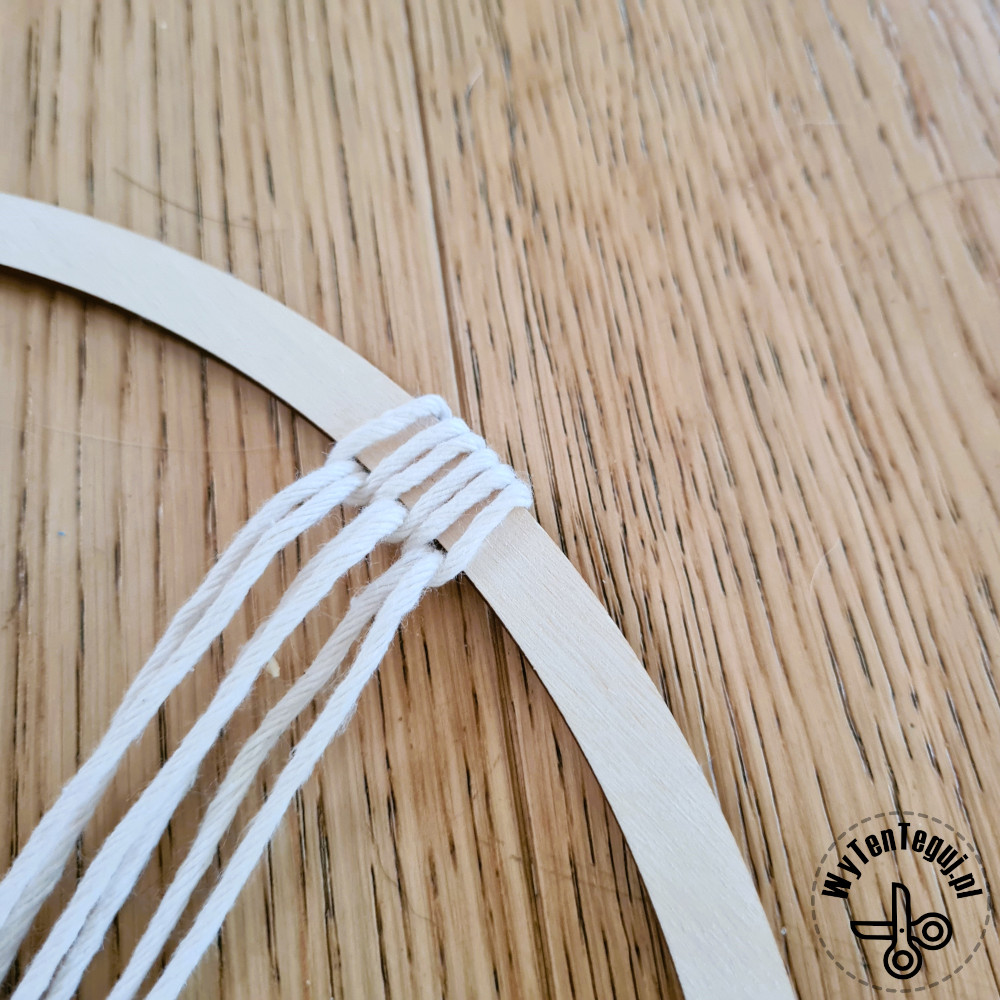
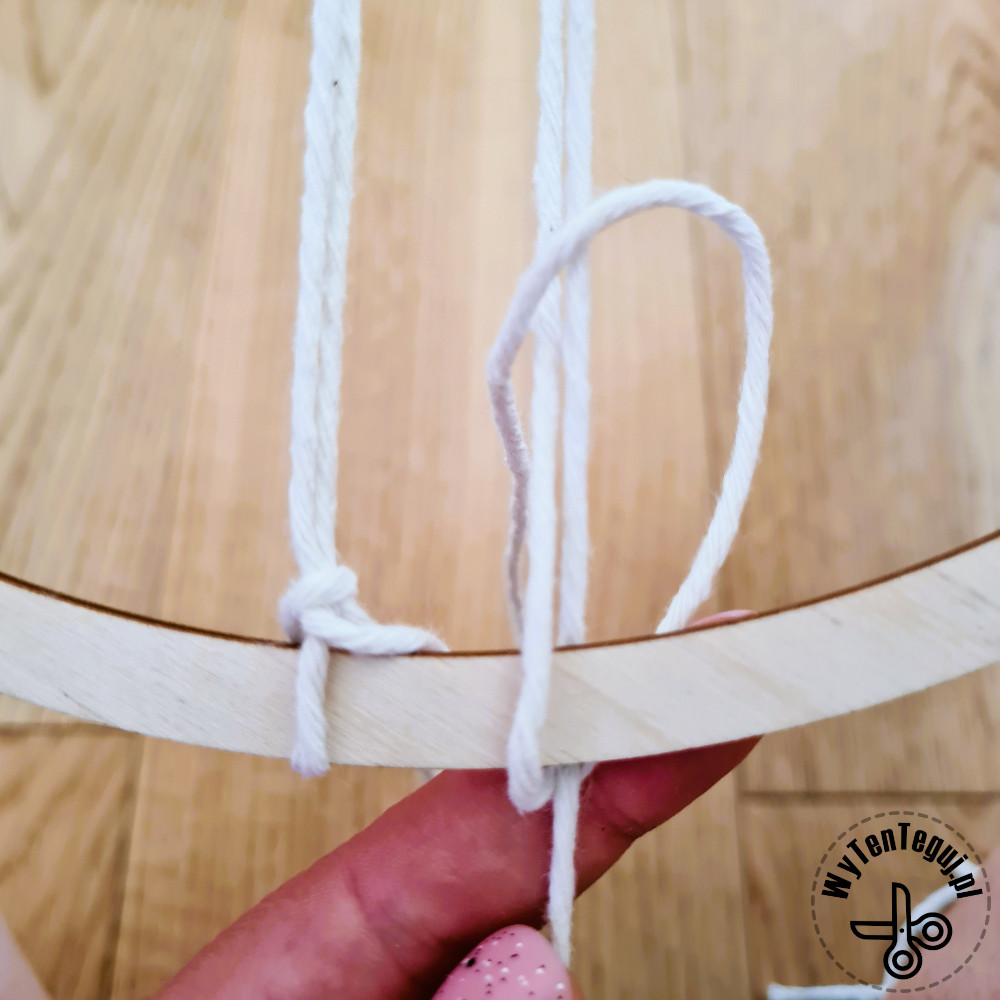
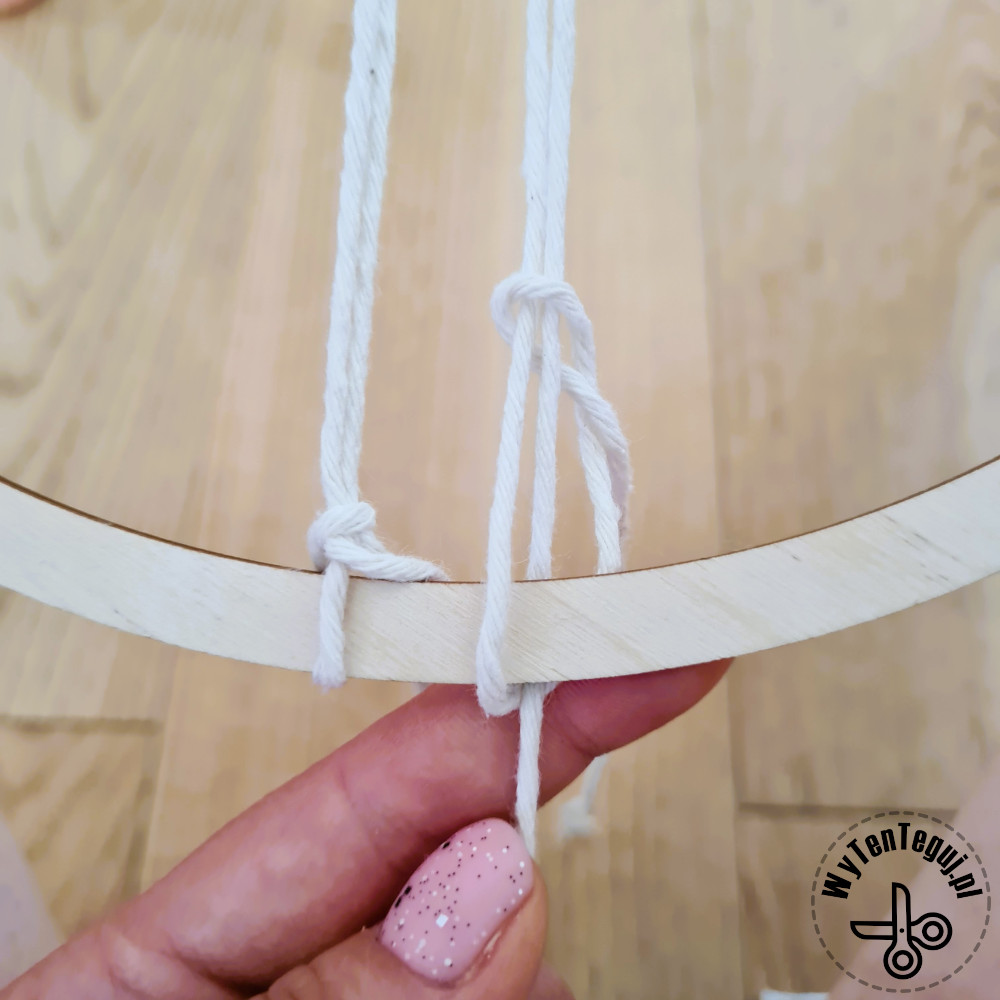
- Fold the string in half and fix it on the rim with a tie knot, i.e. a loop from the top, and pull the ends from the back to the bottom.
- Tie the string at the bottom so that a nice chain of knots forms.
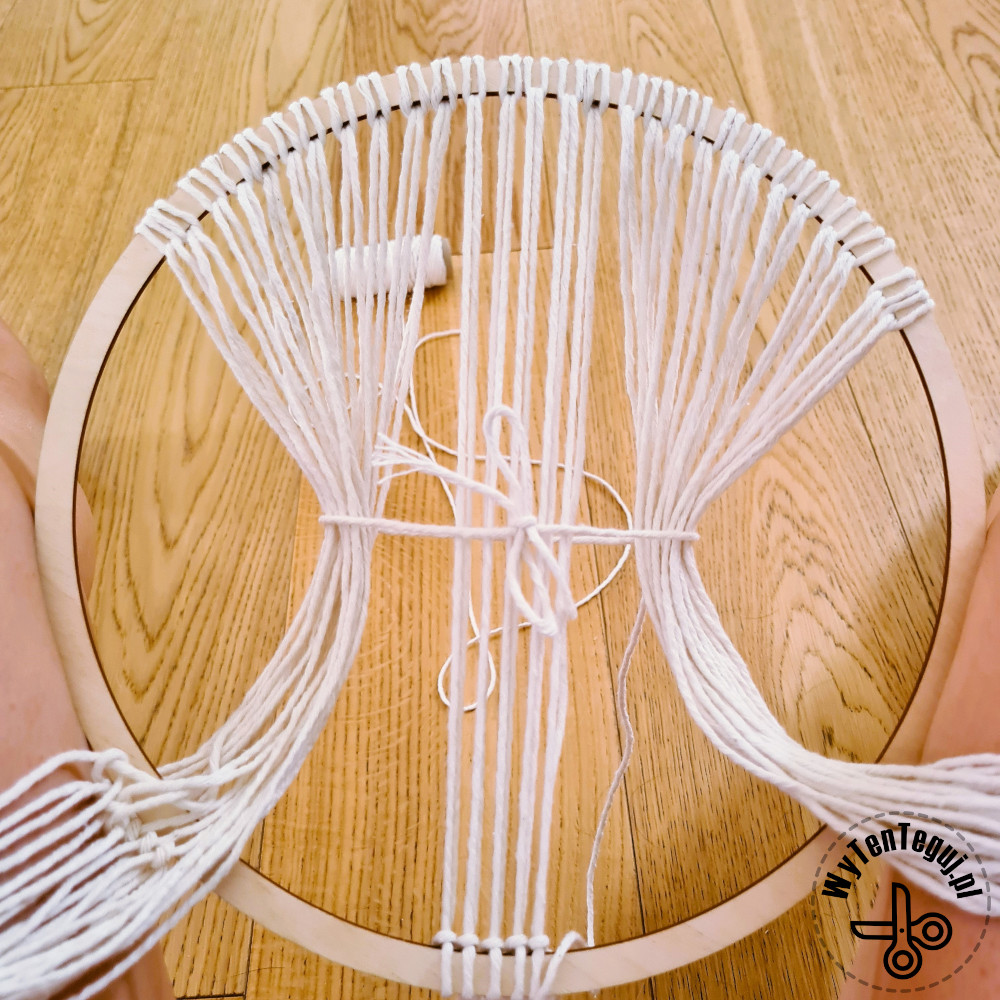
- Do the same for the rest of the pairs across the width of the tree.
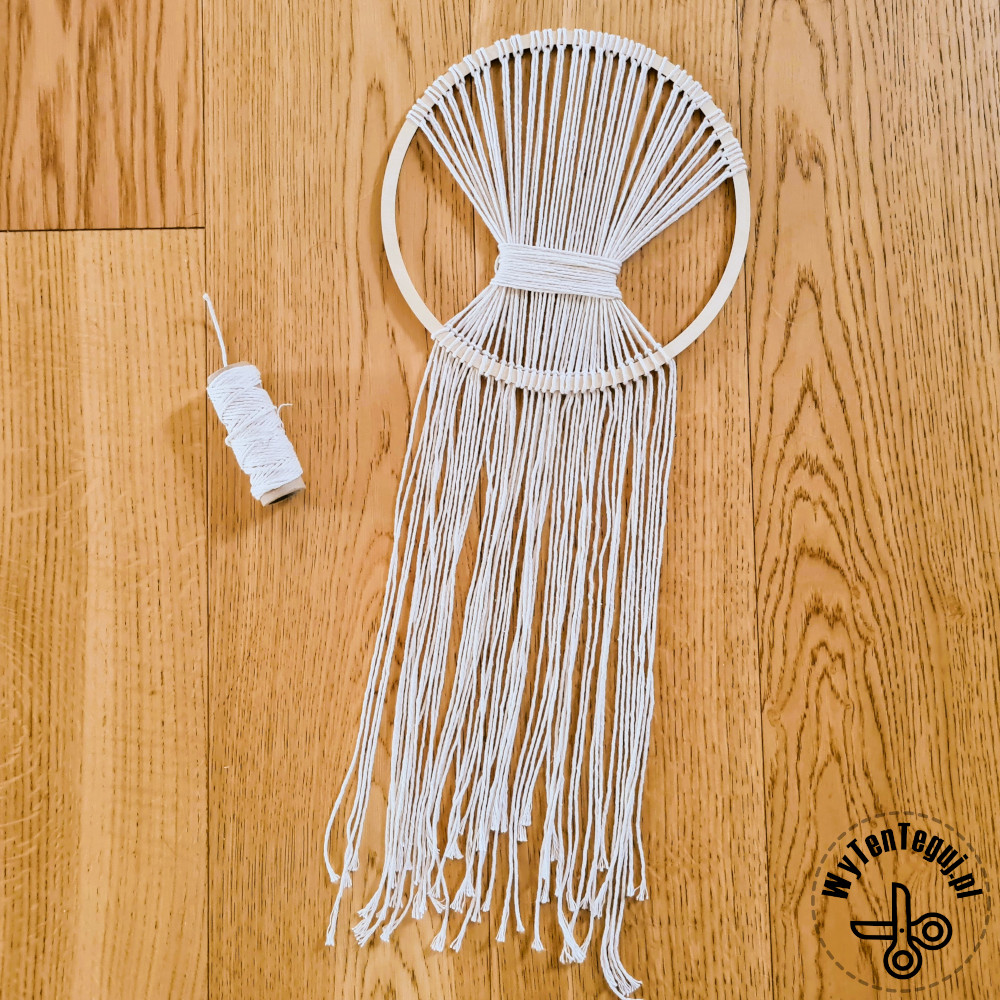
- Then tie the temporary string the width of the tree and gently tie the remaining strings. From time to time check that they have not become loose and tighten if necessary.
- Finally, create a trunk from the additional string by twisting it several times around the installed vertical strings.
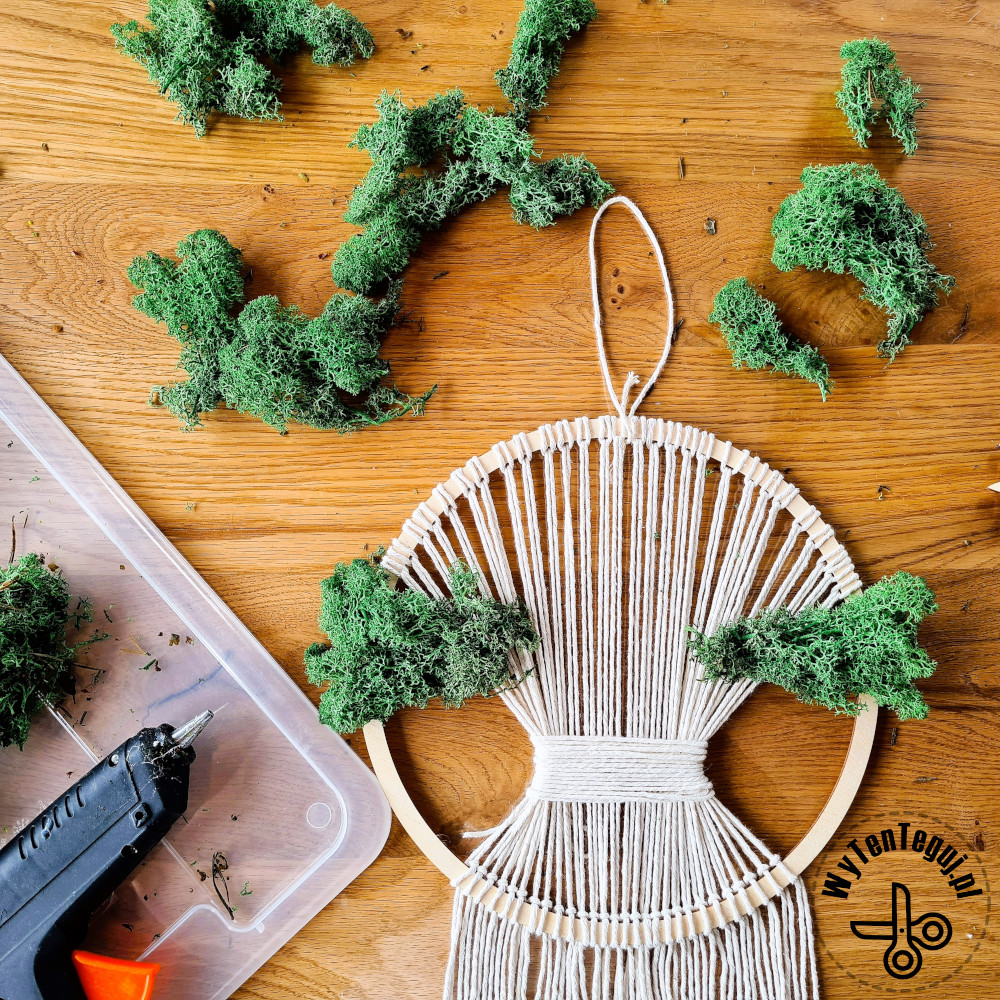
- On the tree crown, stick the moss with hot glue.
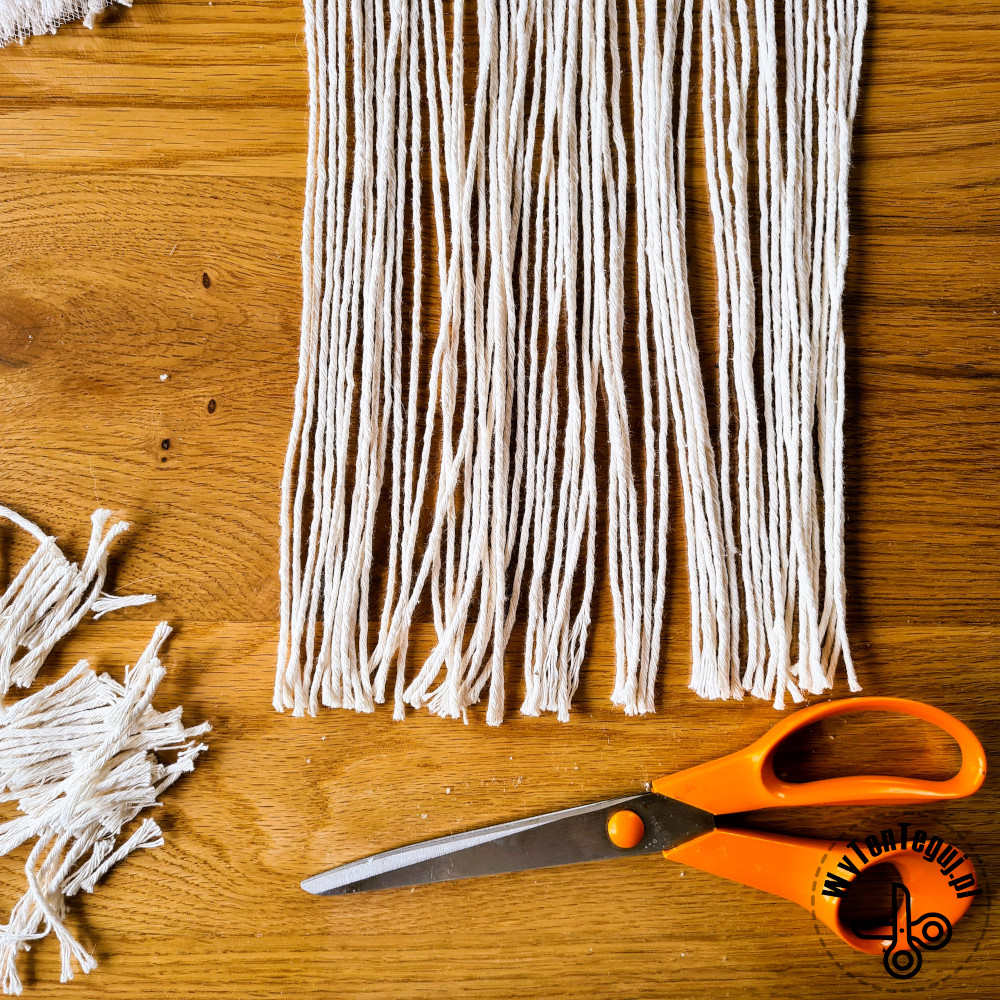
- Trim the ends of the macrame.
Macrame tree with bride and groom

Check out our ideas
![]() If you are looking for more wedding DIY check our Wedding section.
If you are looking for more wedding DIY check our Wedding section.
![]() You can find Valentine’s Day DIY can in Valentine’s Day section.
You can find Valentine’s Day DIY can in Valentine’s Day section.
![]() You can find more DIY decoration ideas in our decorations section.
You can find more DIY decoration ideas in our decorations section.
Follow us in social media
If you want to be up-to-date with our newest posts, like our Facebook fanpage, follow us on Instagram, Pinterest and YouTube.
Nothing gives more satisfaction than doing something yourself. I haven’t even thought about DIY as my hobby, I’ve just done different “projects” when it was needed. Sometimes it’s a disguise for the Masquerade Party in kindergarten. Another time, cutting out the pumpkin and baking the witch’s fingers for Haloween. Or simply organizing holiday souvenirs. Now I decided to share my realizations with you. Let’s go it together!
