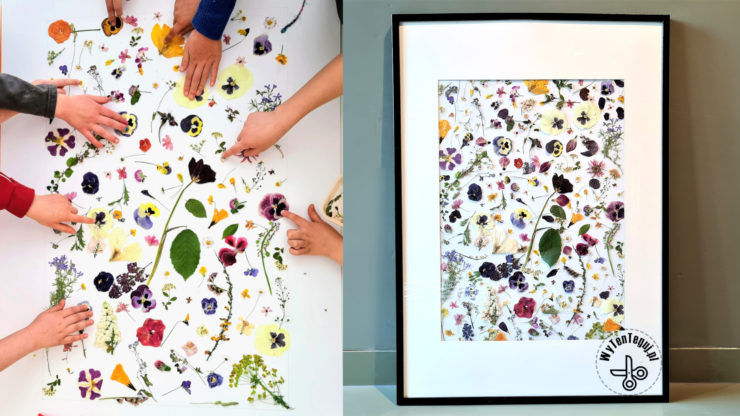
Pressed flowers art is our next floral project this spring. The picture is incredibly beautiful and it’s hard to believe that it was created during one lesson by 20 first graders 😁.
![]() Polska wersja: Jak zrobić obraz z suszonych kwiatów?
Polska wersja: Jak zrobić obraz z suszonych kwiatów?
You will need:
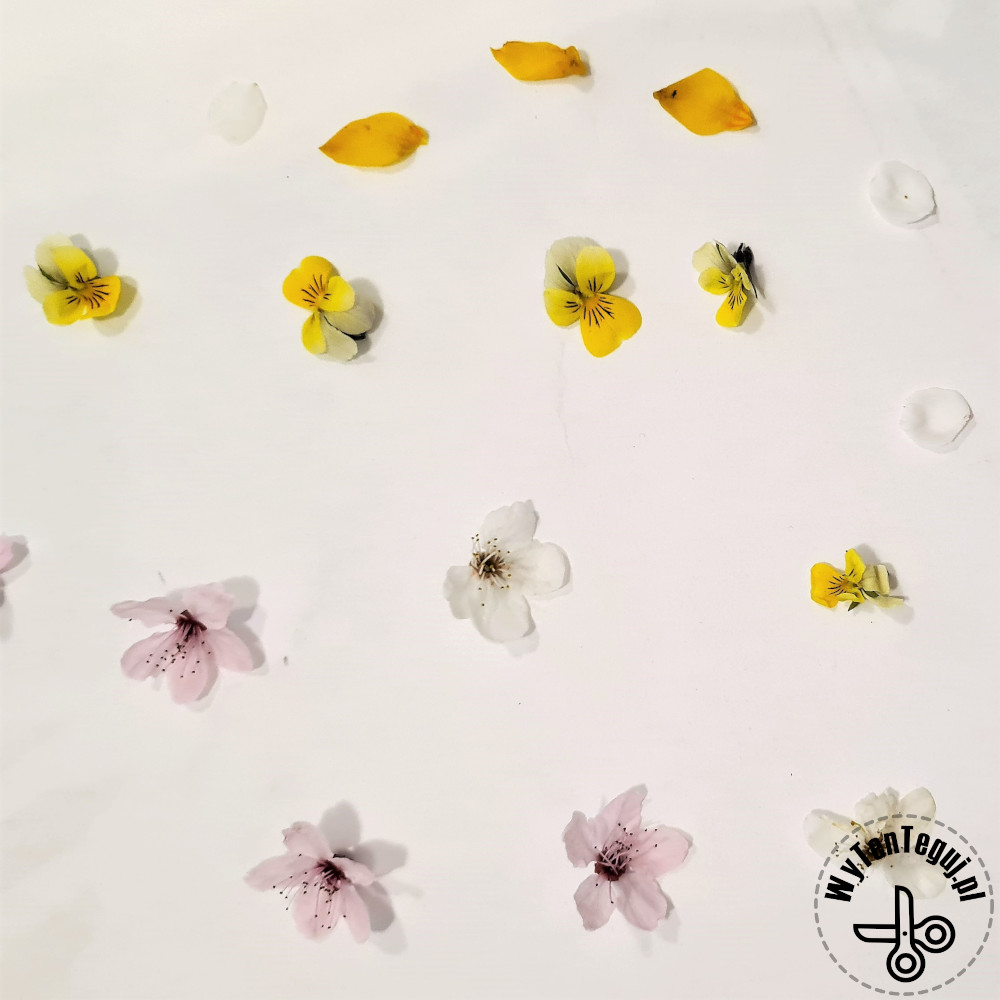
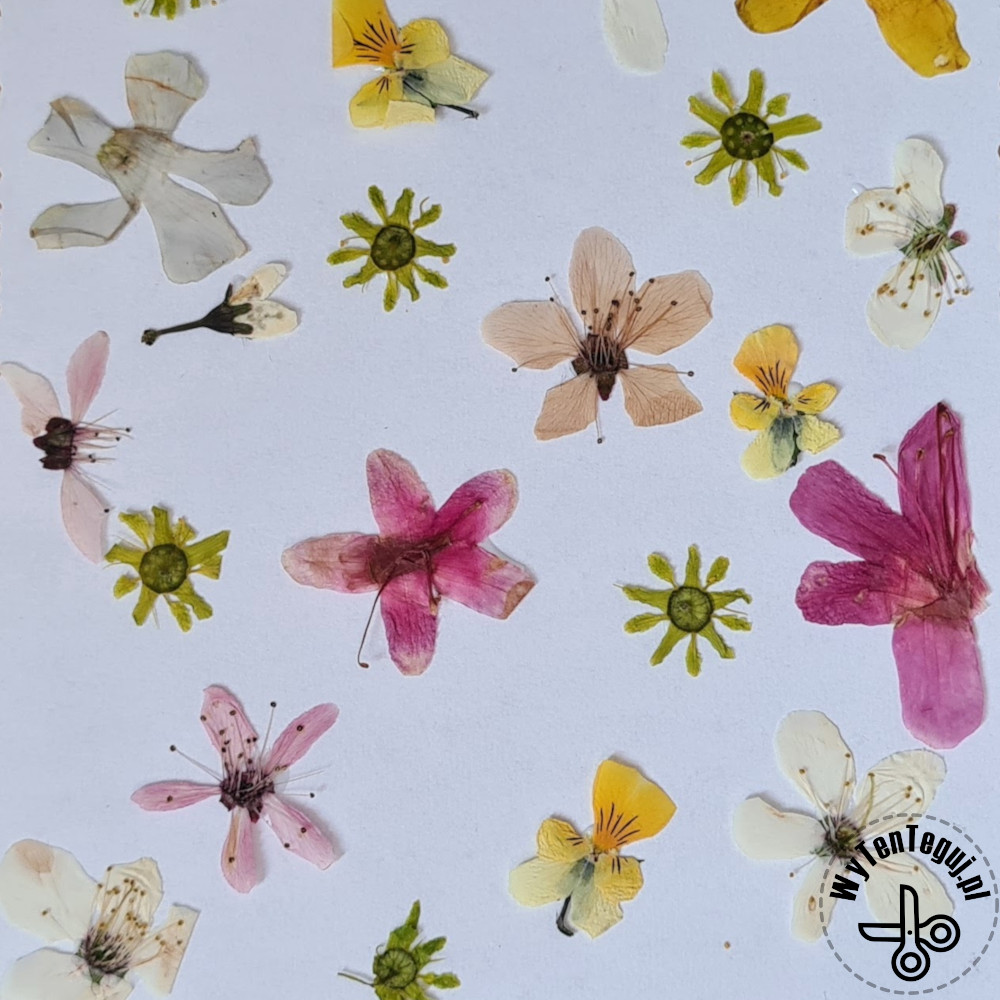
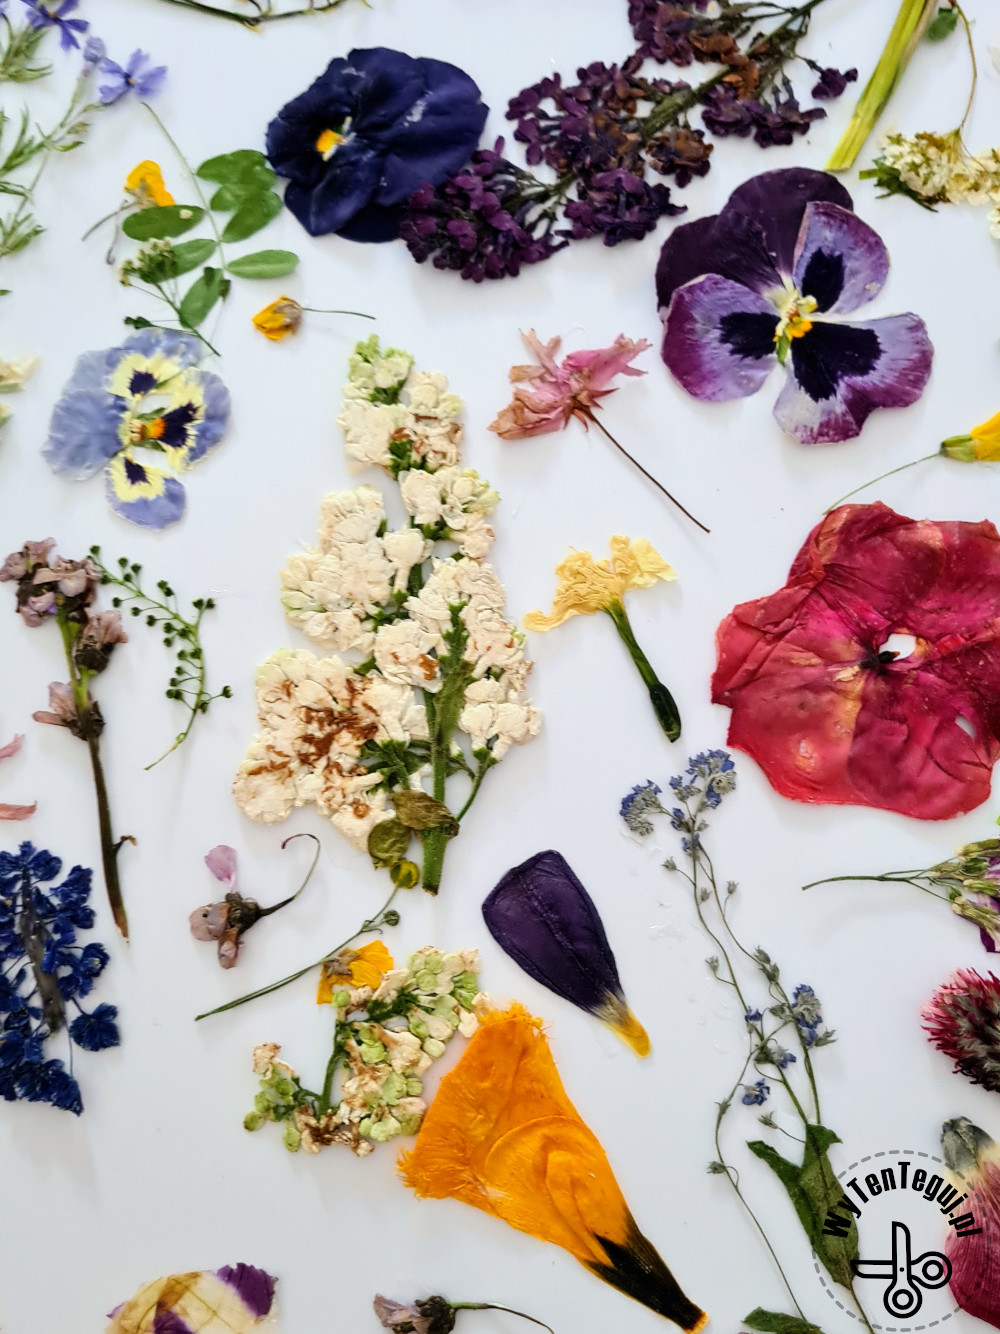
- Pressed flowers – should be well dried. More tips in the description below .
- Big carton – ours was 100x70cm
- Glue
- Pencil
- Ruler
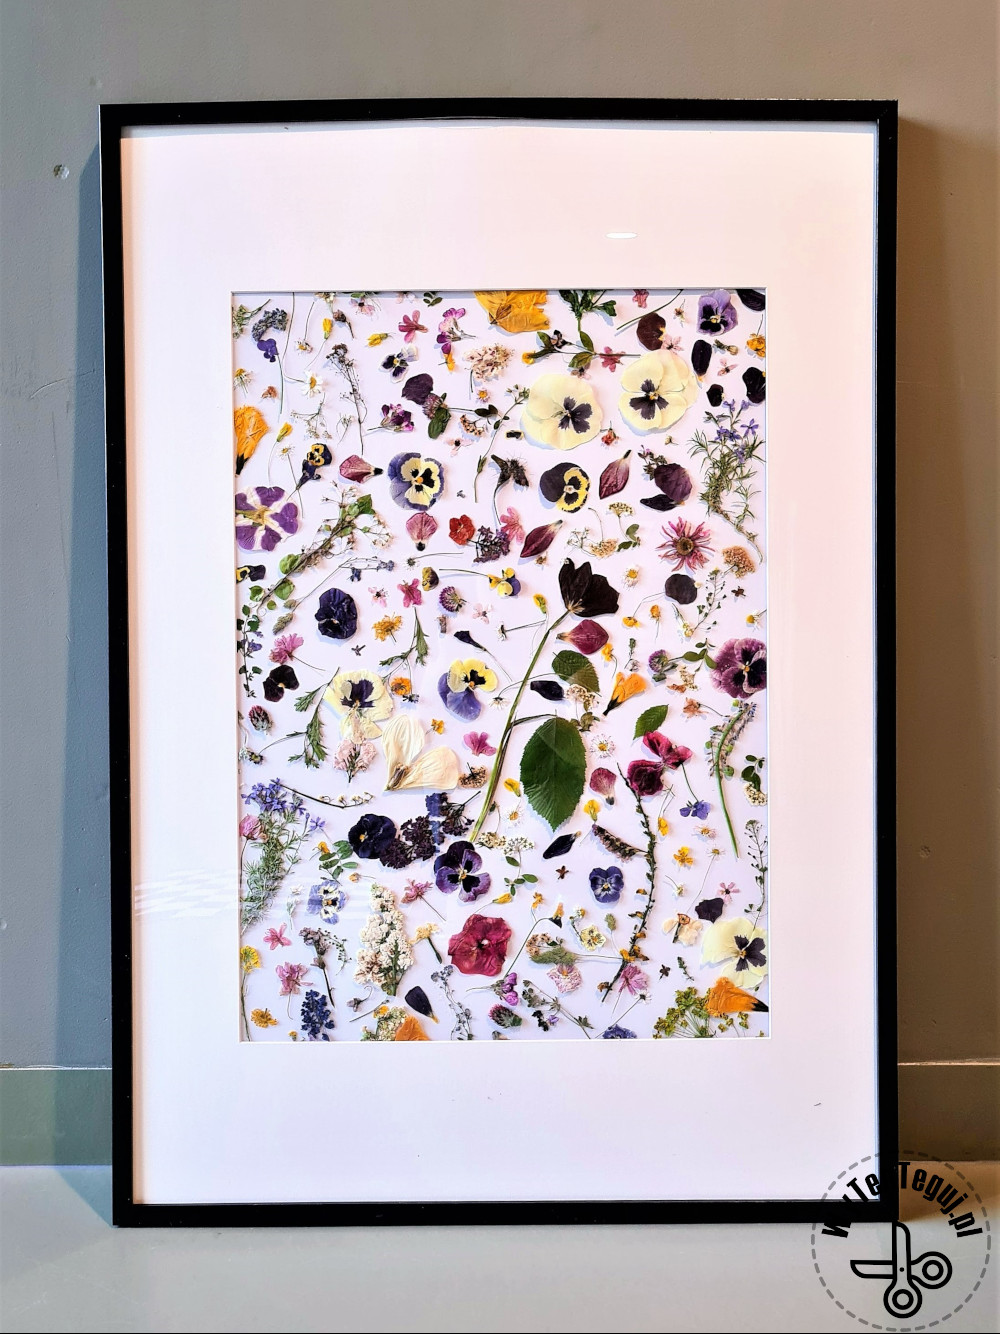
- Picture frame – ours is an Ikea model – RIBBA.
How to press flowers?
This is my first attempt at drying flowers. We dried leaves for a herbarium in autumn and it was supposed to be easy as well, but it was much more difficult. The flowers are much delicate than the leaves and are easy to damage. Additionally, some flowers turn brown after drying (it only happened to pink flowers of azaleas).
Nevertheless, all the hints from the herbarium remain valid, that are:
- When collecting plants, choose the healthy specimens without rot or black spots. Plants look worse after drying than before, so if something is wrong at the beginning, it will only get worse later.
- At home, dry between sheets of paper so that the sheets can absorb moisture from the plant. Glossy magazines will not work. Excessive children’s drawings or coloring books work well, but only those that can be thrown away later. After drying, the pages are wavy, so you need to add an additional sheet before inserting plants into the book.
- We took a piece of paper, put a leaf on it, then another sheet and a book, making kind of a sandwich. Then another leaf between the pages and the book again. This way we built a nice tower.
- Additionally, once a day we checked what was happening with our specimens and changed the wet sheets. We did not throw them away, but we used them the next day when they were dry again.
How to make pressed flowers art?
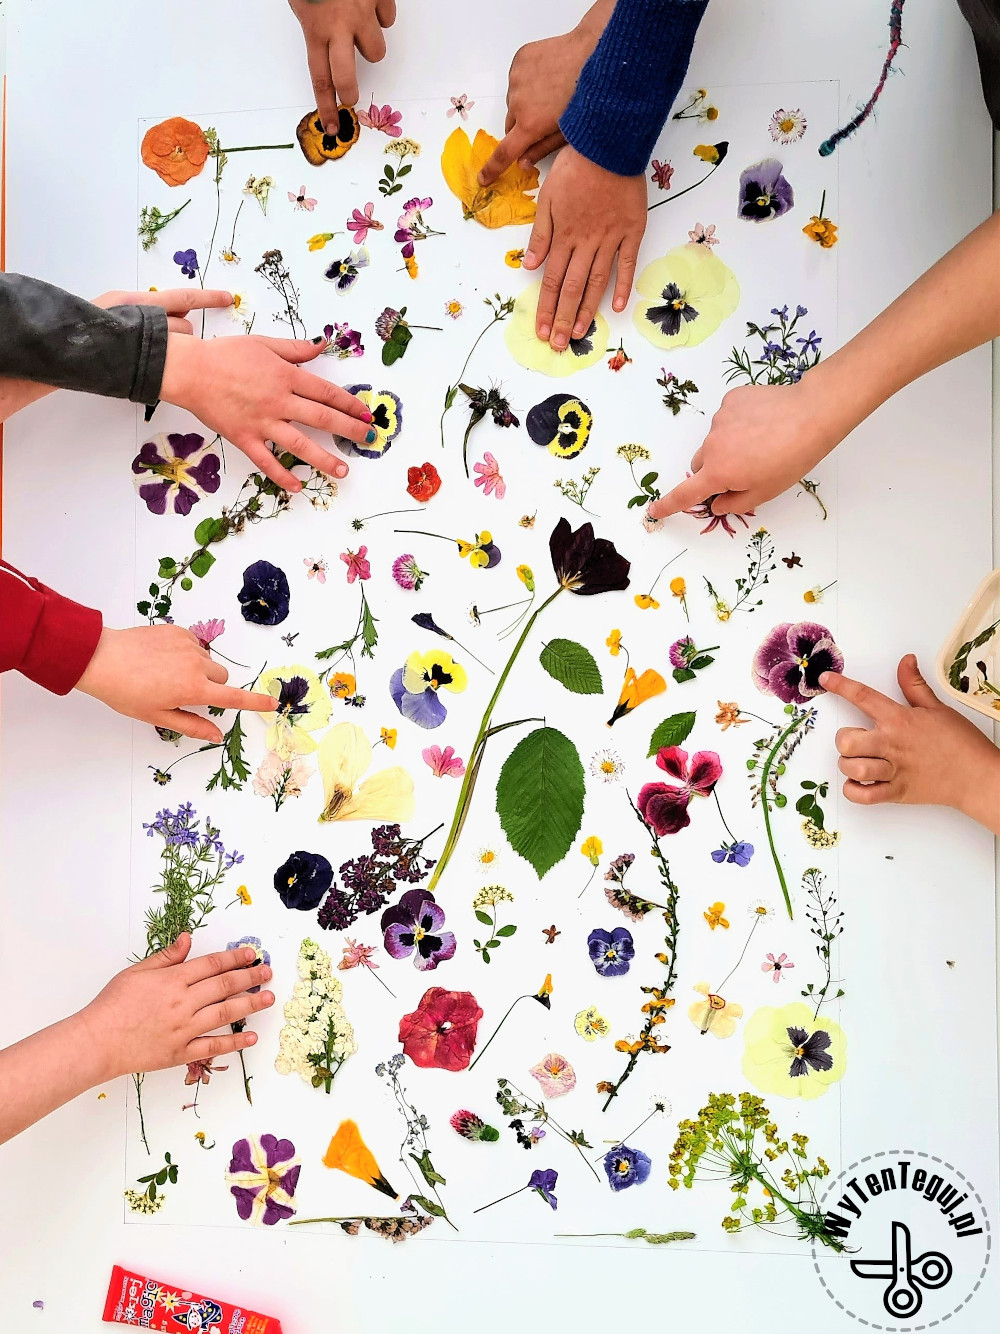
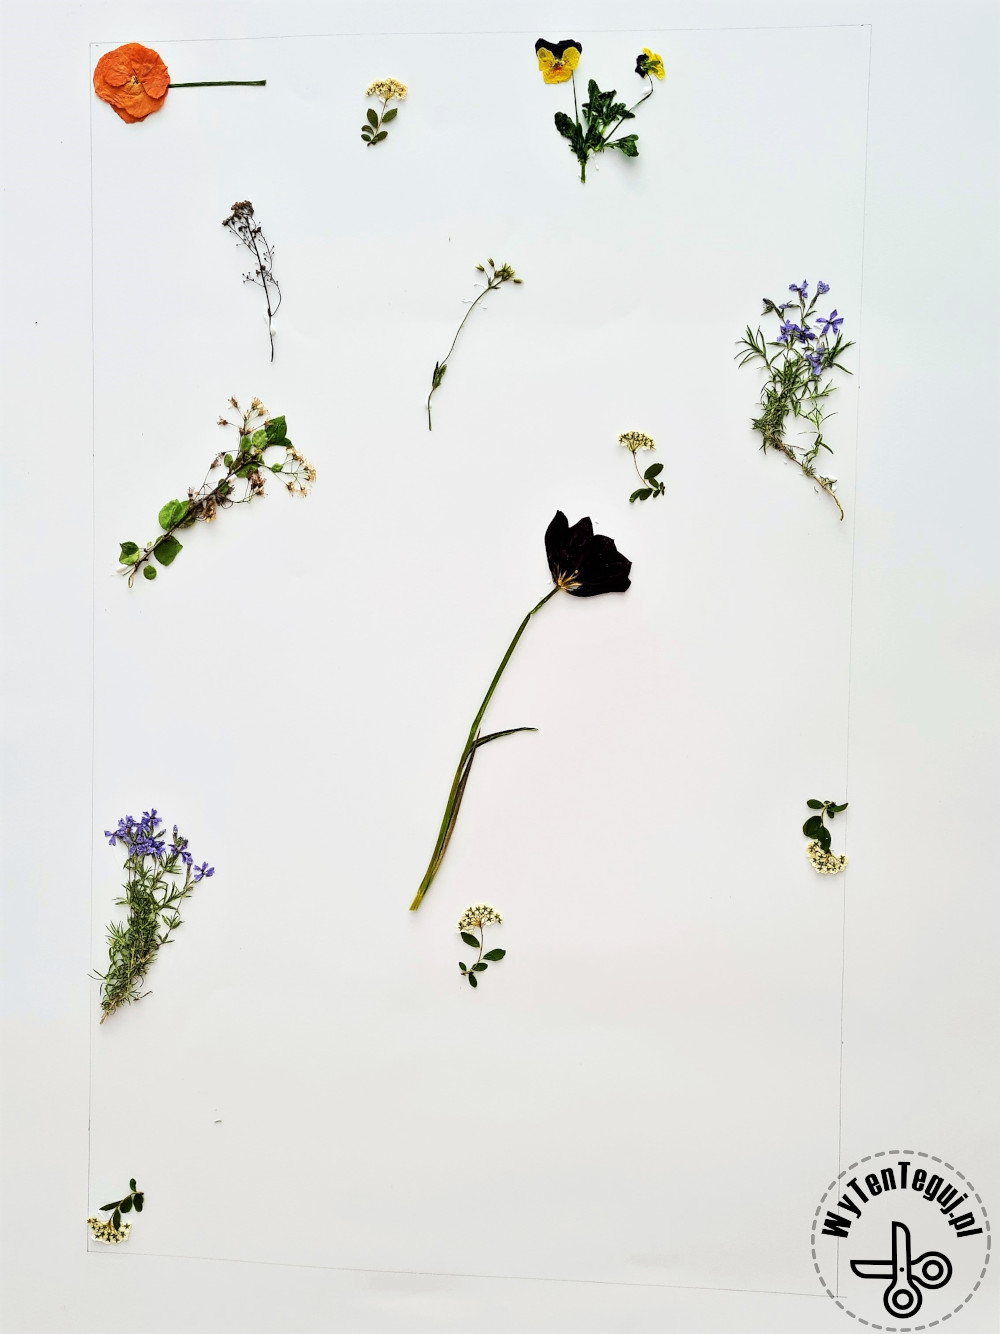
The initial step is to sketch the work area. I decided to leave 10cm on the sides and 15cm on the top and bottom.
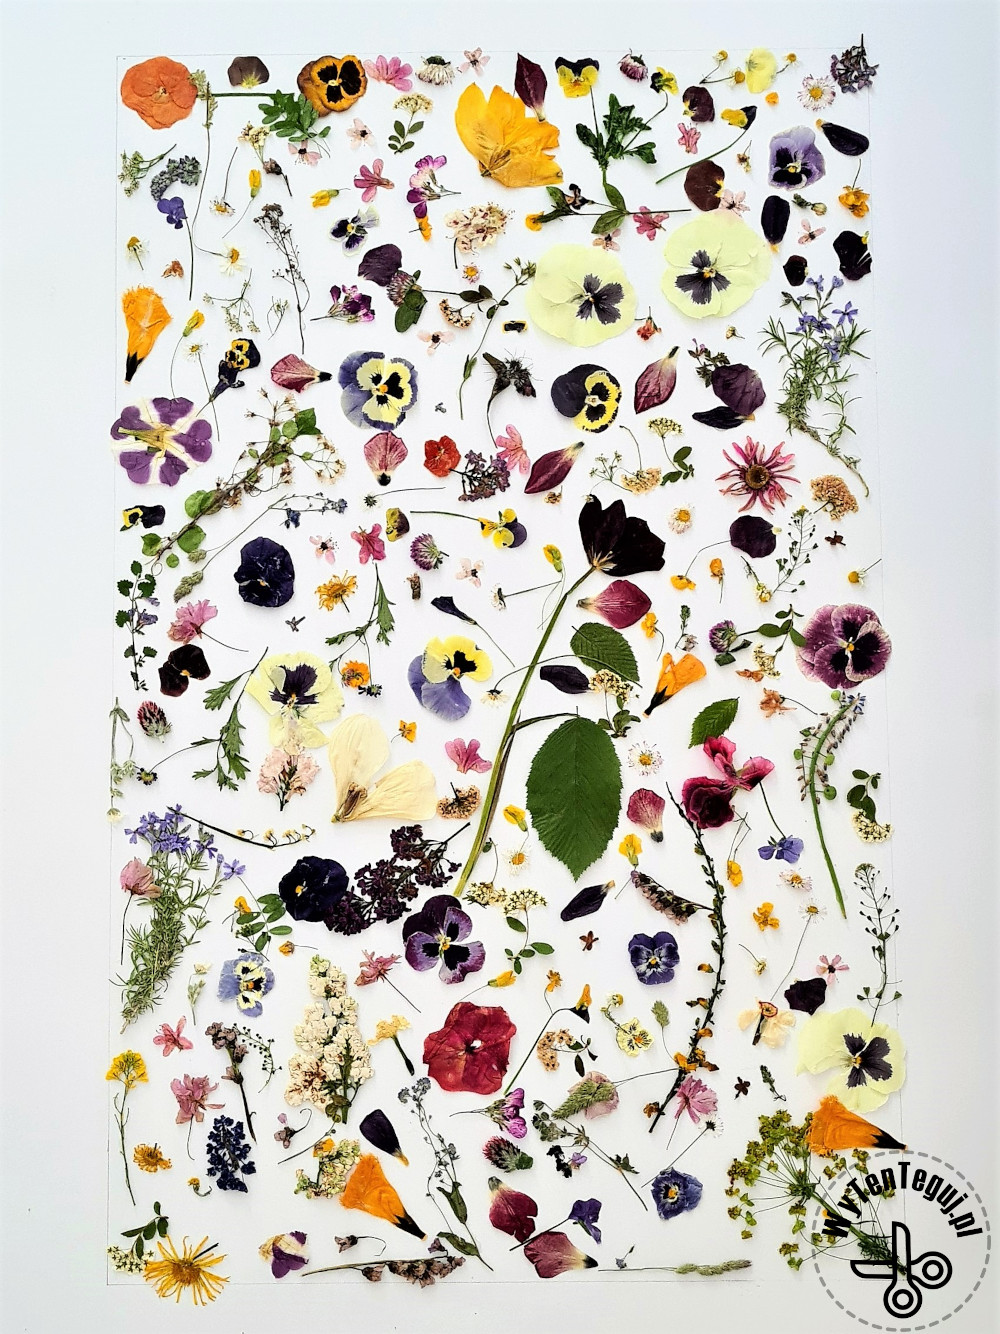
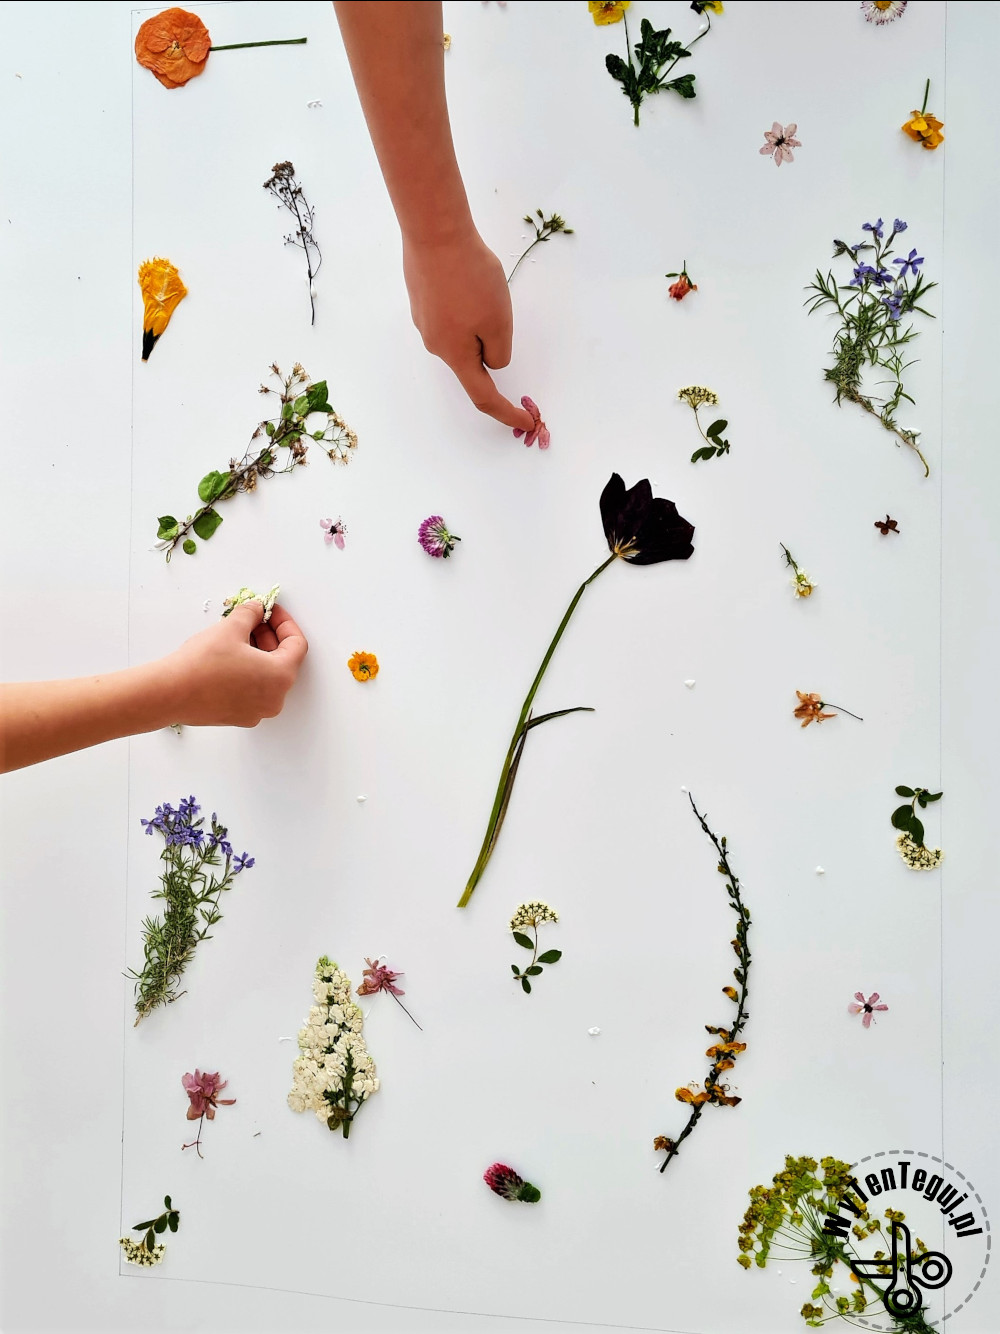
Then you can go to the main stage, which is sticking flowers. As I mentioned, our painting was created during the workshop at school. I made dots with glue and the children sticked their flowers to these places. We tried to prevent the flowers from touching each other and filling the entire surface as much as possible.
Glue dries for about an hour. After this time, the picture can be framed.
Check out our ideas
If you look for more DIY cards ideas check our Cards section.
If you are looking for more creative activities for kids check our DIY with kids section.
Follow us in social media
f you want to be up-to-date with our newest posts, like our Facebook fanpage, follow us on Instagram, Pinterest and YouTube.
Nothing gives more satisfaction than doing something yourself. I haven’t even thought about DIY as my hobby, I’ve just done different “projects” when it was needed. Sometimes it’s a disguise for the Masquerade Party in kindergarten. Another time, cutting out the pumpkin and baking the witch’s fingers for Haloween. Or simply organizing holiday souvenirs. Now I decided to share my realizations with you. Let’s go it together!
